Easy Ways to Organize Your Welding Shop to Save Time (Plan)
When I first transitioned from a hobbyist to a professional fabricator, I made a classic mistake. I focused entirely on the weld bead and ignored the clock. I thought that as long as the finished product looked great, the business would thrive. However, after six months of sixty-hour weeks, my bank account told a different story. I was busy, but I wasn’t profitable. The culprit wasn’t my welding skill; it was the invisible friction in my workshop. Every minute I spent hunting for a specific hex key or moving a heavy steel table to reach a wall outlet was a minute I wasn’t billing.
For those of us managing a side-hustle or a small shop, time is our most expensive consumable. Unlike shielding gas or welding wire, you cannot buy more time once the day is over. To run a sustainable business, you must treat your workshop layout and organizational habits as financial assets. If your shop is a maze of unlabelled bins and tangled cords, you are effectively paying a “disorganization tax” on every single job you quote.
Calculating the True Hourly Rate of Your Fabrication Space
The shop hourly rate is the foundational number that determines if your business lives or dies. It represents the total cost of keeping your doors open, divided by the number of hours you actually spend producing billable work. Without this number, you are merely guessing at your prices.
Establishing a realistic shop rate requires looking at more than just your desired take-home pay. You must account for “non-billable” time. In a typical side-hustle, you might spend 10 hours in the shop but only 6 hours actually fabricating. The other 4 hours are spent cleaning, quoting, and searching for materials. To stay profitable, those 6 billable hours must cover the costs of all 10 hours. Most small shops find their sweet spot between $65 and $120 per hour, depending on their local market and specialized equipment.
| Expense Category | Annual Estimated Cost | Monthly Impact |
|---|---|---|
| Shop Rent/Mortgage | $12,000 | $1,000 |
| Utilities (Power/Heat) | $2,400 | $200 |
| Insurance (Liability) | $1,200 | $100 |
| Software (Invoicing/CAD) | $600 | $50 |
| Equipment Depreciation | $3,000 | $250 |
| Total Fixed Overhead | $19,200 | $1,600 |
Building on this data, if you plan to work 80 billable hours a month, your overhead cost per hour is $20 before you even pay yourself or buy a single grinding disc. If you want to earn $40 per hour for your labor, your base shop rate must be at least $60. Interestingly, many beginners forget to factor in the depreciation of their machines. A $3,000 welder won’t last forever; if it has a five-year lifespan, it costs you $600 a year just to own it.
Optimizing Workshop Layout for Faster Project Throughput
Workshop layout optimization is the practice of arranging your machinery and workstations to follow the natural flow of metal fabrication. A logical sequence reduces the physical distance you travel with heavy materials, which minimizes fatigue and prevents accidents. A well-planned floor move can save hours of labor over a single month.
In my early years, I had my horizontal band saw in the far corner and my welding table near the door. Every time I cut a piece of tubing, I walked forty feet to the bench. After analyzing my movement, I realized I was walking nearly a mile a week just moving parts between stations. I restructured the shop into a “U-shaped” flow: Material Storage -> Cutting Station -> Preparation/Grinding -> Assembly/Welding -> Finishing.
- The Material Entry Point: Keep your rack near the door where deliveries arrive. This prevents you from lugging 20-foot sticks of steel through the entire shop.
- The Dirty Zone: Group your grinders, chop saws, and sanders together. This keeps metallic dust concentrated in one area, making daily cleanup much faster.
- The Welding Core: Your main table should have 360-degree access if possible. If space is tight, put your heavy tables on locking casters.
- The Final Stage: Designate a clean area for painting, crating, or client pickups so finished goods don’t get covered in grinding sparks.
As a result of these changes, my “setup and transit” time dropped by 15%. In a side-hustle where you only have four hours an evening, gaining 36 minutes of extra production time is a massive win. It allows you to finish a project a day earlier or take on an extra small repair job each week.
Managing Consumables and Small Parts for Accurate Job Costing
Consumable tracking involves monitoring the usage of items that are “used up” during fabrication, such as welding wire, shielding gas, and abrasives. Accurate tracking ensures that these hidden costs are passed on to the customer rather than eating into your personal take-home pay.
One of the biggest leaks in a small shop’s budget is the “miscellaneous” category. I used to charge a flat $10 for shop supplies on every job. Then, I tracked a week of heavy grinding on a trailer repair. I realized I had used $45 worth of flap discs and cutting wheels. I was losing $35 on a single job because I wasn’t tracking my “consumable burden.”
| Consumable Item | Typical Unit Cost | Estimated Job Usage | Real Cost | | :— * | :— | :— | :— | | 4.5″ Grinding Disc | $2.50 | 3 Units | $7.50 | | .035 Welding Wire | $3.00/lb | 2 lbs | $6.00 | | 75/25 Shielding Gas | $0.50/min | 20 mins | $10.00 | | Flap Discs (80 Grit) | $4.00 | 2 Units | $8.00 | | Total Hidden Cost | | | $31.50 |
To manage this, I recommend a “point-of-use” storage system. Keep your contact tips, nozzles, and anti-spatter spray right at the welding station in labeled clear bins. When you see the bin getting low, you know exactly what to order. This prevents the “emergency run” to the local supply store on a Saturday afternoon, which usually costs you two hours of billable time and a premium price on the parts.
Implementing Shadow Boards and Tool Sequencing to Minimize Downtime
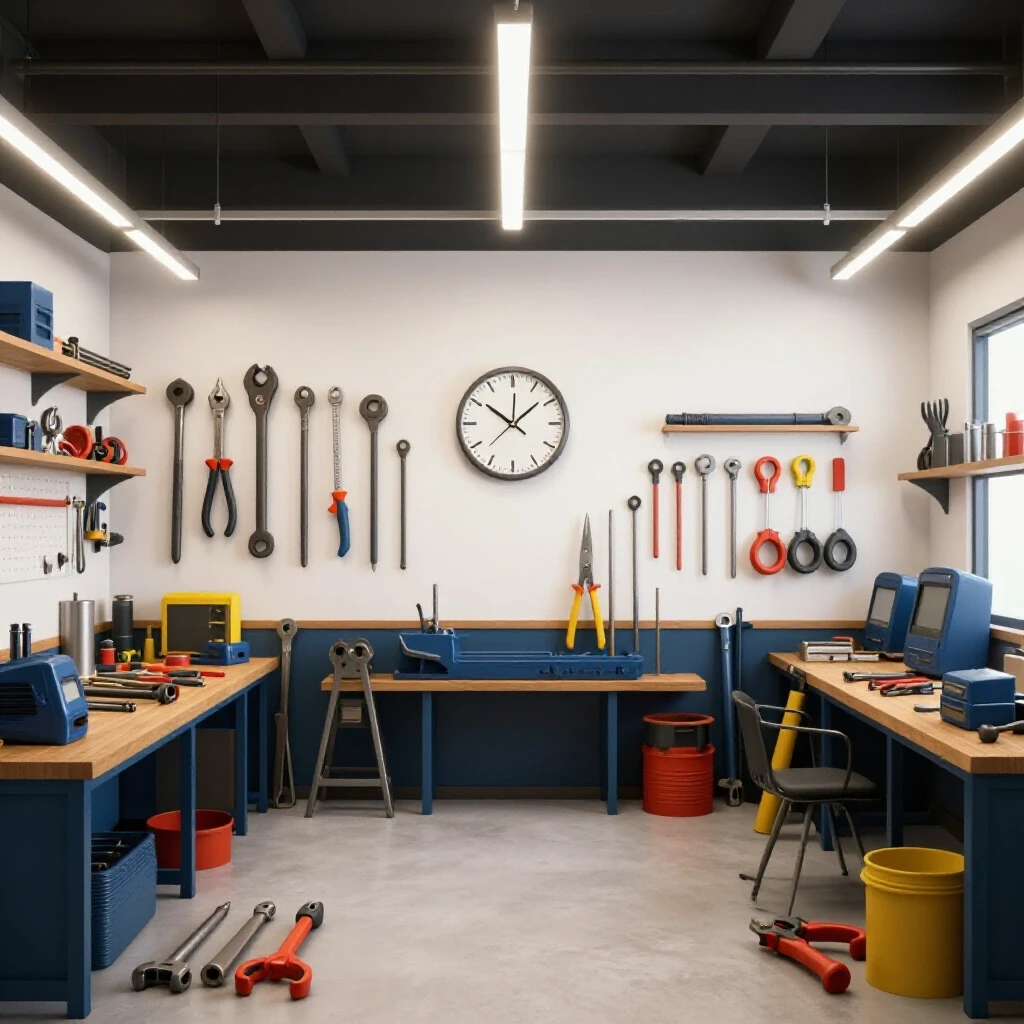
A shadow board is a visual management tool where every hand tool has a dedicated, outlined spot on a wall or drawer. This system allows you to identify missing tools at a glance and ensures that the most frequently used items are always within arm’s reach.
The goal is to eliminate “tool hunting.” If you spend 30 seconds looking for a 1/2-inch wrench ten times a day, you lose two hours a month. Over a year, that is 24 hours of lost productivity. If your shop rate is $80, that missing wrench just cost you $1,920 in potential revenue. Building a shadow board or using foam drawer inserts is not just about being “neat”; it is a high-yield financial investment.
- Frequency of Use: Place your most-used tools (tape measure, square, marking pen) in the “Golden Zone”—the area between your waist and shoulders.
- Point of Need: If you use a specific wrench only for changing the wire in your welder, tether that wrench to the welder or store it in a magnetic cup on the machine.
- Visual Cues: Use bright tape or paint to “shadow” the tool’s silhouette. If the shadow is visible, the tool is missing. This makes the end-of-day cleanup take minutes instead of half an hour.
By organizing your hand tools based on the sequence of your work, you create a rhythmic workflow. You move from the square to the scribe to the center punch without ever breaking your focus. This mental “flow state” is where the most profitable work happens.
Estimating ROI on Equipment Upgrades through Productivity Gains
Return on Investment (ROI) in a workshop setting is a calculation of how quickly a new tool will pay for itself through time savings or expanded capabilities. For a side-hustle, you should generally look for a payback period of 12 to 18 months for any major purchase.
I once debated buying a high-end cold saw to replace my cheap abrasive chop saw. The cold saw was $1,500. My abrasive saw worked, but it left a heavy burr that required five minutes of grinding per cut. If I made 20 cuts a week, the cold saw would save me 100 minutes of grinding. At a $75 shop rate, that is $125 worth of time saved every week. The saw would pay for itself in just 12 weeks.
- Identify the Bottleneck: What part of your process takes the longest? Is it cutting, cleaning, or fit-up?
- Quantify the Time Saving: How many minutes will the new tool save per project?
- Calculate the Monthly Revenue Gain: (Minutes Saved x Projects per Month) / 60 x Shop Rate.
- Determine the Payback Period: Tool Cost / Monthly Revenue Gain.
If a tool doesn’t pay for itself within two years, it is a luxury, not a business investment. This cold-blooded approach to equipment helps you avoid the “shiny tool syndrome” that drains the bank accounts of many hobbyists trying to go pro.
Material Sourcing and Storage Strategies for Profitability
Material sourcing strategy involves finding the most cost-effective way to purchase and store raw metal to maximize your margins. Small shops often overpay for steel by buying small quantities from retail-facing suppliers rather than industrial service centers.
When you buy a single 4-foot stick of steel, you are paying a massive “cut fee” and a higher per-foot price. If you have the space, buying full 20-foot lengths can reduce your material costs by 30% to 50%. However, storing 20-foot sticks requires a dedicated rack. A vertical rack is often best for small shops because it utilizes ceiling height and keeps the floor clear for fabrication.
- The “Shorts” Bin: Organize your offcuts by shape (tube, angle, flat bar) and length. Never throw away a piece of steel longer than 6 inches; these are perfect for gussets and tabs.
- Inventory Labeling: Use a paint pen to write the material type and wall thickness on the end of every stick. This prevents you from accidentally using expensive stainless or heavy-wall tubing on a project that doesn’t require it.
- Consolidated Ordering: Try to group your material needs so you only pay one delivery fee per month. Many suppliers will waive the $75 delivery fee if your order exceeds a certain dollar amount.
By managing your inventory like a retail store, you reduce the “dead capital” sitting on your shelves. You only want to stock what you will use within the next 60 days. Anything else is just money gathered in dust on your floor.
Analyzing Post-Job Profits to Refine Future Bidding
Post-job reconciliation is the process of comparing your initial quote to the actual time and materials spent on a project. This is the only way to find out if your shop organization and pricing strategies are actually working.
I recommend keeping a “Project Log” for every job. Write down the start and stop times for every phase: cutting, welding, and finishing. At the end of the job, tally up your actual hours. If you quoted 10 hours but it took 14, you need to investigate why. Did you spend two hours looking for tools? Did you run out of shielding gas in the middle of a weld?
- Review the Quote: What was the estimated labor and material cost?
- Review the Actuals: What did you actually spend on steel and consumables?
- Calculate the Variance: The difference between the quote and the reality.
- Adjust the System: If the variance is high, change your layout or your pricing formula for the next job.
This data-driven feedback loop is what separates a successful business owner from someone who is just “playing shop.” It forces you to be honest about your efficiency. Over time, your quotes will become more accurate, your stress will decrease, and your profit per hour will steadily climb.
Frequently Asked Questions
How do I determine a fair shop rate if I am just starting out? Start by calculating your total monthly overhead (rent, power, insurance, tool depreciation). Divide that by the number of hours you realistically plan to work. Add your desired hourly wage to that number. Usually, $65/hour is a safe entry point for most regions, but check local competitors to ensure you are in the ballpark.
What is the most common hidden cost in a welding shop? Abrasives are the most frequently underestimated cost. Flap discs, grinding wheels, and cut-off wheels can easily add $20-$40 to a medium-sized project. If you don’t include a “consumable burden” in your quote, these costs will come directly out of your labor profit.
How can I track my time without it being a distraction? Use a simple digital timer or a dedicated shop clock. Write your start and end times on a whiteboard or a paper job traveler that stays with the project. You don’t need complex software; you just need the discipline to record the numbers.
Is it worth it to buy a larger welding gas cylinder? Yes, almost always. The cost to refill a 125-cubic-foot tank is often only marginally higher than a 40-cubic-foot tank, but it lasts three times as long. This reduces the number of trips to the gas supplier, saving you both gas money and billable time.
How do I handle “friends and family” who want a discount? The best way to handle this is to show them your shop rate. Explain that your overhead costs $25 every hour the lights are on. If you give them a “free” job, you are actually paying out of your own pocket to work for them. Offer to waive your labor profit but always charge for overhead and materials.
Should I charge for the time I spend quoting a job? For small jobs, you usually bake the quoting time into your shop rate. For large, complex projects that require hours of design or CAD work, you should charge a “design fee” or “estimate fee” that is credited back to the customer if they move forward with the project.
What is the best way to organize small hardware like nuts and bolts? Use a wall-mounted bin system with clear labels. Organize by thread pitch and diameter. Buying “assortment kits” is usually more expensive upfront but saves a massive amount of time compared to digging through a bucket of mixed hardware.
How often should I reorganize my shop? Do a “micro-audit” after every major project. Ask yourself: “What was the most frustrating part of this build?” If you struggled to find a tool or move a part, fix that specific problem before starting the next job. Continuous, small improvements are better than a total overhaul once a year.
How do I calculate depreciation on a used machine? Estimate how many years of life the machine has left and what its resale value will be at that time. (Purchase Price – Resale Value) / Years of Life = Annual Depreciation. Include this annual number in your overhead calculations.
What is a “material markup” and why do I need it? A material markup (usually 15% to 30%) covers the time you spend ordering, picking up, and handling the steel. It also protects you against sudden price fluctuations in the metal market. Never sell material at your cost; you are a business, not a non-profit.
(This article was written by one of our staff writers, Michael Hargrove. Visit our Meet the Team page to learn more about the author and their expertise.)