How to Locate and Seal Pressure Leagues in Shop Air Lines (Fix)
I remember standing in my first 1,200-square-foot shop on a quiet Sunday morning. The lights were off, and no tools were running, yet the five-horsepower compressor in the corner suddenly roared to life. That sound was more than just a mechanical cycle; it was the sound of my profit margin evaporating. Every time that motor turned over to replenish lost pressure, my monthly overhead climbed. In those early years, I struggled to price my fabrication jobs accurately because I didn’t account for these invisible drains on my resources. I was focused on the cost of the steel and my welding wire, but I was ignoring the electricity and wear-and-tear caused by failing seals in my distribution lines.
For a side-hustler or a small shop owner, efficiency is the only way to compete with larger manufacturers. If your compressor is cycling while you are trying to calculate a quote for a client, your shop rate is likely higher than it needs to be. Over my 16 years in metalworking, I have learned that managing a profitable business requires a meticulous eye for detail, starting with the very air that powers your grinders, plasma cutters, and blast cabinets. Fixing the gaps in your system is not just about maintenance; it is about reclaiming your hourly rate and ensuring your machinery ROI stays on track.
The Economic Impact of Air System Inefficiency on Shop Rates
A shop rate is the total cost of running your business for one hour, including labor, rent, and utilities. When your pneumatic system has gaps, your “consumable burden”—the extra cost added to every job—increases because the compressor works harder and longer to maintain pressure.
Interestingly, many small shop owners treat electricity as a fixed cost that cannot be changed. However, when you look at the data, a single 1/16-inch hole in a line pressurized to 100 psi can lose about 6.5 cubic feet per minute (CFM). If you are running a five-horsepower compressor, that one tiny gap could be costing you over $500 a year in wasted electricity and premature pump wear. By identifying and closing these gaps, you effectively lower your overhead, allowing you to bid more competitively on fabrication jobs without sacrificing your take-home pay.
Calculating Your True Hourly Overhead Burden
The overhead burden is the sum of all indirect costs required to keep the shop doors open. To find this, you must track your monthly utility bills, rent, insurance, and equipment depreciation, then divide that total by the number of billable hours you work each month.
If your monthly expenses are $2,000 and you work 100 billable hours, your overhead burden is $20 per hour. If a failing pneumatic system adds $100 to your electric bill and reduces the lifespan of your $3,000 compressor by two years, that hourly burden creeps upward. Understanding this math is the first step toward moving from a hobbyist mindset to a professional fabrication business.
Strategies for Identifying Pressure Gaps in Distribution Lines
Locating the source of a pressure drop requires a systematic approach rather than guesswork. I have seen many owners waste hours replacing perfectly good hoses when the culprit was actually a loose threaded fitting behind a workbench.
The most basic method is the “leak down” test. Start by charging your system to its maximum pressure, then shut off the compressor and note the time. Check the pressure gauge after 30 minutes. If the needle has moved significantly, you have a confirmed loss of volume. From there, you can move to more specific detection techniques.
Using Soapy Water and Ultrasonic Detection
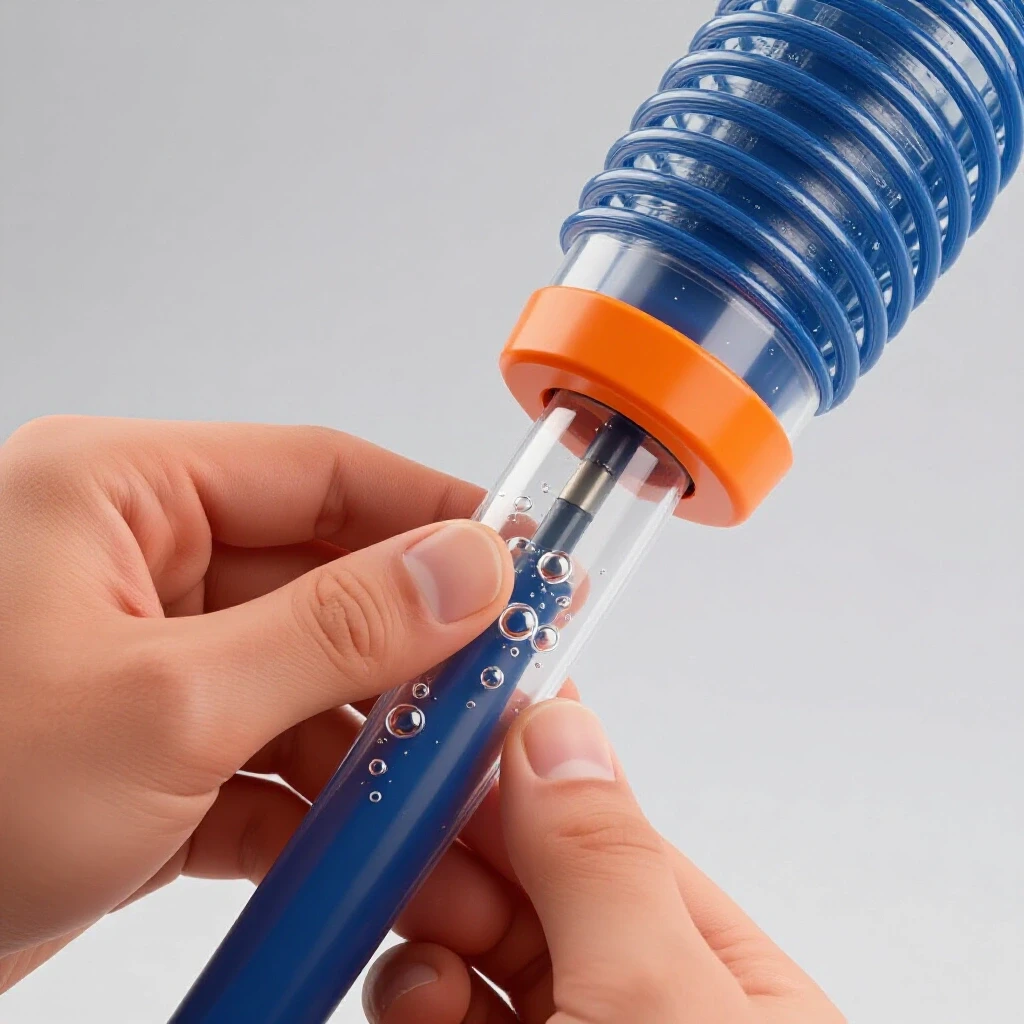
A soapy-water bubble test is the most cost-effective way to find a gap in a joint or a coupler. I keep a spray bottle filled with a mixture of dish soap and water specifically for this purpose. When sprayed onto a suspected area, the escaping air will create a cluster of bubbles, making the problem visible.
For shops with complex overhead piping, an ultrasonic detector is a worthwhile investment. These tools “listen” for the high-frequency hiss of escaping air that the human ear cannot hear over background noise. While a professional unit can be expensive, it often pays for itself within the first year by identifying multiple small gaps that would otherwise go unnoticed.
- Soapy Water Method: Best for accessible threaded fittings and quick-connects.
- Ultrasonic Detection: Ideal for high-mounted lines and joints inside walls or behind equipment.
- Pressure Drop Monitoring: Used to quantify the total volume of air lost over a set period.
| Detection Method | Initial Cost | Accuracy | Best Use Case |
|---|---|---|---|
| Soapy Water Spray | $2 – $5 | High (Visible) | Couplers and Threaded Joints |
| Ultrasonic Sensor | $150 – $500 | Very High | Hard-to-reach Overhead Piping |
| Hand/Ear Inspection | $0 | Low | Large, Audible Gaps Only |
Sealing Threaded Fittings and Mechanical Connections
Once you have located the source of the loss, the next step is the physical repair. In my experience, the majority of gaps occur at threaded connections due to vibration from the shop environment or thermal expansion and contraction.
Many hobbyists rely on standard white PTFE tape, but in a professional metal shop, I recommend anaerobic thread sealants. These are liquid compounds that cure in the absence of air when confined between metal threads. They provide a much more reliable seal against the constant vibration of a fabrication environment and won’t shred like tape, which can lead to clogged internal tool valves.
Proper Torque and Component Replacement
Sometimes, a gap isn’t caused by a lack of sealant but by a loose connection. Retorquing a fitting can often solve the problem. However, you must be careful not to over-tighten brass fittings, as they can crack under excessive pressure.
If the gap is at a quick-connect coupler, the internal O-ring is usually the failure point. Instead of replacing the entire expensive brass fitting, I keep a kit of assorted nitrile O-rings on hand. Swapping a ten-cent ring is a much better financial decision than spending $15 on a new coupler, and it keeps your tool ROI high by extending the life of your existing hardware.
- Anaerobic Sealants: Use these for permanent or semi-permanent threaded joints.
- PTFE Tape (Industrial Grade): Use only if you prefer tape; ensure it is the thicker, pink or yellow version designed for pressure.
- O-Ring Replacement: Check couplers monthly for worn rubber seals.
- Hose Barbs: Ensure all hose clamps are tightened behind the barb ridge to prevent slipping.
The Financial Reality of Equipment Depreciation
Every time your compressor cycles to fill a gap, it moves closer to its end-of-life date. In accounting, we call this depreciation. A high-quality piston compressor might be rated for 5,000 hours of operation. If leaks cause it to run 20% more than necessary, you are effectively “spending” the machine’s value 20% faster than you should.
When I evaluate a new tool purchase, I look at the payback period—the time it takes for the tool to generate enough profit to cover its own cost. If my compressor dies two years early because I didn’t fix a few $5 fittings, my ROI on that machine is significantly diminished. Keeping a tight system is a form of capital preservation.
Tracking Consumable Usage and Energy Costs
To truly master shop math, you need to track how much it costs to run your equipment per hour. This includes the electricity consumed by the compressor. You can find your local kilowatt-hour (kWh) rate on your utility bill.
By measuring how long your compressor runs to maintain pressure during a standard shift versus how long it runs when the system is sealed, you can calculate the exact dollar amount lost to inefficiency. I recommend keeping a simple logbook near your electrical panel or compressor to track these metrics monthly.
- Identify the kWh rate from your power bill (e.g., $0.12 per kWh).
- Determine the motor wattage (Horsepower x 746).
- Track run time using an hour meter or a simple stopwatch during a “silent” shop hour.
- Calculate the daily cost of the wasted air.
Building a Profitable Fabrication Quote
When you provide a quote for a client, you are selling more than just metal and labor. You are selling the use of your shop’s infrastructure. If your infrastructure is inefficient, your quotes will either be too high (causing you to lose the job) or too low (causing you to lose money).
I use a “consumable burden factor” in my bidding spreadsheet. This is a percentage added to the labor rate to cover things like welding gas, electricity, and air. By sealing your distribution lines, you can lower this factor. For example, reducing your burden from 15% to 10% on a $2,000 job puts an extra $100 directly into your pocket.
Why Hidden Costs Bleed Small Shop Profits
The most common mistake I see in side-hustle metalworking is the “material plus labor” trap. A fabricator might charge $50 for steel and $100 for two hours of work, thinking they made $100. In reality, once you factor in the electricity for the compressor, the wear on the grinder, and the shop’s rent, that $100 might only be $40 of actual profit.
Gaps in your air system are the definition of a hidden cost. They don’t show up on a receipt from the metal yard, but they show up on your power bill and in the shortened lifespan of your tools. Addressing these issues allows you to establish a more accurate baseline for your fabrication job costing.
ROI on Shop Upgrades and Detection Tools
Is it worth spending $300 on a high-end detection tool or $500 to repipe your shop with aluminum lines? To answer this, you need to look at the payback period. If the upgrade saves you $30 a month in electricity and $20 a month in reduced maintenance, the payback period is 10 months.
In my consulting work, I always advise shop owners to prioritize upgrades that have a payback period of less than 18 months. Fixing air distribution issues almost always falls into this category. It is one of the few shop improvements that starts paying you back the moment the repair is finished.
Case Study: The Cost of Procrastination
A few years ago, I worked with a small fab shop that was running two shifts. Their compressor was a 10-HP rotary screw model. They had several audible gaps in their overhead lines but felt they were “too busy” to stop and fix them.
After a weekend of systematic repairs—replacing old quick-connects and using anaerobic sealant on all threaded joints—their compressor’s duty cycle dropped by 15%. This saved them approximately $120 per month in electricity alone. More importantly, the shop became quieter, which improved worker focus and reduced errors, proving that financial efficiency often leads to better craftsmanship.
| Expense Category | Pre-Fix Monthly Cost | Post-Fix Monthly Cost | Monthly Savings |
|---|---|---|---|
| Electricity (Compressor) | $245 | $190 | $55 |
| Maintenance Fund | $50 | $35 | $15 |
| Tool Wear/Tear | $40 | $30 | $10 |
| Total | $335 | $255 | $80 |
Sourcing Quality Materials for Long-Term Reliability
When you decide to seal your system, do not buy the cheapest fittings available at a big-box home improvement store. Those components are often designed for residential use and may not hold up to the rigors of a metalworking shop.
Instead, source your components from industrial supply houses. Look for “Schedule 80” fittings if you are using threaded pipe, or high-quality industrial interchange couplers. These parts have tighter tolerances and are less likely to develop gaps over time. Using the right materials the first time is a key strategy for minimizing unnecessary overhead in the long run.
Modern Workflow Management Platforms
To keep track of these maintenance tasks and their impact on your finances, I recommend using basic digital tools. You don’t need expensive enterprise software; a simple spreadsheet or a dedicated maintenance app can help you monitor your equipment’s health.
- Excel or Google Sheets: Create a tab for “Equipment Maintenance” to track when you last checked for leaks.
- QuickBooks or FreshBooks: Monitor your utility trends month-over-month to spot sudden spikes in energy usage.
- Maintenance Tracker Apps: Use these to set reminders for O-ring inspections and compressor oil changes.
Practical Steps to a Sealed and Profitable Shop
The path to a more efficient shop starts with a commitment to data and a refusal to tolerate waste. By treating your air system as a critical financial asset, you move away from the “struggling hobbyist” category and into the realm of a professional fabricator.
Start this weekend. Turn everything off, listen for the hiss, and use your soapy water bottle. Document every gap you find and every repair you make. This data will become the foundation of your new, more accurate pricing model. When you know your shop is running at peak efficiency, you can bid on jobs with the confidence that your profit margins are protected.
- Step 1: Conduct a 30-minute pressure-drop test to quantify the problem.
- Step 2: Use soapy water to pinpoint gaps in fittings and couplers.
- Step 3: Replace worn O-rings and use anaerobic sealants on threaded joints.
- Step 4: Update your shop rate calculations to reflect the lower energy costs.
- Step 5: Schedule a quarterly “leak walk” to ensure the system remains tight.
FAQ
How much can I realistically save by fixing air leaks in my small shop? For a typical side-hustle shop with a 5-HP compressor, you can save between $200 and $600 per year in electricity and maintenance costs. This savings directly increases your profit margin on every fabrication job you complete.
Is PTFE tape or pipe dope better for sealing threaded air lines? In a high-vibration metal shop, anaerobic pipe sealants (like Loctite 567 or similar) are superior to tape. They cure into a solid plastic seal that won’t shred or loosen over time, providing a more reliable long-term fix.
How do I know if my quick-connect coupler is leaking or if it’s the hose? Spray soapy water on the connection. If bubbles form where the male plug enters the female coupler, the internal O-ring is likely bad. If bubbles form where the hose meets the barb, the hose clamp needs tightening or the hose end is cracked.
Will fixing air leaks actually help me price my welding jobs better? Yes. By reducing your “hidden” overhead (electricity and equipment wear), you lower your true hourly shop rate. This allows you to quote more accurately and ensures that the profit you calculate on paper actually ends up in your bank account.
How often should I check my shop for pressure losses? I recommend a formal inspection every three months. However, you should always be mindful of your compressor’s behavior. If it starts cycling more frequently during periods of low tool use, that is an immediate sign that a new gap has developed.
Can I use standard automotive O-rings for my air couplers? Yes, as long as they are Nitrile (Buna-N) or Viton, which are resistant to the oils commonly found in compressed air systems. Ensure the size is an exact match to prevent creating a new source of air loss.
What is the “payback period” for an ultrasonic leak detector? If you have a larger shop with overhead lines, a $200 detector can pay for itself in less than six months by finding small, silent gaps that a soapy water test might miss. For very small shops, the soapy water method is usually sufficient.
Does a leaking air line affect the performance of my plasma cutter? Absolutely. Plasma cutters require consistent pressure and volume. A gap in the line can cause pressure fluctuations that lead to poor cut quality, increased dross, and faster consumption of expensive torch electrodes.
Should I replace my old rubber hoses with dedicated shop piping? If your budget allows, moving to a dedicated aluminum or copper distribution system is a great investment. Rubber hoses degrade and are prone to small punctures; solid piping reduces the number of potential failure points and lowers your long-term overhead.
How do I calculate the “consumable burden” for a specific job? Take your total monthly cost for “invisible” items (electricity, gases, sealants, etc.) and divide it by your total monthly labor hours. Add this hourly amount to your base labor rate to ensure every job covers its share of the shop’s operating costs.
(This article was written by one of our staff writers, Michael Hargrove. Visit our Meet the Team page to learn more about the author and their expertise.)