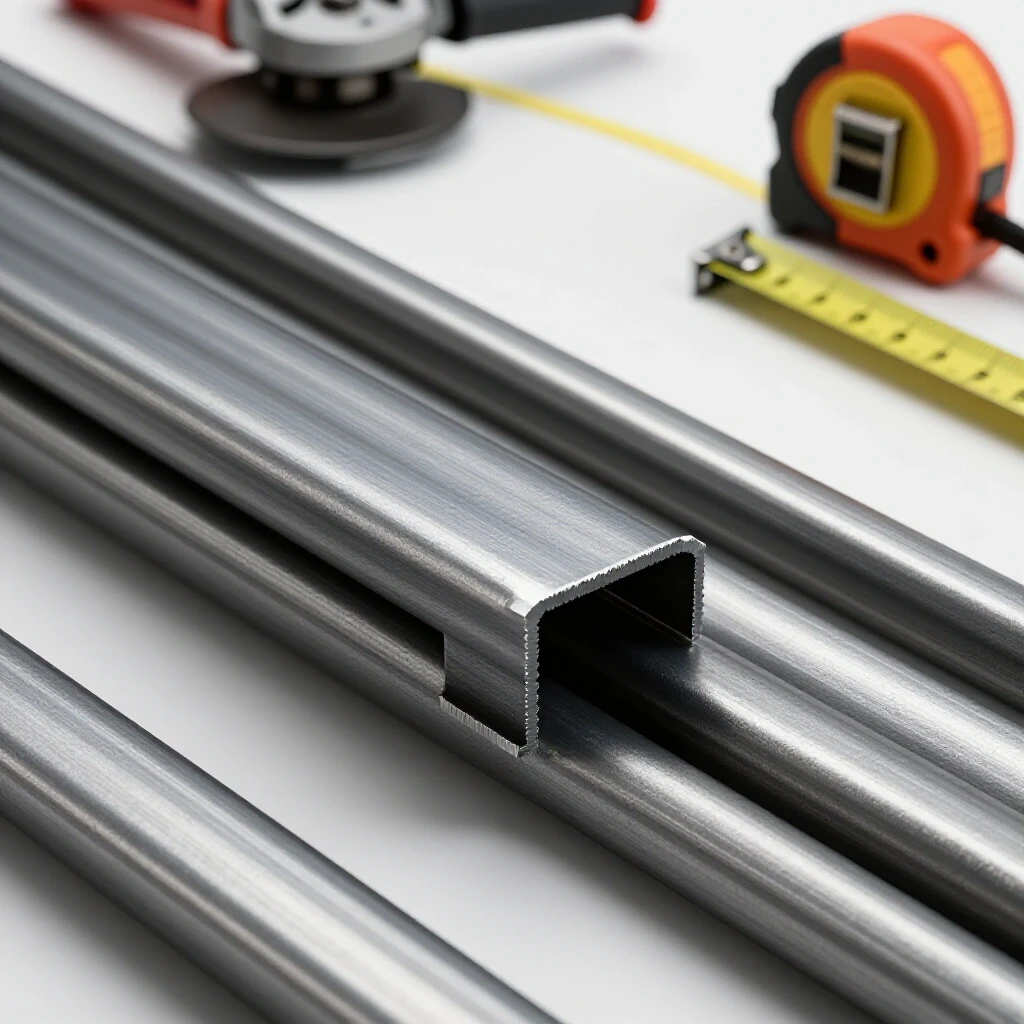
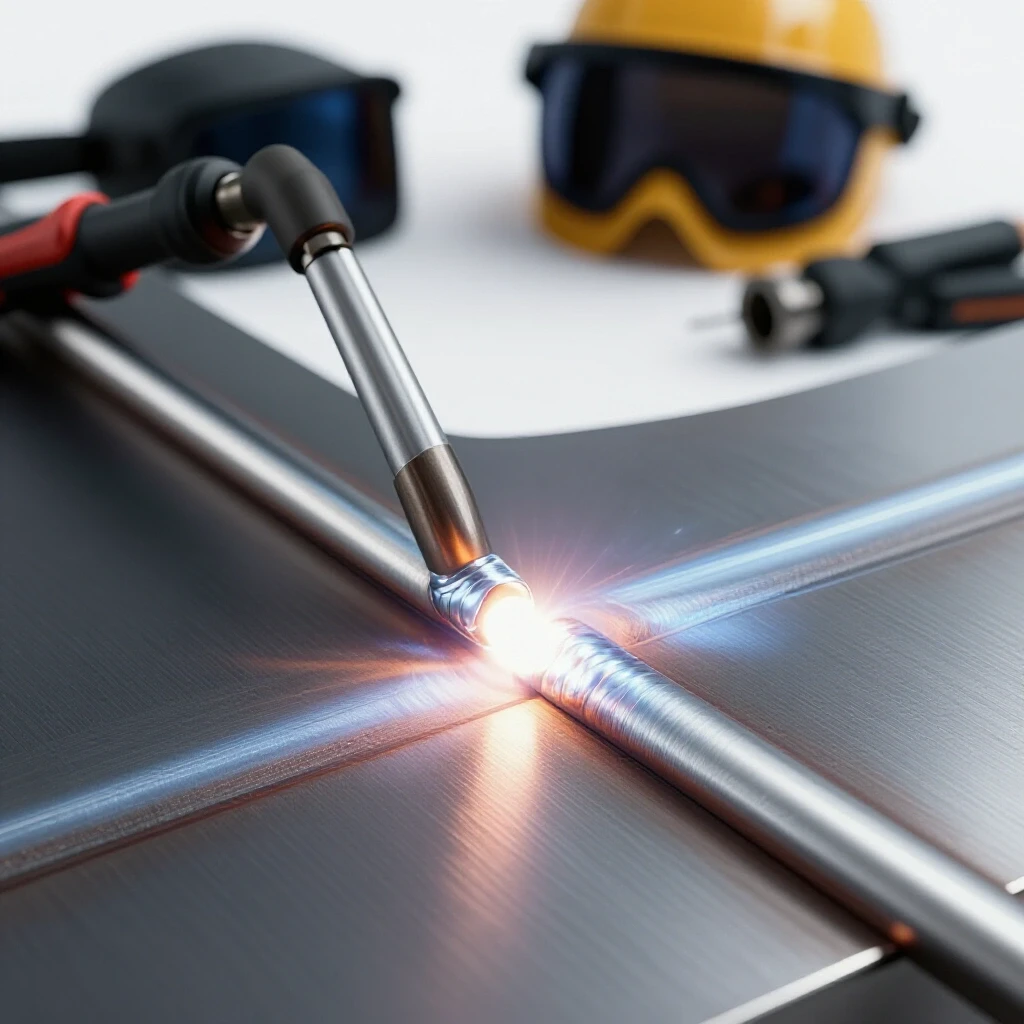
Proper Pre-Weld Surface Prep Steps for Steel Plates (Tips)
When I first started working with steel over a decade ago, I thought I could skip the boring parts and get straight to the heat. I would take a piece of hot-rolled steel, fresh from the supplier, and try to join it immediately. The results were always the same: a popping sound, a wandering arc, and a finished product that looked like it was held together by bubble gum. It took me nearly two years of frustration to realize that the quality of my work was decided before I ever picked up a torch. I had to learn that the “skin” of the metal is its own complex environment that requires specific physical techniques to manage.
Today, I track every minute of my shop time, including how long I spend conditioning surfaces. For a beginner or intermediate fabricator, the biggest hurdle is often not your hand-eye coordination with a machine, but the invisible barriers on the metal itself. If you are struggling with inconsistent results, the problem is likely sitting on the surface of your plate. By treating the preparation of the metal as a skill in itself—one that requires its own muscle memory and metrics—you can break through those frustrating plateaus.
Understanding the Anatomy of Carbon Steel Surfaces
This section defines the various layers of oxides and contaminants found on standard steel and explains why they must be removed to ensure a successful fabrication process.
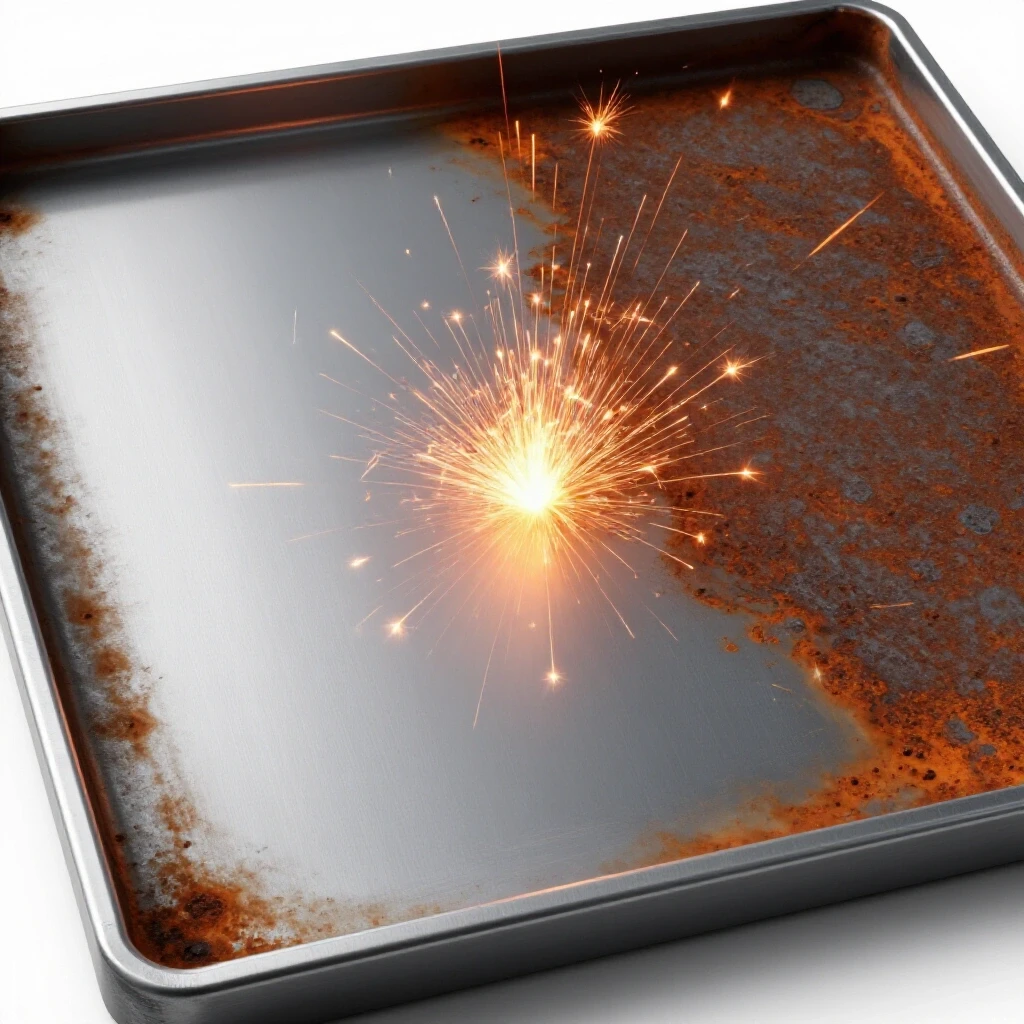
Before you can clean a piece of steel, you have to know what you are looking at. Most steel we use is “hot-rolled,” meaning it was shaped while red-hot. As it cools, a thin, dark, brittle layer of iron oxide forms on the surface. This is called mill scale. It might look like a protective coating, but it is actually a non-conductive barrier that interferes with heat transfer and electrical flow.
Beyond the mill scale, you will often find “shop soil.” This includes the light oils applied at the mill to prevent rust, as well as the dust and grease it picks up in the warehouse. If you don’t remove these, the heat of your work will vaporize them, leading to internal defects in your project. I have found that identifying these layers visually is the first step toward a professional finish.
- Mill Scale: A dark grey or blue-black flaky layer. Hard and brittle.
- Oxidation (Rust): Red or orange powdery coating caused by moisture.
- Surface Oils: Often invisible or slightly tacky to the touch.
- Scale Pitting: Small indentations where rust has eaten into the base metal.
Ergonomics and Physical Mechanics of Tool Control
This section covers how to position your body and use manual tools to achieve a uniform surface finish without causing physical strain or damaging the steel.
Cleaning steel is a physical task that requires steady pressure and a consistent angle. When using a handheld grinder, most beginners make the mistake of using only their wrists. This leads to “gouging,” where the tool bites too deep into the metal in one spot and skips over another. To fix this, I teach my students to use their entire upper body.
Stand with your feet shoulder-width apart and keep the tool close to your core. Instead of moving the grinder with your arms, lock your elbows and shift your weight from one foot to the other. This “body-tracking” method ensures that the tool stays at a consistent 15-to-20-degree angle relative to the plate. By moving your whole body, you maintain a steady travel speed across the metal, which results in a flat, uniform surface rather than a wavy one.
| Movement Metric | Beginner Habit | Professional Standard |
|---|---|---|
| Tool Angle | High (45+ degrees) | Low (15-20 degrees) |
| Grip Pressure | Variable / Heavy | Light / Consistent |
| Body Position | Reaching / Using Wrists | Locked Elbows / Shifting Hips |
| Travel Path | Random / Circular | Overlapping Straight Lines |
Systematic Removal of Mill Scale and Oxides
This section details the mechanical process of stripping the outer layers of steel using abrasives to reveal the bright, conductive base metal underneath.
Removing mill scale is the most labor-intensive part of the process, but it is where you build the most discipline. I recommend starting with a coarse abrasive, such as a 36-grit or 60-grit flap disc. A common mistake is to press down hard to speed up the process. This actually slows you down because it generates excess heat, which can “glaze” the disc and make it less effective.
Instead, let the speed of the tool do the work. Use long, overlapping strokes that cover about 50% of the previous pass. You are looking for a “bright white” finish. This means the metal should look like a clean, silver mirror without any dark specks or “shadows” of mill scale remaining. If you see dark spots, the scale is still there, even if the surface feels smooth.
- Step 1: Initial pass with a 36-grit disc to break the scale.
- Step 2: Secondary pass with a 60-grit or 80-grit disc to smooth the surface.
- Step 3: Final inspection for “shadowing” or remaining oxide pockets.
Establishing Clean-Zone Metrics for Consistent Results
This section explains how to define the specific area on a steel plate that must be cleaned to ensure the work area remains free of contaminants.
One of the most helpful habits I developed was the “One-Inch Rule.” Many fabricators only clean the very edge of the plate where they plan to work. However, heat travels, and as the metal gets hot, it can pull contaminants from the surrounding areas into the work zone. To prevent this, you should clean a zone at least one inch back from every edge or joint.
I use a simple marking gauge or a square to draw a line one inch from the edge. I then clean everything inside that line until it reaches a bright finish. This creates a “buffer zone” that protects your work from the surrounding mill scale. When I track my progress, I measure the width of this clean zone to ensure it is consistent across the entire length of the plate.
Clean-Zone Width Recommendations 1. Light Gauge (1/8″ or less): 3/4 inch clean zone. 2. Medium Plate (1/4″ to 3/8″): 1 inch clean zone. 3. Heavy Plate (1/2″ and up): 1.5 inch clean zone.
Chemical Degreasing and Solvent Application
This section describes the final step of removing invisible oils and shop grime using liquid solvents to ensure the steel is chemically clean.
Mechanical cleaning removes the “crust,” but chemical cleaning removes the “film.” Even after the metal looks shiny, there can be microscopic traces of oil or grease left behind. I always perform a final wipe-down with a clean, lint-free rag and a high-quality solvent like acetone.
When doing this, the “white rag test” is your best metric. Wipe the metal once. If the rag comes away with any grey or black residue, the metal is not clean. Continue wiping with fresh sections of the rag until it remains perfectly white. It is vital to avoid using shop rags that have been laundered with fabric softeners, as these can leave a waxy residue on the steel that is just as bad as the original oil.
- Always use a clean, dedicated rag for the final wipe.
- Never use chlorinated solvents (like some brake cleaners) as they can create toxic gases when heated.
- Apply the solvent to the rag first, not directly to the metal, to avoid pooling.
Visual Inspection and Surface Quality Benchmarks
This section outlines the criteria for evaluating whether a steel plate has been properly prepared and is ready for the next stage of fabrication.
How do you know when you are done? In my shop, we use a three-point inspection system. First, is the metal “bright”? There should be no dark spots, blue tints, or brownish rust visible. Second, is the surface “flat”? If you run a straight edge across the area you cleaned, you shouldn’t see deep gouges from the grinder. Third, is the “clean zone” uniform?
I often use a high-lumen flashlight held at a low angle to the plate. This “raking light” reveals any remaining mill scale or deep scratches that aren’t visible from directly above. If the surface looks like a uniform, brushed satin finish, you have achieved the professional standard. I record these inspections in my practice log to see how my speed improves over time while maintaining this level of quality.
| Inspection Point | What to Look For | Pass/Fail Criteria |
|---|---|---|
| Color | Silver/Chrome | Fail if grey or black spots remain. |
| Texture | Smooth/Satin | Fail if deep gouges or “valleys” are present. |
| Width | Consistent 1″ | Fail if the clean zone tapers or narrows. |
| Residue | None | Fail if the “white rag test” shows grey. |
Actionable Tracking: The Surface Prep Log
This section provides a framework for learners to measure their progress in material preparation, turning a “chore” into a measurable skill.
To overcome plateaus, you must measure your work. I encourage my students to keep a log of their preparation time. By timing how long it takes to bring a 12-inch section of 1/4-inch plate to a “bright white” finish, you can see your efficiency improve. As your body mechanics get better, your time will drop, and your consistency will rise.
Practice Log Template: 1. Date and Material: (e.g., Oct 12, 1/4″ A36 Steel) 2. Initial Condition: (e.g., Heavy mill scale, light rust) 3. Tools Used: (e.g., 4.5″ Grinder, 60-grit flap disc) 4. Time Elapsed: (e.g., 4 minutes for 12 inches) 5. Quality Check: (e.g., Bright finish, no gouges, passed white rag test)
By reviewing these logs, you can identify which types of steel or which tools are causing you to slow down. This data-driven approach takes the guesswork out of fabrication and helps you build the “muscle memory” needed for professional-grade results.
Common Mistakes in Material Preparation
This section highlights frequent errors made by beginners and provides practical solutions to avoid them in a workshop environment.
One of the most common mistakes I see is “polishing” instead of “cleaning.” If you use a wire wheel on a grinder, it can sometimes just buff the mill scale until it looks shiny, without actually removing it. This creates a deceptive surface that looks clean but is still covered in oxide. Always start with an abrasive that actually removes metal until you see the true silver color underneath.
Another error is neglecting the “faying surfaces”—the parts of the metal that will be tucked inside a joint. If you are overlapping two plates, you must clean the underside of the top plate and the top side of the bottom plate. If you only clean the edges, the contaminants trapped between the plates will bubble up during your work and ruin the result.
- Avoid using worn-out abrasives; they generate heat instead of cutting.
- Avoid cleaning only the visible side of a joint.
- Avoid touching the cleaned surface with bare hands, as skin oils can contaminate the metal.
Conclusion and Next Steps
Mastering the physical skill of preparing steel is a journey of hundreds of hours. It is not a task to be rushed, but a foundation to be built. By focusing on your body mechanics, using a systematic 1-inch clean zone, and verifying your work with the white rag test, you are setting yourself up for success.
Your next step is to pick up a piece of scrap steel and practice these drills. Don’t worry about the final project yet. Focus entirely on the movement of the grinder and the color of the metal. Once you can consistently produce a bright, silver, contaminant-free surface in a reasonable amount of time, you will find that every other part of the fabrication process becomes significantly easier.
FAQ: Frequently Asked Questions
Why can’t I just use a wire brush to clean mill scale?
A wire brush is excellent for removing loose rust or dirt, but it is often not aggressive enough to strip away mill scale. Mill scale is chemically bonded to the steel. A wire brush tends to “burnish” or polish the scale, making it look shiny while leaving the oxide layer intact. For true cleaning, you need an abrasive like a grinding wheel or flap disc that physically removes the outer layer of the metal.
Is it really necessary to clean the metal if it looks new?
Yes. Even “new” steel from a supplier is covered in mill scale and a thin layer of protective oil. While it might look clean to the naked eye, these contaminants will interfere with the electrical conductivity and the purity of your work. Professional-grade results require a “bright metal” finish, which can only be achieved by removing that factory layer.
What is the best abrasive grit for general steel preparation?
For most tasks, a 60-grit flap disc is the “goldilocks” choice. It is aggressive enough to remove mill scale quickly but fine enough that it won’t leave deep, destructive gouges in the steel. If the scale is exceptionally thick, you might start with 36-grit and then move to 60-grit or 80-grit for a smoother finish.
How do I know if I’ve removed all the mill scale?
The best indicator is the color and reflectivity of the metal. Mill scale is dark and dull. The base steel underneath is bright, silver, and slightly reflective. If you see any dark “shadows” or mottled grey patches, you haven’t reached the base metal yet. Using a light at a low angle can help highlight these remaining patches.
Can I use a belt sander instead of an angle grinder?
Yes, a belt sander or a stationary disc sander can be very effective, especially for smaller parts. The same rules apply: use a coarse enough grit to strip the scale and maintain a consistent angle to avoid rounding off the edges of your plate. However, for large plates, an angle grinder is usually more efficient.
Why is acetone recommended over other cleaners?
Acetone is a “fast-evaporating” solvent that leaves no residue behind. Many other cleaners, like some dish soaps or citrus-based degreasers, can leave a film on the metal that is just as problematic as the oil you were trying to remove. Acetone cuts through heavy grease and evaporates almost instantly, leaving the metal chemically bone-dry.
Should I clean the metal before or after I cut it to size?
I recommend a “rough clean” before cutting and a “precision clean” after. Cleaning the general area before cutting protects your saw blades or cutting tools from excessive wear caused by mill scale. Once the piece is cut to its final shape, you should perform the detailed 1-inch clean-zone preparation on the edges.
What should I do if the steel is heavily pitted with rust?
If the rust has created deep pits, a standard flap disc may not reach the bottom of those indentations. In this case, you may need to use a wire cup brush on a grinder to “dig” the rust out of the pits, followed by a mechanical abrasive to level the surface. If the pitting is too deep (more than 10% of the metal thickness), the structural integrity of the plate may be compromised.
How long does a cleaned surface stay “clean”?
On carbon steel, oxidation begins almost immediately. In a humid shop, you may see “flash rust” (a light orange tint) within a few hours. For the best results, you should only clean the amount of metal you plan to work on during that specific session. If you must prep in advance, store the cleaned parts in a dry, airtight container or wrap them in clean plastic.
Does the direction of my grinding marks matter?
While not strictly necessary for the chemistry of the metal, grinding in a consistent direction (parallel to the joint) can help you see the surface more clearly. It also creates a more professional aesthetic. Deep scratches that run perpendicular to a joint can sometimes trap contaminants, so a smooth, uniform finish is always the goal.
How can I tell if my “white rag test” passed?
After scrubbing the surface with a solvent-soaked rag, look at the rag under a bright light. If there is any hint of grey, brown, or black, there is still material on the plate. A “pass” is when the rag looks exactly as it did before you wiped the metal—perfectly white and clean. This ensures all microscopic oils have been removed.
(This article was written by one of our staff writers, Thomas Langley. Visit our Meet the Team page to learn more about the author and their expertise.)