Avoid Costly Mistakes During Your Garage Shop Build (Guide)
I remember the first time I stood in my garage, surrounded by a brand-new welder, a cold saw, and several hundred pounds of steel. I had just landed my first paid fabrication job, and the excitement was high. However, by the time I finished that project, I realized I had actually paid the customer for the privilege of doing the work. I had failed to account for the electricity, the three grinding discs I chewed through, and the depreciation of my equipment.
Transitioning from a hobbyist to a side-hustle metalworker is a significant financial step. It requires a shift from thinking about “what this tool costs” to “how this tool pays for itself.” Many small shop owners struggle because they treat their business like a hobby with a paycheck. In my 16 years of metalworking and consulting, I have seen that the difference between a profitable shop and a failing one often comes down to the math performed before a single spark flies.
Establishing a Profitable Shop Hourly Rate
A shop hourly rate is the total amount of money you must charge per hour of labor to cover all business expenses and generate a profit. It is the baseline for every estimate you provide to a client. This rate is not your personal wage; it is the cost of the business existing and operating.
When I talk to side-hustlers, they often pick a number that “feels right,” usually between $30 and $40 an hour. This is a mistake. In a professional setting, even a small garage operation should generally target between $65 and $120 per hour. This range allows you to cover the “invisible” costs that a hobbyist usually ignores.
To find your rate, you must add your desired hourly wage to your overhead costs and your profit margin. If you want to take home $40 an hour, but your shop costs $25 an hour to run (including power, insurance, and consumables), your minimum rate is $65. If you do not include a profit margin on top of that, your business will never have the capital to grow or replace broken machinery.
| Cost Category | Typical Allocation (per hour) | Purpose |
|---|---|---|
| Labor (Owner’s Wage) | $35 – $55 | Personal income and taxes |
| Shop Overhead | $15 – $25 | Utilities, insurance, software |
| Equipment Recovery | $10 – $20 | Future tool replacement |
| Consumable Burden | $5 – $15 | Gas, abrasives, wire, bits |
| Total Shop Rate | $65 – $115 | Baseline for bidding |
Factoring in Hidden Overhead and Equipment Depreciation
Overhead includes all indirect costs required to keep your doors open, such as electricity, insurance, and software. Depreciation accounts for the gradual loss in value of your machinery as it wears out over time. Understanding these numbers prevents the “phantom profit” trap where you think you are making money until a machine breaks and you have no savings to fix it.
I use a method called machine amortization to track equipment costs. If I buy a high-end TIG welder for $5,000 and expect it to last for 5,000 hours of arc time, that machine costs me $1.00 for every hour it is running. This is a “hidden” cost. If you aren’t including that dollar in your hourly rate, you are slowly consuming your initial investment without replacing it.
In a garage setting, electricity is often underestimated. While a 110v LED shop light costs pennies to run, a 220v plasma cutter or a large air compressor cycling frequently will spike a residential utility bill. I recommend tracking your utility bills for three months before and after starting your side-hustle to determine your “business energy burden.”
Optimizing Your Workspace Layout for Metal Fabrication
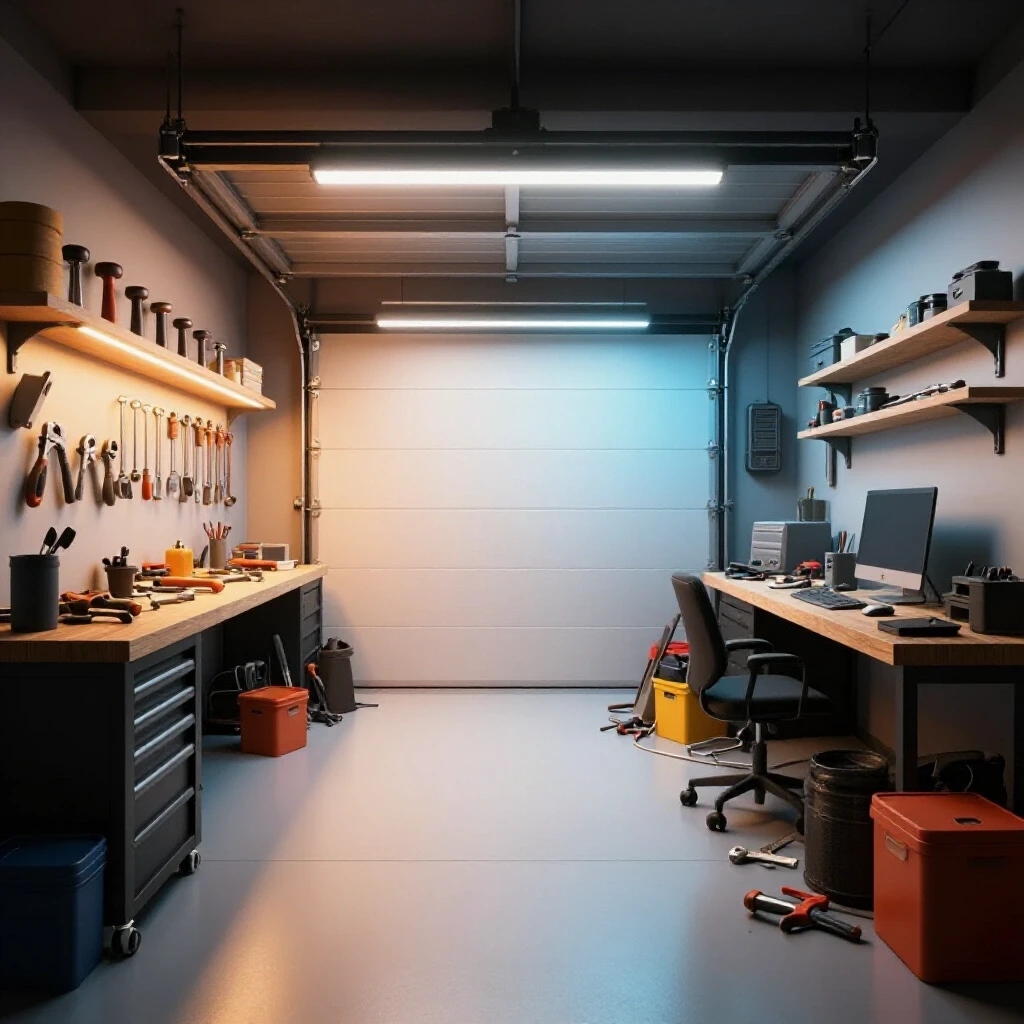
Workspace layout involves the strategic placement of welders, saws, and workbenches to minimize movement and maximize safety. A logical flow ensures that raw metal enters one end and finished products exit the other. In a confined garage, every foot of unnecessary movement adds up to lost time and potential fatigue.
I have found that the most efficient small shops follow a “linear-flow” or “U-shaped” path. You want your material storage near the entrance where it is delivered. Next should be your primary cutting station, followed by your fabrication table, and finally your welding and finishing area. If you have to carry a 20-foot stick of square tubing across your shop three times just to get it to the saw, you are wasting billable time.
Heavy fabrication requires a floor that can handle the weight of steel racks and welding tables. If your garage floor has significant cracks or is uneven, it will make leveling your fabrication table nearly impossible. I suggest using heavy-duty shims or adjustable feet on all stationary equipment to ensure your work surface remains true, which prevents warpage during the welding process.
Managing Electrical and Ventilation Requirements Safely
Proper shop infrastructure ensures that your high-draw machinery has dedicated power circuits and that welding fumes or grinding dust are removed efficiently. This prevents equipment damage and protects the operator’s health. In a residential garage, the existing electrical system is rarely sufficient for professional metalwork.
Most modern welders and plasma cutters require 220v/240v power to operate at their full potential. Running these machines on long extension cords or shared circuits leads to voltage drops, which can cause poor weld penetration or even damage the machine’s internal electronics. I always advise dedicated circuits for your “big three”: the welder, the air compressor, and the primary cutting tool.
Ventilation is equally critical. Metalworking produces hazardous fumes and fine dust that can linger in a garage for days. A simple box fan in the window is rarely enough for a side-hustle that runs several hours a day. I utilize local source extraction—meaning a vacuum or fan located directly at the point of the weld or grind—to pull contaminants away before they fill the room. This isn’t just about safety; it keeps your shop cleaner, which reduces the time spent on maintenance.
Tracking Consumables to Protect Your Margins
Consumables are items used up during the fabrication process, such as welding gas, grinding wheels, and drill bits. Tracking these costs prevents “margin bleed” where small expenses eat up your take-home pay. This is the area where I see the most money lost in small-scale fabrication.
Interestingly, many fabricators forget to charge for shielding gas. A standard “75/25” (Argon/CO2) cylinder might cost $60 to $80 to refill. If you are welding at 20 cubic feet per hour, that tank only lasts for a few hours of actual trigger time. If you don’t factor that $10–$15 per hour into your quote, you are losing a massive chunk of your profit.
I suggest using a “Consumable Burden Factor.” Based on my data, consumables typically range from 8% to 15% of the total material cost for standard MIG welding and grinding projects. For stainless steel TIG work, that number can jump to 20% due to expensive filler rod and high argon usage.
- Welding Gas: Track your flow rate and tank refill costs.
- Abrasives: Note how many flap discs you use per project.
- Drill Bits/End Mills: Account for sharpening or replacement every 10-20 hours of use.
- Hardware: Never “throw in” nuts, bolts, or washers for free.
Developing Accurate Fabrication Job Costing Models
Job costing is the process of estimating the total expense of a specific project, including materials, labor, consumables, and profit. Accurate models prevent underbidding and ensure every project contributes to shop growth. A common rookie mistake is quoting based on a “gut feeling” rather than a spreadsheet.
When I build a quote, I start with the raw material cost and apply a markup. This markup (usually 15% to 30%) covers the time spent sourcing, picking up, and handling the metal. Next, I estimate the labor hours. I multiply those hours by my shop rate, then add a specific line item for consumables.
One of the most effective strategies I’ve used is “post-job reconciliation.” After a project is finished, I look back at my actual time and material usage versus my estimate. If I estimated 10 hours but it took 14, I need to know why. Was I inefficient, or did I underestimate the complexity? This data is the only way to improve your bidding accuracy over time.
| Project Phase | Estimated Time | Actual Time | Variance |
|---|---|---|---|
| Material Prep | 2 Hours | 2.5 Hours | +0.5 |
| Fit-up/Tacking | 3 Hours | 4 Hours | +1.0 |
| Final Welding | 4 Hours | 3.5 Hours | -0.5 |
| Finishing/Cleanup | 1 Hour | 2 Hours | +1.0 |
| Total | 10 Hours | 12 Hours | +2.0 |
Sourcing Materials and Managing Inventory for Small Batches
Material sourcing involves finding reliable suppliers for steel, aluminum, and hardware at prices that allow for competitive bidding. Inventory management ensures you have what you need without tying up too much cash in stock. For a garage shop, space is a premium, so you cannot afford to store thousands of dollars in “just in case” metal.
In my experience, local steel service centers are usually cheaper than “big box” home improvement stores, often by as much as 400%. However, these centers often have “minimum buy” requirements or high delivery fees. To mitigate this, I try to batch my material orders. If I have three jobs lined up, I buy all the steel at once to save on the $75 delivery fee.
Managing inventory also means tracking your “drops” or off-cuts. A 2-foot piece of 2×2 square tubing is worth money. I organize my drops by size and material type. Using a “drop” for a small bracket instead of cutting into a fresh 20-foot stick keeps your material costs down and your profit margins up.
Analyzing Post-Job Profits and ROI
Determining if a project was truly profitable requires looking at the “net” profit after all expenses are paid. This analysis helps you decide which types of jobs are worth your time and which ones you should turn down. It also helps you calculate the Return on Investment (ROI) for new equipment.
If you spend $2,000 on a new magnetic drill, you need to know how many holes you have to drill to pay for it. If that drill saves you 10 minutes per hole compared to a standard press, and your shop rate is $90/hour ($1.50/minute), the drill saves you $15 per hole. You would need to drill 134 holes to break even on that tool. This kind of “shop math” prevents you from buying shiny new toys that don’t actually contribute to the bottom line.
I track my “Effective Hourly Rate” for every job. If I quoted a flat fee of $1,000 for a project that I thought would take 10 hours, but it took 20, my effective rate dropped from $100/hour to $50/hour. If your effective rate consistently falls below your target shop rate, you are either underpricing your work or your workflow is inefficient.
Essential Tools for Financial Management
To keep a side-hustle organized, you need more than just a welder and a grinder. You need digital tools that handle the “business” side of the shop. These tools help you stay professional and ensure you get paid on time.
- Cloud-Based Invoicing: Use platforms like QuickBooks, FreshBooks, or Wave to send professional invoices and track payments.
- Estimation Spreadsheets: Create a master Excel or Google Sheets template where you can plug in material lengths and labor hours to generate a quote.
- Time Tracking Apps: Use an app like Toggl or Clockify to track exactly how much time you spend on the “shop floor” versus “office work.”
- Digital Material Trackers: Keep a simple log of your current steel inventory and what you paid for it so you can quote current prices.
- Project Management Tools: For complex builds, a tool like Trello can help you track the stages of fabrication (Sourcing, Cutting, Welding, Finishing).
Key Takeaways for Shop Success
Managing a profitable garage shop is a balancing act between craftsmanship and accounting. By establishing a realistic shop rate, tracking your consumables, and optimizing your layout, you can turn a hobby into a sustainable business. Remember that the goal is not just to build things, but to build a business that is financially healthy.
- Set a real shop rate: Don’t just charge for your time; charge for the shop’s existence.
- Track everything: If you use it (gas, wire, discs), the customer pays for it.
- Analyze your flow: Minimize movement to maximize billable hours.
- Review every job: Learn from your bidding mistakes so you don’t repeat them.
Frequently Asked Questions
What is a realistic hourly rate for a part-time garage fabrication shop? For most side-hustlers, a rate between $65 and $95 per hour is a solid starting point. This covers your labor, overhead, and a small profit margin. If you have specialized skills like TIG welding exotic metals or precision machining, you can often charge $120 per hour or more depending on your local market.
How do I calculate the cost of welding gas for a specific project? You can estimate this by knowing your flow rate (usually 20 cubic feet per hour) and the cost of a tank refill. If a 125-cubic-foot tank costs $80 to fill, you have about 6 hours of trigger time. This means your gas cost is roughly $13.33 per hour of actual welding.
Should I charge a markup on materials, and if so, how much? Yes, you should always mark up materials. A standard markup is 15% to 30%. This covers the time you spend ordering, transporting, and storing the metal. It also provides a buffer in case material prices fluctuate between the time you quote the job and the time you buy the steel.
How do I handle “small” consumables like grinding discs and drill bits in my pricing? The easiest way is to use a “Consumable Burden Factor.” Add 10% to your total material cost for standard jobs. For projects requiring heavy grinding or specialized drilling, you may want to increase this to 15% or 20% to ensure you aren’t paying for these items out of your own pocket.
Is it better to buy used machinery or new equipment when starting out? Used machinery can offer a better ROI if it is in good condition, as the initial depreciation has already occurred. However, new equipment often comes with warranties and better energy efficiency. I recommend buying high-quality used manual tools but investing in new power sources (welders/plasma cutters) for reliability.
How can I track my time accurately if I’m only working a few hours a night? Use a dedicated time-tracking app on your phone. Start the timer the moment you enter the shop and stop it when you leave. Be sure to categorize your time between “Billable Labor” (welding/cutting) and “Non-Billable” (cleaning/quoting) so you can see your true efficiency.
What is the biggest “hidden cost” in a garage-based metal shop? Aside from consumables, the biggest hidden cost is often “unbilled shop time.” This includes cleaning the shop, maintaining machines, talking to potential clients, and picking up materials. If you spend 10 hours a week on these tasks and don’t factor them into your shop rate, you are working for free.
How do I know when it’s time to upgrade a tool? Perform a simple ROI calculation. If a new tool saves you enough time to pay for itself within 12 to 18 months through increased productivity or lower consumable use, it is usually a wise investment. If it’s just a “nicer” version of what you have with no time savings, wait until the current one breaks.
Should I provide a flat-fee quote or charge by the hour? Flat-fee quotes are generally preferred by customers, but they carry more risk for you. I recommend using your hourly rate to calculate a flat fee, then adding a 10-15% “contingency” buffer to the labor estimate to protect yourself against unforeseen complications.
How do I handle customers who think my shop rate is too high? Explain that your rate covers professional-grade equipment, insurance, and the expertise required to complete the job safely and accurately. If a customer compares your rate to a “buddy who welds,” politely remind them that a business has overhead that a hobbyist does not. Focus on the value and quality you provide.
(This article was written by one of our staff writers, Michael Hargrove. Visit our Meet the Team page to learn more about the author and their expertise.)