Essential Diagnostic Steps to Fix Broken Shop Tools (Guide)
Over the last 15 years, I have spent more time maintaining my shop equipment than I care to admit. My workshop journals are filled with entries detailing the exact moment a horizontal band saw motor hummed instead of turning, or when a drill press started producing holes that were visibly egg-shaped. I have learned that the glossy marketing brochures rarely mention the reality of bearing failure or the way a cheap power switch tends to carbon up after exactly 200 cycles. When you are running a small-scale manufacturing operation, an unexpected breakdown is not just a nuisance; it is a direct hit to your hourly rate.
I started logging my tool performance metrics because I was tired of being surprised by equipment failure. I wanted to know why a $1,200 grinder outperformed a $400 model over three years, even if their initial spec sheets looked identical. What I found is that most tool failures follow a predictable pattern. By moving away from “guesswork” and toward a systematic diagnostic approach, I have been able to extend the life of my machinery and make much smarter purchasing decisions. This guide is built from those logs, focusing on the mechanical and electrical foundations that keep a metalworking shop running.
Understanding Electrical Input and Power Delivery Systems
Power delivery diagnostics involve checking the path of electricity from the wall outlet to the motor windings. This process identifies breaks in continuity, voltage drops, or component failures in switches and capacitors that prevent a tool from starting or maintaining torque.
When a tool fails to turn on, I always start at the plug. It sounds simple, but I have seen dozens of hours wasted on complex teardowns when the issue was a fatigued copper strand inside a molded plug. I use a standard multimeter to check for continuity along the power cord. If you bend the cord near the strain relief while testing, you can often find intermittent breaks that only occur when the tool is moved.
Inside the switch box, I look for carbon tracking or melted plastic. In my experience, the switches on budget-tier drill presses are often the first point of failure. They are frequently undersized for the inductive load of a motor start-up. If the switch tests fine, I move to the start capacitor. On single-phase motors, a bulging or leaking capacitor is a clear sign of why your motor is humming but not spinning. Replacing a $15 capacitor is a lot cheaper than buying a new motor, yet many people scrap the whole machine because they do not know how to test this $15 part.
Why Input Amperage and Voltage Stability Matter
Voltage stability refers to the consistency of the electrical pressure supplied to your tool under load. If the voltage drops significantly when you start a cut, the motor draws more amperage to compensate, which generates excessive heat and degrades the internal wire insulation.
I track the “voltage sag” in my shop using a plug-in monitor. If I see a drop of more than 5% when a 240V band saw kicks in, I know I have a wiring bottleneck. This heat is the silent killer of shop tools. When I evaluate new machinery, I look at the NEMA motor rating. A motor with Class F insulation can handle higher temperatures than Class A, which is a critical metric if you plan on running the tool near its maximum capacity for several hours a day.
| Tool Type | Standard Input (Amps/Volts) | Common Failure Point | Diagnostic Tool |
|---|---|---|---|
| Bench Grinder | 5A / 120V | Power Switch Carboning | Multimeter (Continuity) |
| Drill Press | 8A / 120V | Start Capacitor | Visual / Capacitance Meter |
| Band Saw | 15A / 240V | Motor Starter / Relay | Multimeter (Voltage) |
| Manual Mill | 20A / 240V | Cord Strain Relief | Multimeter (Resistance) |
Identifying Mechanical Binding and Resistance
Mechanical binding is any physical obstruction or friction that prevents the smooth movement of a tool’s internal parts. This usually manifests as unusual noise, excessive vibration, or a motor that gets hot to the touch despite having a light workload.
In my maintenance logs, I have noted that mechanical resistance often builds up so slowly that you do not notice it until the motor gives up. I perform a “drag test” on every piece of rotating equipment once a month. With the power disconnected, I rotate the spindle or blade by hand. It should move with a consistent, smooth resistance. If I feel a “notchy” sensation, I know a bearing is failing.
Bearings are the heart of your shop’s precision. When a bearing race becomes pitted, it creates vibration that ruins your surface finish. I use a simple mechanic’s stethoscope (or even a long screwdriver pressed against my ear) to listen to the bearing housings while the tool is coasting down. A healthy bearing sounds like a soft whir; a failing one sounds like gravel in a blender. Catching this early prevents the bearing from seizing and potentially spinning inside the cast-iron housing, which would effectively ruin the entire machine frame.
Assessing Belt Tension and Pulley Alignment
Belt tension is the amount of force applied to the drive belts to ensure power transfer without slipping. Pulley alignment ensures that the belts run straight between the motor and the spindle, preventing premature wear and power loss.
I have found that most people over-tighten their belts, thinking it prevents slipping. In reality, an over-tightened belt puts immense side-load on the motor bearings, leading to premature failure. I use the “one-finger” rule: a belt should deflect about 1/2 inch under moderate pressure. Furthermore, I check pulley alignment using a straightedge. If the pulleys are even slightly out of plane, the belt will run hot and eventually snap, often taking out a plastic fan shroud or wiring on its way out.
Precision Alignment and Geometric Accuracy
Precision alignment is the process of ensuring that a tool’s moving parts are perfectly square or parallel to its reference surfaces. This involves checking the “tram” of a mill head, the squareness of a saw blade, or the runout of a drill spindle.
If your band saw is cutting crooked, it is rarely the blade’s fault. My records show that 90% of the time, it is a tracking or guide alignment issue. I use a precision square to check the blade’s relationship to the table. If the blade is not 90 degrees in both axes, you are fighting the machine with every cut. This adds lateral stress to the blade, which leads to heat and eventual snapping.
Measuring Spindle Runout and Table Squareness
Spindle runout is the amount of wobble in a rotating tool bit, measured in thousandths of an inch. Table squareness is the degree to which the work surface is perpendicular to the cutting tool’s path of travel.
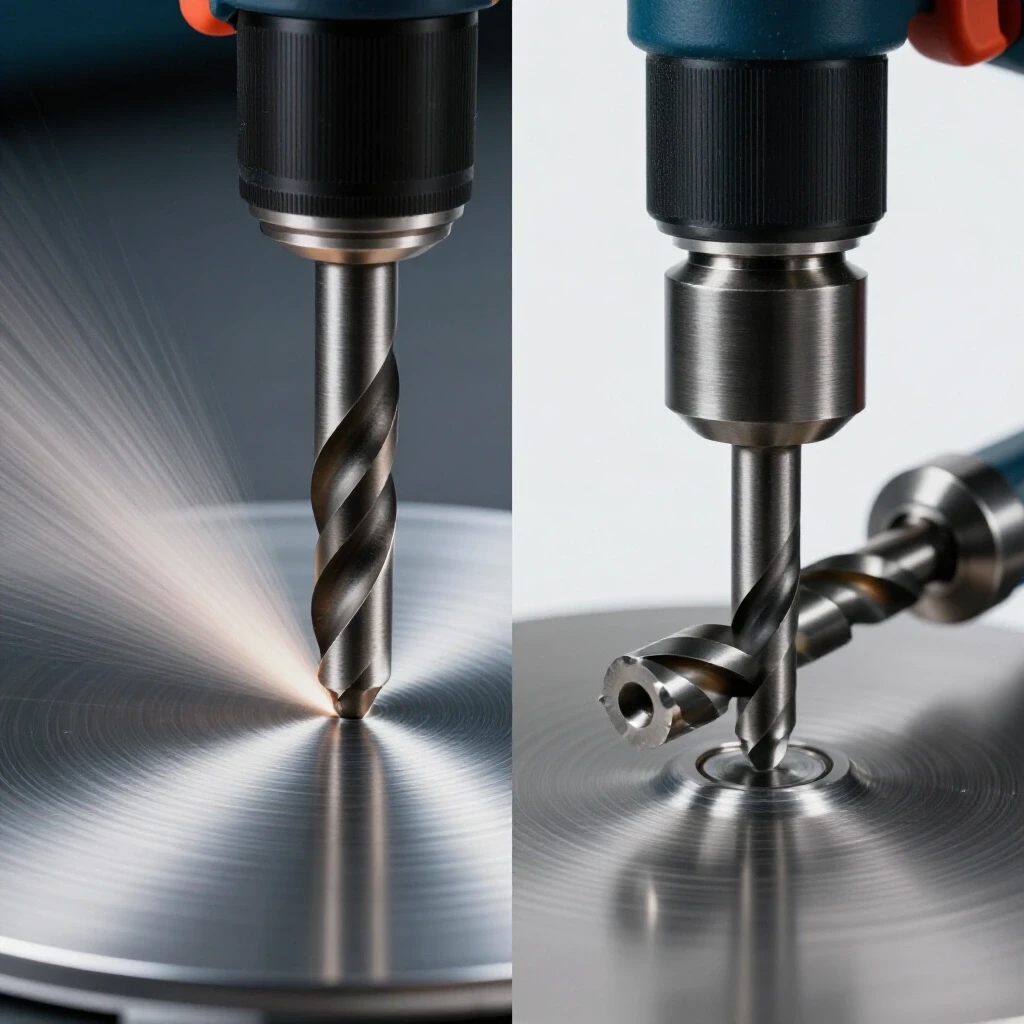
I keep a dial indicator on a magnetic base specifically for checking runout on my drill press and mill. If I see more than .003 inches of movement on a drill press spindle, I know the bearings are shot or the spindle itself is bent. High runout doesn’t just make messy holes; it destroys your drill bits. The bit hits the material unevenly, causing one flute to do all the work, which leads to rapid dulling and increased heat.
- Step 1: Clean the spindle taper thoroughly with a lint-free cloth.
- Step 2: Mount the dial indicator so the tip touches the inside of the taper or a precision ground pin.
- Step 3: Rotate the spindle slowly by hand and record the total indicator reading (TIR).
- Step 4: Compare this to the manufacturer’s spec (usually found in the back of the manual).
Evaluating Tool Duty Cycles and Real-World Longevity
A duty cycle is the percentage of a ten-minute period that a machine can operate at its rated load before needing to cool down. For example, a 40% duty cycle means the tool can run for 4 minutes and must rest for 6.
Marketing materials often highlight peak horsepower, but for a fabricator, the duty cycle is the more important metric. I once bought a budget-friendly mag-drill that claimed high torque, but its duty cycle was so low that the thermal protection kicked in after just three holes in 1/2-inch plate. I now log the “rest time” required for my heavy-use tools. If I see the thermal cutout tripping more frequently over time, it is a sign that the motor’s cooling fans are clogged or the internal grease in the gearbox has broken down and is causing extra drag.
Deciphering Motor Insulation Classes and Thermal Protection
Motor insulation classes (A, B, F, H) define the maximum temperature the internal wire coatings can withstand. Thermal protection is a built-in switch that cuts power if the motor exceeds its safe operating temperature.
When I am researching a new machinery purchase, I specifically look for Class F or Class H insulation. These are standard in industrial equipment and allow the tool to handle the heat of a long production run. Cheap tools use Class A, which can fail if you push the tool even slightly beyond its intended use. If a tool keeps “tripping” its internal breaker, it is telling you that you are exceeding its thermal capacity. Ignoring this and repeatedly resetting the breaker will eventually melt the insulation and short the motor.
| Insulation Class | Max Operating Temp | Typical Tool Grade |
|---|---|---|
| Class A | 105°C (221°F) | Entry-level / DIY |
| Class B | 130°C (266°F) | Mid-range / Prosumer |
| Class F | 155°C (311°F) | Industrial / Production |
| Class H | 180°C (356°F) | Heavy Industrial |
Implementing a Systematic Maintenance Log
A maintenance log is a chronological record of every repair, inspection, and oil change performed on a piece of equipment. It serves as a diagnostic history that can help predict future failures based on past patterns.
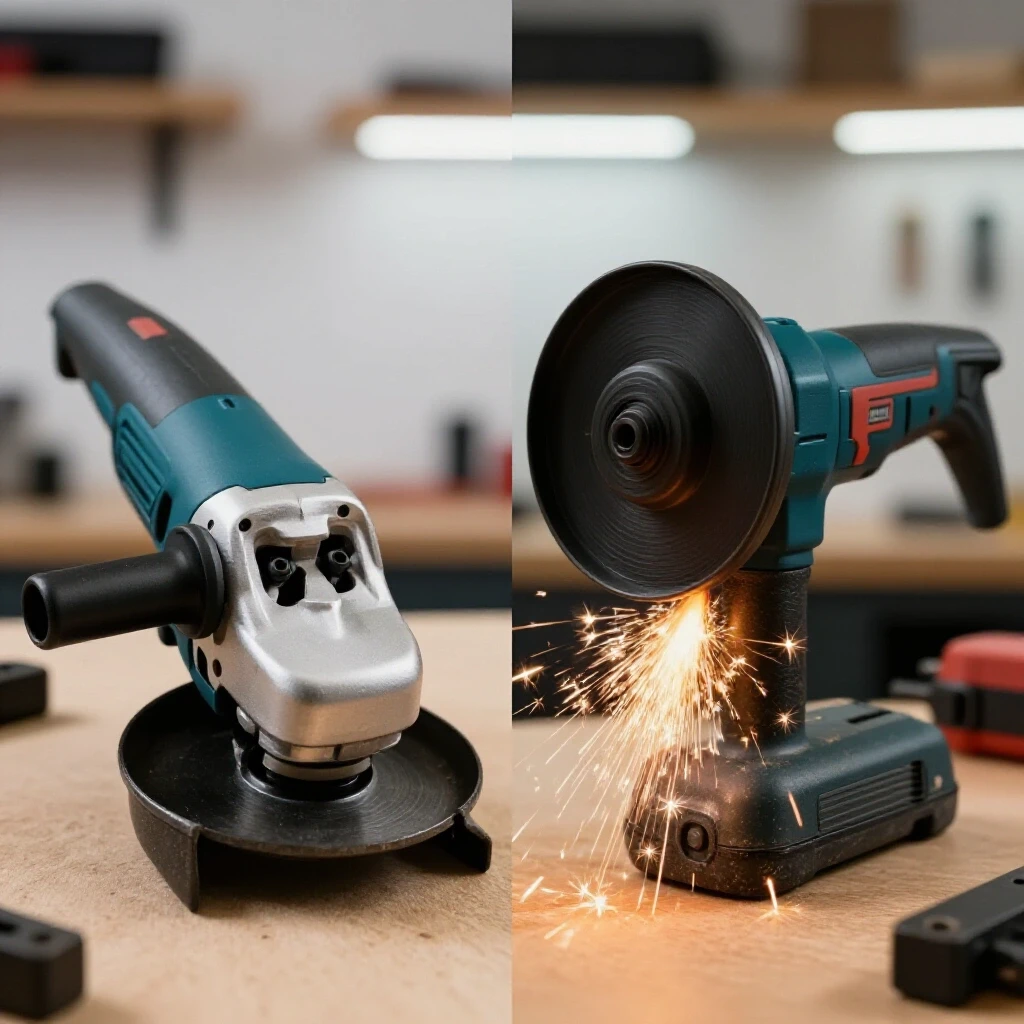
I keep a digital spreadsheet for every major tool in my shop. This allows me to track the “total cost of ownership.” For example, I found that a particular brand of angle grinder was cheap to buy but required a new set of brushes every 50 hours of use. When I factored in the cost of the brushes and the downtime, it was actually more expensive than a premium model that ran for 300 hours without maintenance.
- Date of Purchase: Establishes the baseline for warranty and expected lifespan.
- Runtime Hours: Estimated weekly use to track intervals for lubrication.
- Consumable Costs: Tracking how many blades or bits the machine “eats.”
- Repair History: Identifying recurring issues like switch failures or belt snaps.
- Alignment Checks: Recording runout and squareness metrics every six months.
Tool Decision Pathway: Repair vs. Replace
Deciding whether to fix a broken tool or buy a new one depends on the “residual value” of the machine and the cost of parts. I use a simple rule: if the repair cost exceeds 50% of the tool’s replacement value, and the tool has more than 500 hours on it, I look for an upgrade.
However, older cast-iron machinery is often worth repairing because the frames are more rigid than modern equivalents. I recently spent $200 on new bearings for a 30-year-old drill press because a modern replacement with the same rigidity would have cost me over $2,000. My logs helped me see that the motor and spindle were still in excellent shape, making the bearing replacement a logical investment.
Analyzing Warranty Terms and Manufacturer Support
Warranty analysis involves reading the fine print to understand what is actually covered—parts, labor, or shipping—and for how long. Manufacturer support refers to the availability of replacement parts and technical manuals after the tool is discontinued.
I have learned the hard way that a “Lifetime Warranty” often has so many loopholes it is practically useless. Some brands require you to pay for shipping a 200-pound tool back to their service center, which can cost more than the tool itself. Now, before I buy, I check the manufacturer’s website for a “Parts Breakdown” or “Exploded View” diagram. If those aren’t available, I don’t buy the tool. If you can’t find a part number for a simple gear or bearing, the tool is essentially a disposable item.
- Check Parts Availability: Can you buy a replacement switch or belt today?
- Evaluate Service Centers: Is there a local shop authorized to do warranty work?
- Read the Exclusions: Does the warranty cover “commercial use” or just “household use”?
- Log the Support Experience: How long does it take for their technical team to respond to an email?
Practical Diagnostic Checklist for Non-Starting Tools
This checklist is my “first response” whenever a machine fails to power up. It moves from the simplest, most common issues to the more complex internal failures, ensuring you don’t overlook the basics.
- Verify Power Source: Plug a known working lamp or small tool into the same outlet.
- Inspect the Plug: Look for burnt prongs or wires pulling away from the housing.
- Check the Fuse/Breaker: Look at both the shop’s main panel and any reset buttons on the tool itself.
- Test Switch Continuity: Use a multimeter to ensure electricity is flowing through the switch when it is in the “ON” position.
- Bypass the Capacitor (Carefully): If the motor hums, the start capacitor is the likely culprit.
- Check Motor Brushes: On universal motors (like those in grinders), worn-out carbon brushes are a frequent cause of total failure.
By following these steps, I have saved thousands of dollars in “diagnostic fees” at repair shops. More importantly, I have gained a deeper understanding of how my tools work, which makes me a better fabricator. When you know exactly how much runout your drill press has or why your saw is pulling to the left, you can compensate for it or fix it before it ruins a critical project.
Frequently Asked Questions
Why does my motor hum but not spin when I flip the switch?
This is usually caused by a failed start capacitor or a seized bearing. The hum is the sound of the motor’s windings energized, but without the “kick” from the capacitor or the freedom of movement from the bearings, the rotor cannot begin to turn. Unplug the tool and try to turn the shaft by hand; if it’s stuck, it’s a mechanical issue. If it spins freely, it’s likely the capacitor.
How can I tell if a bearing is starting to fail before it seizes?
Listen for changes in pitch and feel for increased vibration. A failing bearing often produces a high-pitched squeal or a low-frequency growl that changes when the tool is under load. You can also touch the bearing housing (carefully) after the tool has run for a few minutes; if it is too hot to touch, the bearing is likely failing.
What is the difference between a “Peak HP” and “Continuous HP” rating?
“Peak HP” is a marketing term that describes the maximum power a motor can produce for a split second before it stalls. “Continuous HP” (or R.M.S. horsepower) is the amount of power the motor can safely produce all day long. Always look for the continuous rating, as it is a much more accurate reflection of the tool’s actual capabilities.
Why do my power tool switches keep burning out?
This often happens because the switch is under-rated for the “inrush current” of the motor. When you turn on a motor, it can momentarily draw 5 to 6 times its running amperage. If the switch contacts are small, they will arc and eventually weld shut or develop a layer of non-conductive carbon.
Is it worth replacing the brushes on a cheap angle grinder?
If the grinder is otherwise in good shape, yes. A set of brushes usually costs less than $10 and can be replaced in five minutes. However, if the commutator (the part the brushes touch) is heavily grooved or burnt, new brushes won’t help, and it’s time for a new tool.
How do I measure “runout” on my drill press?
You will need a dial indicator and a magnetic base. Attach the base to the drill press table and place the indicator tip against the inside of the spindle taper. Rotate the spindle by hand. The amount the needle moves is your runout. For most hobbyist work, anything under .005″ is acceptable, but for precision work, you want to see .001″ or less.
What does it mean if my tool’s power cord gets hot during use?
A hot cord indicates that the wire gauge is too small for the amount of current the tool is drawing, or there is a poor connection at the plug. This creates resistance, which generates heat and causes a voltage drop at the tool. This can damage the motor over time. Consider replacing the cord with a heavier gauge (lower AWG number).
Can I use a multimeter to test a motor?
Yes, you can check the resistance of the windings. If you get a reading of “Open” (infinite resistance), there is a break in the internal wire. If you get zero resistance, there is a short. Both usually mean the motor needs to be rewound or replaced.
Why is my band saw blade always wandering to one side?
This is typically an alignment issue with the guide bearings or the tracking of the wheels. If the blade isn’t centered on the wheels, or if the guide bearings are too loose, the blade will deflect as soon as it hits the material. Check your tracking and tighten your guides according to the manual.
How often should I lubricate my shop tools?
It depends on the “runtime hours” in your logs. For most manual shop tools, a light oiling of moving parts every 20-40 hours of use is sufficient. Gearboxes should have their oil checked annually. Over-lubricating can be just as bad as under-lubricating, as it attracts metal dust that acts like sandpaper.
What is the most common cause of tool failure in a metal shop?
In my experience, it is a combination of heat and dust. Metal shavings and grinding dust are conductive and abrasive. They get sucked into motor housings, where they cause shorts or wear down bearings. Regularly blowing out your tools with compressed air can significantly extend their lifespan.
How do I know if a tool is worth the “premium” price?
Look past the paint and the brand name. Check the weight (more cast iron usually means more rigidity), the motor insulation class, the bearing sizes, and the availability of a replacement parts list. A premium tool should be serviceable, not disposable. My logs show that tools with higher-quality internal components always cost less per hour of operation in the long run.
(This article was written by one of our staff writers, David Reynolds. Visit our Meet the Team page to learn more about the author and their expertise.)