How to Weld Strong Steel Handrails for Stairs Safely (Guide)
Moving a 2,000-pound cast-iron lathe down a set of shop stairs is a lesson in gravity and respect. Over the last 18 years, I have spent countless hours in the company of rusted gears and seized pulleys, but the most important tool in my shop isn’t a micrometer or a milling machine. It is the structural integrity of the shop itself. When you are manhandling a vintage drill press or a heavy bandsaw casting, you need to know that the handrails you lean on are not going to flex or fail. Fabricating robust steel guards for your workspace requires the same methodical approach we use when scraping a machine bed or pouring a new babbitt bearing. It is about precision, material knowledge, and a refusal to take shortcuts.
Assessing Material Selection for Structural Rigidity
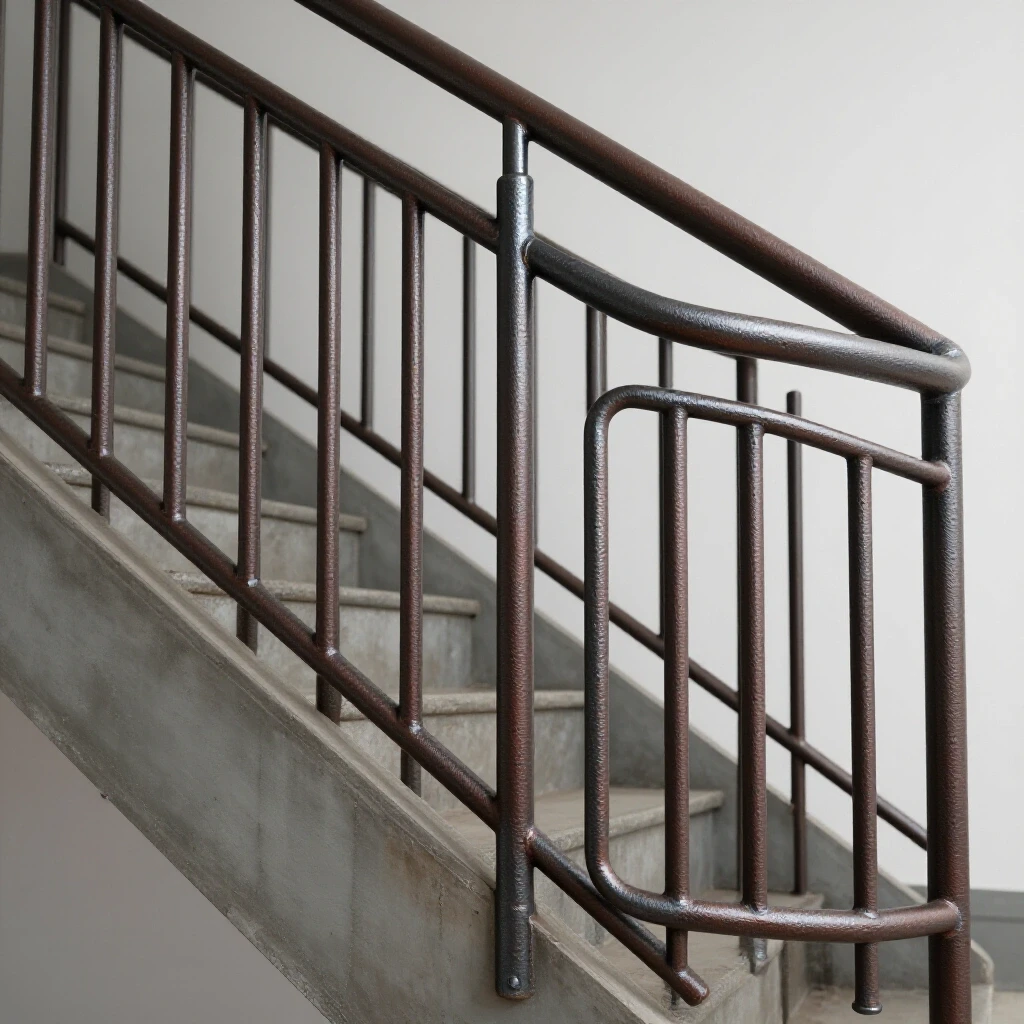
Choosing the right steel is the foundation of any shop infrastructure project. In the world of machinery restoration, we often deal with A36 structural steel or cold-rolled varieties, and the same logic applies when selecting stock for a durable stairway guard.
Structural steel selection involves evaluating the wall thickness and the shape of the profile to ensure it can withstand lateral forces. For a shop environment where heavy parts might be leaned against a railing, I prefer 1.5-inch or 2-inch square tubing with a minimum wall thickness of 11-gauge (approximately 0.120 inches). This provides a substantial surface area for welding and enough “meat” to prevent the heat of the arc from blowing through the metal.
| Material Type | Wall Thickness (Gauge/Inches) | Typical Use Case | Restorer’s Perspective |
|---|---|---|---|
| A36 Square Tube | 14 ga / 0.083″ | Light-duty decorative | Too thin for heavy shop use; prone to warping. |
| A36 Square Tube | 11 ga / 0.120″ | Standard structural | The “sweet spot” for rigidity and weldability. |
| A36 Square Tube | 7 ga / 0.180″ | Heavy industrial | Excellent for crane supports or heavy railings. |
| Schedule 40 Pipe | 0.145″ (for 1.5″) | Round handrails | Classic feel; requires specialized “notching” for joints. |
When I source steel from a local yard, I treat it like a vintage casting. I inspect it for heavy pitting or deep “mill scale,” which is the flaky, dark grey oxide layer formed during the hot-rolling process. Just as we wouldn’t paint over rust on a 1940s Bridgeport, we cannot weld over mill scale and expect a deep, structural bond.
Preparing the Joint: The Key to Structural Integrity
In machinery repair, we often talk about “fit-up.” If the parts don’t mate perfectly, the machine won’t hold its tolerance. The same rule applies to fabricating steel handrails. A gap that is too wide will require too much filler metal, which increases the “heat-affected zone” (HAZ) and can weaken the steel.
Joint preparation starts with precise cuts. I use a cold saw or a horizontal bandsaw to ensure 45-degree miters are dead-on. If you are using a manual hack saw or an abrasive chop saw, you must spend time with a file or a flap disc to square those ends. Once the cuts are made, the most critical step is removing the mill scale. I use a 60-grit flap disc on an angle grinder to strip the steel back to shiny, “white metal” at least one inch away from the weld zone. This prevents oxygen and carbon from contaminating the weld pool, which would otherwise lead to porosity—those tiny, sponge-like holes that ruin a weld’s strength.
Why Seized Cast Iron Principles Apply to Steel Preparation
When we deal with a seized shaft on an old lathe, we use penetrating oils and heat to break the bond of oxidation. When preparing steel for welding, we are doing the opposite: we are removing all barriers to create a permanent molecular bond. If you leave grease, oil, or rust on the steel, the weld will “spit” and “pop,” resulting in a brittle joint. I always finish my prep with a wipe-down of acetone to ensure the surface is chemically clean.
Mastering the Weld: MIG and TIG Parameters
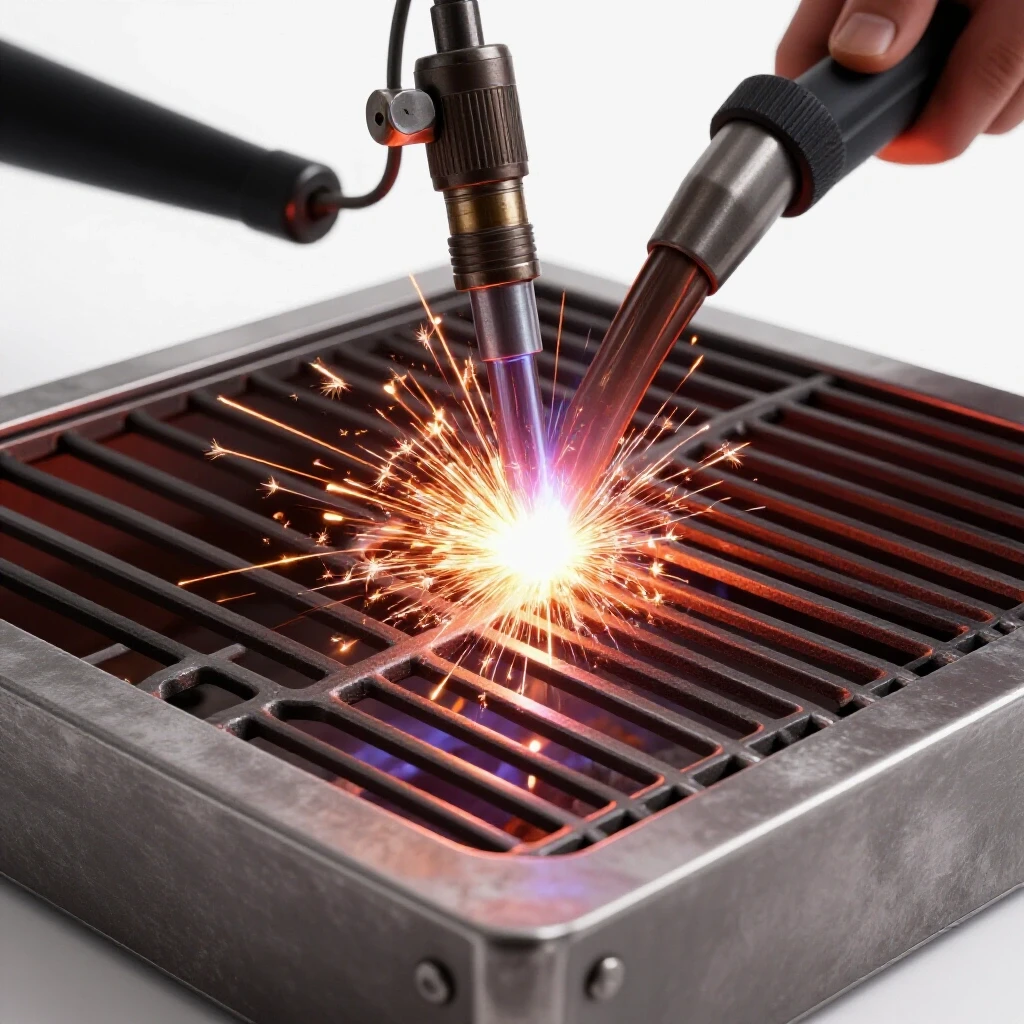
For most shop-built railings, Metal Inert Gas (MIG) welding is the most efficient choice, though Tungsten Inert Gas (TIG) offers superior control for thinner materials or aesthetic “stack of dimes” beads. The goal is deep penetration into the root of the joint.
When I set up my MIG welder for 11-gauge steel, I typically aim for a voltage of 18-19V and a wire feed speed of around 230-250 inches per minute (IPM) using .030-inch solid wire and a C25 gas mix (75% Argon, 25% CO2). These settings ensure that the arc is hot enough to melt both sides of the joint and fuse them into a single, monolithic structure.
- Root Pass: Focus the arc on the leading edge of the weld pool to ensure the metal penetrates all the way through the thickness of the tube.
- Travel Speed: Move at a consistent pace. If you move too fast, the bead will be “cold” and sit on top of the metal like a caterpillar. Too slow, and you risk burning through.
- Heat Management: Just as we worry about the thermal expansion of a spindle, we must manage heat in a railing. Weld in short bursts and jump from one side of the rail to the other to prevent the entire structure from “bowing” or warping out of alignment.
Precision Fixturing and Alignment Strategies
A handrail that isn’t straight is an eyesore and a safety hazard. In machinery restoration, we use precision levels and dial indicators to align ways and shafts. For a steel railing, we use a flat welding table and heavy-duty magnets or F-clamps.
I start by tack-welding the corners. A tack weld is a small, temporary bead about the size of a pencil eraser. I place tacks at the top and bottom of every joint, then check the assembly with a framing square and a digital angle finder. Because steel shrinks as it cools, it will “pull” toward the side of the weld. By tacking all four sides of a joint before laying down the final bead, you lock the geometry in place.
Tracking Alignment Metrics
In the shop, I keep a log of my measurements. When I’m aligning a lathe headstock, I’m looking for a 0.001-inch tolerance. For a handrail, my tolerance is usually 1/16th of an inch over an 8-foot span. It might seem less precise, but the physics are the same. If the rail is twisted, the stress on the welds will be uneven, which can lead to cracking over time under heavy loads.
Finishing for Safety and Longevity
The job isn’t done when the welding stops. A structural rail in a machine shop must be smooth to the touch. Any “burrs” or sharp weld spatters can catch a hand or a piece of clothing, leading to an accident.
I use a two-step grinding process. First, I use a hard grinding wheel to take down the bulk of the weld bead until it is nearly flush with the tubing. Second, I switch to an 80-grit flap disc to blend the joint. This creates a seamless transition that looks like a single piece of bent steel. After grinding, I inspect the joint for any “undercut”—a groove melted into the base metal next to the weld. If I see an undercut, I grind it out and re-weld it. A rail is only as strong as its thinnest point.
Protecting Against Corrosion
Just as we use Boeshield or paste wax to protect the bare cast iron of a saw table, we must protect our steel fabrication. For an indoor shop, a high-quality “direct-to-metal” (DTM) primer followed by a durable enamel is standard. If the shop is prone to humidity, I might use a cold-galvanizing spray rich in zinc. This creates a sacrificial layer that prevents rust from creeping under the paint—a process known as “undermining.”
| Coating Method | Durability Rating | Prep Required | Best For |
|---|---|---|---|
| Enamel Paint | Medium | Solvent wipe | General shop use; easy to touch up. |
| Powder Coating | High | Sandblasting | Professional finish; very chip-resistant. |
| Cold Galvanizing | Very High | White metal grind | Humid basements or outdoor access stairs. |
| Wax/Oil Finish | Low | Polished steel | Aesthetic “industrial” look; requires maintenance. |
Essential Safety: PPE and Fume Extraction
Restoring old machinery often involves hazards like lead paint or asbestos gaskets. Welding has its own set of risks, primarily ultraviolet (UV) radiation and toxic fumes. When welding structural steel, you are often working with “mill scale” or oils that release harmful vapors when heated.
I always use a dedicated fume extractor or a high-volume fan to pull smoke away from my face. A respirator with P100 filters is mandatory, especially if there is any chance the steel was previously galvanized. “Metal fume fever” from welding galvanized steel is a serious respiratory issue that every restorer should avoid. Additionally, I wear a leather apron and gauntlet-style gloves. The sparks from a MIG welder can easily find their way into the folds of your clothes, and when you are focused on a critical bead, you don’t want to be distracted by a burn.
Lessons from the Bench: A Case Study in Failure
A few years ago, I was asked to look at a railing that had failed in a local hobbyist’s shop. The owner had welded a beautiful-looking rail using a small, 110V flux-core welder. On the surface, the welds looked fine, but when a heavy crate bumped into it, the rail snapped at the base.
Upon inspection, I found the “classic” mistake: lack of fusion. Because the welder didn’t have enough “ooomph” to penetrate the 1/8-inch steel, the weld was merely sitting on the surface like a bead of hot glue. He hadn’t removed the mill scale, and the weld had “chilled” too quickly. This is why I advocate for using the right tool for the job. If your welder isn’t rated for the thickness of the steel you are using, you are building a facade, not a safety structure. In my shop, I always perform a “coupon test”—welding two scrap pieces of the same material and then trying to break them apart with a sledgehammer. If the steel bends before the weld breaks, I know my settings are correct.
Maintaining the Shop Infrastructure
Once your handrails are installed and finished, they require periodic inspection, just like the oil levels in a gearhead lathe. Every six months, I walk my shop and check the joints for any signs of “stress risers” or paint cracking, which could indicate a structural shift.
If you find a crack, don’t just weld over it. You must “ve-out” the crack—grinding a V-shaped groove all the way to the bottom of the fracture—to ensure the new weld fully replaces the failed material. This is the same technique we use when repairing a cracked cast-iron motor mount. It’s about doing the job once, and doing it right.
FAQ: Structural Steel Welding for Shop Restorers
1. Can I use a 110V welder to build a safe handrail? It depends on the thickness of the steel. Most 110V MIG welders max out at 1/8-inch steel for structural integrity. If you are using 11-gauge tubing, a 110V machine is at its absolute limit. I recommend a 220V welder to ensure deep penetration and a higher duty cycle.
2. How do I know if I have “good” penetration? Look at the back side of your weld joint if possible. You should see a slight discoloration or a small “heat line” indicating the metal reached a molten state all the way through. If the back of the metal looks brand new, your weld is likely just a surface bead.
3. Is it okay to weld steel that has light surface rust? No. While some “6011” stick electrodes can handle a bit of rust, MIG and TIG welding require clean metal. Rust introduces oxygen into the weld, causing porosity and significantly weakening the joint. Always grind to shiny metal.
4. What is the best way to cut the angles for a stair railing? A dedicated metal-cutting bandsaw is best because it keeps the heat low and the cuts square. If you use an angle grinder with a cut-off wheel, use a “wraparound” template (a piece of thick paper wrapped around the pipe) to mark a straight line before cutting.
5. Should I grind my welds flat? From a structural standpoint, a weld is strongest when it has a slight “crown” or reinforcement. However, for a handrail, you must grind it flush for safety. If your penetration is deep enough, a flush-ground weld is more than strong enough for the task.
6. What gas should I use for MIG welding steel rails? A 75% Argon / 25% CO2 mix is the industry standard. Pure CO2 provides deeper penetration but creates more spatter and a rougher bead. The “75/25” mix offers a great balance of strength and cleanliness.
7. How do I prevent the railing from warping during welding? Use the “backstepping” technique. Instead of welding one long bead from left to right, weld short 2-inch segments, jumping around the structure to distribute the heat evenly. This prevents the metal from expanding too much in one direction.
8. Can I weld a steel railing to a cast-iron machine base? This is difficult and usually not recommended for structural safety. Cast iron has a high carbon content and requires pre-heating and specialized nickel-based electrodes. It is better to bolt the steel railing to the floor or a steel bracket rather than welding it directly to vintage cast iron.
9. What is “undercut” and why is it dangerous? Undercut is a groove melted into the base metal at the “toe” of the weld. It acts like a perforated line on a piece of paper, giving the metal a place to snap under stress. It usually happens if your voltage is too high or your travel speed is too slow.
10. Do I need to use a primer before painting? Yes. Bare steel oxidizes almost immediately. A “Direct to Metal” (DTM) primer contains corrosion inhibitors that bond to the steel and provide a “tooth” for the topcoat of paint to stick to.
11. How do I clean the steel after grinding? Use a clean rag and a solvent like acetone or denatured alcohol. Avoid using “brakleen” unless it is the non-chlorinated version, as chlorinated solvents can turn into deadly phosgene gas when hit by a welding arc.
12. What safety gear is non-negotiable? An auto-darkening welding helmet (shade 10-12), flame-resistant jacket, leather gloves, and a respirator with P100 filters. Never weld in sneakers or synthetic clothing like polyester, which can melt to your skin.
(This article was written by one of our staff writers, Richard Beaumont. Visit our Meet the Team page to learn more about the author and their expertise.)