How to Choose the Right Oxy-Acetylene Torch Tip (Guide)
In my 14 years inspecting industrial steel components and building heavy frames, I have learned that a project’s success is often decided before the flame even touches the metal. I have stood over failed crane booms and cracked trailer chassis where the weld looked decent on the surface, but the internal structure was compromised. Often, the root cause was not the welder’s hand movement, but a fundamental mismatch between the nozzle size and the material thickness. Choosing the correct orifice for your torch is about managing the energy you inject into the steel to maintain its structural integrity.
When you work in a home shop or a small fabrication bay, the margin for error feels smaller. You are the engineer, the fabricator, and the quality control inspector. If a joint fails because you overheated the metal with a massive rosebud tip or under-penetrated it with a tiny nozzle, the material costs and safety risks fall squarely on you. Understanding the relationship between orifice diameter, gas flow, and thermal saturation is the best way to move from guesswork to predictable, high-quality fabrication.
The Physics of Nozzle Sizing and Flow Dynamics
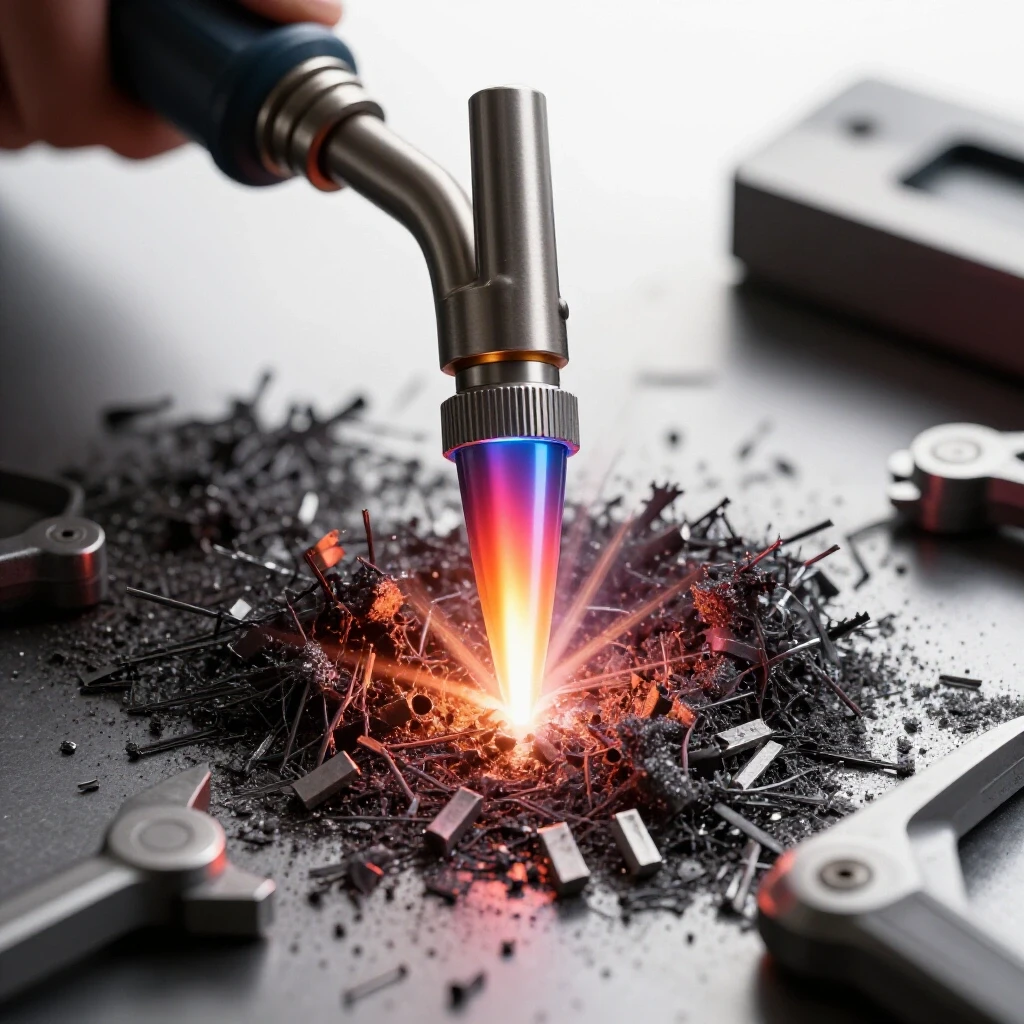
The orifice diameter is the most critical factor in gas delivery. It determines the volume of the oxy-acetylene mixture released, which directly affects the total heat output (BTUs). Choosing the correct diameter ensures the flame is concentrated enough to melt the base metal without causing excessive oxidation or structural warping in the surrounding areas.
Every tip is essentially a precision-drilled copper alloy nozzle. The size of the hole, or the orifice, dictates how much gas can pass through at a given pressure. If you use a tip with a 0.3 mm orifice on a thick 12 mm steel plate, the heat will dissipate into the surrounding metal faster than the torch can melt the joint. This leads to a “cold weld” with no structural fusion. Conversely, using a 2.5 mm orifice on thin sheet metal will dump so much energy into the part that the grain structure of the steel enlarges, making the joint brittle and prone to cracking under load.
In my experience, the most common error is trying to “make do” with whatever tip is currently on the torch. I remember a project involving a structural support for a heavy workbench. The builder used a tip meant for 1/8-inch metal on a 1/2-inch plate. He spent so much time trying to get a puddle to form that he essentially heat-treated the entire bracket into a weakened state. The joint eventually snapped during a simple load test because the metal had become “mushy” at a molecular level from prolonged heat exposure.
Identifying the Correct Tip Style for Specific Fabrication Tasks
Torch tips are engineered for distinct thermal signatures. Welding tips produce a focused cone for localized melting; cutting tips use a central oxygen jet to oxidize metal; and multi-flame rosebud tips distribute heat over a wide area for bending or preheating. Matching the style to the task prevents material degradation and ensures the energy is used efficiently.
- Single-Flame Welding Tips: These feature a single orifice and are designed to produce a neutral flame. They are used when you need to create a molten puddle to join two pieces of metal. The heat is concentrated at the tip of the inner cone.
- Multi-Flame (Rosebud) Heating Tips: These have several small orifices arranged in a pattern. They are not for joining metal but for raising the temperature of a large area. I use these for straightening warped beams or preheating thick sections to prevent hydrogen cracking.
- Cutting Tips: These are complex. They have a ring of small preheat holes and a large central hole for high-pressure oxygen. The selection here depends on the thickness of the plate you are “burning” through.
Using a rosebud when you should use a welding tip is a recipe for disaster. The heat-affected zone (HAZ) becomes massive, and you lose control over the puddle. If you are building something that needs to hold weight, like a gantry or a vehicle mount, you must use a tip that allows for a tight, controlled HAZ.
Matching Metal Thickness to Nozzle Orifice Diameter
Steel thickness dictates the required heat saturation. A thin 1 mm sheet requires a small orifice to prevent burn-through, while a 25 mm plate needs a larger diameter to achieve full penetration. Using a chart to link thickness to tip number is essential for maintaining the mechanical properties of the joint.
The following table provides a general guideline for selecting a tip based on the thickness of the steel. Note that tip numbering can vary by manufacturer (such as Victor vs. Harris), so always check the orifice drill size for verification.
| Metal Thickness (Inches) | Metal Thickness (mm) | Recommended Tip Size (Victor) | Drill Size | Acetylene Pressure (PSI) | Oxygen Pressure (PSI) |
|---|---|---|---|---|---|
| 1/32″ | 0.8 mm | 000 | 75 | 3-5 | 3-5 |
| 1/16″ | 1.6 mm | 0 | 65 | 3-5 | 3-5 |
| 1/8″ | 3.2 mm | 2 | 56 | 3-7 | 3-7 |
| 1/4″ | 6.4 mm | 3 | 52 | 4-10 | 4-10 |
| 1/2″ | 12.7 mm | 5 | 44 | 5-12 | 5-12 |
| 1″ | 25.4 mm | 7 | 35 | 8-15 | 8-15 |
When I am inspecting a build, I look for the “ripple” pattern in the weld. If the ripples are too wide and flat, it tells me the tip was too large and the metal stayed liquid for too long. If the ripples are tall and narrow, the tip was likely too small, and the puddle froze before it could properly “wet” the edges of the joint.
The Impact of Tip Selection on the Heat-Affected Zone (HAZ)
The Heat-Affected Zone is the area of base metal that hasn’t melted but has had its microstructure altered by heat. An oversized tip increases the HAZ, leading to grain growth and potential brittle fracture. Precision in tip selection limits this zone, preserving the original tensile strength of the steel.
When you heat steel, the carbon and iron atoms rearrange. If you use a tip that is too large, you keep the metal in a high-temperature state for an extended period. According to material science data from sources like MatWeb, this causes “grain coarsening.” Think of the metal’s internal structure like a bag of sand; small, tight grains are strong, while large, coarse grains are like big pebbles that don’t stick together well.
A large HAZ is a silent killer in fabrication. It doesn’t look broken, but the metal in that zone might only have 60% of the yield strength it had when it left the mill. By selecting a smaller, more focused tip and moving at a steady pace, you keep that zone narrow. This ensures the structural load is carried by the original, strong metal rather than a weakened, heat-altered section.
Evaluating Pressure Requirements for Different Nozzle Sizes
Every tip size has a specific operating pressure range for both oxygen and acetylene. If the pressure is too low for a large orifice, the flame will recede into the tip; if it is too high, the flame may lift off. Proper synchronization ensures a stable, neutral flame for structural integrity.
Gas flow is measured in Cubic Feet per Hour (CFH), and the pressure (PSI) you set on your equipment is what drives that flow through the orifice. A common mistake I see is “starving” a large tip. If you put a size 5 tip on but only provide 3 PSI of acetylene, the gas velocity is too slow. The flame will try to burn back into the tip, causing a “pop” or a backfire.
Conversely, “over-pressuring” a small tip creates a harsh, turbulent flame. This turbulence draws in atmospheric nitrogen and oxygen, which can lead to porosity—tiny bubbles trapped inside the weld. These bubbles act like internal perforations, making the weld fail under much lower stress than a solid bead.
- Check the manufacturer’s chart for the specific tip number.
- Set the acetylene pressure first to the recommended PSI.
- Adjust the oxygen pressure to match the required flame type (usually neutral).
- Observe the flame: it should be steady without whistling or “lifting” away from the tip.
Structural Joint Failure Analysis Based on Thermal Input
Selecting an incorrect nozzle can lead to internal weld defects like lack of fusion or excessive grain coarsening. By analyzing how different tips distribute heat, fabricators can predict the stress thresholds of a joint. This technical foresight prevents catastrophic failure in load-bearing structures like vehicle frames or heavy equipment.
In structural engineering, we look at “load paths.” If you are building a trailer, the weight of the load travels through the welds. If those welds were made with a tip that was too small, the heat only melted the surface. This is called “lack of fusion.” On the outside, it looks like a perfect bead, but inside, the two pieces of metal are barely stuck together.
I once consulted on a case where a custom-built car trailer tongue snapped on the highway. The fabricator had used a small welding tip to save gas. The weld bead had sat on top of the 1/4-inch steel like a piece of cold gum. There was zero penetration into the root of the joint. By simply stepping up to a size 3 or 4 tip, they would have achieved the thermal depth necessary to fuse the metal into a single, solid unit.
Actionable Checklist for Nozzle Selection
To ensure your projects are structurally sound, follow this verification process before lighting the torch:
- Measure the thinnest and thickest parts of the joint: Your tip choice should be biased toward the thicker section to ensure penetration, but you must use technique to avoid burning the thinner piece.
- Verify the Tip Number vs. Orifice Size: Manufacturers use different numbering systems. Always refer to a drill size chart if you are switching brands.
- Calculate Gas Capacity: Ensure your acetylene cylinder is large enough to support the flow rate of the tip. The “1/7th rule” (not exceeding 1/7th of the cylinder’s capacity per hour) is vital to prevent drawing liquid acetone into the tip, which ruins the flame quality.
- Perform a Test Bead: Use a scrap piece of the same material and thickness. Cut the test weld in half to inspect the penetration depth and the width of the heat-affected zone.
- Audit the Flame Shape: A neutral flame with a distinct inner cone indicates the tip is operating within its designed pressure range.
By treating the selection of your torch nozzle as a technical engineering decision rather than a matter of convenience, you significantly reduce the risk of structural failure. The goal isn’t just to stick metal together; it is to create a bond that respects the physical limits of the material.
FAQ
How does the orifice diameter specifically affect the heat of the flame? The orifice diameter controls the volume of gas (CFH) that can be burned. While the temperature of an oxy-acetylene flame is constant (about 5,400°F), a larger orifice allows more of that heat to be delivered to the metal per second. This is the difference between a match and a campfire; both are the same temperature, but the campfire can boil a gallon of water while the match cannot.
Can I use a cutting tip to weld if I don’t have a welding tip? No. Cutting tips are designed with a high-pressure oxygen stream in the center to blow away molten metal. Even if you don’t trigger the oxygen lever, the preheat holes are not positioned to create a controlled welding puddle. Using a cutting tip for welding results in a porous, oxidized, and structurally weak joint.
What are the signs that my tip is too small for the steel I am joining? The most obvious sign is the inability to form a molten puddle within a few seconds. If the metal just turns red and stays solid, or if the puddle is “sluggish” and won’t flow, the tip is too small. You will also notice that the heat-affected zone becomes very wide because you are holding the flame in one spot for too long.
How do I identify a multi-flame heating tip versus a welding tip? A welding tip has a single, smooth hole at the end. A multi-flame heating tip (rosebud) has a larger head with multiple small holes, usually arranged in a circular or honeycomb pattern. Rosebuds are used for moving large amounts of heat into a part for bending or preheating, not for welding.
Why does tip size influence the heat-affected zone (HAZ)? Tip size dictates how fast you can complete a weld. A correctly sized tip allows you to melt the joint and move on quickly, which keeps the total heat input low. A tip that is too large or too small requires more time or more energy than necessary, which allows heat to soak further into the base metal, enlarging the HAZ and weakening the steel.
What is the relationship between tip number and drill size? Tip numbers are arbitrary and vary by manufacturer, but drill sizes are universal. For example, a Victor size 0 welding tip typically has a #65 drill size orifice. If you lose your chart, you can use a set of tip cleaners or wire gauges to determine the actual orifice diameter and then look up the corresponding thickness capacity.
How do I choose a tip for non-ferrous alloys like aluminum? Aluminum conducts heat much faster than steel. Because of this “heat sink” effect, you typically need a tip that is one or two sizes larger than what you would use for the same thickness of steel. This ensures you can get the metal to a melting point before the heat is wicked away into the rest of the part.
Can an oversized tip cause brittle fracture in a structural weld? Yes. An oversized tip often leads to overheating the weld pool. This can cause the alloying elements in the steel (like manganese or silicon) to burn out, and it promotes excessive grain growth. Both factors make the metal less ductile, meaning it will snap (brittle fracture) rather than bend when stressed.
What gas flow rates are typical for a size 3 welding tip? A size 3 tip (Victor) generally requires an acetylene flow of about 6 to 15 CFH and a corresponding oxygen flow. To achieve this, you would typically set your pressures between 4 and 10 PSI. Always refer to the specific flow data provided by your tip’s manufacturer for structural work.
How do I match tip size to a specific joint design, like a T-joint? Fillet welds, such as those in T-joints, require more heat than a flat butt weld because the heat is being drawn away in three directions instead of two. When welding a T-joint, I usually select a tip one size larger than what the thickness chart suggests to ensure I get deep penetration into the “root” or corner of the joint.
(This article was written by one of our staff writers, James Harlan. Visit our Meet the Team page to learn more about the author and their expertise.)