How to Scale Up a Small Shop for Larger Metal Projects (Tips)
When I walked into my first single-car garage workshop in 2013, I had exactly $1,850 in the bank and a dream of building custom truck racks. I quickly learned that while a small space is fine for minor repairs, tackling substantial steel assemblies requires a different approach to organization and equipment. My background as an industrial maintenance technician taught me that you don’t need a massive factory to produce professional results, but you do need a disciplined layout and a clear understanding of your power limits.
The transition from small-scale hobby work to handling larger structural projects often feels overwhelming. You might worry about outgrowing your space or wasting money on tools that can’t handle the load. I’ve spent over a decade tracking every dollar and every tripped breaker to find the sweet spot between a modest budget and high-level capability. By focusing on smart tool sequencing and safe electrical practices, you can turn a cramped corner into a high-output fabrication zone.
Maximizing Square Footage for Substantial Steel Assemblies
Space assessment is the process of measuring available square footage against the physical dimensions of raw materials and finished assemblies to ensure safe movement. It involves identifying “dead zones” and converting them into functional areas that support the flow of long metal stock.
In a small shop, the biggest obstacle isn’t the size of the room; it’s the lack of a clear path. When I started, I made the mistake of putting my welding table in the center of the floor. It looked great, but I couldn’t move a 20-foot stick of square tubing without hitting a wall. I eventually adopted a “perimeter-first” layout. By keeping heavy machinery on mobile bases against the walls, I cleared a central staging area for big projects.
A functional starter metal workshop layout relies on the concept of “material flow.” This means your metal enters the shop, moves to the cutting station, transitions to the prep area, and finally lands on the assembly table. If you have to flip a 10-foot rail around just to grind the other end, your layout is working against you. I recommend leaving at least eight feet of clearance on either side of your primary cutting tool.
- Mobile Bases: Use heavy-duty locking casters for every stationary tool.
- Fold-down Tables: Wall-mounted surfaces can provide extra support for long pieces then tuck away when not in use.
- Vertical Storage: Store steel vertically in a rack to save floor space, but ensure it is anchored to studs for safety.
Managing Electrical Loads for Higher-Output Equipment
Electrical load management involves calculating the amperage draw of machines to prevent breaker trips and ensure consistent tool performance during heavy use. This is critical when moving from small cordless tools to high-draw welders and compressors.
One of the most frustrating moments in my early shop days was having my welder cut out mid-bead because the refrigerator in the garage kicked on. Most residential garages run on a single 15-amp or 20-amp circuit. For larger fabrication tasks, this is rarely enough. A beginner welder’s power requirements often push these limits, especially when you factor in the “duty cycle”—the amount of time a welder can operate at a specific output within a 10-minute window without overheating.
I suggest performing a basic audit of your breaker box. Look for 20-amp breakers, which use thicker 12-gauge wire, rather than the standard 15-amp lines. If you are serious about scaling up, installing a dedicated 240-volt outlet is often the most cost-effective upgrade you can make. It allows your welder to run more efficiently and handle thicker materials without straining the machine.
Power Consumption by Tool Class
| Tool Type | Typical Amperage (120V) | Recommended Circuit | Notes |
|---|---|---|---|
| Angle Grinder (4.5″) | 6A – 10A | 15A Standard | High “inrush” current on startup. |
| Bench Grinder | 3A – 5A | 15A Standard | Low draw, but runs for long periods. |
| MIG Welder (Entry) | 15A – 20A | 20A Dedicated | Often trips 15A breakers at high heat. |
| Plasma Cutter | 20A – 30A | 240V Recommended | Requires clean, dry compressed air. |
| Air Compressor | 12A – 15A | 20A Dedicated | High vibration and heat generation. |
Transitioning to Stationary Cutting and Shaping Tools
Tool scaling is the shift from handheld, versatile equipment to stationary, high-torque machinery designed for repeatable accuracy on thicker stock. This transition reduces physical fatigue and increases the precision of your joins.
When you start out, an angle grinder is your best friend. It cuts, grinds, and polishes. However, when you begin building larger frames, using a handheld grinder for every cut becomes a bottleneck. It is difficult to get perfectly square ends on heavy tubing with a handheld tool. This is where a budget metalworking tools strategy focuses on “repeatability.”
I recommend a dry-cut chop saw or a small horizontal bandsaw as your first major upgrade. Unlike abrasive saws that throw sparks and create dust, dry-cut saws use carbide-tipped blades to produce clean, cool-to-the-touch cuts. In my experience, the time saved on “fit-up”—the process of making sure two pieces of metal meet perfectly before welding—pays for the saw within the first three projects.
- Bandsaws: These are quieter and can be left to cut through thick plate while you do other tasks.
- Cold Saws: These provide the highest precision but usually come with a higher price tag.
- Drill Presses: Essential for drilling large diameter holes in thick steel that would be dangerous with a hand drill.
Implementing Effective Workshop Ventilation for Intense Fabrication
Ventilation is the mechanical exchange of air to remove hazardous fumes, dust, and heat, measured in Cubic Feet per Minute (CFM). Proper airflow is a non-negotiable safety requirement when welding or grinding in confined residential spaces.
Safety is where many beginners try to save money, but it’s the one area where I refuse to compromise. According to American Welding Society (AWS) standards, welding fumes contain microscopic metal particles that should not be inhaled. In a small garage, these fumes build up faster than you realize. I once spent a weekend welding a large gate with only a small floor fan for air, and I felt the “metal fume fever” symptoms—chills and a headache—by Sunday night. I never made that mistake again.
For a standard two-car garage, you should aim for a ventilation system that can move at least 1000 to 1500 CFM. A dedicated garage workshop ventilation setup can be as simple as a high-velocity exhaust fan mounted in a window or a more complex fume extraction arm. Always position yourself so the air blows across your work and away from your face, never from behind you toward the weld.
- Source Capture: Use a vacuum or extractor right at the point of the weld or grind.
- Cross-Ventilation: Open the big garage door and a side door or window to create a natural draft.
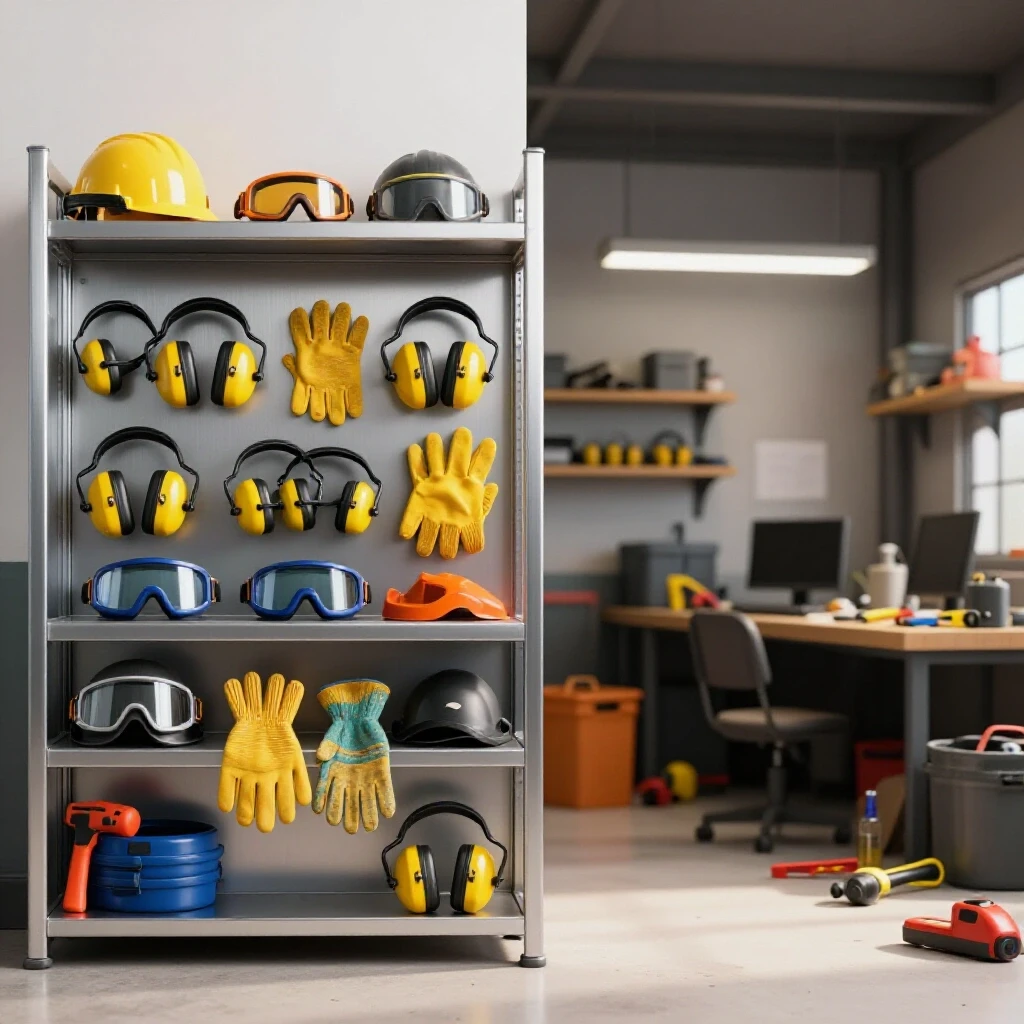
- Personal Protection: A respirator with P100 filters should be worn under your welding hood, regardless of how good your fans are.
Why Quality Abrasives Save Money in Larger Projects
Abrasive ratings refer to the grit, bond, and material of grinding wheels and sanding discs. Using the wrong rating for the job leads to faster tool wear and increased risk of wheel breakage.
When you are tracking startup costs, it is tempting to buy the cheapest bulk packs of grinding wheels you can find. I’ve logged the lifespan of various brands over the years, and the data is clear: cheap discs wear down three times faster and require more pressure to cut. This extra pressure bogs down your grinder’s motor and increases the risk of the disc shattering.
Allocating about 30% of your tool budget to high-quality consumables and measuring tools is a smart move. A high-end ceramic abrasive disc might cost $4 compared to a $1 aluminum oxide disc, but the ceramic version will often outlast five of the cheaper ones. This means fewer stops to change discs and less strain on your wrists.
Building Heavy-Duty Work Surfaces and Fixturing
Fixturing refers to the use of stable, flat surfaces and clamps to hold metal parts in precise alignment during the welding or assembly process. Without a flat surface, your large projects will likely end up twisted or warped.
You cannot build a straight 6-foot trailer on a 3-foot wooden workbench. As you scale up, your table becomes your most important “tool.” For those on a budget, building your own steel welding table is a rite of passage. I built my first one using a 3/8-inch thick steel plate on a frame made of 2×2-inch square tubing. It wasn’t fancy, but it was flat and heavy enough to stay put when I was hammering on it.
A critical part of a workshop electrical setup checklist is ensuring your table is properly grounded. When welding, the “ground clamp” should be attached directly to the table or the workpiece to ensure a stable arc. If your table is on wheels, make sure the casters are rated for the weight of the table plus several hundred pounds of project material.
- Leveling Feet: Essential if your garage floor is sloped for drainage.
- Clamping Points: Drill a grid of holes or use “C-clamps” to keep parts from moving during heat-induced expansion.
- Heat Dissipation: Steel tops act as a “heat sink,” helping to prevent thin metal parts from warping.
Tracking Progress and Vetting New Equipment
Expanding your capabilities is a marathon, not a sprint. I recommend keeping a simple logbook or spreadsheet to track what works. Record the cost of your materials, the time spent on a project, and any issues you encountered with your tools. This data will tell you exactly what to buy next.
If you find yourself struggling to cut 1/4-inch plate with a jigsaw, that’s a data point telling you it’s time for a plasma cutter. If your 15-amp breaker trips every time you try to weld a thick joint, that’s a sign you need an electrical upgrade. By making decisions based on your actual project needs rather than online hype, you ensure every dollar spent adds real value to your shop.
Workshop Expansion Checklist
- Audit Power: Identify 20A circuits and plan for a 240V outlet.
- Clear Paths: Ensure a 10-foot linear path for material entry and cutting.
- Upgrade Cutting: Move from handheld grinders to a stationary saw.
- Enhance Airflow: Install a minimum 1000 CFM exhaust system.
- Build a Base: Construct a flat, steel-topped welding table with locking casters.
- Safety First: Invest in an ANSI-rated auto-darkening hood and a P100 respirator.
Building a shop that can handle significant fabrication is about creating a system. When your tools, power, and layout work together, you stop fighting your environment and start focusing on the craft. It took me years to refine my process, but by following these structured steps, you can reach that level of functionality much faster and without the wasted expenses I faced.
Frequently Asked Questions
Can I run a welder on a standard 15-amp household outlet? You can run many entry-level MIG and TIG welders on a 15-amp circuit for thin materials. However, if you increase the heat for thicker steel, you will likely trip the breaker. A 20-amp dedicated circuit is the recommended minimum for consistent performance in a home shop.
How do I know if my garage ventilation is sufficient? A simple test is the “smoke trace.” If welding smoke lingers in the air for more than a few seconds or moves toward your face, your ventilation is inadequate. You should aim for enough airflow to completely replace the air in your workspace every few minutes.
Is a 4.5-inch angle grinder enough for large projects? While a 4.5-inch grinder is versatile, it is inefficient for heavy material removal or long cuts in thick plate. As you scale up, adding a 7-inch grinder for heavy-duty work and a stationary saw for precision cuts will save significant time and effort.
What is the “duty cycle” and why does it matter? The duty cycle is the percentage of a 10-minute period a welder can operate at a certain output. A 30% duty cycle at 100 amps means you can weld for 3 minutes and then the machine must cool for 7 minutes. For larger projects, a higher duty cycle prevents forced downtime.
Should I buy a MIG or TIG welder for my first big projects? MIG welding is generally better for beginners tackling larger steel projects because it is easier to learn and much faster for long seams. TIG offers more precision but is slower and requires more expensive equipment and gases.
How thick should my welding table top be? For a hobbyist shop, a 1/4-inch plate is the bare minimum, but 3/8-inch or 1/2-inch is much better. Thicker tops stay flatter under heat and provide a more stable surface for heavy clamping and hammering.
How do I store 20-foot lengths of steel in a small garage? The most efficient method is a vertical rack anchored to the wall studs. If your ceiling is too low, a horizontal rack mounted high on the wall—above head height—keeps the floor clear while utilizing unused space.
What are the most common safety errors in a home metal shop? Common errors include inadequate eye protection (not using a face shield when grinding), poor ventilation leading to fume inhalation, and leaving flammable materials like sawdust or gasoline near welding areas. Always maintain a “fire watch” for 30 minutes after you finish welding.
How much should I spend on my first set of tools? A functional starter setup can be achieved for $1,500 to $2,500. This should include a decent multi-process welder, a chop saw, two angle grinders, basic safety gear, and material for a welding table.
Why do my welds look “porous” or like Swiss cheese? This is usually caused by “porosity,” which happens when shielding gas is blown away by a fan or when the metal is dirty. Ensure your work area is shielded from strong drafts and use a wire brush or grinder to clean the steel to shiny metal before welding.
(This article was written by one of our staff writers, Michael Thompson. Visit our Meet the Team page to learn more about the author and their expertise.)