The Essential Tool Checklist for a Home Shop (Review Guide)
When I stood in my empty two-car garage back in 2013, I had exactly $2,000 and a lot of ambition. As a former industrial maintenance technician, I knew what a professional shop looked like, but scaling that down to a residential setting was a different challenge. I remember the anxiety of looking at tool catalogs and wondering if I was about to buy a piece of equipment that would sit idle or, worse, trip my circuit breakers every five minutes. The fear of wasting hard-earned money on the wrong gear is a major hurdle for many starting their first metalworking journey.
The reality of setting up a functional fabrication space is that you do not need every tool at once. In fact, buying too much too soon often leads to a cluttered, unsafe environment. My approach focuses on a logical progression. We start with the ability to measure and mark, move to cutting and grinding, and finally reach joining and finishing. By following a structured plan, you can build a capable shop that respects both your budget and your square footage.
Evaluating Your Foundation: Space and Power Constraints
Before purchasing a single piece of hardware, you must understand the physical and electrical limits of your workspace. This phase involves assessing your floor plan and ensuring your home’s electrical system can handle the high-amperage demands of metalworking machinery without creating fire hazards.
In my first shop, I made the mistake of assuming a standard 15-amp household outlet could handle a small stick welder. I quickly learned that “can it run” and “should it run” are two very different things. Most garage outlets are wired with 14-gauge wire on a 15-amp breaker. For a reliable starter metal workshop layout, you really need a dedicated 20-amp circuit using 12-gauge wire. This prevents the voltage drops that lead to poor weld penetration and overheated motors.
You should also map out your “hot zone.” This is the area where sparks will fly from grinding and welding. According to safety standards similar to those used by the American Welding Society (AWS), you should maintain a 35-foot radius clear of flammable materials when performing hot work. In a small garage, this isn’t always possible, so using fire-resistant welding blankets and metal shields becomes a requirement rather than an option.
| Tool Class | Typical Amp Draw (Start/Run) | Recommended Circuit |
|---|---|---|
| 4.5-inch Angle Grinder | 6A / 10A | 15A Standard |
| Small MIG Welder (110V) | 15A / 20A | 20A Dedicated |
| Abrasive Chop Saw | 15A / 15A | 20A Dedicated |
| Bench Grinder | 3A / 5A | 15A Standard |
| Drill Press (Benchtop) | 5A / 8A | 15A Standard |
- Actionable Step: Locate your breaker panel and identify which outlets are on which circuits. Label them clearly so you don’t accidentally run a vacuum and a grinder on the same line.
Prioritizing Your First Purchases: The Logic of Tool Sequencing
Effective shop planning requires a “Phase-Based” acquisition strategy where each tool builds on the capabilities of the last. This prevents analysis paralysis and ensures you have the necessary support equipment, like clamps and safety gear, before the heavy machinery arrives.
I often see beginners spend 80% of their budget on a high-end welder, only to realize they have no way to cut the steel or clean the mill scale off the metal. In my experience, a better allocation is to spend 30% on safety and measurement, 40% on cutting and prep tools, and the remaining 30% on your joining equipment. This balance ensures that when you finally start welding, your joints are square, clean, and safe.
Building on this, you should focus on “versatility per dollar.” An angle grinder is perhaps the most versatile tool in a budget metalworking tools list because it can cut, grind, sand, and brush. It should almost always be your first power tool purchase. Interestingly, having two low-cost grinders is often more efficient than one expensive one, as it saves you from constantly swapping between a cutting disc and a flap disc.
- Phase 1: Safety gear, measuring tools, and basic hand files.
- Phase 2: Angle grinders, workbenches, and clamping systems.
- Phase 3: Cutting saws and drilling equipment.
- Phase 4: Welding machines and finishing tools.
Essential Cutting and Shaping Equipment for Metal Fabrication
Cutting metal requires tools that can handle high heat and friction without losing their edge or compromising safety. For a home shop, the choice usually comes down to portability, accuracy, and the amount of debris the tool generates during operation.
The 4.5-inch angle grinder is the heartbeat of the small shop. When selecting one, look for a “paddle switch” design rather than a sliding toggle. In an emergency, letting go of a paddle switch immediately kills the power, which is a critical safety feature. I also recommend checking the “duty cycle” or heat rating. For a beginner, a tool that can run for 10 minutes of heavy grinding without the casing becoming too hot to touch is a good benchmark for quality.
For straight cuts, many beginners gravitate toward abrasive chop saws. While they are affordable fabrication tools, they are incredibly messy and loud. If your budget allows, a portable band saw (often called a “Portaband”) mounted on a DIY or commercial stand is a much better choice. It produces almost no sparks, creates less noise, and results in a cleaner cut that requires less cleanup. This makes it ideal for confined garage spaces where dust management is a constant battle.
- Angle Grinder Tip: Never use a grinding wheel for cutting or a cutting disc for grinding. The fiberglass reinforcement is designed for specific directional stresses, and using them incorrectly can cause the disc to shatter.
- Filing: Do not overlook a set of high-quality hand files. A “Bastard” cut file is essential for removing sharp burrs that can cause serious injury during assembly.
Choosing a Beginner-Friendly Welding System
Welding is the process of joining two pieces of metal by melting them together with an electric arc. For a home shop, the choice of welder is dictated by your available power, the thickness of the material you plan to use, and your patience for learning.
There are three main types of welding for beginners: Flux-Core Arc Welding (FCAW), MIG (Metal Inert Gas), and Stick (SMAW). If you are working on a strict budget and only have 110V power, a Flux-Core machine is often the starting point. It doesn’t require a gas bottle, which saves on initial costs and makes it more portable. However, it produces more “spatter” (small beads of molten metal) that you will have to grind off later.
MIG welding is generally considered the easiest to learn because it uses a wire feeder and a shielding gas to create very clean welds. The downside is the cost of the gas cylinder and the regulator. If you plan to do a lot of thin-gauge work, such as sheet metal for art or furniture, MIG is the superior choice. Stick welding is better for thicker structural steel and is very forgiving of dirty or rusty metal, but it has a steeper learning curve for achieving a “pretty” weld.
| Feature | Flux-Core (FCAW) | MIG (GMAW) | Stick (SMAW) |
|---|---|---|---|
| Initial Cost | Lowest | Moderate | Low |
| Learning Curve | Easy | Easiest | Moderate/Hard |
| Cleanliness | Messy (Spatter) | Very Clean | Moderate (Slag) |
| Portability | High | Low (Gas Bottle) | High |
| Outdoor Use | Excellent | Poor (Wind) | Excellent |
- Beginner Welder Power Requirements: Ensure your welder has a “thermal overload” protection circuit. This prevents the machine from burning out its internal components if you exceed its duty cycle.
Establishing a Safe Workspace: Ventilation and Fire Prevention
Safety in a metal shop isn’t just about wearing goggles; it is about managing the invisible hazards like metal dust and welding fumes. Proper garage workshop ventilation is the most overlooked aspect of shop planning, yet it is vital for long-term health.
Metal grinding produces fine particulates that can stay suspended in the air for hours. A standard box fan in a window is rarely enough. I recommend a dedicated exhaust fan that can provide at least 5 to 10 air changes per hour. If you are welding, you also need to worry about hexavalent chromium and other toxins found in metal coatings. A simple way to test your ventilation is the “smoke test”: if the smoke from a weld doesn’t immediately move toward your exhaust, your airflow is insufficient.
Fire prevention is another non-negotiable. You should have a Class ABC fire extinguisher mounted within reach of your exit door, not tucked away behind your workbench. I also keep a “fire watch” log. After I finish any grinding or welding, I stay in the shop for at least 30 minutes to ensure no stray sparks are smoldering in a corner or a trash can. This is a common industrial practice that every home hobbyist should adopt.
- PPE Minimums: ANSI Z87+ rated safety glasses (the ‘+’ indicates high-impact rating), a welding helmet with a shade 10-13 lens, and leather gloves.
- Clothing: Never wear synthetic fabrics like polyester or nylon. They will melt to your skin if a spark hits them. Stick to 100% cotton or leather.
Organizing for Efficiency: Workbench and Layout Strategies
A well-organized shop allows you to move safely and keeps your tools within reach. The centerpiece of any metal shop is the welding table. Unlike a woodworking bench, a metalworking bench must be conductive, fireproof, and perfectly flat.
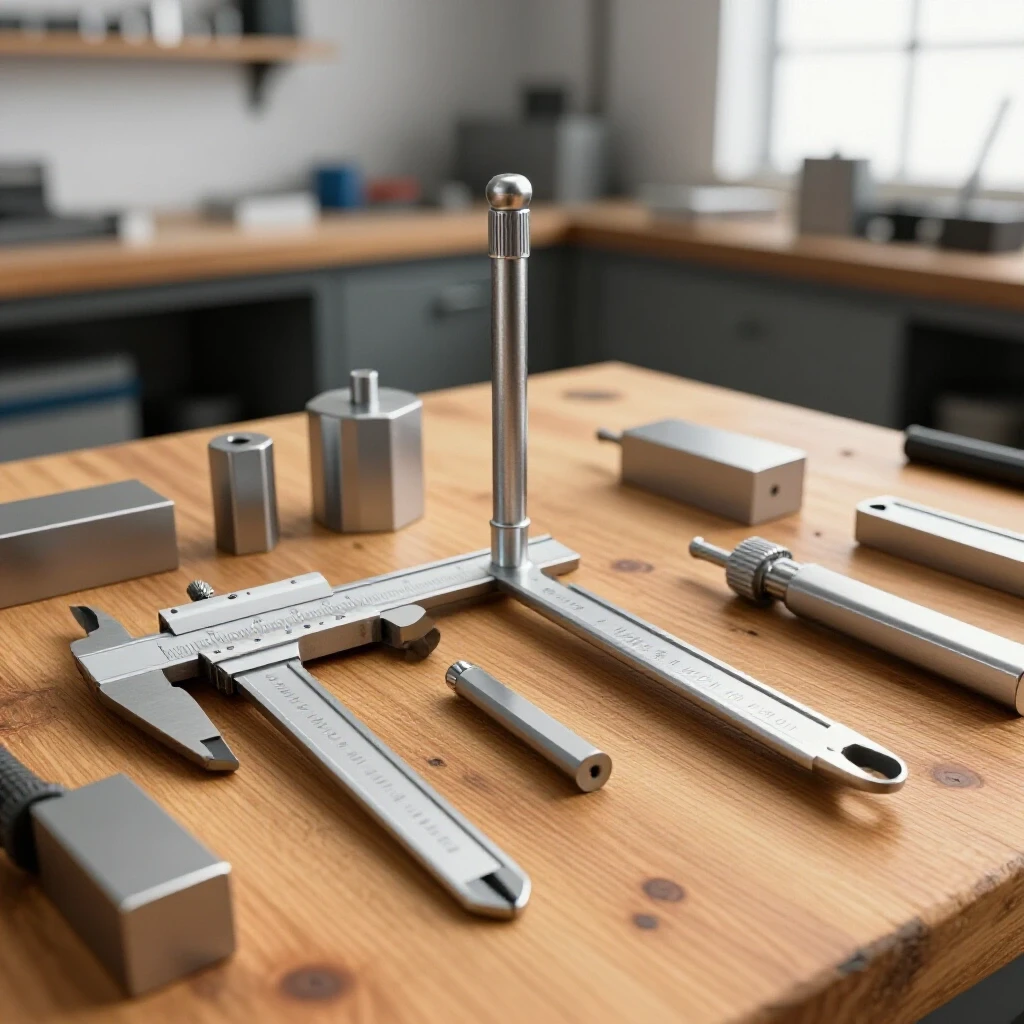
For my first bench, I used a 3/8-inch thick steel plate on a heavy-duty steel frame. A thinner top will warp under the heat of welding. When planning your layout, try to separate your “clean” tasks (measuring, marking, assembly) from your “dirty” tasks (grinding, cutting, welding). If you put your precision measuring tools right next to your grinder, they will quickly become covered in abrasive dust and metal shavings, which can ruin their accuracy.
I use a “mobile base” strategy for almost everything. In a small garage, being able to roll your drill press or saw into the center of the room for a long cut and then tuck it back against the wall is essential. This keeps your floor space flexible. I also recommend tracking your tooling-to-machine cost ratios. For every dollar you spend on a machine, expect to spend about 50 cents on the “consumables” like drill bits, grinding wheels, and welding wire over the first year.
- Workbench Height: A standard height is 34 to 36 inches, but for detail work, you might want it slightly higher to save your back.
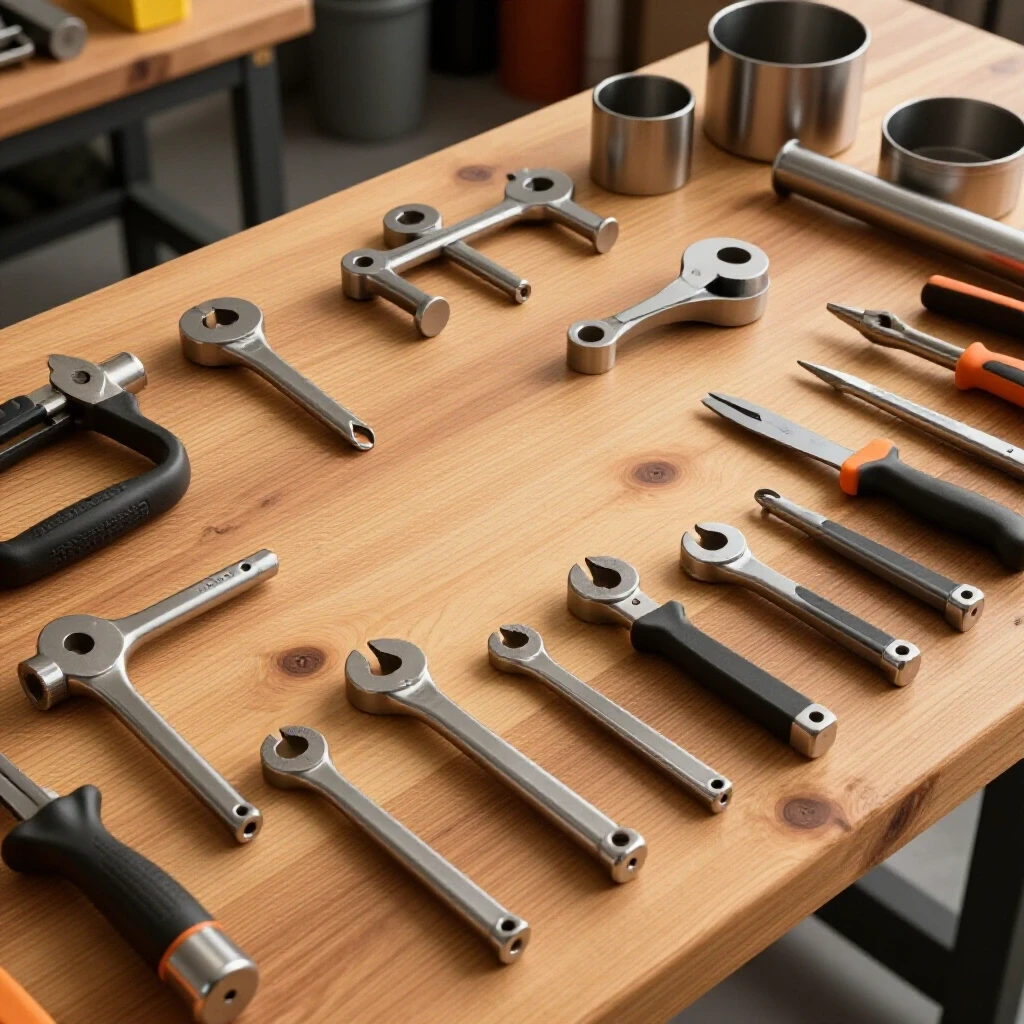
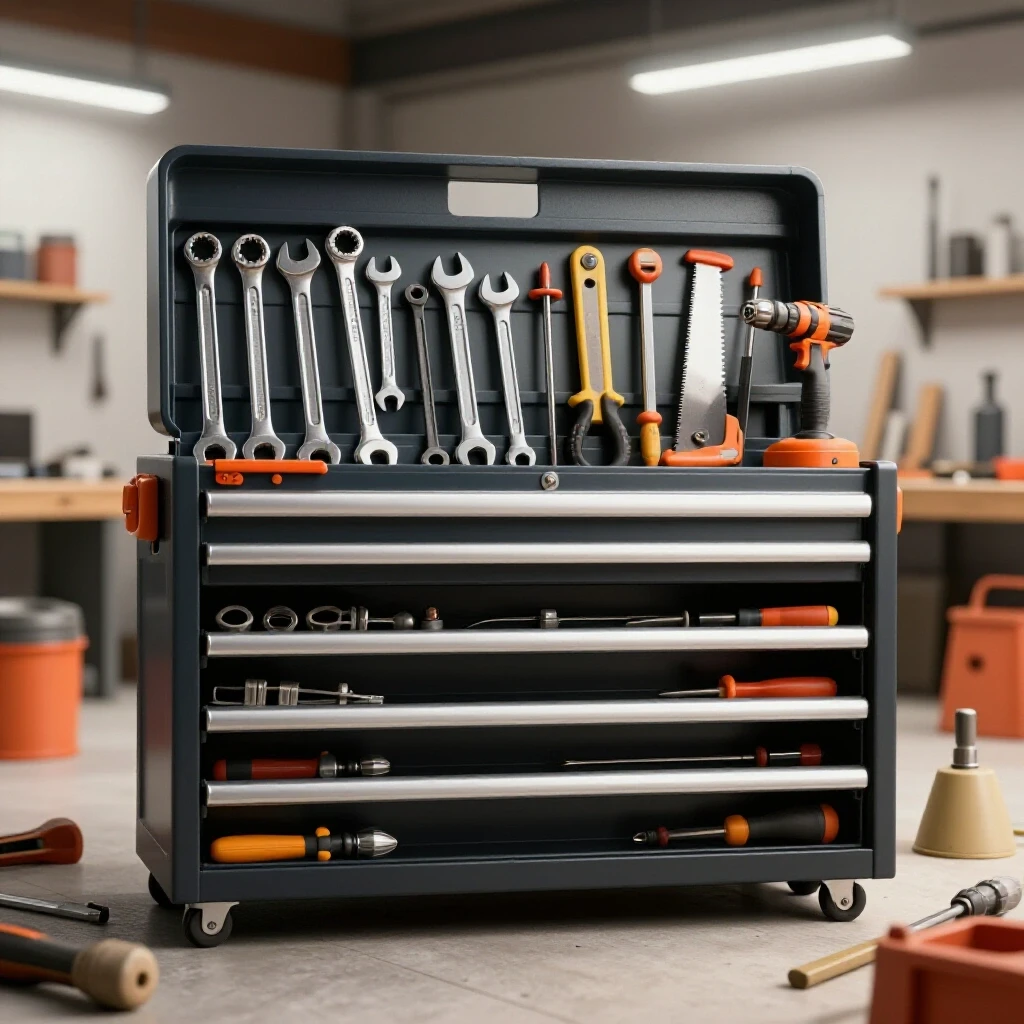
- Shadow Boards: Use pegboards or foam inserts to organize your tools. This allows you to see at a glance if something is missing at the end of the day.
Tracking Costs and Tool Lifespan
One of the biggest pitfalls for beginners is the “hidden” cost of consumables. When you buy a grinder, the price tag doesn’t include the 20 cutting discs you will go through in your first month. Keeping a simple spreadsheet of your spending helps you identify where your money is actually going.
In my experience, buying the cheapest abrasives is a mistake. A $1 cutting disc might seem like a bargain compared to a $3 disc, but the $3 disc often lasts five times longer and cuts faster, which reduces the strain on your tool’s motor. This is where meticulous record-keeping pays off. By tracking how long your consumables last, you can make informed decisions about which brands offer the best value.
| Item Category | Expected Lifespan (Hobbyist) | Annual Cost Estimate |
|---|---|---|
| Angle Grinder (Quality) | 5-7 Years | $15 (Amortized) |
| Grinding/Cutting Discs | Consumable | $100 – $150 |
| Welding Wire/Gas | Consumable | $80 – $120 |
| Drill Bits (HSS) | 1-2 Years (if sharpened) | $40 |
| PPE (Gloves/Aprons) | 1 Year | $50 |
- Maintenance Tip: Blow out your power tools with compressed air once a week. Metal dust is conductive; if it builds up inside your grinder or welder, it can cause a short circuit and kill the tool prematurely.
Final Steps for the First-Time Fabricator
Setting up your shop is an iterative process. You don’t need to have a “finished” space before you start your first project. In fact, your first few projects will likely dictate how you reorganize your tools. My first project was a simple set of jack stands, and by the end of it, I realized I needed much better lighting over my workbench.
Start by clearing your space and verifying your electrical capacity. Once you have a safe 20-amp circuit and a clear floor, buy your safety gear and your first angle grinder. Practice making straight cuts in scrap steel and cleaning the edges. This “tool vetting” process ensures you are comfortable with the equipment before you move on to more complex tasks like welding.
The most successful shops aren’t the ones with the most expensive tools; they are the ones where the owner knows the limits of their equipment and maintains a strict standard of safety and organization. Metalworking is a rewarding skill that allows you to build things that will last a lifetime, provided you build your shop on a solid, well-planned foundation.
Frequently Asked Questions
Can I run a welder on a standard 15-amp household circuit? While some small 110V welders will start on a 15-amp circuit, they will frequently trip the breaker when you try to weld thicker material. For consistent results and safety, a dedicated 20-amp circuit is highly recommended to handle the high current draw without overheating your home’s wiring.
What is the most important safety item for a new metal shop? Beyond eye protection, a high-quality fire extinguisher rated for Class ABC fires is the most critical. Metalworking creates thousands of sparks that can smolder unnoticed. Having an extinguisher and performing a “fire watch” for 30 minutes after working are essential habits.
Is Flux-Core welding better than MIG for a beginner? Flux-Core is often better for those on a strict budget because it doesn’t require an expensive gas cylinder. It is also better for outdoor work where wind might blow away shielding gas. However, MIG is easier to learn and produces much cleaner results with less cleanup.
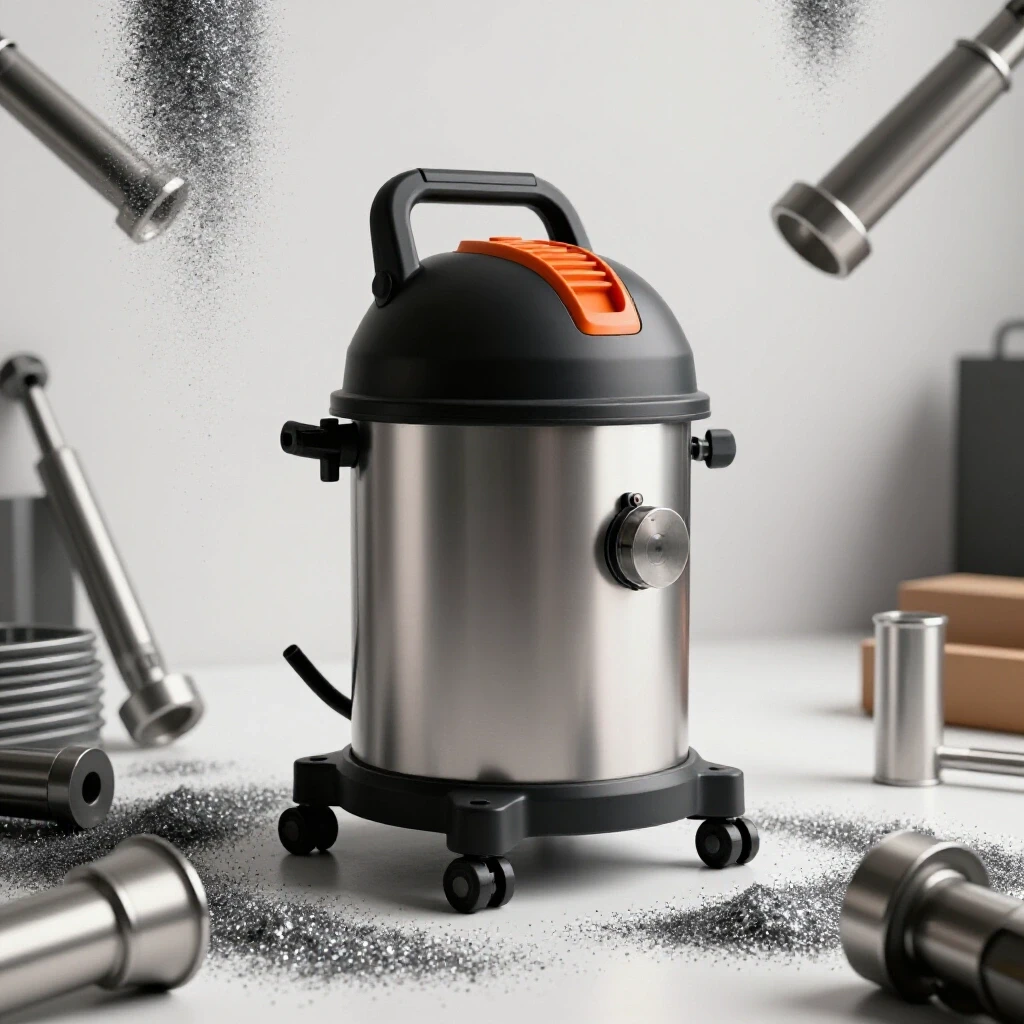
How do I manage metal dust in a garage workshop? Use a combination of source collection and general ventilation. Positioning a shop vacuum near your grinder helps, but you also need an exhaust fan to pull fine dust out of the air. Always wear a P100 rated respirator when doing heavy grinding in a confined space.
Why shouldn’t I buy the cheapest tools available? Cheap tools often have lower “duty cycles,” meaning they overheat quickly. They also tend to have poorer safety features and lower-quality bearings. Investing slightly more in a mid-range tool usually results in a longer lifespan and a much safer user experience.
What thickness of steel should I use for my first welding table? A minimum of 1/4-inch is required, but 3/8-inch or 1/2-inch is preferred. Thinner sheet metal will warp under the intense heat of welding, leaving you with a surface that isn’t flat, which makes it impossible to build square projects.
How many angle grinders do I really need? While you can start with one, having two is a major efficiency boost. It allows you to keep a cutting disc on one and a grinding or flap disc on the other, saving you the time and frustration of constant tool changes.
What are the basic measuring tools I need to start? At a minimum, you need a high-quality steel tape measure, a combination square for checking 90 and 45-degree angles, and a carbide-tipped scriber for marking lines on dark steel. Sharpies are common but lack the precision needed for tight-fitting joints.
Do I need a special floor for a metal shop? Concrete is ideal. If your garage floor is coated with epoxy, be aware that hot sparks and slag can melt or discolor the coating. Using welding blankets on the floor in your “hot zone” can help protect the finish.
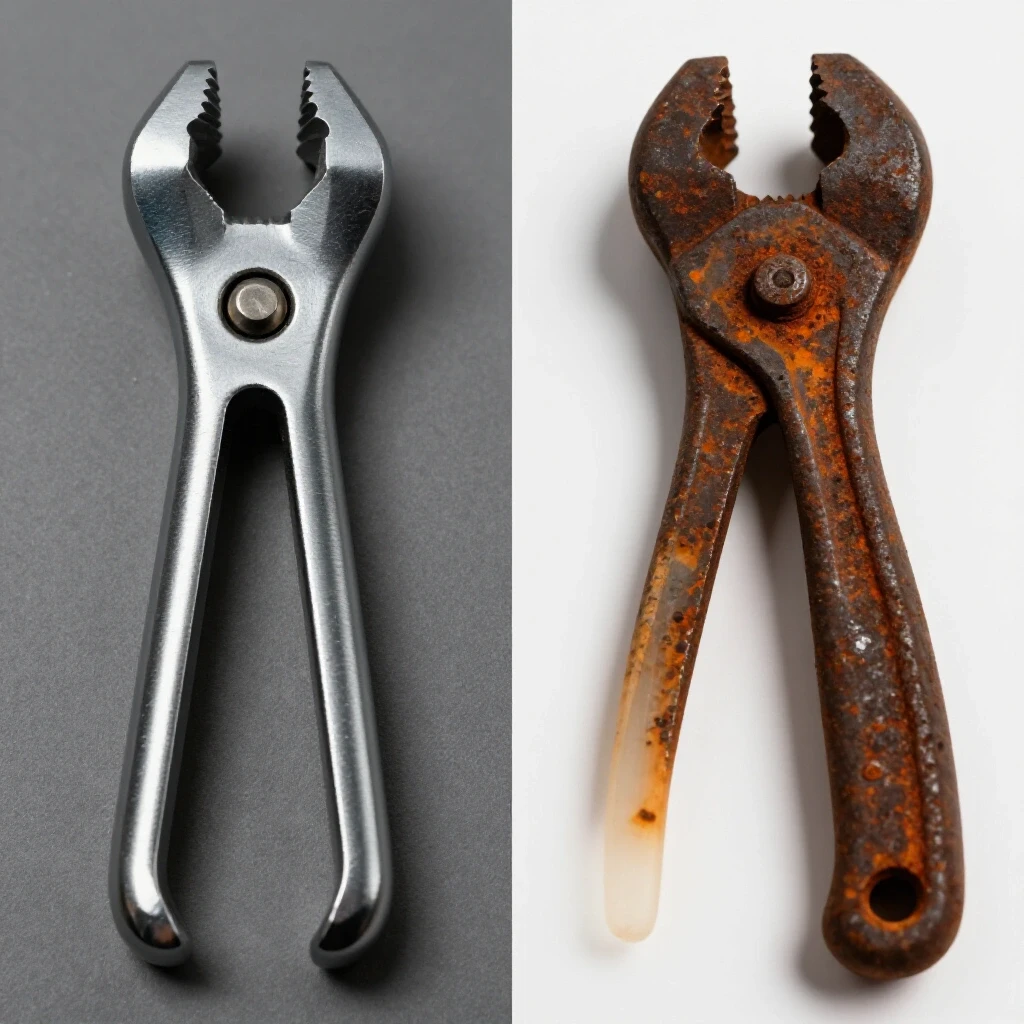
How do I store my metal so it doesn’t rust? Steel comes with “mill scale” or a light oil coating to prevent rust. Keep it off the damp concrete floor by building a simple rack or using wooden pallets. If you live in a humid area, a light coat of WD-40 or specialized rust preventative can help protect cleaned steel.
(This article was written by one of our staff writers, Michael Thompson. Visit our Meet the Team page to learn more about the author and their expertise.)