How to Inspect and Buy a Quality Used Drill Press (Guide)
When I built my first garage workshop in 2013, I had exactly $2,000 in my pocket and a long list of tools I thought I needed. Like many of you, I spent hours scrolling through online marketplaces, paralyzed by the fear of spending my limited savings on a piece of junk.
In my twelve years as an industrial maintenance technician, I have learned that the secondary market is the best friend of a budget-conscious beginner. You can often find a heavy, cast-iron machine from twenty years ago that outperforms a brand-new, entry-level model from a big-box store. However, buying second-hand requires a disciplined approach to mechanical evaluation. You aren’t just looking for a tool that turns on; you are looking for a stable platform that can handle the high torque and heat generated by drilling through structural steel.
Assessing Your Workshop’s Physical and Electrical Capacity
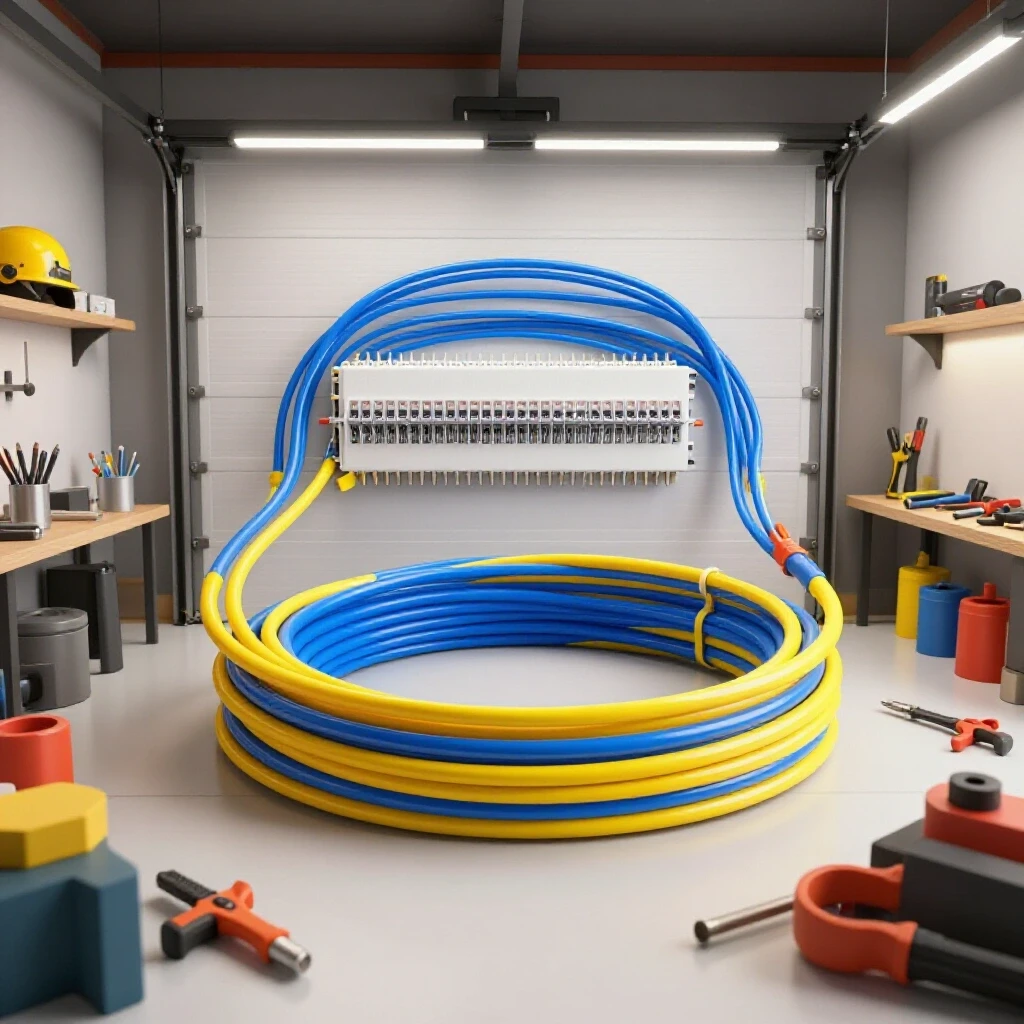
Before searching for equipment, you must define the physical and electrical limits of your workspace to ensure any new addition functions safely. This involves measuring your available floor space and verifying that your electrical circuits can handle the startup current of an induction motor without tripping breakers or overheating wires.
In a small garage, every square inch is prime real estate. A floor-standing model offers more capacity but consumes permanent floor space, while a benchtop version requires a sturdy, vibration-dampening stand. From a safety perspective, I always recommend checking your breaker panel first. Most residential outlets are on 15-amp circuits, which may struggle with a 1-horsepower motor under heavy load. If you plan on running a welder and a drill press simultaneously, you will likely need to look into a dedicated 20-amp line to meet basic workshop safety standards.
Understanding Tool Footprints and Clearances
A tool footprint is the actual floor area the machine occupies, while clearance refers to the “buffer zone” needed around the machine for safe operation. For metalworking, you need enough room to swing long pieces of bar stock or angle iron without hitting walls or other equipment.
I recommend a minimum of 36 inches of clear space on either side of the spindle. If you are working in a confined 10×10 area, a benchtop model might be your only choice. During my first shop layout, I made the mistake of tucking my machine into a corner. I quickly realized I couldn’t drill holes in the ends of four-foot tubes because the wall was in the way. Always plan for the longest material you expect to use.
Evaluating Electrical Draw and Circuit Safety
Electrical draw refers to the amount of current, measured in amps, that a motor pulls from your home’s power grid during operation. “Startup surge” is a brief spike in amperage that occurs when you first flip the switch, which can be two to three times higher than the running amps.
If your garage is wired with old 14-gauge wire on a 15-amp breaker, a heavy-duty motor might cause the lights to flicker or the breaker to pop. According to standard electrical safety practices, you should never load a circuit to more than 80% of its rated capacity for continuous use. I tracked my power usage in a simple spreadsheet during my first year to avoid overloading my sub-panel.
| Tool Class | Typical Motor HP | Running Amps (120V) | Recommended Circuit |
|---|---|---|---|
| Light Benchtop | 1/3 HP | 4 – 5A | 15A Standard |
| Standard Floor | 1/2 to 3/4 HP | 7 – 9A | 15A Dedicated |
| Heavy Duty | 1 HP + | 12 – 14A | 20A Dedicated |
Identifying Signs of Mechanical Wear in Pre-owned Equipment
Mechanical wear refers to the gradual degradation of moving parts due to friction, lack of lubrication, or improper use by a previous owner. When inspecting a machine, you are looking for “slop” or “play,” which are informal terms for unintended movement in components that should be rigid.
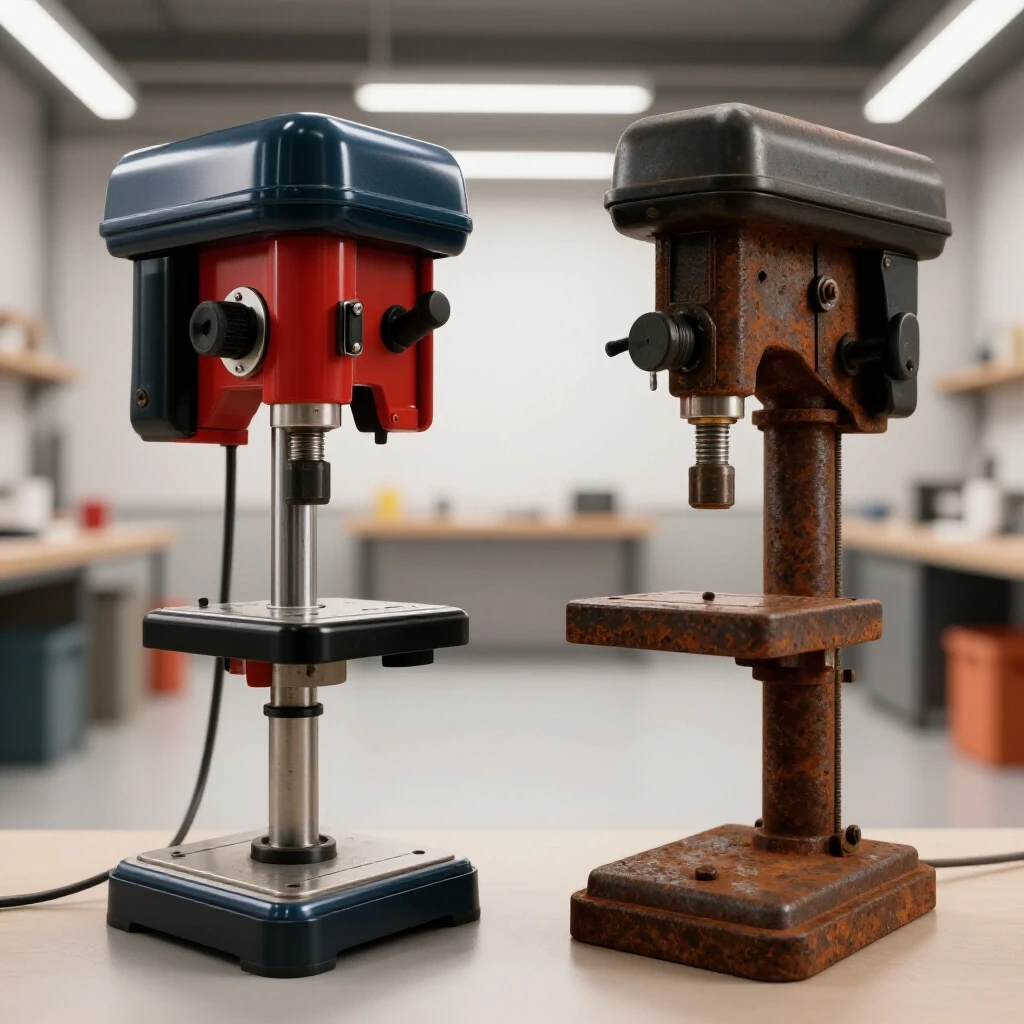
When you arrive to look at a machine, don’t let a fresh coat of paint fool you. I have seen many “refurbished” tools that were just spray-painted over rust and grime. You need to look at the “bones” of the machine. This means checking the spindle, the quill, and the table for signs of abuse, such as “the arc of shame”—a series of holes drilled into the cast-iron table by a careless operator.
Measuring Spindle Runout for Precision
Spindle runout is a measurement of how much the center of the drill chuck wobbles as it rotates, usually measured in thousandths of an inch. Even a small amount of runout will cause the drill bit to “walk” across the metal, resulting in oversized or oval-shaped holes.
To check this, I always bring a dial indicator with a magnetic base. Place the indicator tip against the inside of the spindle taper or on a smooth test bar clamped in the chuck. Rotate the spindle by hand. For hobbyist metalworking, you want to see less than 0.005 inches of movement. Anything more than 0.010 inches will make precision fabrication, like drilling holes for bolts that must align perfectly, very difficult.
Inspecting the Quill and Housing Fit
The quill is the sleeve that moves up and down to feed the drill bit into the work, and the housing is the part of the head casting that holds it. Over years of use, the friction between these two parts can wear away the metal, leading to lateral (side-to-side) movement.
Extend the quill about halfway down and try to wiggle it with your hand. There should be almost zero perceptible movement. If the quill feels loose in the housing, your holes will not be straight. Some higher-end older machines have a “quill lock” or an adjustment screw to tighten this fit, but on many budget models, excessive quill play is a permanent defect that makes the machine a poor choice for metalwork.
Evaluating the Table and Column Alignment
Table and column alignment refers to the structural relationship between the vertical post of the machine and the flat surface where you clamp your workpiece. In a quality machine, the table must be perfectly perpendicular to the spindle so that holes are drilled at a true 90-degree angle.
A common issue with used machines is a “crowned” or warped table caused by someone over-tightening a heavy vise or dropping something heavy on it. I always bring a 12-inch machinist’s square and a straightedge to verify that the table is flat and that it sits square to the column. If the table is tilted or the column is bent, you will spend more time fighting the machine than actually building your projects.
Checking for Table Sag and Locking Rigidity
Table sag occurs when the support arm or the clamping mechanism is too weak to hold the weight of a heavy metal vise and the downward pressure of drilling. This is particularly common on “hobby-grade” machines found in big-box stores.
Lock the table at a comfortable height and lean on it with moderate pressure. If you can see the table tip downward even slightly, it will flex during a heavy cut. This flex changes the angle of your hole as you drill deeper. A solid cast-iron table with a robust locking handle is a non-negotiable requirement for anyone serious about metal fabrication.
Verifying Column Condition and Rack Movement
The column is the steel pipe that supports the head and table, and the rack is the geared strip that allows the table to move up and down. You should inspect the column for deep pits of rust or “scoring” marks that indicate the table was moved without being fully loosened.
Check the crank handle that raises and lowers the table. It should move smoothly throughout its entire range. If it binds or skips, the teeth on the rack or the internal gears might be stripped. Replacing these parts is often more expensive than the machine is worth, so I generally walk away from any unit with a damaged elevation system.
Checking the Drive System and Motor Performance
The drive system consists of the motor, the pulleys, and the belts that transfer power to the spindle. In a metalworking context, the drive system is responsible for providing the low speeds necessary to drill through thick steel without burning up your expensive drill bits.
Metal requires much slower speeds than wood. When inspecting a used machine, look at the belt configuration under the top cover. You want a machine that can get down to at least 250 or 300 RPM. Many older machines designed for woodworking have a minimum speed of 600 RPM, which is too fast for a 1/2-inch drill bit in mild steel.
Assessing Belt Tension and Pulley Alignment
Belts should be supple and free of cracks, and pulleys should be aligned so the belt runs straight. If you see black dust inside the head casting, the belts are slipping or the pulleys are misaligned, which causes premature wear.
I always ask the seller to let me run the machine through its full range of speeds. Listen for “thumping” sounds, which indicate a belt that has developed a “set” from sitting unused for years. While belts are cheap and easy to replace, wobbling pulleys often indicate a bent motor shaft or a worn-out spindle bearing, both of which are major red flags.
Testing the Motor Under Load
The motor is the heart of the tool, and its condition is best judged by sound and temperature. A healthy induction motor should hum quietly; it should not growl, whine, or produce a “burnt toast” smell.
- Listen for Bearing Noise: A high-pitched squeal usually means the motor bearings are failing.
- Check for Vibration: Place your hand on the motor housing while it’s running. It should feel smooth. Excessive vibration will transfer to the drill bit and ruin your surface finish.
- Verify the Switch: The power switch should have a positive “click” and should not feel mushy. For safety, it is best if the machine has a large, easily accessible “Stop” paddle.
Safety Standards and Occupational Health in the Home Shop
Safety in a metalworking shop is about more than just wearing goggles; it involves the correct setup of the machine to prevent catastrophic failures. The American Welding Society (AWS) and OSHA provide guidelines that, while designed for industry, offer an excellent framework for the home hobbyist.
One of the biggest risks in a home shop is the “helicopter effect,” where a piece of metal gets caught by the drill bit and spins at high speed. A quality used machine should have a table that allows for easy bolting of a heavy-duty drill press vise. If the machine’s table is too small or lacks proper T-slots, you are increasing your risk of injury.
Implementing Basic OSHA-Adjacent Safety Measures
OSHA standard 1910.212 requires that machinery be anchored to prevent walking or moving. For a floor-standing model, this means bolting it to your garage floor. For a benchtop model, it must be bolted to a heavy, stable workbench.
In my shop, I keep a “safety log” where I record every time I inspect the belts and the tightness of the mounting bolts. It sounds tedious, but as a maintenance tech, I’ve seen how vibration can slowly loosen hardware over time. A machine that vibrates itself loose is a projectile hazard.
Budgeting for Personal Protective Equipment (PPE)
A common beginner mistake is spending the entire budget on the machine and nothing on safety gear. I recommend allocating at least 30% of your initial startup funds to high-quality PPE and measuring tools.
- Eye Protection: Use Z87.1+ rated safety glasses. In metalworking, hot chips fly everywhere.
- Hearing Protection: A drill press isn’t loud, but the process of cutting metal is.
- No Gloves Rule: Never wear gloves when operating a rotating machine. A glove can get caught in the spindle and pull your hand into the machinery. This is a fundamental rule in industrial safety.
Budgeting for Accessories and Tooling
The machine itself is only half of the equation; you also need a way to hold your work and the bits to cut it. In metalworking, “tooling” refers to the consumable items and secondary attachments that make the machine functional.
I have tracked my costs over the years and found a consistent ratio: you will eventually spend as much on vises, clamps, and drill bits as you did on the machine itself. If you buy a $200 used drill press, expect to spend another $200 on a decent vise and a set of Cobalt drill bits.
| Item Type | Estimated Cost (Budget) | Why It’s Essential |
|---|---|---|
| Drill Press Vise | $60 – $120 | Prevents work from spinning; ensures safety. |
| Cobalt Drill Bit Set | $80 – $150 | Handles stainless and structural steel. |
| Cutting Fluid | $15 | Reduces heat; extends bit life. |
| T-Bolt/Clamping Kit | $40 | Secures the vise to the table. |
Why Quality Bits Save Money
Cheap, high-speed steel (HSS) bits from a local hardware store will dull almost instantly when drilling through 1/4-inch steel plate. This leads to “work hardening,” where the heat from the dull bit actually makes the metal harder and impossible to drill.
I suggest starting with a small set of high-quality Cobalt bits. They are designed to withstand higher temperatures. In my early days, I wasted nearly $100 on “bargain” bit sets that I had to replace within months. Buying the right bits first is a core part of being a budget-conscious fabricator.
Selecting a Functional Drill Press Vise
A vise is not the place to skimp. A “utility vise” from a workbench is not a drill press vise. A proper drill press vise has a flat bottom and long slots for bolting it down.
When inspecting a used vise, check that the jaws are parallel and that the screw turns without binding. If the jaws are chewed up from people drilling into them, it won’t hold your work securely. A secure workpiece is the difference between a successful project and a trip to the emergency room.
Actionable Inspection Checklist for Your First Purchase
To help you stay organized during an inspection, I have developed this checklist based on my years in industrial maintenance. Use this to keep your emotions out of the buying process so you don’t overlook a critical flaw.
- Visual Check: Look for “the arc of shame” (holes in the table) and cracks in the cast iron.
- Spindle Runout: Use a dial indicator; aim for < 0.005″.
- Quill Play: Extend the quill and check for side-to-side wiggle.
- Table Squareness: Use a machinist square against the column.
- Speed Range: Verify it can go low enough for metal (under 300 RPM).
- Motor Sound: Listen for bearing squeal or heavy vibration.
- Belt Condition: Check for cracks, glazing, or misalignment.
- Table Lift: Ensure the rack and pinion move the table smoothly.
- Locking Knobs: Verify that the table and depth stops actually lock tight.
- Power Cord: Look for frayed wires or bypassed grounding pins.
Conclusion
Setting up a functional metalworking space on a budget is entirely possible if you prioritize mechanical integrity over aesthetics. By focusing on the “bones” of a used machine—the spindle, the quill, and the table—you can acquire a tool that will last for decades. Remember that the machine is a platform; your success depends on how well you maintain it, how safely you operate it, and the quality of the tooling you put into it.
Don’t let analysis paralysis stop you from starting. Use the data and checklists provided here to vet your options, and once you find a machine that meets these mechanical standards, bring it home and start making chips. The lessons you learn from your first few projects will be far more valuable than any “perfect” plan on paper.
Frequently Asked Questions
What is the most important thing to check on a used drill press?
The most critical factor is spindle runout. If the spindle wobbles, the machine cannot drill a precise hole, and this is often the most expensive and difficult issue to repair. Always bring a dial indicator to verify this before handing over any money.
How much should I pay for a used floor-standing model?
For a quality older machine (like an old Delta, Powermatic, or Clausing), prices typically range from $150 to $400 depending on condition. If it is a modern budget brand, aim for 50% or less of its current retail price, provided it passes the mechanical inspection.
Can I use a woodworking drill press for metalworking?
Yes, but with one major caveat: speed. Most woodworking machines run too fast for metal. You must check the pulley chart inside the head. If the lowest speed is above 500 RPM, you will struggle to drill holes larger than 1/4 inch in steel without burning up your bits.
Is a benchtop model “enough” for a beginner?
A benchtop model is often sufficient for 80% of hobbyist tasks. The main trade-offs are “swing” (the distance from the column to the bit) and “stroke” (how deep you can drill in one pass). If you are building small brackets or furniture, a benchtop model saves valuable floor space.
Why does the “arc of shame” matter if I’m using a vise?
While a few holes in the table won’t necessarily stop the machine from working, they are a sign of how the previous owner treated the tool. A table riddled with holes suggests the machine was likely run too fast, stalled often, and generally neglected, which means other hidden components like bearings may be worn.
Do I really need to bolt the machine to the floor?
Yes. Metalworking involves high torque. If a large drill bit “grabs” the workpiece, the force can be enough to tip over an unanchored machine. Bolting it down is a fundamental safety requirement that also reduces vibration and improves accuracy.
What is the difference between a 1/2-inch and 5/8-inch chuck?
This refers to the maximum diameter of the drill bit shank the chuck can hold. A 5/8-inch chuck is generally found on more powerful, industrial-leaning machines. For most beginners, a 1/2-inch chuck is plenty, as larger holes are often drilled using “Silver and Deming” bits which have a reduced 1/2-inch shank.
How do I know if the motor is about to fail?
Listen for a “growling” noise or a loud hum without the spindle turning (which indicates a bad start capacitor). If the motor housing becomes too hot to touch after only five minutes of light use, the internal windings are likely failing.
What should I do if the spindle has more than 0.010″ of runout?
In most cases, you should walk away. While you can sometimes replace the chuck or the arbor to fix minor runout, excessive wobble usually points to a bent spindle or worn-out internal bearings, which are difficult and costly repairs for a beginner.
How much space do I need for a drill press in a one-car garage?
Plan for a 3-foot by 3-foot area for the machine itself, but ensure you have “clear flight paths” to the left and right. You need to be able to pass long pieces of metal through the work area without hitting your workbench or storage cabinets.
(This article was written by one of our staff writers, Michael Thompson. Visit our Meet the Team page to learn more about the author and their expertise.)