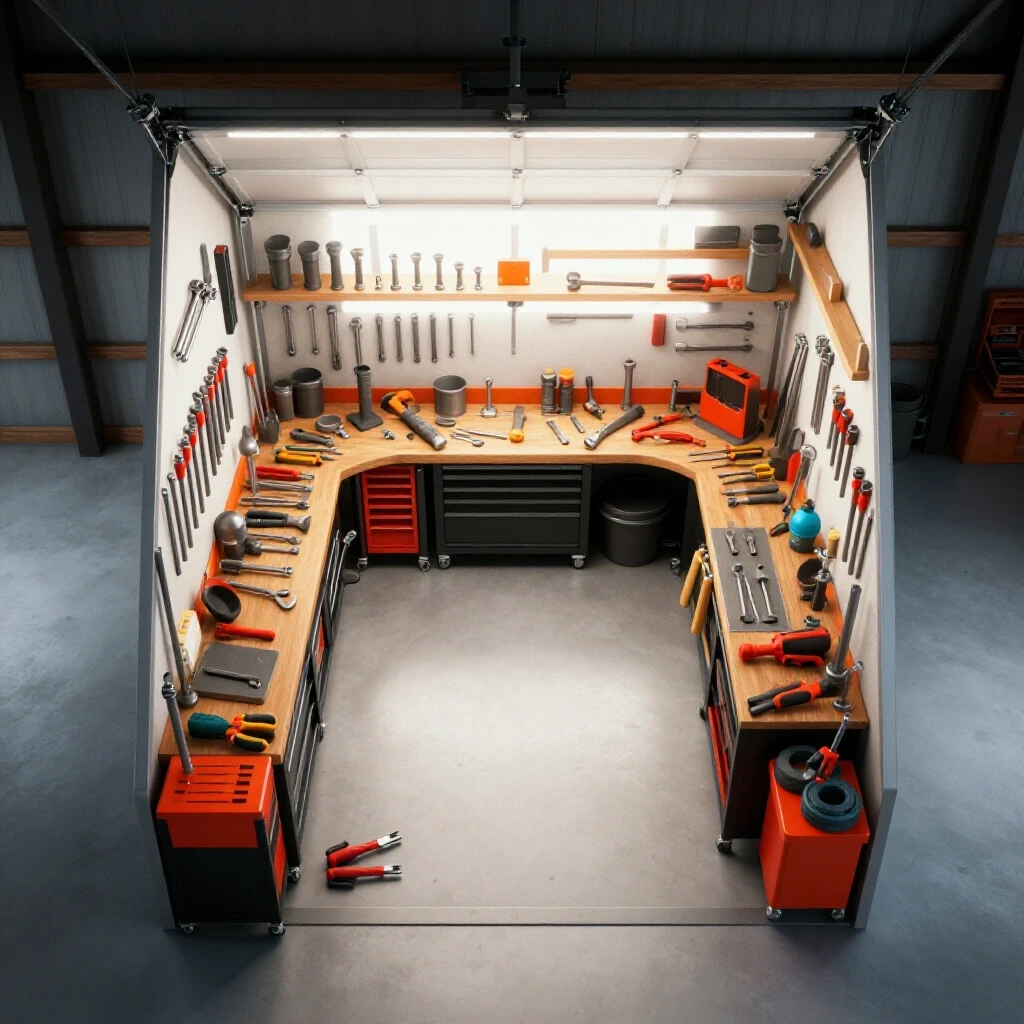
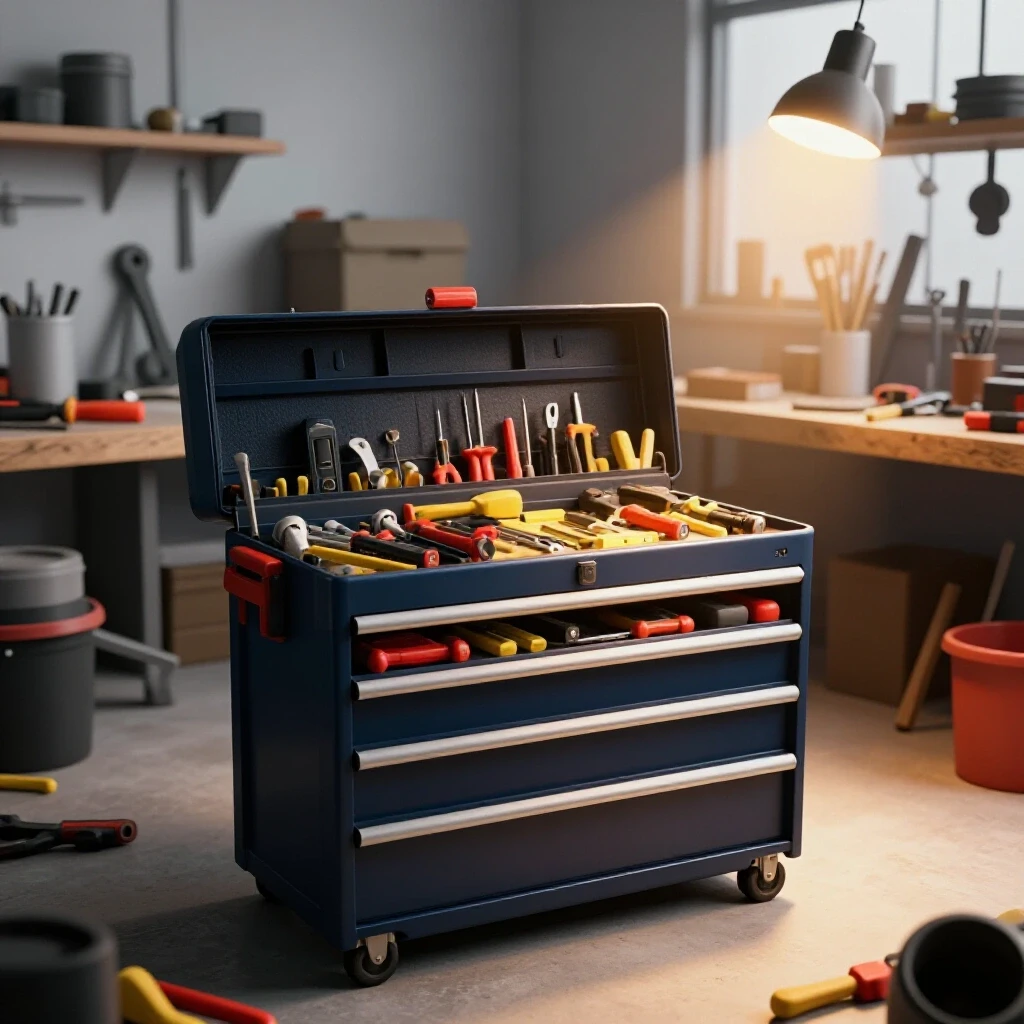
How to Choose the Best Workbench Top Material (Comparison)
When I set up my first garage workshop back in 2013, I had exactly $2,000 and a very clear vision. As a former industrial maintenance technician, I was used to heavy-duty, over-engineered factory surfaces. However, my reality was a cramped single-car garage with a single 15-amp circuit. I spent weeks researching how to build a surface that wouldn’t catch fire the first time I struck an arc, while also keeping enough money in the bank for a decent angle grinder and safety gear. The surface you choose to work on is the most critical piece of infrastructure in your shop because it dictates what kind of projects you can safely handle.
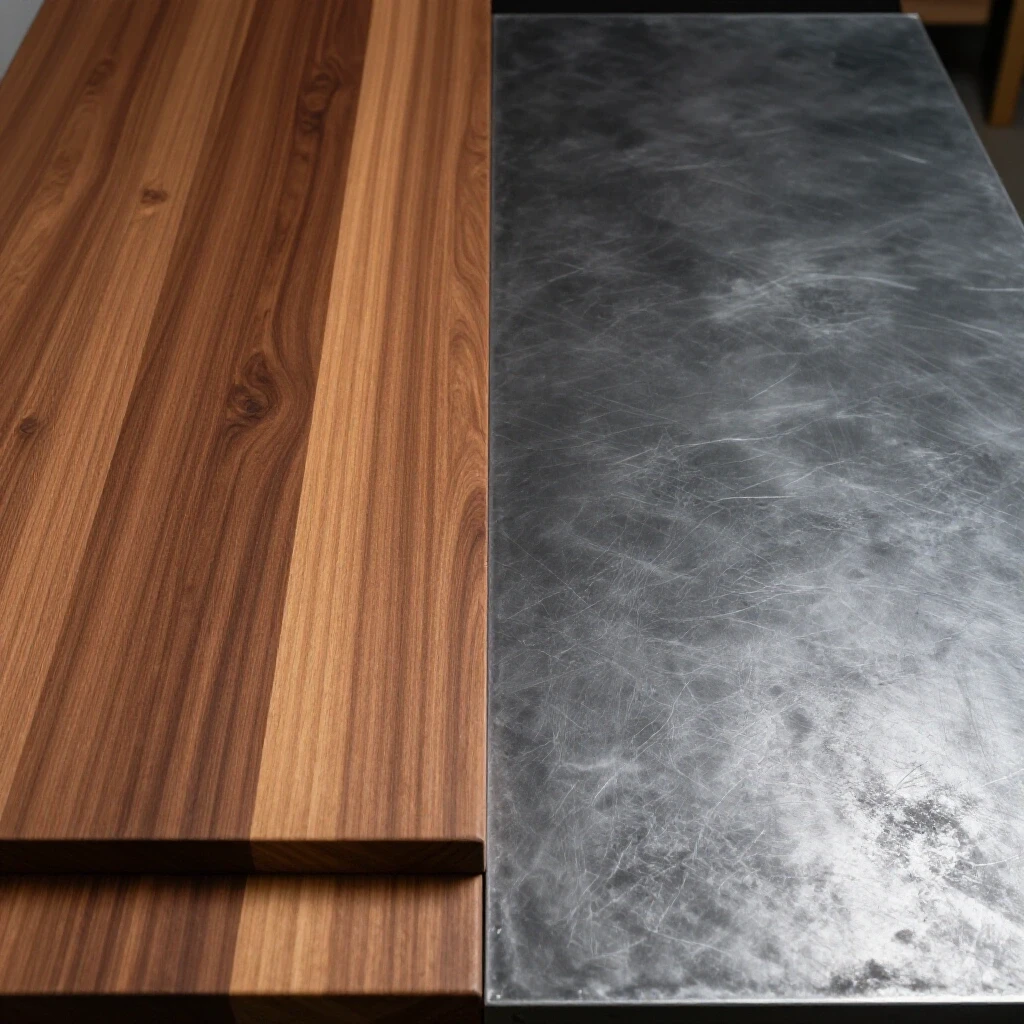
Many beginners experience a form of analysis paralysis when looking at different table surfaces. You see professional fabricators on social media with massive, precision-ground steel tables that cost more than a used car. Then, you see DIY videos of people welding on old wooden desks. The truth for a budget-conscious hobbyist lies somewhere in the middle. You need a surface that balances dimensional stability—the ability of a material to resist changing shape under stress or temperature—with heat tolerance and cost.
Over the last decade, I have tracked every dollar spent on my workshop evolution. I’ve learned that a “cheap” surface that warps or burns ends up costing twice as much when you have to replace it and the project you ruined on it. In this guide, I will break down the trade-offs between various work surfaces so you can make an informed decision that fits your specific budget and safety requirements.
Assessing Your Fabrication Environment and Power Needs
Before selecting a surface material, you must evaluate the physical constraints of your workspace and the electrical capacity of your home or garage. This foundational step prevents you from buying equipment that your house cannot safely power or that won’t fit in your designated area.
In my early days, I tried to run a small welder and a grinder on the same 15-amp circuit. I quickly learned about circuit load, which is the total amount of electricity being pulled by all devices on a single breaker. Most standard garage outlets are on a 15A or 20A circuit. If your welder draws 18A at peak, and your lights are on that same circuit, you will trip the breaker constantly. This isn’t just annoying; it’s hard on your tools’ internal components.
When planning your layout, consider the tool footprint. This is the actual floor space a tool or workbench occupies, including the “swing space” needed to move long pieces of metal around. For a beginner, I recommend a minimum physical clearance of 36 inches around at least three sides of your primary workbench. This allows you to maneuver safely with hot metal or power tools without feeling boxed in.
- 15A Breaker: Suitable for small grinders, drills, and very light-duty 120V welders.
- 20A Breaker: The preferred minimum for entry-level fabrication; allows for more stable arc performance.
- 30% Rule: Allocate 30% of your total startup budget to high-quality safety gear (PPE) and measuring tools before spending on the bench or machines.
Evaluating Surface Materials for Metalworking Success
Choosing between wood, steel, or composite materials requires a realistic look at your primary activities, whether it’s simple assembly, aggressive grinding, or high-heat welding. Each material has a specific profile regarding heat resistance, impact durability, and maintenance needs.
I started with a heavy plywood top because it was what I could afford. While plywood is excellent for layout and assembly, it is a significant fire hazard in a metal shop. I eventually transitioned to a hybrid approach, using a thick wood base topped with a removable steel plate. This provided the mass I needed for hammering without the constant fear of a stray spark starting a fire in the middle of the night.
Mild steel is the gold standard for fabrication because it allows you to ground your welder directly to the table. Grounding is the process of creating a safe path for electricity to return to the source. If your table is steel, you can clip your ground clamp to the table edge, and any piece of metal touching the table becomes part of the circuit. This makes positioning small parts much easier.
Wood and Plywood Surfaces
Wood surfaces are affordable and readily available, providing a soft top that won’t scratch delicate finished parts, but they lack the heat resistance required for heavy grinding or welding. Using wood in a metal shop requires strict adherence to fire safety protocols.
If you choose a wood top, I suggest using at least two layers of 3/4-inch ACX plywood glued and screwed together. This creates a dense, heavy mass that resists vibration. However, you must never weld directly on this surface. Interestingly, many beginners try to “protect” wood with thin sheet metal (20 gauge or thinner). This is often a mistake, as the thin metal warps almost instantly under heat, creating an uneven work surface that makes accurate fabrication impossible.
Mild Steel Plate Surfaces
A solid steel plate is the most durable and functional choice for a fabrication bench, offering a heat-proof surface that can be used for welding, cutting, and heavy pounding. It provides the dimensional stability necessary for keeping your projects square and true.
For a budget-conscious beginner, a 1/4-inch or 3/8-inch thick mild steel plate is the “sweet spot.” A 1/4-inch plate is heavy enough to stay flat but light enough that you can still move the bench with a helper. If you go thinner than 1/4 inch, the heat from a welder can cause the plate to “oil can” or warp. In my shop records, I’ve noted that a 3/8-inch plate offers significantly better impact resistance when using a large vise for bending metal.
Table 1: Fabrication Surface Material Comparison
| Material | Heat Resistance | Impact Resistance | Grounding Ability | Relative Cost |
|---|---|---|---|---|
| Plywood (Double Layer) | Low | Medium | None | Low |
| Mild Steel (1/4″) | High | High | Excellent | Medium |
| Mild Steel (3/8″+) | High | Very High | Excellent | High |
| Stainless Steel | High | High | Good | Very High |
| Aluminum Plate | Medium | Low | Good | High |
Managing Heat and Fire Safety in the Home Shop
Metalworking generates sparks that can travel up to 30 feet and heat that can transfer through surfaces, making fire prevention the most important part of your workshop layout. Following guidelines similar to OSHA (Occupational Safety and Health Administration) standards for hot work can save your home from a disaster.
In my second year of fabrication, I almost caught a pile of sawdust on fire because I was grinding steel near my woodworking bench. Now, I maintain a “clean zone” around my metal bench. A clean zone is an area kept free of flammable materials like wood scraps, paper, or chemicals. I also recommend a “fire watch”—staying in your shop for at least 30 minutes after you finish welding or grinding to ensure no hidden sparks are smoldering.
Ventilation is another critical safety factor. Garage workshop ventilation isn’t just about opening a window. You need to calculate the CFM (Cubic Feet per Minute) required to move fumes away from your face. For a small hobby space, I aim for at least 200 to 400 CFM of localized exhaust. This can be achieved with a high-velocity fan positioned to pull air across the bench and out a door or dedicated vent.
- Fire Extinguisher: Keep a multi-purpose (ABC) extinguisher within 10 feet of your bench.
- Clearance: Maintain at least 18 inches of clearance between your welding surface and any drywall or wooden studs.
- Surfaces: If using a wood bench, consider a sacrificial layer of cement board under your steel plate to provide an extra thermal barrier.
Budgeting for Tooling and Surface Longevity
A functional shop is built in stages, and tracking your startup costs in a structured way helps you avoid wasting money on tools you won’t use. I recommend a spreadsheet to track “cost-per-use” for your equipment to see where your money is actually going.
When I started, I spent too much on a fancy workbench frame and not enough on the top surface. I later realized that the frame can be made of anything sturdy—even 4×4 lumber—as long as the top is flat and heavy. Your budget should prioritize the “business end” of the bench. If you have $500 for a bench, spend $300 on a high-quality steel plate and $200 on the structure underneath.
Why cheap abrasives cost more in the long run is a lesson every beginner learns the hard way. A low-quality grinding wheel might cost half as much as a premium one, but it will wear down four times faster and produce more dangerous dust. This same logic applies to your work surface. A thin, flimsy top will need to be replaced in a year, whereas a 3/8-inch steel plate will last your entire life.
Table 2: Essential Starter Tool Sequencing
| Priority | Tool Category | Purpose | Budget Allocation |
|---|---|---|---|
| 1 | Safety Gear (PPE) | Eyes, ears, lungs, and skin protection. | 15% |
| 2 | Measuring & Layout | Squares, scribes, and calipers for accuracy. | 15% |
| 3 | Work Surface | The foundation for all fabrication tasks. | 20% |
| 4 | Cutting & Grinding | Angle grinders and saws for shaping metal. | 25% |
| 5 | Joining (Welder) | Connecting parts permanently. | 25% |
Maintaining Your Fabrication Surface Over Time
A steel work surface is a living thing in a sense; it reacts to the environment and requires regular maintenance to remain a precision tool. Without care, a steel top will rust, especially in humid garage environments, which can interfere with electrical grounding and ruin the finish of your projects.
I use a simple maintenance log to track when I last “resurfaced” my bench. For a steel top, this usually involves a light pass with a flap disc on an angle grinder to remove welding spatter—the small beads of molten metal that stick to the table during welding. After cleaning, I apply a thin coat of paste wax or specialized anti-spatter spray. This prevents rust and makes it easier to wipe away future spatter.
If you are using a wood-topped bench for assembly, you must check it for flatness regularly. Wood moves with the seasons. I use a 4-foot precision straightedge to check for bowing. If the bench isn’t flat, your projects won’t be square. This is why many fabricators eventually move to a dedicated steel table; the dimensional stability of steel is simply superior for long-term accuracy.
- Weekly: Wipe down the surface to remove metal dust, which can hold moisture against the steel and cause pitting.
- Monthly: Check all bolts and fasteners on the bench frame. Metalworking involves a lot of vibration that can loosen hardware.
- Yearly: Use a precision level to ensure the floor hasn’t shifted and the bench is still sitting true.
Advanced Layout and Ergonomics for Small Spaces
How you arrange your workshop determines how much you will actually enjoy using it. In a confined space, every inch counts. I’ve found that a “mobile” shop layout is often the best for beginners. By putting your heavy workbench on high-quality locking casters, you can move it to the center of the garage for large projects and tuck it against the wall to park a car.
When choosing a height for your work surface, don’t just follow standard kitchen counter heights. For fabrication, a bench should be roughly at the height of your pelvic bone. This allows you to lean over the work for a better view of your weld puddle while still being low enough to provide leverage when you are using a hacksaw or a file.
Consider the “dirty” vs. “clean” workflow. Try to keep your grinding and cutting area (the dirty zone) near the garage door for better ventilation. Keep your welding and assembly area (the clean zone) further back where it’s protected from wind and debris. This separation helps maintain the longevity of your tools, as metal dust is abrasive and can damage the internal fans and electronics of your welder if it’s too close to your grinding station.
- Digital Layout Tools: Use free online floor planners to mock up your shop before moving a single heavy bench.
- Power Load Spreadsheet: List the “Max Amps” for every tool you buy to ensure you never exceed your circuit’s capacity.
- Vertical Storage: Use the space under your bench for heavy metal storage. This adds “ballast” to the bench, making it more stable for hammering.
Practical Steps for Your First Bench Build
If you are ready to start, I recommend building a “hybrid” bench as your first project. This involves building a sturdy wooden frame using 4×4 legs and 2×6 stretchers, then topping it with a layer of 3/4-inch plywood. Finally, source a 24″ x 36″ piece of 1/4-inch mild steel plate to bolt to one side of the plywood.
This setup gives you the best of both worlds: a large, non-marring area for general tasks and a dedicated, heat-proof, grounded area for welding. It keeps your startup costs low while providing a safe entry point into fabrication. As your skills grow and your budget allows, you can eventually replace the plywood with a full-sized steel plate.
Remember, the goal isn’t to have a showroom-quality shop on day one. The goal is to have a safe, functional space where you can learn the craft without breaking the bank or endangering your home. By being methodical about your material choices and tracking your expenses, you’ll build a foundation that lasts for years.
FAQ: Selecting and Using Fabrication Surfaces
Is it safe to weld on a wooden workbench if I put a piece of sheet metal over it?
While many do this, it is not ideal for long-term safety. Thin sheet metal (like 16 or 20 gauge) transfers heat very quickly to the wood underneath. If you must use a wood base, use a thick steel plate (at least 1/4 inch) and consider a layer of non-combustible cement board between the wood and the steel to act as a thermal break.
What is the best thickness for a steel workbench top on a budget?
For most beginners, 1/4 inch (6.35mm) is the best balance of cost and performance. It is thick enough to resist warping from the heat of a small MIG or TIG welder and provides enough mass for most assembly tasks. If you plan on doing heavy sledgehammer work, 3/8 inch is a better choice but will be much heavier and more expensive.
How do I stop my steel workbench top from rusting?
The most effective budget method is applying a light coat of paste wax or WD-40 after every work session. For a more permanent solution, some use specialized “dry film” lubricants or anti-spatter sprays. Avoid painting the top surface, as paint is flammable and will prevent you from getting a good electrical ground for welding.
Why is grounding important when choosing a table material?
In welding, the electricity must flow from the machine, through the torch, into the workpiece, and back to the machine through a ground clamp. A steel table acts as a massive conductor. If you clamp your ground to the table, any metal piece touching the table is automatically grounded, which is much easier than trying to attach a large clamp to a small, delicate part.
Can I use a stainless steel top for my fabrication bench?
You can, but it is rarely worth the extra cost for a beginner. Stainless steel is much more expensive than mild steel and harder to drill or modify. Its main advantage is corrosion resistance. Unless you are working in a highly sterile environment or doing specialized food-grade stainless fabrication, stick with mild steel.
How do I know if my garage floor can handle a heavy steel table?
A standard 4-inch thick concrete garage slab can easily handle several thousand pounds. The bigger concern is the bench itself. Ensure your bench legs have “feet” or pads to distribute the weight so the steel legs don’t scratch or gouge the concrete if you move the bench.
Should I bolt my workbench to the wall or the floor?
In a small shop, I recommend keeping the bench mobile on locking casters. However, if you are doing heavy vise work (like bending thick bar stock), the bench will slide. A good compromise is to use heavy-duty leveling feet that can be screwed down to “anchor” the bench in place without permanent bolts.
What is “dimensional stability” and why does it matter for my bench?
Dimensional stability refers to how well a material maintains its original shape regardless of changes in temperature or moisture. Steel has high dimensional stability, meaning it stays flat. Wood has low stability; it expands and contracts with humidity. For metalworking, you need a flat surface to ensure the frames or parts you are building come out square and not twisted.
How much should I spend on my first workbench?
If you are building it yourself, you should aim to spend no more than 15-20% of your total shop budget on the bench. For a $2,000 starter shop, that’s $300 to $400. This is enough to build a very stout wooden frame and buy a decent-sized 1/4-inch steel plate for the top.
Can I use an old kitchen table or desk as a fabrication bench?
Generally, no. Most modern furniture is made of particle board or thin tubing that cannot handle the weight of metal or the vibration of power tools. More importantly, the finishes on office furniture are often highly flammable and can release toxic fumes when scorched by sparks or hot metal.
What are the “duty cycles” of tools, and how do they affect my bench layout?
A duty cycle is the amount of time a tool can run in a 10-minute period before it needs to cool down (e.g., a 20% duty cycle means 2 minutes of work and 8 minutes of rest). While this doesn’t change your bench material, it affects your layout because you need “cool down” zones where hot tools can sit safely away from flammable items while they vent heat.
How do I calculate the weight of a steel plate before I buy it?
Mild steel weighs approximately 40.8 pounds per square foot per inch of thickness. For a 1/4-inch plate that is 2 feet by 3 feet (6 square feet), the math is: 6 sq ft x 0.25 inches x 40.8 = 61.2 pounds. Always calculate this before buying so you know if you can safely transport and install the plate yourself.
(This article was written by one of our staff writers, Michael Thompson. Visit our Meet the Team page to learn more about the author and their expertise.)