Essential Shop Tools to Reduce Fabrication Frustration (Fix)
Setting up a metalworking space in a residential garage is often a lesson in managing constraints. I remember standing in my first 200-square-foot shop back in 2013, staring at a pile of mismatched hand tools and a small welder I barely knew how to use. My biggest hurdle wasn’t the lack of talent; it was the constant interruption caused by inadequate tools and a layout that fought me at every turn. When your measurements are off by an eighth of an inch or your circuit breaker trips every ten minutes, the joy of creating quickly turns into a headache.
The goal of this guide is to help you bypass that steep learning curve by focusing on the foundational equipment that makes the biggest difference in your daily workflow. We are going to look at how to prioritize your spending, organize your space for safety, and choose tools that prevent the most common fabrication errors. By applying the same rigorous standards I used as an industrial maintenance technician, you can build a professional-grade environment on a realistic budget.
Assessing Your Garage for Metalworking Success
Before buying a single tool, you must evaluate the physical and structural limits of your intended workspace to ensure it can handle the unique demands of metal fabrication. This phase involves checking floor load capacities, identifying fire hazards, and measuring available square footage to ensure you have enough room to move long pieces of stock safely.
When I started, I didn’t realize that a standard garage floor isn’t always perfectly level, which can wreak havoc on your project alignment. Metal is heavy and the processes used to shape it are often dirty, loud, and produce sparks. You need to identify a “hot zone” where welding and grinding will occur, away from flammable materials like gasoline cans or cardboard boxes. A common mistake is trying to fit too much into a small area, leading to a cluttered floor that becomes a tripping hazard.
- Minimum Workspace: Aim for at least 150 square feet of dedicated floor space for a basic setup.
- Floor Surface: Concrete is preferred; ensure it is clear of oils or chemicals that could ignite.
- Clearance: Maintain at least 3 feet of space around stationary tools for safe operation.
Understanding Tool Footprints and Workflow
A tool footprint refers to the actual floor space a machine occupies, plus the additional “swing room” needed for the operator and the material being processed. Planning your layout based on these measurements prevents the frustration of having to move heavy equipment every time you need to cut a long piece of steel.
In my second shop iteration, I used a simple grid-paper method to map out my equipment. I quickly learned that a bandsaw might only be 2 feet wide, but it requires 10 feet of clear space on either side if you plan to cut full lengths of square tubing. If you don’t account for this “material path,” you’ll find yourself constantly opening the garage door or shuffling workbenches just to make a single cut.
Managing Electrical Loads and Circuit Safety
Electrical capacity is the most significant limiting factor for any home fabrication shop, as metalworking tools often pull high amperage that can overload standard household circuits. Understanding your home’s breaker panel and the specific power requirements of your machines is essential to prevent fire hazards and equipment damage.
Most standard garage outlets are on a 15-amp circuit, which is often shared with household lights or a refrigerator. When you strike an arc with a welder or start a large grinder, the initial “inrush current” can easily exceed this limit. This leads to tripped breakers and can even damage the internal components of your tools over time. I highly recommend documenting every outlet in your shop and identifying which breaker it connects to before you start working.
Determining Your Power Requirements
To avoid workflow interruptions, you need to calculate the total amperage your tools will draw and compare it to your available circuit capacity. This involves checking the data plate on each tool for its “Full Load Amps” (FLA) rating and ensuring you aren’t running multiple high-draw machines on the same line simultaneously.
| Tool Type | Typical Amperage (120V) | Circuit Recommendation |
|---|---|---|
| Small Angle Grinder | 6 – 10 Amps | 15A Standard |
| Entry-Level Welder | 15 – 20 Amps | 20A Dedicated |
| Bench Grinder | 3 – 5 Amps | 15A Standard |
| Chop Saw | 15 Amps | 20A Dedicated |
As you can see, a welder and a chop saw on the same 20A circuit will likely cause a trip if used at the same time. Building a “power map” of your shop helps you decide where to plug in specific tools to balance the load. If you are serious about fabrication, having an electrician install a dedicated 20-amp or even a 240-volt circuit will save you more frustration than any high-end tool ever could.
Selecting Foundational Measuring and Layout Tools
Precision in metalworking starts with layout tools that allow you to transfer measurements accurately from a drawing to the workpiece, reducing material waste and assembly errors. These tools are the primary defense against “accumulation of error,” where small mistakes in early stages lead to parts that simply won’t fit together during final welding.
In my early days, I relied on a cheap tape measure and a blunt Sharpie. I soon realized that the thickness of a marker line can be nearly 1/16th of an inch. Over four cuts, that adds up to a quarter-inch mistake. Switching to a dedicated scribe and a high-quality machinist square changed everything. These tools allow for “zero-tolerance” marking, which is the standard I strive for in every project.
- Steel Rules: Use etched stainless steel rules rather than printed ones; they are more durable and precise.
- Combination Squares: A reliable square is essential for checking 90-degree and 45-degree angles before tack welding.
- Calipers: Digital or dial calipers are necessary for measuring material thickness and hole diameters within 0.001 inches.
- Scribes: A carbide-tipped scribe creates a fine, permanent line that won’t smudge or burn off like ink.
Why Precision Prevents Rework
Rework is the most expensive and frustrating part of fabrication, often caused by using the wrong tool for the measurement task at hand. By investing about 15% of your initial budget into high-quality layout tools, you ensure that every cut you make is intentional and accurate, which saves money on replacement steel.
I keep a “layout kit” in a dedicated drawer. This keeps the tools clean and prevents the edges of my squares from getting nicked. If a square is dropped, it must be checked for accuracy immediately. A square that is even one degree off will result in a frame that is twisted, requiring you to cut apart your welds and start over. This is a classic example of how the right small tool prevents a massive fabrication headache.
Optimizing Metal Cutting and Removal Processes
Cutting and grinding are the most labor-intensive parts of metalworking, and using the wrong abrasives or cutting speeds can lead to poor finishes and excessive tool wear. Selecting the right equipment for material removal ensures that your edges are clean, your joints are tight, and your finishing time is minimized.
One of the biggest mistakes beginners make is buying the cheapest abrasive discs available. In my testing, I found that a high-quality ceramic flap disc might cost twice as much as a standard aluminum oxide disc, but it lasts four times longer and removes material much faster. This isn’t just about money; it’s about the physical fatigue of grinding for an hour versus fifteen minutes.
Understanding Abrasive Ratings and Safety
Every grinding wheel and cutting disc has a maximum RPM rating that must never be exceeded, as a shattered disc can cause severe injury. You must match the speed of your power tool to the rating of the abrasive and always use the appropriate safety guards provided by the manufacturer.
- Check the RPM: Ensure the disc is rated higher than the “no-load speed” of your grinder.
- Inspect for Damage: Never use a disc that has been dropped or shows signs of cracking.
- Choose the Right Grit: Use lower grit (36-60) for heavy removal and higher grit (80-120) for blending and finishing.
- Verify the Material: Ensure the abrasive is specifically rated for the type of metal you are working with (e.g., stainless steel vs. mild steel).
Using a dedicated metal-cutting bandsaw instead of a chop saw can also drastically reduce frustration. While more expensive initially, a bandsaw produces cleaner, cooler cuts with far less noise and dust. It allows you to walk away while the machine does the work, which is a massive productivity boost in a one-person shop.
Establishing a Safe and Efficient Workshop Layout
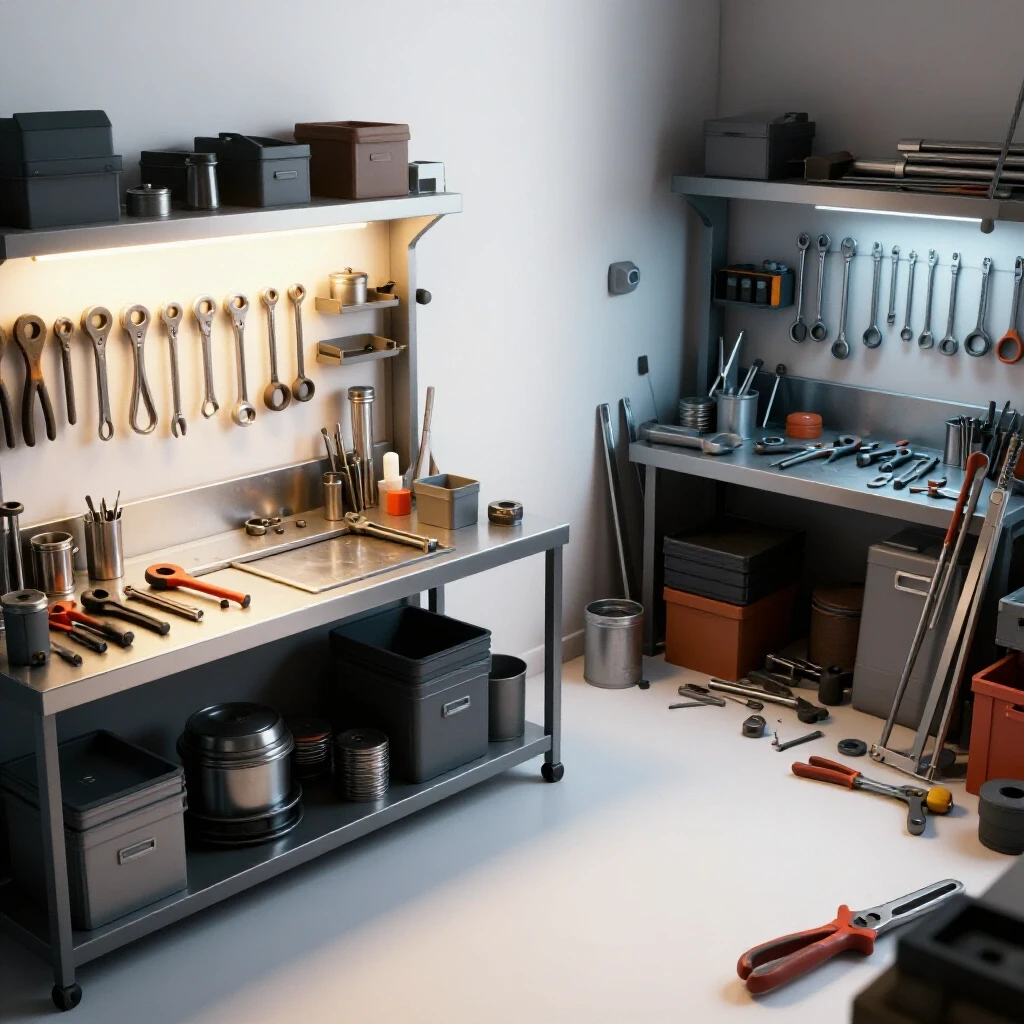
A well-planned workshop layout organizes tools and work surfaces in a logical sequence that mirrors the stages of fabrication: material storage, cutting, prep, assembly, and finishing. This “flow” minimizes unnecessary movement and keeps the most hazardous activities contained within specific, controlled zones of the garage.
I recommend a “U-shaped” or “L-shaped” workflow. In my shop, the raw steel enters through the main door and goes straight to the rack. From there, it moves to the cutting station, then to the welding table in the center, and finally to the grinding station near the ventilation fan. This keeps the “clean” areas (like where I keep my precision tools) separate from the “dirty” areas where sparks and dust are flying.
- The Hot Zone: This area should have a fire-resistant floor and be clear of all flammable materials.
- The Clean Zone: Keep your measuring tools, laptops, and manuals here to protect them from metal dust.
- Material Storage: Store long bars horizontally on sturdy racks to prevent them from bowing or becoming a trip hazard.
Workbenches and Clamping Solutions
Your welding table is the heart of your shop, and it needs to be perfectly flat and heavy enough to resist warping under heat. A good table provides a reliable reference plane, making it much easier to keep your projects square and level during the assembly process.
Clamping is often overlooked, but you can never have too many clamps. In fabrication, clamps act as your “third hand,” holding parts in precise alignment while you tack weld. I recommend a mix of C-clamps, F-clamps, and locking pliers. A common rule of thumb is to allocate about 10% of your tool budget specifically to workholding. Without enough clamps, you’ll find yourself struggling to hold parts together, leading to burns or misaligned projects.
Ventilation and Air Quality Standards for Home Shops
Proper ventilation is a non-negotiable safety requirement for any home shop, as welding fumes and grinding dust contain hazardous particulates that can lead to long-term respiratory issues. A functional air exchange system ensures that these contaminants are removed from your breathing zone before they can accumulate in the enclosed space of a garage.
I learned this the hard way when I noticed a fine layer of black dust over everything in my garage after a long weekend of projects. That dust wasn’t just on the shelves; it was in my lungs. OSHA guidelines for industrial spaces are strict, but in a home shop, you can achieve a safe environment by using a combination of source extraction (like a fume extractor) and general dilution ventilation (like high-CFM exhaust fans).
| Ventilation Type | Required Airflow (CFM) | Best Use Case |
|---|---|---|
| Local Exhaust | 100 – 200 CFM | Directly at the weld puddle |
| General Exhaust | 500 – 1000 CFM | Clearing the entire garage |
| Air Filtration | 300 – 500 CFM | Removing fine floating dust |
To calculate your needs, aim for at least 15 to 20 air changes per hour in your “hot zone.” If your garage is 2,000 cubic feet, you need a fan that can move at least 500 cubic feet per minute (CFM). Always position yourself so the air is pulling the fumes away from your face, not across it. This simple adjustment to your layout can significantly reduce the physical toll of a long day in the shop.
Budgeting and Tracking Your Startup Costs
Effective shop planning requires a disciplined approach to spending, where funds are allocated based on the tool’s impact on safety and project quality rather than its “cool factor.” Keeping a detailed log of your purchases, including where you bought them and how they perform, allows you to make informed decisions as your shop evolves.
I use a simple spreadsheet to track every penny. In my first year, I realized I had spent $400 on “gimmick” tools that I rarely used, while I was still struggling with a cheap, flickering welding helmet. I now follow a “Foundational First” rule: 30% of the budget goes to safety gear and measurement, 40% to core machinery, and 30% to consumables and workholding.
- Prioritize PPE: Never skimp on your welding helmet or respirator. An ANSI Z87.1 rating is the minimum for eye protection.
- Buy Once, Cry Once: For tools you will use every day (like a grinder), buy a mid-range professional model rather than the cheapest homeowner version.
- Track Consumables: Keep a record of how long different brands of drill bits and abrasives last. This data helps you find the best value over time.
- Avoid “Sets”: Don’t buy a 50-piece tool set if you only need three of those tools. Buy individual high-quality pieces as you need them.
Case Study: The $2,000 Starter Shop
When I rebuilt my shop on a $2,000 budget, I had to make tough choices. I opted for a used, high-quality bandsaw over a brand-new cheap one. I spent $250 on a top-tier auto-darkening helmet because eye fatigue was a major source of frustration for me. By tracking these costs and focusing on the tools that directly improved my “up-time,” I was able to produce professional-quality work in a space that cost less than a used car to equip.
Conclusion and Next Steps
Building a functional fabrication space is a marathon, not a sprint. The frustration most beginners feel stems from trying to do too much with too little preparation. By focusing on your electrical capacity, mastering your layout, and investing in precision measurement, you create a foundation that makes every subsequent tool purchase more effective.
Your next step should be to clear out your workspace and map your electrical circuits. Don’t worry about the big machines yet. Get your safety gear in order, buy a high-quality square and scribe, and ensure your ventilation is up to the task. Once the environment is safe and organized, the actual metalworking becomes much more intuitive and far less stressful.
Frequently Asked Questions
Why is my welder tripping the breaker even though it’s the only thing plugged in?
Most welders have a high “inrush current” when the arc starts. If you are on a 15-amp circuit with thin gauge house wiring, the voltage drop can cause the breaker to trip. A dedicated 20-amp circuit with 12-gauge wire is usually the minimum requirement for consistent performance without interruptions.
How much should I spend on safety gear versus actual tools?
A good rule of thumb is to allocate 20% to 30% of your initial budget to high-quality Personal Protective Equipment (PPE). A $300 welder is useless if you can’t see what you’re doing because of a cheap, low-clarity helmet, or if you have to stop working due to respiratory irritation from poor ventilation.
What is the most important tool for a beginner to get right?
Apart from safety gear, a high-quality angle grinder is the most used tool in any metal shop. It handles cutting, grinding, cleaning, and polishing. Investing in a model with a “paddle switch” and high amperage (7+ amps) will reduce hand fatigue and provide enough power for heavy tasks.
Can I weld in a garage with a wooden floor?
It is highly discouraged. Sparks and “spatter” can smolder in wood cracks for hours after you finish working, leading to a fire. If you must work in such a space, cover the welding area with heavy-gauge sheet metal or a dedicated welding mat and keep a fire extinguisher within arm’s reach at all times.
What does “duty cycle” mean and why does it matter?
Duty cycle is the percentage of a 10-minute period a machine can operate before it needs to cool down. For example, a 20% duty cycle means you can weld for 2 minutes but must let the machine idle for 8 minutes. Choosing a tool with an appropriate duty cycle for your projects prevents the frustration of forced downtime.
How do I keep metal dust from ruining my other tools or entering my house?
Create a “dirty zone” near your shop’s main exhaust fan. Use magnetic “dust collectors” near your grinders and consider a heavy-duty shop vacuum with a HEPA filter. Always change your shop clothes before entering your living space to prevent tracking fine metal shavings into your home.
Is a chop saw or a bandsaw better for a budget shop?
A chop saw is cheaper and faster but very loud and messy. A bandsaw is quieter, safer, and produces much more accurate cuts that require less cleanup. For a beginner, a portable “deep cut” bandsaw mounted on a DIY stand is often the best balance of cost and frustration-free performance.
How do I know if my layout tools are still accurate?
You can check a square using the “line flip” test: draw a line against a straight edge, flip the square over, and see if the edge still aligns with the line. For calipers, ensure they return to “0.000” when closed. Regularly verifying your tools prevents “ghost errors” that can ruin complex assemblies.
What is the best way to store metal stock in a small space?
Vertical storage saves floor space but can be dangerous if the material falls. Horizontal racks mounted high on a wall are generally safer. Ensure the rack is bolted into the wall studs and can handle the significant weight of steel, which is roughly 490 pounds per cubic foot.
Do I really need a dedicated welding table?
While you can weld on sawhorses, a flat, grounded steel table is essential for keeping projects square. A table with a “thick” top (at least 3/8 inch) won’t warp under heat and allows you to use magnetic squares and heavy clamps to hold your work in place, which is vital for reducing assembly frustration.
(This article was written by one of our staff writers, Michael Thompson. Visit our Meet the Team page to learn more about the author and their expertise.)