Structured Welding Practice Plans for Home Shops (Checklist)
When I first started my journey in a small garage twelve years ago, I was overwhelmed by the sheer number of variables involved in fusing metal. I remember staring at a piece of 1/8-inch mild steel, my hand shaking slightly as I tried to maintain a consistent arc. I would produce one decent bead, followed by five that looked like a string of grapes. It was frustrating because I didn’t know why the good ones were good or why the bad ones failed. I realized then that learning metal fabrication isn’t about luck; it’s about building a repeatable physical routine.
Over the years, I have moved from a complete novice to a fabricator who relies on data and structured drills to maintain high-quality results. I’ve learned that the “coordination anxiety” most beginners feel—that sense of trying to watch the puddle, move the torch, and stay steady all at once—can be managed through a metal welding practice guide that breaks down complex movements into small, repeatable steps. By treating your shop time like a trade school practice session, you can turn erratic results into professional-grade consistency.
Mastering Body Mechanics for Steady Torch Control
Body mechanics involves positioning your torso, arms, and wrists to minimize fatigue and maximize stability during a weld. Proper ergonomics allow for fluid movement across the entire length of a joint without repositioning mid-bead. This foundation ensures that your torch hand remains steady and your travel speed stays uniform throughout the entire process.
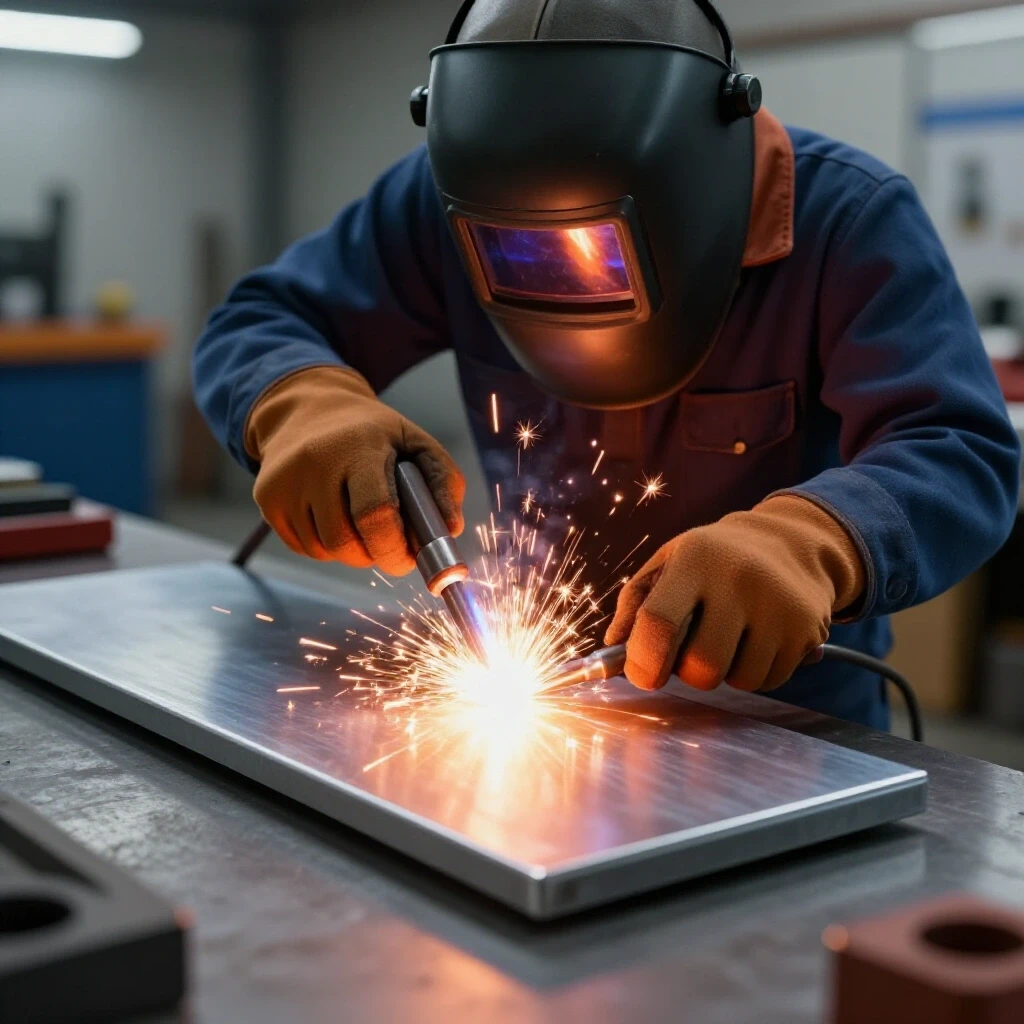
The most common mistake I see in home shops is “floating” the arm. If your arm is hanging in mid-air, you have no stability. I always teach the “three points of contact” rule. Your feet should be planted firmly, your non-welding hand should support your welding wrist or the torch neck, and your hip or elbow should be braced against the welding table. This creates a tripod effect that kills the shakes.
Before you ever strike an arc, perform a “dry run.” Move your torch from the start of the joint to the end without power. If your elbow hits your ribs or you run out of reach halfway through, you need to reposition your body. I spent months struggling with inconsistent beads before I realized my stance was the culprit. Once I started bracing my body properly, my mastering torch control improved dramatically.
The Role of Breathing and Grip Tension
Breathing and grip tension are subtle but vital components of physical stability. Holding your breath often leads to muscle tremors, while gripping the torch too tightly causes forearm fatigue and jerky movements. Learning to maintain a relaxed but firm hold on your equipment is essential for long-term skill development.
- Exhale slowly as you move along the joint to keep your heart rate steady.
- Hold the torch like a heavy pen, not a hammer; use just enough pressure to keep it secure.
- Keep your shoulders down and relaxed to prevent tension from traveling to your wrists.
Decoding the Molten Puddle and Heat Input
The weld puddle is the small pool of liquid metal created by the arc. Learning to read its shape, width, and fluidity is the most critical skill for any fabricator, as it provides real-time feedback on your travel speed and heat settings. Understanding this behavior allows you to make instant corrections during the weld.
When you are learning metal fabrication, you must stop looking at the bright light and start looking at the puddle. The puddle tells you everything. If it’s getting too wide and sagging, you are moving too slowly or your heat is too high. If it’s narrow and sitting on top of the metal without melting in, you’re either moving too fast or you’re “cold.”
I tell my students to watch the “trailing edge” of the puddle. This is where the metal solidifies. If the ripples are pointed like a “V,” you are moving too fast. If they are rounded and smooth, your travel speed is likely in the sweet spot. Developing this visual acuity takes hours of hood time, but it is the bridge between being a hobbyist and a craftsman.
Understanding Heat Input Calculations
Heat input is the amount of energy transferred to the workpiece per unit length of the weld. It is a function of voltage, amperage, and travel speed. Controlling this balance is necessary to prevent warping and ensure that the metal properly fuses without becoming brittle or overly distorted.
| Variable | Impact on Puddle | Correction Needed |
|---|---|---|
| High Amperage | Puddle becomes very fluid and wide | Increase travel speed or lower amps |
| Low Amperage | Puddle is sluggish and lacks penetration | Decrease travel speed or raise amps |
| Fast Travel Speed | Puddle narrows and ripples become pointed | Slow down to allow the puddle to fill |
| Slow Travel Speed | Puddle widens and heat builds up excessively | Speed up to prevent burn-through |
Setting Baseline Machine Power for Consistency
Machine parameters are the settings—voltage, wire feed speed, or amperage—that dictate how much energy enters the metal. Establishing a reliable baseline allows you to isolate your physical technique from mechanical variables. This ensures that when a weld fails, you can confidently point to your hand movement rather than the machine.
In my early days, I would constantly fiddle with the knobs on my welder, hoping a “magic setting” would fix my poor technique. It never did. Now, I use a systematic approach. I set my machine based on the material thickness according to the manufacturer’s chart and then leave it alone. This forces me to focus on my weld travel speed tips and torch angles.
For 1/8-inch mild steel using a MIG process, a good starting point is often around 17-18 volts with a wire feed speed of 200-240 inches per minute (IPM). If you are using a stick welder with a 3/32-inch 7018 electrode, 80-90 amps is a standard baseline. Once these are set, your goal is to adapt your physical motion to the machine’s output.
Establishing Parameter Baselines
Establishing baselines involves documenting the exact settings used for specific material thicknesses and joint types. By keeping a record of what works, you reduce the time spent on setup and increase the time spent on actual welding technique progression. This data-driven approach is the hallmark of a structured practice routine.
- Select a scrap piece of 1/8-inch mild steel.
- Set the machine to the recommended manufacturer settings.
- Run a 3-inch bead and observe the penetration and bead profile.
- Adjust only one variable at a time (e.g., increase wire speed by 10%) and repeat.
- Log the setting that produces the most consistent “bacon-sizzling” sound and visual profile.
The Importance of Clean Zones and Material Preparation
A clean zone is the area of bare, shiny metal where the weld will be deposited, free from mill scale, rust, or oil. Proper preparation ensures the arc stays stable and prevents internal defects like porosity or lack of fusion. Skipping this step is the leading cause of frustration for beginner fabricators.
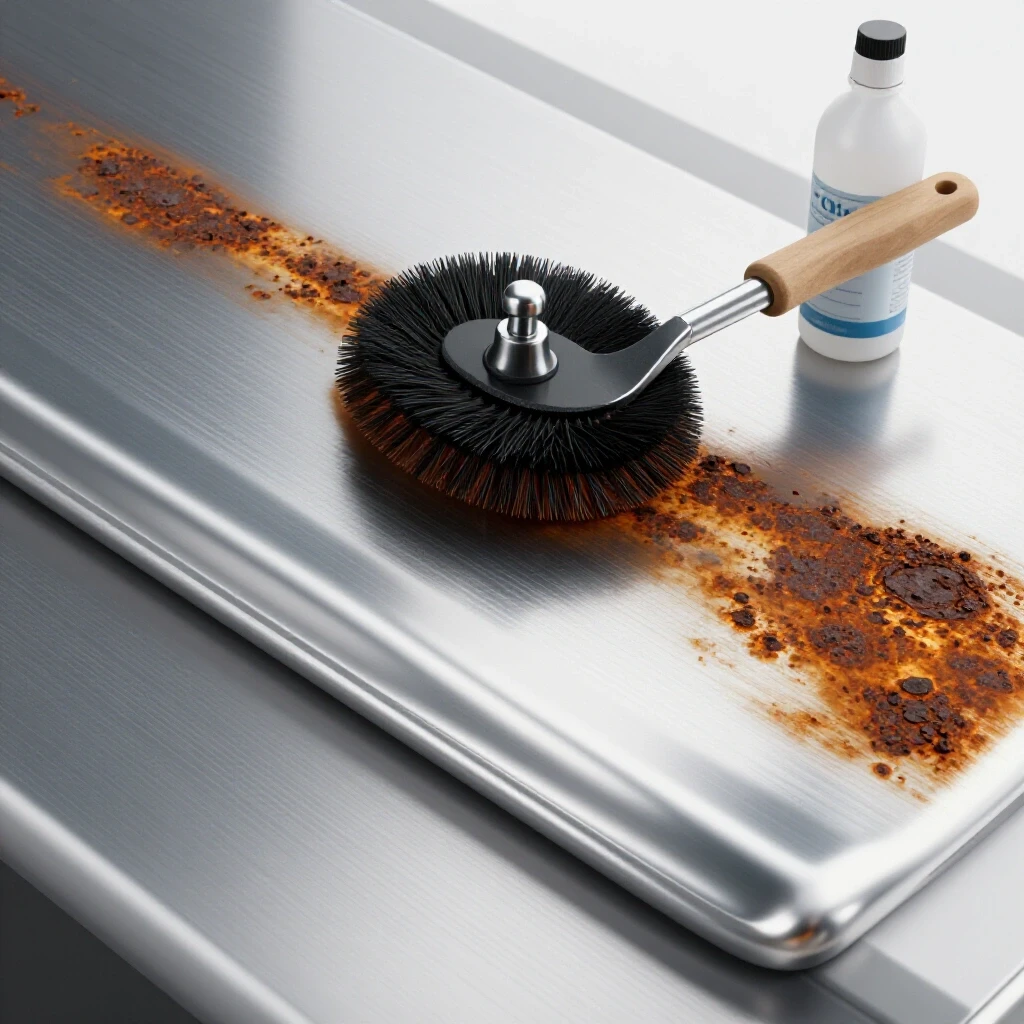
I cannot stress this enough: welding is 80% preparation and 20% execution. I used to try welding over the dark grey mill scale that comes on hot-rolled steel. The arc would wander, the puddle would spit, and the finished weld looked terrible. Now, I always grind a “clean zone” at least one inch back from the joint on all sides.
Think of the clean zone as your “canvas.” If the canvas is dirty, the paint won’t stick. Using a flap disc or a wire wheel to reach bright, shiny metal makes the arc much easier to control. It also prevents impurities from being sucked into the molten metal, which can cause the weld to crack later on.
Steps for Effective Material Preparation
Effective preparation requires a systematic approach to cleaning and fitting your workpieces. By following a consistent routine, you eliminate the chemical and mechanical barriers to a successful weld. This preparation phase is just as important as the trade school practice drills you perform with the torch.
- Remove all mill scale using a 40 or 60-grit flap disc until the metal is shiny.
- Degrease the area with a dedicated solvent if any oil or cutting fluid is present.
- Ensure the fit-up is tight; gaps should be consistent and no wider than the thickness of your filler wire.
- Secure the pieces with clamps or magnets to prevent movement during the welding process.
Building Muscle Memory with Bead-on-Plate Drills
Bead-on-plate drills involve running straight lines of weld on a flat piece of scrap metal without a joint. These exercises focus purely on torch manipulation, maintaining a consistent arc length, and stabilizing travel speed. They are the most effective way to build the foundational muscle memory required for more complex joints.
When I was refining my skills, I would take a 6×6 inch plate and run parallel beads from one side to the other. This is the “10-bead challenge.” The goal isn’t just to finish the beads, but to make each one look identical to the last. This forces you to focus on your arc gap (the distance between the tip and the metal) and your travel angle.
For most processes, you want a 10-15 degree drag angle (leaning the torch away from the direction of travel) and an arc gap of about 3/32″ to 1/8″. If the gap changes, the heat changes. By practicing on a flat plate, you remove the distraction of a joint and can focus entirely on maintaining that precise distance for the full length of the run.
Metrics for Bead-on-Plate Success
Measuring your progress requires objective metrics. By tracking specific dimensions and speeds, you can see your improvement over time. Use these benchmarks to evaluate your performance during your daily practice sessions.
| Metric | Target Goal | Why it Matters |
|---|---|---|
| Travel Speed | 8–12 Inches Per Minute (IPM) | Ensures proper heat distribution and bead shape |
| Bead Width | 2x to 3x the electrode diameter | Indicates consistent movement and heat control |
| Arc Gap | 3/32″ to 1/8″ (constant) | Maintains stable voltage and prevents sticking |
| Restart Quality | Seamless transition between beads | Essential for long joints and structural integrity |
Advancing to Fillet Welds and T-Joint Practice
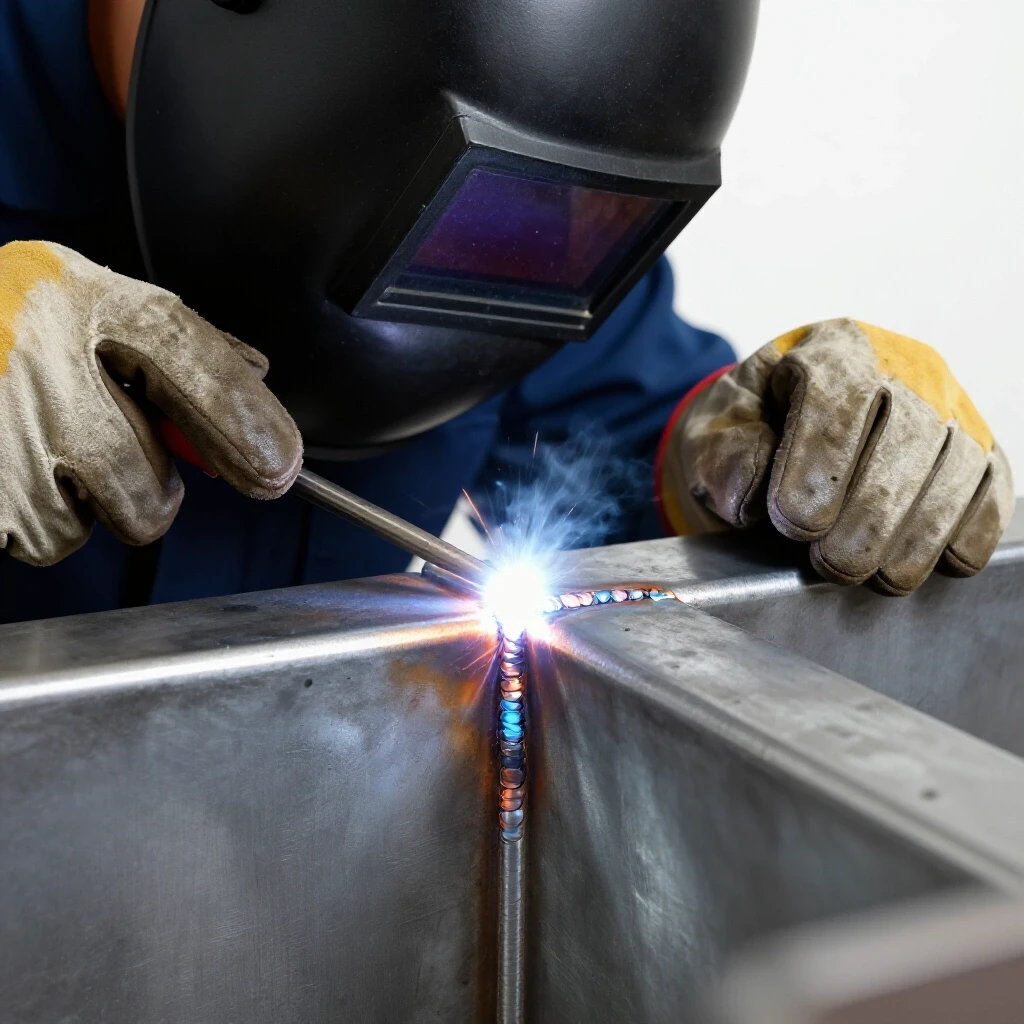
A fillet weld joins two pieces of metal at an angle, usually 90 degrees, forming a T-joint or lap joint. This stage of practice introduces the challenge of managing heat across two different planes while maintaining a consistent throat thickness. It is where you begin to apply your foundational skills to actual fabrication scenarios.
The T-joint is the bread and butter of metalworking. The biggest hurdle here is “arc blow” or the tendency of the heat to favor one piece of metal over the other. To combat this, you must focus on your work angle. Usually, you want the torch bisecting the 90-degree angle perfectly (45 degrees to each plate).
I remember my first T-joints had terrible “undercut”—a groove melted into the vertical plate. I realized I wasn’t spending enough time letting the puddle “wash” up into the top piece. By slowing down slightly and focusing the arc on the root (the very corner), the puddle naturally filled both sides. This is where your ability to read the puddle becomes your greatest asset.
Mastering the Work and Travel Angles
Angles are the most common reason for weld failure in T-joints. A slight deviation can cause the weld to miss the root or lean too heavily on one side. Understanding the difference between travel and work angles is vital for consistent results.
- Work Angle: Usually 45 degrees for a T-joint to ensure equal heat distribution on both plates.
- Travel Angle: A 5-15 degree drag angle is standard for MIG and Stick to keep the slag or gas shield behind the puddle.
- Consistency: Use your braced hand to maintain these angles from the first inch to the last.
Self-Assessing Quality and Identifying Common Defects
Visual assessment is the process of inspecting your finished work for flaws like undercut, overlap, or inconsistent width. By objectively measuring your results against known standards, you can pinpoint exactly which physical habit needs correction. This feedback loop is the fastest way to overcome a plateau.
I used to be defensive about my work, but I learned that being my own harshest critic was the only way to improve. After every practice session, I take my coupons to the light and look for defects. If I see “overlap” (the weld sitting on top of the metal without fusing at the edges), I know I moved too slowly or didn’t have enough heat.
If I see “undercut” (that chewed-out look at the edges), I was likely moving too fast or my arc gap was too long. I actually keep a defect chart on my shop wall. When I see a problem, I match it to the chart, identify the physical cause, and adjust my next three beads to compensate. This is how you turn a bad session into a learning breakthrough.
Troubleshooting Common Weld Defects
Identifying the cause of a defect allows you to make precise adjustments to your technique. Use this table as a quick reference during your self-assessment phase to diagnose and fix recurring issues.
| Defect | Physical Cause | Correction |
|---|---|---|
| Porosity (holes) | Dirty metal or poor gas coverage | Clean to bright metal; check gas flow/shielding |
| Undercut (grooves) | Travel speed too fast or arc gap too long | Slow down and tighten the arc gap |
| Overlap (cold lap) | Travel speed too slow or low heat | Increase travel speed or amperage |
| Spatter (excessive) | Arc gap too long or voltage too high | Shorten the arc gap or lower the voltage |
Creating a Systematic Logging Framework
A logging framework is a structured record of your practice sessions, including settings, materials, and observations. This data allows you to track your progression over weeks and months, making it easier to break through skill plateaus. Without a log, you are simply repeating the same mistakes without noticing the patterns.
I have notebooks dating back a decade. Each entry lists the date, the machine settings, the material, and a “post-weld reflection.” For example: “April 12th – 1/8″ T-joint, 17.5V, 210 IPM. Noticed undercut on the vertical leg. Need to tighten arc gap and pause slightly at the top of the puddle.”
This habit changed everything. Instead of guessing why a weld looked good, I could look back and see exactly what I did. I also recommend using your smartphone to take slow-motion videos of your arc. Watching your hand movement in slow motion reveals “micro-jitters” or angle changes that you can’t see in real-time. It’s like having a coach looking over your shoulder.
Practice Log Template for Home Fabricators
Using a consistent template makes it easy to compare sessions. Fill this out every time you spend an hour in the shop to ensure you are moving toward your goals.
- Date and Session Number: (e.g., 2023-10-25, Session #42)
- Process and Material: (e.g., MIG, 1/8″ Mild Steel)
- Machine Settings: (e.g., 18.0V, 230 IPM)
- Primary Focus: (e.g., Maintaining 1/8″ arc gap)
- Visual Grade (1-10): (Be honest about consistency and penetration)
- Correction for Next Session: (What is the one thing you will change?)
Conclusion and Next Steps
Building professional-grade fabrication skills in a home shop is entirely possible, provided you approach it with discipline. It isn’t about how much metal you melt; it’s about how much intentional practice you put in. By focusing on body mechanics, reading the puddle, and maintaining a rigorous logging system, you remove the guesswork from the process.
Your next step is simple: go into your shop, find some scrap 1/8-inch mild steel, and perform the “10-bead challenge.” Don’t worry about building a project yet. Focus entirely on your travel speed and torch angle. Once those 10 beads look identical, you’ve earned the right to move on to the next joint. Consistency is the foundation of all great fabrication work.
FAQ
What is the best material for a beginner to practice on? Mild steel is the gold standard for learning. It is forgiving of heat variations, widely available, and inexpensive. I recommend starting with 1/8-inch (11 gauge) thickness because it is thick enough to prevent accidental burn-through but thin enough to react quickly to setting changes.
How often should I practice to see real improvement? Consistency beats intensity. Practicing for 30 minutes three times a week is much more effective than a single four-hour marathon. Short, frequent sessions help solidify muscle memory without the physical and mental fatigue that leads to sloppy habits.
Why does my weld look like it’s just sitting on top of the metal? This is usually “cold lap” or lack of fusion. It happens when the base metal doesn’t get hot enough to melt and blend with the filler. The cause is typically a travel speed that is too slow (the puddle rolls ahead of the arc) or a voltage/amperage setting that is too low for the material thickness.
How can I tell if I am moving at the right travel speed? Watch the shape of the ripples in the cooling puddle. If they are rounded and half-moon shaped, your speed is likely correct. If they are pointed like a chevron or a “V,” you are moving too fast. Aim for a consistent speed of about 8 to 12 inches per minute for most manual processes.
Do I really need to grind the metal if it looks clean? Yes. Even if the steel looks “clean,” it often has a thin layer of oil or mill scale (a hard, dark oxide). This scale has a much higher melting point than the steel underneath, which destabilizes the arc and causes “spitting” and poor penetration. Always grind to bright, shiny metal.
What should I do if my hand won’t stop shaking? Focus on your “points of contact.” Ensure you are braced against a table or the workpiece. Also, check your grip tension. Most beginners “death-grip” the torch, which causes muscle tremors. Relax your hand, take a deep breath, and exhale as you start the bead.
How do I know when I’m ready to move from bead-on-plate to joints? You are ready when you can run five consecutive 6-inch beads that are identical in width, height, and ripple pattern. If your beads are still varying in size or wandering off a straight line, stay with the flat plate drills until your muscle memory is locked in.
What is the most important setting on my welder? While all settings matter, the relationship between voltage (heat) and wire feed speed (amperage/deposition) is the core of MIG welding. On a stick welder, amperage is king. However, your physical “arc length” or “arc gap” is the most important “manual” setting you control with your hand.
Is it worth filming my welding practice? Absolutely. Using a smartphone to record your torch hand (not the arc itself, unless you have a welding lens for the camera) can reveal bad habits you don’t notice while under the hood. You might see that you are slowly increasing your torch angle or pulling the torch away as you reach the end of a plate.
What is “undercut” and how do I fix it? Undercut is a groove melted into the base metal at the edge of the weld that isn’t filled by the filler metal. It’s a structural weakness. It is usually caused by an arc gap that is too long, a travel speed that is too fast, or an incorrect torch angle that directs too much heat to one side.
(This article was written by one of our staff writers, Thomas Langley. Visit our Meet the Team page to learn more about the author and their expertise.)