How to Weld a Heavy-Duty Wrench and Tool Organizer (DIY Plan)
I remember the first time a neighbor asked me to build something for his shop. It was a simple request for a heavy-duty steel rack to hold a set of large pipe wrenches. At the time, I was just happy to have someone paying for my welding wire. I guessed at the price, scribbled a number on a napkin, and got to work. By the time I finished the grinding and bought a second bottle of shielding gas, I realized I had actually lost money on the project. I had treated my side-hustle like a hobby, and the numbers reflected that mistake.
For many of us in the 35 to 55 age range, the transition from hobbyist to professional fabricator is driven by a passion for the craft. However, passion does not pay the electric bill. To turn a profit, you must move away from “guesstimating” and start using industrial accounting principles. Whether you are building a custom storage system for yourself or a client, every spark and every inch of weld has a specific cost attached to it.
Establishing a True Shop Rate for Metal Storage Projects
A shop rate is the total dollar amount you must charge per hour to cover all your business expenses and still take home a profit. It is the most critical number in your business because it accounts for the time your lights are on, even when you aren’t actively welding.
When I talk to shop owners about side-hustle metalworking, I find that most only charge for their time. They forget that the shop itself is a hungry beast. Your shop rate must include your “burdened” costs, which are the hidden expenses like shop insurance, property taxes, and the small amount of electricity your grinder pulls from the wall. If you don’t know your hourly cost to exist, you cannot know your profit.
Calculating Fixed and Variable Overhead
Overhead represents the ongoing expenses of operating a business that are not directly tied to a specific project. Fixed overhead stays the same every month, like rent or insurance, while variable overhead changes based on how much work you do, such as your utility bills.
Understanding these costs is the difference between a sustainable business and a failing hobby. For a small fabrication shop, I recommend tracking these for three months to find an average. Once you have a monthly total, divide it by the number of hours you actually spend working on billable projects. This gives you your hourly overhead burden.
- Rent or Mortgage: Even if the shop is in your garage, calculate the square footage cost.
- Insurance: General liability is a must for any paid fabrication work.
- Utilities: Electricity for the welder and heat for the winter months.
- Software: Subscriptions for invoicing or design tools.
- Maintenance: Replacement parts for your saw or grease for your drill press.
Mapping Machinery Amortization and ROI
Amortization is the process of spreading the cost of an expensive tool over its expected lifespan to understand its daily cost. ROI, or Return on Investment, measures how quickly a piece of equipment pays for itself through the revenue it generates.
When you buy a $3,000 MIG welder to build industrial-grade tool organizers, you shouldn’t expect to recover that cost in one job. Instead, you should account for its wear and tear in every quote. If a machine lasts five years and you use it 500 hours a year, its “hourly cost” is the purchase price divided by 2,500 hours.
| Equipment Item | Purchase Price | Expected Life (Years) | Hourly Use (Est.) | Cost Per Hour |
|---|---|---|---|---|
| MIG Welder | $2,500 | 5 | 400 | $1.25 |
| Cold Saw | $1,800 | 8 | 200 | $1.12 |
| Angle Grinder | $150 | 1 | 300 | $0.50 |
| Magnetic Drill | $900 | 10 | 100 | $0.90 |
Designing a Robust Metal Wrench and Tool Organizer
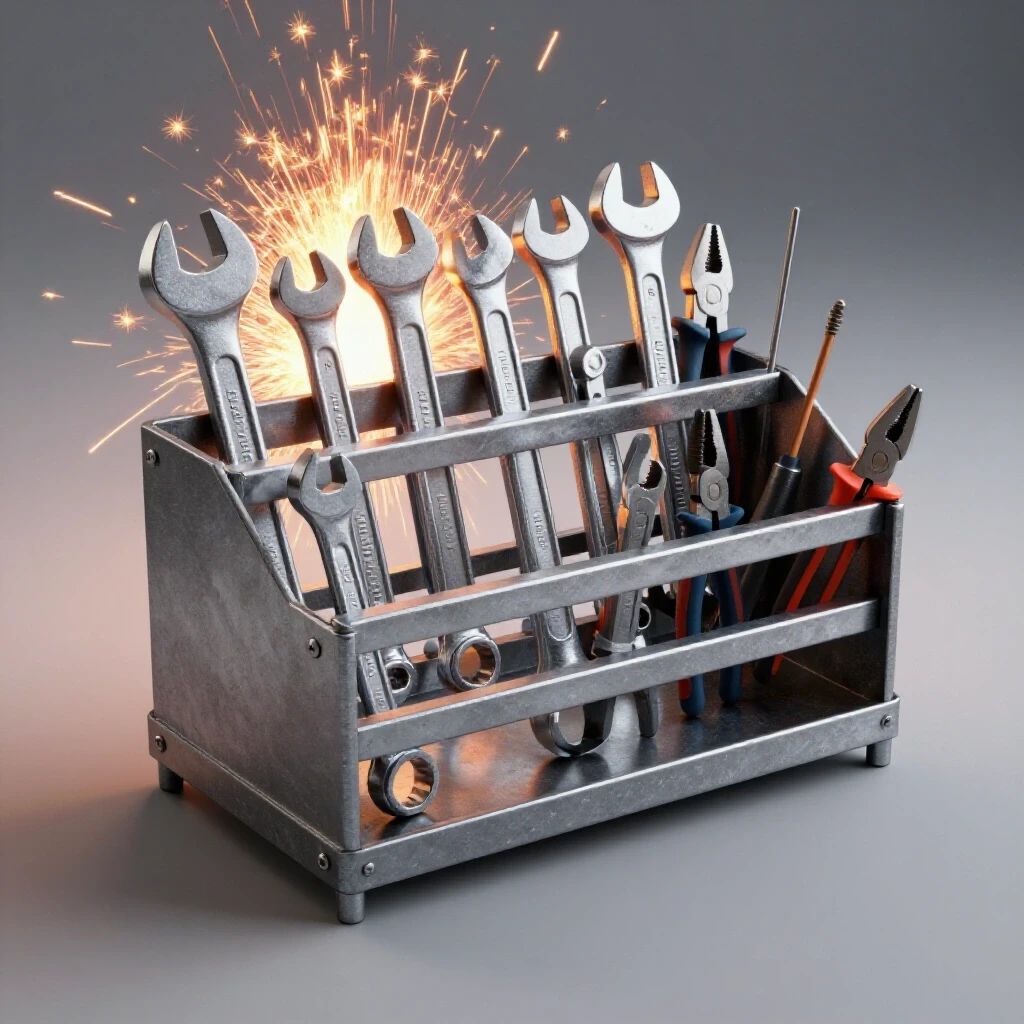
Creating a custom storage solution requires a balance between structural integrity and functional layout. For a heavy-duty wrench rack, the goal is to use steel thick enough to prevent sagging under the weight of large tools while keeping the design simple enough for efficient fabrication.
In my experience, using 11-gauge (1/8-inch) or 7-gauge (3/16-inch) mild steel plate is the sweet spot for these builds. It provides the rigidity needed for a wall-mounted unit that might hold 50 pounds of wrenches. If you go too thin, the hooks will bend over time. If you go too thick, you are wasting money on material and making the unit unnecessarily difficult to mount.
Material Selection and Structural Rigidity
Material selection involves choosing the specific type and thickness of metal that best suits the project’s load requirements and environment. Structural rigidity refers to the ability of the finished product to resist deformation or bending under a heavy load.
For a high-capacity tool holder, I prefer cold-rolled steel for the main plate because it has a cleaner finish and requires less prep work before painting. For the hooks or slots, 1/4-inch round bar or 1/2-inch flat bar works well. These choices ensure the organizer won’t flex when you’re pulling a heavy 2-inch wrench off the rack.
- Main Backplate: 12″ x 24″ of 11-gauge hot-rolled or cold-rolled steel.
- Support Hooks: 20 to 30 pieces of 1/4″ round bar, cut to 2-inch lengths.
- Mounting Brackets: 1″ x 1/8″ flat bar with pre-drilled 5/16″ holes for wall studs.
- Edge Reinforcement: Small angle iron (3/4″) if the span exceeds 36 inches.
Precise Layout for Maximum Tool Density
Layout is the process of marking the metal for cutting, drilling, or welding to ensure all components fit correctly. Tool density refers to how many items you can store in a given area without making them difficult to access.
I always suggest laying out your actual wrench set on the steel plate before you make a single cut. Space the tools so that your fingers can easily grip the handle of each wrench. A common mistake is placing the hooks too close together, which makes the rack frustrating to use in a fast-paced shop environment.
Why Small Metal Shop Pricing Often Fails
Most side-hustlers fail because they don’t understand fabrication job costing. They see a piece of steel that cost $40 and think they can charge $100 for the finished rack. They forget the three hours of labor, the $15 in grinding discs, and the $10 in paint.
To be profitable, you must move toward a “cost-plus” model. This means you calculate every single penny spent on the project and then add a specific profit margin on top. If you don’t account for the “invisible” costs, you are essentially working for free.
Calculating a Real Material Markup
Material markup is the percentage added to the raw cost of steel and hardware to cover the time spent sourcing, transporting, and storing those materials. It also provides a buffer against price fluctuations in the metal market.
I typically apply a 20% to 30% markup on all raw materials. If I spend an hour driving to the steel yard and burning fuel, that cost needs to be recovered. If the steel for your tool organizer costs $50, your quote should show at least $65 for materials. This isn’t “gouging” the customer; it is covering your logistical overhead.
Tracking Consumables and the Burden Factor
Consumables are items that are used up during the fabrication process, such as welding wire, shielding gas, and abrasives. The burden factor is a percentage added to the labor or material cost to account for these small but frequent expenses.
Many shop owners ignore these because they are hard to track per job. However, I’ve found that consumables usually account for 5% to 10% of the total project cost. For a heavy-duty wrench rack, you will use a significant amount of flap discs to clean the welds and prep for paint. If you don’t track this, your profit margin will slowly erode.
| Consumable Item | Estimated Use per Rack | Unit Cost | Total Cost |
|---|---|---|---|
| .035 MIG Wire | 0.5 lbs | $3.00/lb | $1.50 |
| C25 Shielding Gas | 15 Cubic Feet | $0.60/cf | $9.00 |
| 4.5″ Flap Disc | 1 Disc | $4.00/ea | $4.00 |
| Spray Primer/Paint | 0.5 Cans | $8.00/can | $4.00 |
| Total Burden | $18.50 |
Step-by-Step Fabrication of a Steel Tool Rack
When you begin the actual build, efficiency is your best friend. Every minute you spend searching for a tool or re-measuring a part is a minute you aren’t making money. I follow a strict workflow to ensure that my shop time is as productive as possible.
Start by prepping all your pieces at once. Cut the backplate to size, then cut all your round bar hooks on the bandsaw. If you have 20 hooks to weld, it is much faster to cut them all, deburr them all, and then weld them all in one sequence. This “batching” method is a core principle of small metal shop pricing and efficiency.
Cutting and Prepping the Steel Components
Preparation involves cleaning the metal of mill scale and oils to ensure a strong weld and a good paint finish. Cutting is the mechanical process of separating the metal into the required shapes using a saw, plasma cutter, or shears.
For a clean, professional look, I use a cold saw to get perfectly square cuts on the round bar. If you only have an angle grinder with a cut-off wheel, use a jig to keep your lengths consistent. Once cut, use a belt sander or flap disc to remove the sharp burrs. Clean the weld zones with acetone to prevent porosity in your beads.
Welding the Support Hooks for Weight Capacity
Welding is the process of joining two metal parts by melting them together with a filler material. Weight capacity is the maximum amount of force or load the finished organizer can safely hold without failing.
When welding the hooks to the backplate, I prefer a MIG welder for speed and cleanliness. A simple fillet weld around the base of each hook is more than enough strength. However, you must ensure you have good penetration into the thicker backplate. If you are building this for a client, a failed weld isn’t just a mistake; it’s a liability.
- Tack Welding: Place a small tack on the top of each hook first to check alignment.
- Final Passes: Weld in a staggered pattern to prevent the backplate from warping due to heat.
- Cooling: Allow the piece to air cool; quenching in water can make the steel brittle.
- Testing: Apply a downward force to a few hooks to ensure they are fused properly.
Building a Profitable Quote for Custom Fabrication
When a client asks for a price on a custom storage unit, I use a standardized estimation model. This prevents me from making emotional decisions or “hooking” a client with a price that is too low to be sustainable.
A professional quote should be broken down into three main categories: Materials, Labor, and Shop Fees. By showing the client the breakdown, you build trust and demonstrate that your pricing is based on data, not guesswork. Most customers are willing to pay a fair price when they see the logic behind the numbers.
Using a Fabrication Job Costing Template
A job costing template is a pre-formatted document or spreadsheet used to calculate all the expenses of a project. It ensures that no cost, however small, is forgotten during the bidding process.
I use a simple spreadsheet that calculates my total based on my hourly rate and material costs. For a standard wrench organizer, my template looks something like this:
- Material Cost: Raw steel + 25% markup.
- Labor Time: Design + Cutting + Welding + Finishing (usually 3 hours).
- Consumable Fee: Flat rate or 10% of material cost.
- Shop Overhead: Hourly burden x total hours.
- Profit Margin: 15% to 20% added to the subtotal.
Sourcing Metal in Bulk to Increase Margins
Bulk sourcing is the practice of purchasing large quantities of material at once to take advantage of lower per-unit pricing. This is one of the easiest ways to improve your profit margins without raising your prices.
Instead of buying one 24-inch piece of steel for one rack, I buy a full 4’x8′ sheet. The price per square inch drops significantly when you buy in volume. If you plan on making several organizers to sell at local markets or online, this strategy is essential.
Analyzing Post-Job Profits and Efficiency
The work isn’t done when the project leaves the shop. To grow your business, you must perform a post-job audit. I compare my original estimate to the actual time and materials I used.
Did the grinding take an hour longer than I thought? Did I use more gas because of a draft in the shop? These are the questions that help you refine your metal business ROI calculators for the next job. If you consistently underestimate your time, you need to either raise your shop rate or find a way to work faster.
Identifying Time Leaks in the Shop
A time leak is any unproductive activity that drains your billable hours, such as searching for tools, fixing broken equipment, or correcting mistakes. Identifying these allows you to streamline your workflow and increase your effective hourly rate.
In my shop, I realized I was losing 15 minutes every job just looking for my layout tools. By building my own tool organizers, I eliminated that waste. Every minute you save through better organization is a minute you can bill to a client.
- Tool Placement: Keep your most-used tools within arm’s reach of the welding table.
- Jigging: Create simple jigs for repetitive tasks like cutting hooks.
- Cleanliness: A cluttered shop is a slow shop; spend 10 minutes cleaning at the end of every day.
- Maintenance: Schedule machine upkeep so it doesn’t break down during a rush job.
Tools and Resources for the Professional Side-Hustler
Managing the business side of fabrication is much easier with the right digital tools. You don’t need expensive enterprise software, but a few key apps can save you hours of paperwork.
- QuickBooks or FreshBooks: Excellent for professional invoicing and tracking expenses for tax purposes.
- Evernote or Google Keep: Use these to snap photos of steel receipts so you don’t lose them.
- Excel or Google Sheets: Build your own custom job costing calculators.
- Square or PayPal: Essential for accepting credit card payments from clients on the spot.
- CalcTool (Online): Great for quick weight calculations for steel to estimate shipping or mounting needs.
By treating your shop like a business from day one, you set yourself up for long-term success. Whether you are welding a simple wrench rack or a complex industrial assembly, the principles of math and money remain the same.
FAQ: Fabrication Economics and Custom Shop Projects
What is a realistic hourly shop rate for a part-time welder?
For most side-hustlers, a rate between $65 and $95 per hour is a standard starting point. This covers your basic overhead, consumables, and a modest profit. If you have specialized equipment like a CNC plasma table or advanced TIG capabilities, you can often charge $120 per hour or more. Always research your local market to see what full-time commercial shops are charging, then position yourself slightly below them while you build your portfolio.
How do I calculate the weight capacity of a wall-mounted tool rack?
The weight capacity depends on the thickness of the backplate, the strength of your welds, and the mounting method. For an 11-gauge steel plate, the metal itself is incredibly strong. The “weak point” is usually how it is attached to the wall. Always mount your organizer into wooden studs using 5/16-inch lag bolts. A properly mounted steel rack can easily hold 100 pounds or more, but the hooks themselves should be tested individually for flex.
Should I include the cost of gas and wire in my hourly rate or as a separate line item?
I prefer to include consumables as a “shop fee” or a “burden factor” rather than a separate line item. Most clients don’t want to see a charge for “0.2 lbs of welding wire.” Instead, add a 5% to 10% markup to your total material cost or include it in your hourly shop rate. This keeps your quotes clean and professional while ensuring your costs are covered.
Is it better to use MIG or Stick welding for shop organization projects?
MIG welding is generally better for these projects because it is faster and requires less post-weld cleanup. Since you will be doing many small welds for the tool hooks, the speed of MIG will significantly reduce your labor time. Stick welding is capable of the job, but the time spent chipping slag will eat into your profit margins.
How much should I mark up the price of steel for a client?
A standard markup is 20% to 30%. This covers your time spent at the steel yard, the fuel for your truck, and the “carrying cost” of keeping material in your shop. If a project requires you to source a specialty metal that isn’t in stock, you may want to increase the markup to account for the extra logistical effort.
How do I account for the time spent designing a custom organizer?
Design time is billable time. If you spend an hour sketching a layout or using CAD software, that hour should be charged at your standard shop rate. For repetitive projects where you use the same design, you can amortize that design time across several units to keep your per-unit price competitive.
What is the most common mistake in pricing small fabrication jobs?
The most common mistake is failing to account for “non-welding” time. This includes cleaning the metal, deburring edges, changing gas bottles, and painting. Often, these tasks take longer than the actual welding. If you only bill for the time the hood is down, you will lose money on every project.
How can I reduce the cost of consumables like grinding discs?
Buy in bulk from industrial suppliers rather than big-box hardware stores. Purchasing a box of 25 flap discs can reduce your per-unit cost by 40% or more. Also, ensure you are using the right grit for the job; using a fine grit to remove heavy scale will wear out the disc prematurely.
Do I need to charge sales tax on my fabrication work?
This depends on your local and state laws. In many regions, you must charge sales tax on the total price of the finished good if you are selling it to an end-user. Some states allow you to buy raw materials tax-free using a “resale certificate,” but you then must collect tax on the final sale. Always consult with a local tax professional to ensure you are compliant.
How do I know when it’s time to upgrade to a more expensive welder or saw?
Use a simple ROI calculation. If a new saw saves you 10 minutes of cutting and cleaning per rack, and you build 100 racks a year, that is over 16 hours of saved labor. Multiply those hours by your shop rate. If the total savings over two years exceeds the cost of the tool, the upgrade is a smart financial move.
(This article was written by one of our staff writers, Michael Hargrove. Visit our Meet the Team page to learn more about the author and their expertise.)