How to Strengthen Sheet Metal Panels with a Bead Roller (Fix)
In my 17 years of maintaining and rebuilding workshop machinery, I have learned that the most expensive tool is the one that flexes when it should stay rigid. I remember a specific project involving a custom floor pan for a 1960s truck. The owner had bought a cheap, stamped-steel bead roller that looked great in the catalog but twisted like a pretzel the moment we fed 18-gauge cold-rolled steel into it. That experience taught me that choosing workshop machinery requires looking past the paint and examining the structural integrity of the frame and the precision of the shafts.
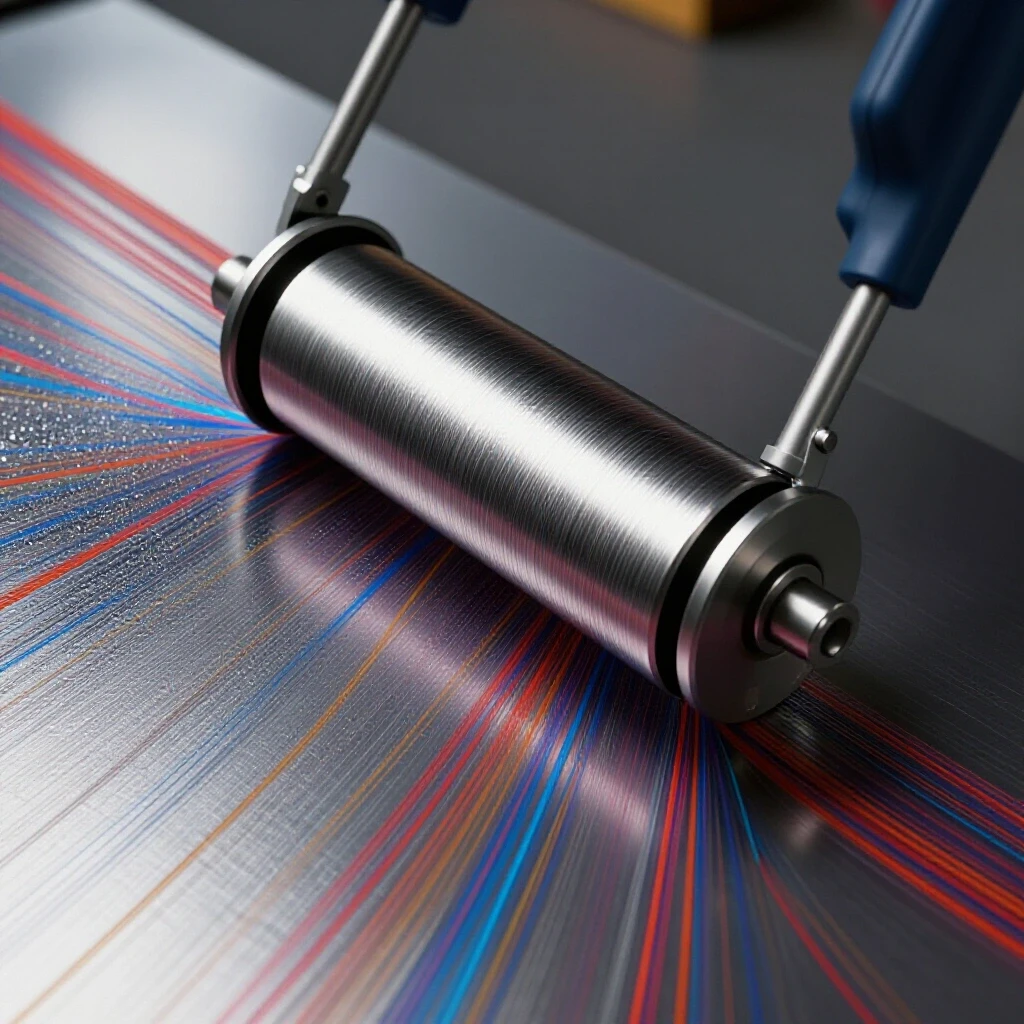
When you are looking to increase the structural integrity of flat surfaces, a manual bead roller is your best friend. It allows you to press specific profiles into the metal, which changes the cross-section and prevents the “oil-canning” effect where the metal pops in and out. However, not all rollers are built the same. Marketing hype often focuses on “throat depth,” but for a maintenance guy like me, I care more about the thickness of the C-frame and the quality of the bearings. If the machine cannot maintain consistent pressure, your stiffening ribs will be uneven and weak.
Evaluating Frame Rigidity and Material Quality
Frame rigidity refers to the ability of the machine’s body to resist bending or twisting under the pressure of the forming process. In manual metalworking, a rigid frame ensures that the top and bottom dies remain perfectly aligned, which is essential for creating crisp, structural profiles without distorting the surrounding material.
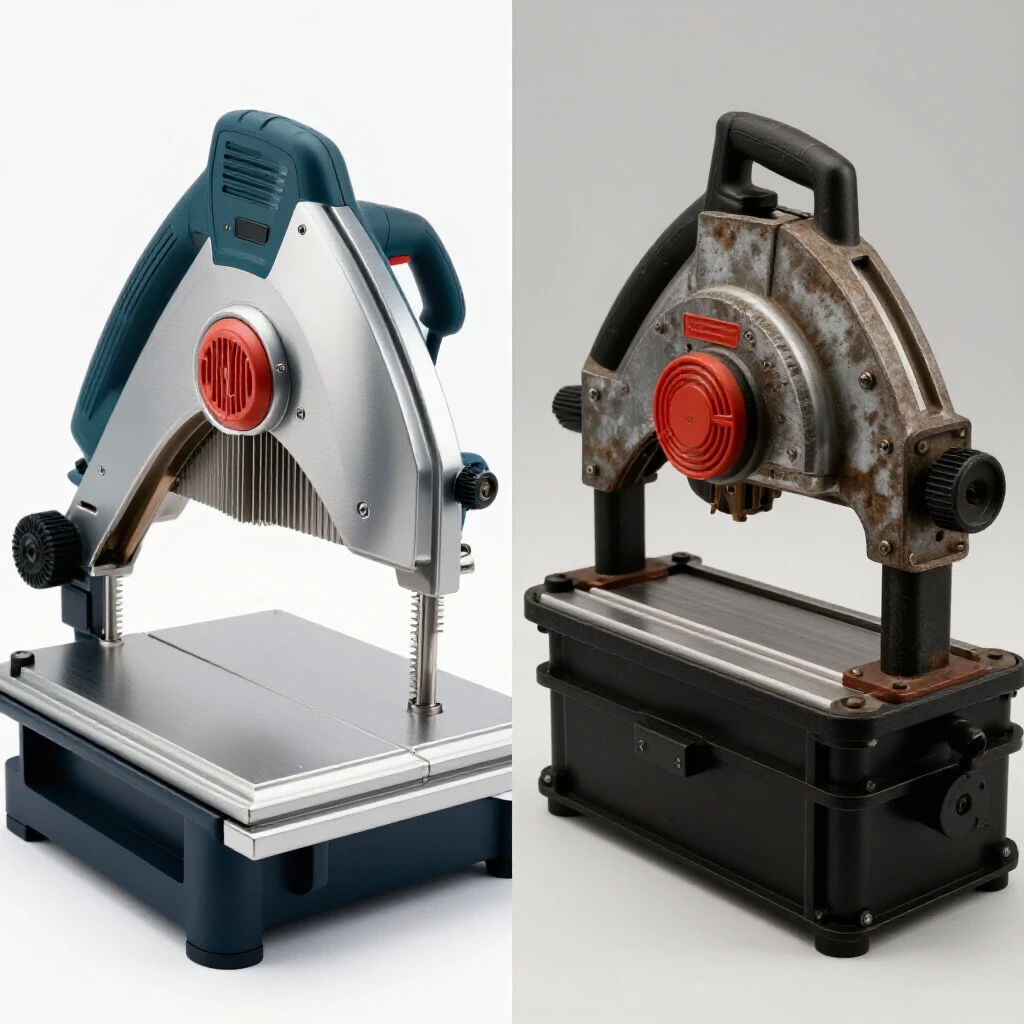
I have torn down dozens of entry-level and professional-grade rollers. The most common failure point is the “C” frame itself. Budget machines often use two pieces of thin plate steel bolted together. Under the stress of rolling 18-gauge steel, these plates spread apart. This deflection means your bead starts deep and ends shallow. When I evaluate a machine, I look for a frame thickness of at least 1/2 inch for solid plate designs. If the frame is cast iron, I check for “ribbing” on the backside, which adds dampening and prevents the frame from vibrating during use.
Cast iron is superior to thin steel plates because of its dampening specs. In the world of machine tool reviews, we talk about how different materials handle harmonics. A heavy, cast-iron body absorbs the energy of the metal being formed, leading to a smoother finish. If you are comparing machines, always check the total weight. A 50-pound machine will almost always outperform a 20-pound machine of the same size because that extra mass translates to less flex and more consistent results when adding structural features to panels.
Understanding Shaft Diameter and Bearing Quality
The shafts are the rotating rods that hold the forming dies, while the bearings are the components that allow those shafts to spin under load. High-quality shafts and bearings ensure that the machine can handle the pressure required to move metal without the parts binding, wearing out prematurely, or developing excessive play.
In my shop, I always measure the shaft diameter first. For 18-gauge steel, you want a shaft that is at least 3/4 inch or 7/8 inch in diameter. Thinner shafts will bow in the middle when you tighten the pressure screw. When the shaft bows, the dies tilt, and you end up with a bead that has a “stair-step” edge rather than a smooth transition. This is a common issue in budget tool comparisons where the specs look good on paper, but the mechanical reality fails under load.
Next, I look at the bearings. Many budget rollers use simple bronze bushings. While bushings are easy to replace, they create more friction and wear out faster if you don’t grease them every hour. Professional-grade manual rollers use needle bearings or sealed ball bearings. These reduce the effort needed to turn the crank, allowing you to focus on guiding the metal. If you feel “grittiness” when turning the handle without any metal in the machine, it is a sign of poor bearing alignment or low-grade components.
- Shaft Runout: Ideally less than 0.002 inches.
- Bearing Type: Needle bearings are preferred for high-load manual use.
- Adjustment Hardware: Look for ACME threads on the pressure screw rather than standard V-threads for better durability.
Die Selection for Maximum Structural Gains
Forming dies are the interchangeable wheels that press shapes into the sheet metal. The shape of the die determines how much stiffness is added to the panel, with different profiles like V-beads, round beads, and step dies offering varying levels of reinforcement and aesthetic appeal.
Not all shapes provide the same amount of rigidity. If your goal is to stop a flat panel from vibrating, a standard round bead is the industry standard. It stretches the metal into a bridge-like shape. However, I often find that a “step die” is more effective for edge reinforcement. A step die creates a shift in the plane of the metal, which acts like a structural flange. When choosing workshop machinery, ensure the machine uses a standard shaft size (usually 22mm or 3/4 inch) so you can buy high-quality aftermarket dies.
I prefer dies made from 4140 chromoly steel that has been hardened. Cheap dies are often made from soft “mystery metal” that will dent or scar if you run a piece of stainless steel through them. If you see a die set that looks shiny and chrome-plated, be careful. That plating can flake off and embed itself in your workpiece. I look for a black oxide finish or raw, hardened steel. This shows the quality of the base material without hiding it under a layer of cheap chrome.
The Impact of Throat Depth on Mechanical Leverage
Throat depth is the distance from the center of the forming dies to the back of the machine’s frame. This measurement determines how far into a large panel you can reach to add stiffening features, but a deeper throat also increases the risk of the frame flexing.
There is a major trade-off here that many buyers miss. Marketing teams love to brag about a 24-inch or 36-inch throat depth. While this allows you to work on the center of a large roof panel, it creates a massive amount of leverage against the frame. In my maintenance experience, a 36-inch roller with a thin frame is almost useless for 18-gauge steel because the “jaw” of the machine opens up as soon as you apply pressure.
If you are a practical fabricator, I recommend staying with an 18-inch or 24-inch throat unless you absolutely need more. A shorter throat is inherently more rigid. If you must have a deep-throat machine, look for one that includes a “brace kit” or a secondary support frame. This prevents the C-frame from spreading. Without a brace, your depth of profile will be inconsistent, making the panel look wavy instead of reinforced.
Manual vs. Power-Assisted Mechanical Designs
Manual rollers are operated by a hand crank, giving the user total control over speed and placement. While power-assisted models exist, they are often unnecessary for the gauges used in home shops and add complexity that can lead to more frequent mechanical failures.
For most of the guys I talk to, a manual crank is the better investment. It allows you to feel the metal moving. You can sense when the material is about to “bunch up” or when the pressure is too high. In a manual setup, the internal mechanical components are simpler, which means there is less to break. I have seen many cheap motor conversion kits burn out because they lack the torque to handle 18-gauge curves.
If you find that the manual crank is too difficult to turn, it is usually a sign of one of two things: either your shafts are flexing and binding in the bushings, or your dies are too sharp for the material thickness. A well-built manual machine with needle bearings should feel smooth. If you decide to upgrade later, look for a machine that has a keyed shaft, which makes it easier to adapt to a high-torque gear motor without slipping.
Comparison of Bead Roller Construction Tiers
| Feature | Budget (Entry-Level) | Professional (Manual) | Industrial (Manual) |
|---|---|---|---|
| Frame Material | 3/8″ Stamped/Bolted Steel | 1/2″ – 5/8″ Solid Plate | Cast Iron or Heavy Box Tube |
| Bearing Type | Bronze or Nylon Bushings | Sealed Ball Bearings | Heavy-Duty Needle Bearings |
| Shaft Diameter | 1/2″ to 5/8″ | 3/4″ to 7/8″ | 1″ or larger |
| Max Capacity | 22-gauge Steel | 18-gauge Steel | 16-gauge Steel |
| Weight | 15 – 25 lbs | 45 – 60 lbs | 100+ lbs |
Measuring and Correcting Spindle Runout
Spindle runout is the amount of “wobble” or deviation from a perfect circle that a shaft exhibits as it rotates. In a bead roller, high runout causes the dies to oscillate, resulting in an uneven bead depth and a finished product that looks unprofessional and lacks structural consistency.
When I get a new machine in the shop, the first thing I do is pull out my dial indicator. I place the magnetic base on the frame and the tip of the indicator on the end of the shaft. As I turn the handle, I watch the needle. If the runout is more than 0.003 inches, you will see it in your work. The bead will appear to “pulse” as you roll.
Often, this runout isn’t caused by a bent shaft but by poor machining of the bearing seats. If you are handy, you can sometimes “tune” a budget machine by replacing the cheap bushings with precision-machined ones. However, for most buyers, it is better to invest in a machine that guarantees low runout from the factory. A machine with high runout will cause the metal to wander, making it nearly impossible to follow a straight line or a marked template.
Assessing the Pressure Screw and Tension Mechanism
The pressure screw is the threaded bolt used to push the top shaft down onto the metal. A high-quality tension mechanism allows for micro-adjustments, ensuring that you can achieve the exact depth of bead needed without over-stretching or tearing the sheet metal.
I always look at the pitch of the threads on the pressure screw. Fine threads are better because they allow for more precise control over the depth of the profile. Some cheap machines use a standard coarse bolt that feels “mushy.” When you try to tighten it, it either doesn’t move enough or it jumps too deep.
Another thing to check is the “top block” where the shaft sits. In professional machines, this block is often a solid piece of steel that slides in a machined groove. In budget machines, it might just be a loose piece of metal held in place by the pressure screw. If the block can wiggle side-to-side, your top die will not stay centered over the bottom die. This misalignment creates a “shearing” action that can actually cut through the metal instead of forming it.
Practical Steps for Enhancing Panel Rigidity
- Mark Your Lines: Use a fine-tip permanent marker or a scribe. Always mark on the “back” side of the panel so the lines are hidden after installation.
- Set Initial Pressure: Start with light pressure. It is better to make two or three passes to reach the final depth than to try and do it all in one heavy pass.
- Check for Straightness: As you roll, the metal will want to curve toward the side with more tension. Use a steady hand and a guide fence if your machine has one.
- Inspect the Profile: Look for thinning at the peak of the bead. If the metal looks shiny or “stretched,” you are using too much pressure.
- Test the Rigidity: Give the panel a “thump” with your hand. A properly reinforced panel will have a high-pitched “tink” sound rather than a low-pitched “thud.”
Why Heavy Castings Dampen Harmonics
In the context of metalworking machinery, harmonics are the vibrations that travel through a tool during operation. Heavy castings, such as those made from grey iron, are excellent at absorbing these vibrations, which prevents the tool from “chattering” and ensures a smoother finish on the workpiece.
When you are rolling a long bead, the metal is under a lot of stress. This stress creates vibrations that can travel back into the machine. If you are using a lightweight, thin-steel frame, these vibrations are amplified. This is why you sometimes see “chatter marks” or ripples inside the bead. It isn’t a problem with your technique; it’s a problem with the machine’s mass.
A heavy cast-iron frame act like a giant sponge for these vibrations. This is why industrial-grade manual tools are so heavy. They aren’t just built to be “tough”; they are built to be quiet and stable. When you are comparing a $150 steel-plate roller to a $600 cast-bodied roller, you are paying for that stability. For a professional finish that truly strengthens the panel, that extra investment in mass is almost always worth it.
Spare Parts and Long-Term Maintenance
Parts availability refers to how easily you can source replacement components like bearings, shafts, or dies if the original parts wear out or break. A machine with a good parts pipeline is a long-term investment, whereas a “disposable” tool can become useless after a single failure.
Before you click “buy,” look at the manufacturer’s website. Do they sell replacement shafts? Do they offer different die sets? I have seen many great-looking machines become boat anchors because a $10 woodruff key sheared and the manufacturer didn’t sell replacements.
- Check Die Compatibility: Ensure the machine uses standard 22mm or 3/4″ bores.
- Look for Manuals: A good machine should come with a detailed parts breakdown.
- Lubrication Points: Look for “Zerk” fittings or oil holes. If a machine has no way to be lubricated, it is designed to be disposable.
Common Rookie Mistakes to Avoid
One of the biggest mistakes I see is people trying to roll 16-gauge steel on a machine rated for 22-gauge. Just because you can force the handle to turn doesn’t mean you should. Overloading a machine will permanently stretch the frame or bend the shafts. Once a frame is “sprung,” it will never roll a straight bead again.
Another mistake is neglecting to lubricate the metal. I always use a light wipe of WD-40 or a dedicated forming lubricant on the area where the dies will touch. This reduces friction and prevents the dies from “scuffing” the surface of the metal. It also makes the crank much easier to turn, which gives you better control over the workpiece.
Finally, don’t ignore the importance of a solid mounting surface. A bead roller exerts a lot of torque. If your workbench is wobbly or the machine isn’t bolted down securely, you will fight the machine the whole time. I prefer mounting my roller on a dedicated pedestal stand that is bolted to the shop floor. This allows me to walk around the machine as I guide large panels.
Frequently Asked Questions
What is the maximum thickness a manual bead roller can handle? Most high-quality manual rollers are rated for up to 18-gauge mild steel. Some industrial-grade manual models can handle 16-gauge, but it requires significant physical effort. Always check the manufacturer’s specs, as budget models may be limited to 22-gauge or thinner.
Why does my sheet metal warp when I roll a bead? Warping occurs because the process of rolling a bead stretches the metal in a localized area. This creates internal tension. To minimize this, use multiple light passes rather than one heavy pass, and try to balance your beads across the panel to distribute the tension evenly.
Can I use a bead roller on aluminum? Yes, manual rollers work exceptionally well on aluminum. Since aluminum is softer than steel, you can often work with thicker gauges (up to 0.060 or 0.080 inches). However, be careful not to use sharp dies, as they can crack the aluminum if the radius is too tight.
Do I really need a “fence” or guide for my roller? While you can follow a marked line by eye, a fence makes it much easier to create perfectly straight, parallel beads. If your machine doesn’t come with one, it is a worthwhile upgrade or a simple project to fabricate yourself.
How do I know if my frame is flexing? The easiest way to check is to measure the gap between the dies before you start and again while the metal is under full pressure. If the gap increases noticeably (more than 0.010 inches), your frame is flexing, and your bead depth will be inconsistent.
What is the difference between a “bead” and a “step”? A bead is a rounded or V-shaped protrusion that stays on the same plane as the rest of the metal. A step die offsets one side of the metal higher or lower than the other. Both add strength, but steps are often used for overlapping panels or creating flanges.
How often should I lubricate the shafts and bearings? If your machine has bronze bushings, you should apply a few drops of 30-weight oil or a dab of grease every hour of active use. For sealed ball bearings, maintenance is minimal, but you should still check for play or noise once a month.
Why are some dies made of nylon or urethane? Non-metal dies are used when you want to form a shape without marking or marring the surface of the metal, such as on pre-painted or polished panels. They are great for cosmetic work but don’t provide as much “crispness” as steel dies.
Is throat depth the most important spec to look for? No. While throat depth determines the size of the panel you can work on, frame rigidity is more important. A deep throat is useless if the frame flexes so much that it can’t form a consistent bead. Always prioritize frame thickness over throat depth.
Can I motorize a manual bead roller later? Many manual rollers can be converted, but it requires a machine with strong shafts and a rigid frame. If you plan to do this, look for a model that uses a keyed shaft and has a bolt-on handle, which makes attaching a sprocket or gear reducer much easier.
What is “oil-canning” and how does a bead roller fix it? Oil-canning is when a large, flat area of sheet metal is unstable and “pops” back and forth when touched. By rolling a bead into the center of that area, you create a structural rib that eliminates the slack in the metal, making the entire panel rigid and quiet.
Should I buy a kit with 10 dies or a better machine with 2 dies? Always buy the better machine. You can always buy more dies later, but you cannot easily “fix” a weak frame or poor-quality bearings. A high-quality machine with a standard round bead die will be more useful than a flimsy machine with a dozen dies you can’t use accurately.
(This article was written by one of our staff writers, Steven Brooks. Visit our Meet the Team page to learn more about the author and their expertise.)