How to Countersink Screw Holes in Hard Steel (DIY Guide)
I have spent 17 years in industrial maintenance and fabrication shops, and I have learned that the hardest part of the job isn’t the work itself. It is cutting through the marketing noise to find tools that actually perform. When you are trying to create a flush seat for a screw in a piece of hardened steel, you aren’t just drilling a hole. You are engaging in a battle of physics between your cutting tool and a very stubborn workpiece.
In my experience, many people fail at this task because they rely on equipment that looks good on a spec sheet but lacks the structural integrity for high-pressure work. I have seen drill press tables flex like diving boards and spindles wobble enough to shatter expensive carbide bits in seconds. This guide is built on the lessons I’ve learned from teardowns, repairs, and thousands of hours at the bench. We are going to look at how to evaluate your machinery and execute these recesses properly.
Assessing Machine Rigidity for High-Pressure Metalwork
Rigidity is the ability of a machine to resist deflection or bending when a load is applied. In a workshop setting, this usually refers to how much the drill press column or table moves when you pull the handle down to force a bit into a hard surface.
When you are working with hardened steel, the downward force required is significantly higher than with mild steel or plastics. If your machine frame is made of thin-walled tubing or light-duty castings, it will flex. This flex causes the bit to chatter, which leads to jagged edges and broken tools. I always look for a heavy cast iron base and a thick-walled column. A heavier machine naturally dampens the vibrations created by the cutting action, leading to a smoother finish.
- Cast Iron Grade: Look for Class 30 or higher cast iron. This material has excellent dampening properties, meaning it absorbs the “hum” of the motor and the “bite” of the tool.
- Column Diameter: For hardened steel, a column diameter of less than 2.5 inches often results in visible deflection under load.
- Table Support: Ensure the table has a robust locking mechanism. If the table tilts slightly when you apply pressure, your countersink will be lopsided.
| Feature | Budget Workshop Press | Industrial-Grade Shop Press |
|---|---|---|
| Column Wall Thickness | 0.060 – 0.080 inches | 0.125 – 0.250 inches |
| Table Material | Thin Ribbed Aluminum | Solid Grain Cast Iron |
| Vibration Dampening | Low (High chatter) | High (Smooth cutting) |
| Weight to HP Ratio | 50 lbs per 1/2 HP | 150 lbs per 1/2 HP |
Motor Torque and Variable Speed Control
Torque is the rotational force produced by a motor, while speed refers to how fast the spindle turns. For hard steel, you need high torque at very low speeds to prevent the tool from overheating and losing its edge.
Most standard DIY drill presses use a system of pulleys and belts to change speeds. To cut into hardened steel, you typically need to be in the 200 to 400 RPM range. If your motor is weak, it may stall at these low speeds. I prefer motors with a high “service factor,” which indicates the motor’s ability to handle occasional overloads. Modern brushless DC motors or machines equipped with a Variable Frequency Drive (VFD) are excellent because they maintain constant torque even when the RPM is turned down low.
- Horsepower (HP): A 1/2 HP motor is the bare minimum for this work, but a 3/4 HP or 1 HP motor provides the “grunt” needed to keep the bit moving through tough spots.
- Belt Slippage: In belt-driven machines, ensure the belts are high-quality rubber. Old or glazed belts will slip the moment the bit bites into the steel.
- Electronic Speed Control: If using a digital controller, look for “back-EMF feedback.” This technology tells the motor to work harder when it senses the bit slowing down under load.
Measuring Spindle Runout for Precision Recessing
Spindle runout, or Total Indicated Runout (TIR), is a measurement of how much the spindle (the part that holds the chuck) wobbles as it rotates. It is usually measured in thousandths of an inch using a dial indicator.
If your spindle has high runout, your bit will not hit the center of the hole consistently. Instead, it will “slap” the sides of the metal. When using carbide tools on hard steel, even 0.005 inches of runout can cause the brittle carbide to chip. I always test my machines by placing a dial indicator against a precision ground rod held in the chuck. For clean, professional results in hard metal, you want to see a TIR of 0.001 inches or less.
- Clean the Taper: Ensure the internal taper of the spindle and the external taper of the chuck are perfectly clean. A single speck of dust can cause runout.
- Check the Bearings: If you can move the spindle side-to-side by hand, the bearings are likely worn or of poor quality.
- Upgrade the Chuck: Many “out of the box” chucks are poorly machined. Replacing a stock chuck with a high-precision keyless or keyed version can often cut your runout in half.
Selecting Cutting Tools for High-Tensile Surfaces
The cutting tool, or bit, is the most critical link between your machine and the workpiece. For hardened steel, standard High-Speed Steel (HSS) bits are almost useless; they will dull before they even make a mark.
I recommend using solid carbide or cobalt-infused countersinks. Carbide is extremely hard and can withstand the heat generated by friction, but it is also brittle and requires a steady hand. Cobalt bits are a middle ground; they are tougher than HSS and can handle more heat, making them a bit more forgiving if your setup isn’t perfectly rigid. Look for a “single-flute” or “three-flute” design. Single-flute bits are excellent for preventing chatter in hard materials because they have a larger relief area for the metal chips to escape.
- Carbide Bits: Best for the hardest steels. Must be used in a rigid drill press.
- Cobalt (M42) Bits: Good for tough alloys. Can be used in a handheld drill if you are very careful.
- Coating (TiAlN): Titanium Aluminum Nitride coating is a dark purple/black finish that helps the tool resist heat. It is a worthwhile investment for hard steel projects.
The Mechanics of Feed Rates and Cooling
Feed rate is the speed at which you move the bit into the material, while cooling involves using fluids to manage the heat generated by the cutting process. In hard steel, heat is your primary enemy.
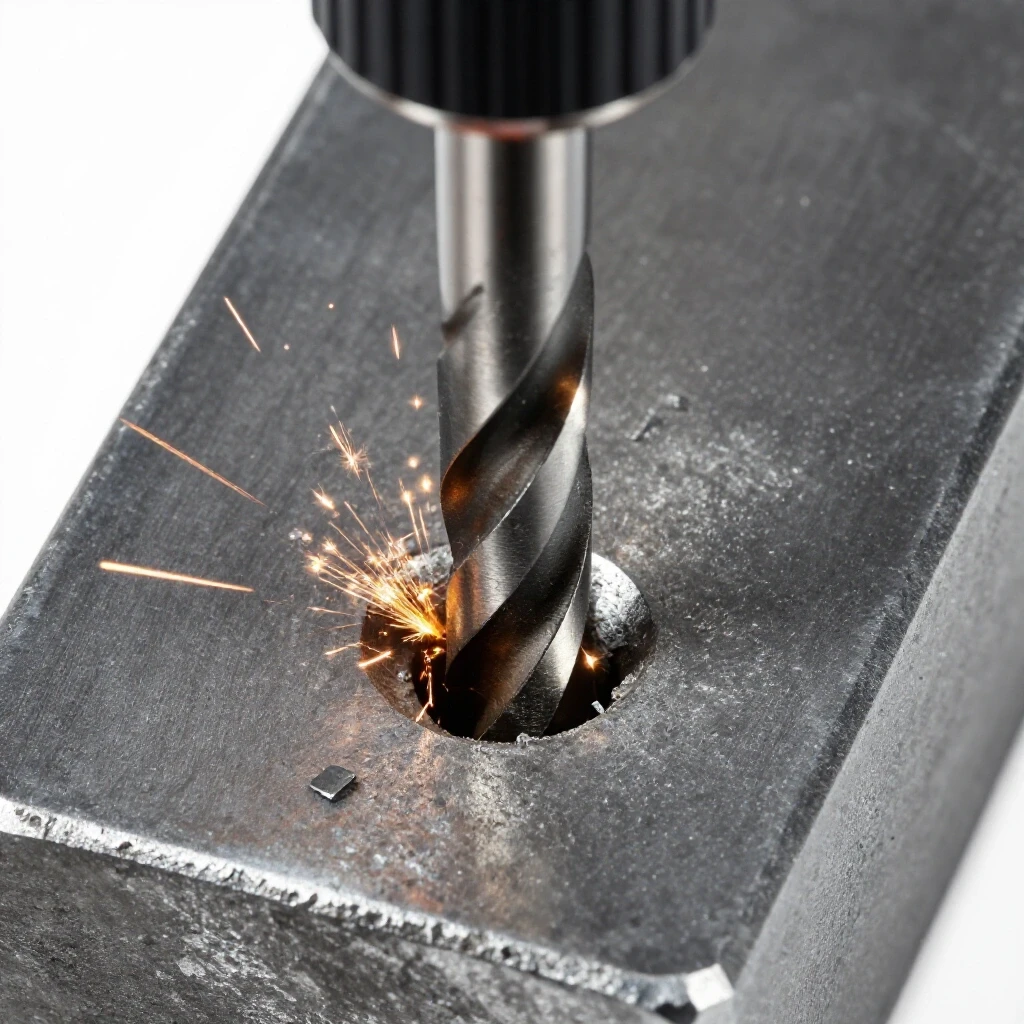
When you start the cut, you must use a “heavy” feed. This means applying enough pressure so the bit is always peeling away a chip of metal. If you apply too little pressure, the bit will simply rub against the surface. This rubbing creates immense heat, which can actually make the steel even harder—a process called “work hardening.” I use a high-quality cutting oil, specifically one with high sulfur content, to lubricate the interface and carry heat away from the cutting edge.
- Continuous Chip: You want to see small, curled ribbons of metal. If you see fine dust, you aren’t pressing hard enough or your bit is dull.
- Lubrication Method: Don’t just spray the metal once. Apply a steady drip of oil as you work.
- Peck Drilling: For deeper recesses, lift the bit every few seconds to clear out the chips and let fresh oil reach the bottom of the cut.
Step-by-Step Execution for Flush Screw Seating
Once your machinery is checked and your tools are ready, the actual process requires a steady hand and a methodical approach. I always start by ensuring the workpiece is clamped securely to the table.
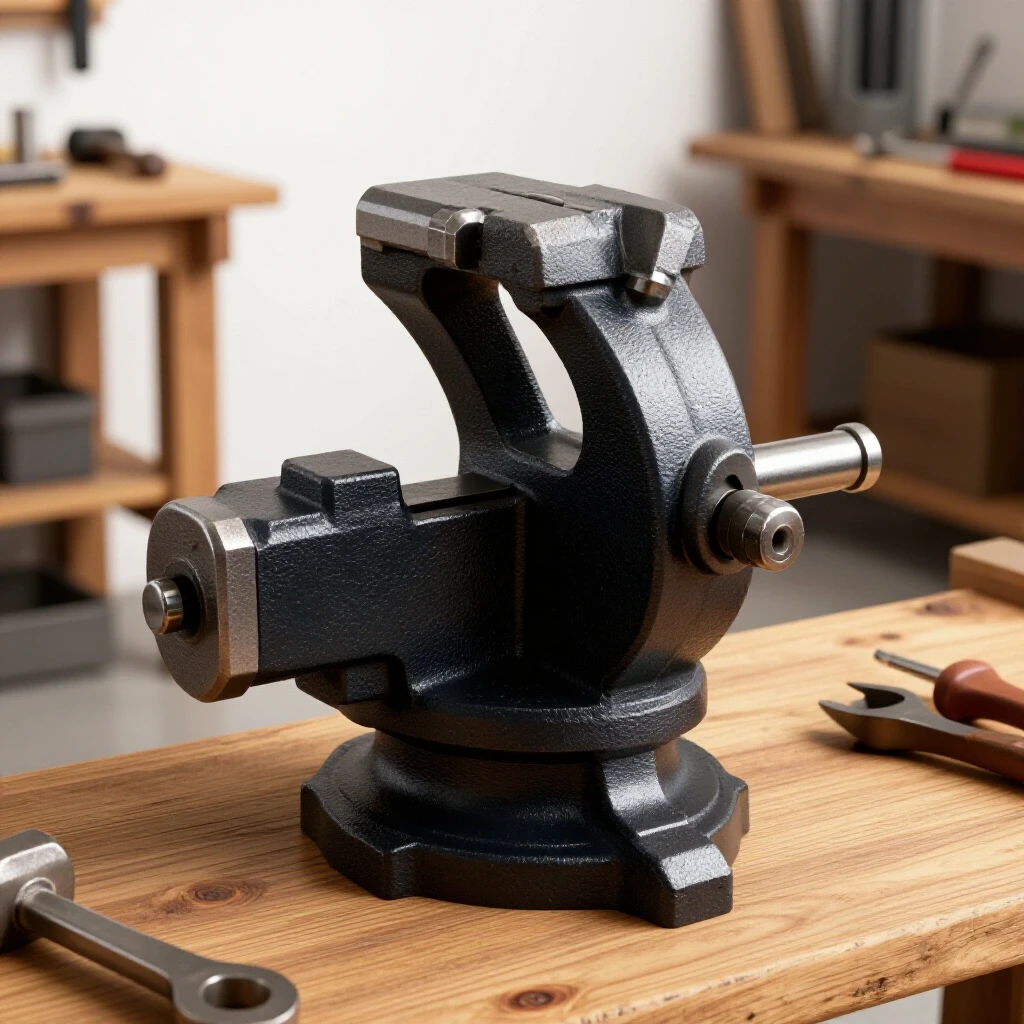
Never try to hold a piece of hard steel by hand while drilling. If the bit catches, the metal will spin like a lawnmower blade. Use a heavy-duty machinist’s vice bolted directly to the drill press table. This eliminates the “human factor” of movement and ensures the hole and the recess remain perfectly aligned.
- Secure the Workpiece: Use T-bolts and clamps to fix your vice to the table.
- Align the Center: Lower the bit (with the power off) to ensure it sits perfectly in the existing pilot hole.
- Set the Depth Stop: Most drill presses have a threaded rod that limits how far the spindle can travel. Use this to ensure every hole is the same depth.
- Engage the Cut: Turn on the machine at a low RPM (250-300). Apply firm, steady pressure.
- Check for Flushness: Stop frequently to test the actual screw in the hole. You want the head of the screw to sit just a hair below the surface of the metal.
Troubleshooting Common Mechanical Failures
Even with the best equipment, things can go wrong. I’ve spent years diagnosing why a simple task suddenly turns into a mess of broken bits and ruined parts.
If you hear a high-pitched squealing sound, your speed is too high or you are not using enough lubrication. If the machine starts to vibrate violently (chatter), your feed rate is likely too low or your setup lacks rigidity. Interestingly, sometimes increasing the pressure can actually stop chatter by forcing the bit to stay “buried” in the cut rather than bouncing on the surface.
- Glazed Metal: If the bottom of the hole looks shiny and the bit won’t cut, you have work-hardened the steel. You may need to use a fresh carbide bit to “break through” that hard layer.
- Chipped Bit: If the tip of your carbide bit breaks, check your spindle runout. A wobbly spindle is the number one killer of carbide.
- Burrs: Hard steel often leaves a sharp “ring” around the top of the hole. Use a larger bit or a dedicated deburring tool to lightly clean this edge.
Selecting the Right Tool Class for Your Workload
Not every shop needs a $5,000 industrial drill press, but a $150 “bargain” machine will likely fail you when working with hard steel. You have to find the balance based on how often you perform these tasks.
For occasional repairs on hardened brackets or tools, a mid-range “benchtop” press with a cast iron head and a decent motor will suffice, provided you upgrade the chuck. However, if you are building structural components or working with high-tensile alloys daily, a floor-model press with a geared head is a better investment. Geared heads use metal gears instead of belts, providing the maximum possible torque at low speeds without any risk of slippage.
| Machine Class | Best Use Case | Key Mechanical Advantage |
|---|---|---|
| Entry-Level Benchtop | Light repairs, softer steels | Low cost, portable |
| Mid-Range Shop Press | Regular DIY, hardened brackets | Better bearings, heavier castings |
| Industrial Geared Head | Daily production, high-tensile alloys | No belt slip, massive torque |
| Heavy-Duty Radial | Large workpieces, extreme precision | Massive rigidity, long reach |
Maintenance for Longevity and Accuracy
A machine is only as good as its maintenance schedule. I have seen high-end machines ruined by neglect and cheap machines last decades because they were cared for properly.
Keep the column and the table lightly oiled to prevent rust. Check the tension on your belts every few months; a loose belt will slip, and an overly tight belt will put unnecessary side-load on your spindle bearings, leading to premature wear and runout. If your machine has grease fittings (zerks), use a high-quality lithium grease to keep the internal gears and bearings moving smoothly.
- Clean the Quill: The quill is the moving part of the spindle. Wipe it down to remove metal shavings that can score the internal bore.
- Check Bolt Tightness: Vibration can loosen the bolts that hold the motor and the head to the column. Check them once a month.
- Inspect the Chuck: If the jaws of your chuck become scarred or uneven, it will hold the bit at an angle. Replace it immediately to maintain accuracy.
Identifying Performance Realities Over Marketing Hype
When you are browsing for new machinery, ignore words like “professional,” “heavy-duty,” or “precision” unless they are backed by specific numbers. A brand name is just a sticker; the mechanical components tell the real story.
Look for the weight of the machine in the shipping specs. A heavier machine almost always performs better in hard steel than a lighter one of the same size. Check the motor’s “continuous duty” rating rather than its “peak” horsepower. Peak horsepower is often a marketing trick that measures the motor’s power right before it burns out, whereas continuous duty tells you what it can actually handle for an hour of work.
- Weight Matters: If two machines look the same but one weighs 40 lbs more, choose the heavier one. That extra mass is usually in the castings.
- Bearing Types: Look for “tapered roller bearings” in the spindle if possible. They handle the downward pressure of countersinking much better than standard ball bearings.
- Parts Availability: Before buying, check if you can easily order replacement belts, bearings, and switches. A machine you can’t fix is a paperweight.
Frequently Asked Questions
Why does my bit stop cutting after only a few seconds? This is usually caused by heat. If the bit gets too hot, the cutting edge softens and rounds over. In hard steel, this can happen in a heartbeat. Use more cutting oil and lower your RPM. Also, ensure you are applying enough pressure to keep the bit “biting” rather than rubbing.
Can I use a handheld drill for this? It is possible but very difficult. Handheld drills lack the rigidity and the consistent downward pressure needed for hard steel. If you must use one, use a cobalt bit and go very slowly. Be prepared for the bit to grab and twist the drill out of your hands.
What is the best angle for a countersink bit? Most standard screws use an 82-degree or 90-degree angle. Check your screw head before buying a bit. Using the wrong angle will result in the screw head not sitting flush against the metal, which reduces the holding power and looks unprofessional.
How do I know if the steel is too hard for my bit? Try to scratch the steel with a standard file. If the file slides off without leaving a mark, the steel is very hard. In this case, you must use a solid carbide bit. If the file can bite into the metal, a cobalt bit should work.
Does the number of flutes on the bit matter? Yes. For hard steel, fewer flutes are often better. A single-flute bit has more room for chips and is less likely to chatter. Multi-flute bits (like 6-flute) are better for softer metals like aluminum where you want a very fine finish at higher speeds.
What happens if I work-harden the hole? If you work-harden the metal, the surface becomes harder than the bit you are using. You will see a shiny, mirrored finish in the hole. To fix this, you must use a carbide bit and a very slow speed with high pressure to “break” through that thin, hardened skin.
Is cutting fluid really necessary? Yes, absolutely. In hard steel, the friction is so high that the bit will lose its temper (hardness) almost instantly without it. A good sulfur-based cutting oil acts as both a lubricant and a coolant.
How can I tell if a drill press has high runout before I buy it? If you are in a store, extend the quill all the way down and try to wiggle it with your hand. There should be almost zero side-to-side play. If it feels “clunky,” the tolerances are loose, and you will have trouble with precision work.
Why is my countersink hole coming out “triangular” instead of round? This is a classic sign of chatter. It happens when the bit is bouncing rather than cutting. To fix it, increase your feed pressure, reduce your speed, and ensure your workpiece is clamped as tightly as possible.
What is the difference between HSS, Cobalt, and Carbide? HSS is for general-purpose mild steel. Cobalt is HSS with 5-8% cobalt added for heat resistance, making it good for tough alloys. Carbide is a different material entirely—extremely hard and heat-resistant but very brittle.
How do I sharpen a carbide countersink? You generally can’t sharpen carbide bits at home without a diamond wheel and a specialized jig. Because they are so hard, standard grinding wheels won’t touch them. It is usually more cost-effective to buy a new one or send it to a professional sharpening service.
Can I use WD-40 as a cutting fluid? WD-40 is better than nothing, but it is not a true cutting oil. It is too thin and evaporates too quickly. For hard steel, you need a heavy-duty oil that can withstand high pressures and temperatures.
(This article was written by one of our staff writers, Steven Brooks. Visit our Meet the Team page to learn more about the author and their expertise.)