Choose the Right Job Card Templates for Fabrication (Review)
Scaling a fabrication shop is rarely about buying the biggest machine. I have spent over 20 years refining my own workspace, and I have learned that the real bottleneck is usually information, not horsepower. When you move from hobby projects to professional-grade production, you realize that a CNC plasma table or a high-end press brake is only as good as the instructions you give it. The stress of managing multiple projects often leads to “shop fog,” where you spend more time looking for a cut list than actually melting metal.
I remember a specific job three years ago involving a complex architectural gate. I had just integrated a new CNC system and was feeling confident. Because I didn’t have a structured way to track the material specs and weld sequences, I ended up using the wrong gauge of stainless steel for the structural ribs. That mistake cost me two days of rework and a significant amount of material. It was the moment I realized that professional growth requires a systematic way to document every step of the fabrication process.

Mapping Material-Flow Loops and Production Tracking
A production tracking system is a visual or digital map that follows a project from raw material to finished product, ensuring every process is accounted for. It acts as the nervous system of your shop, connecting your inventory to your shipping crate.
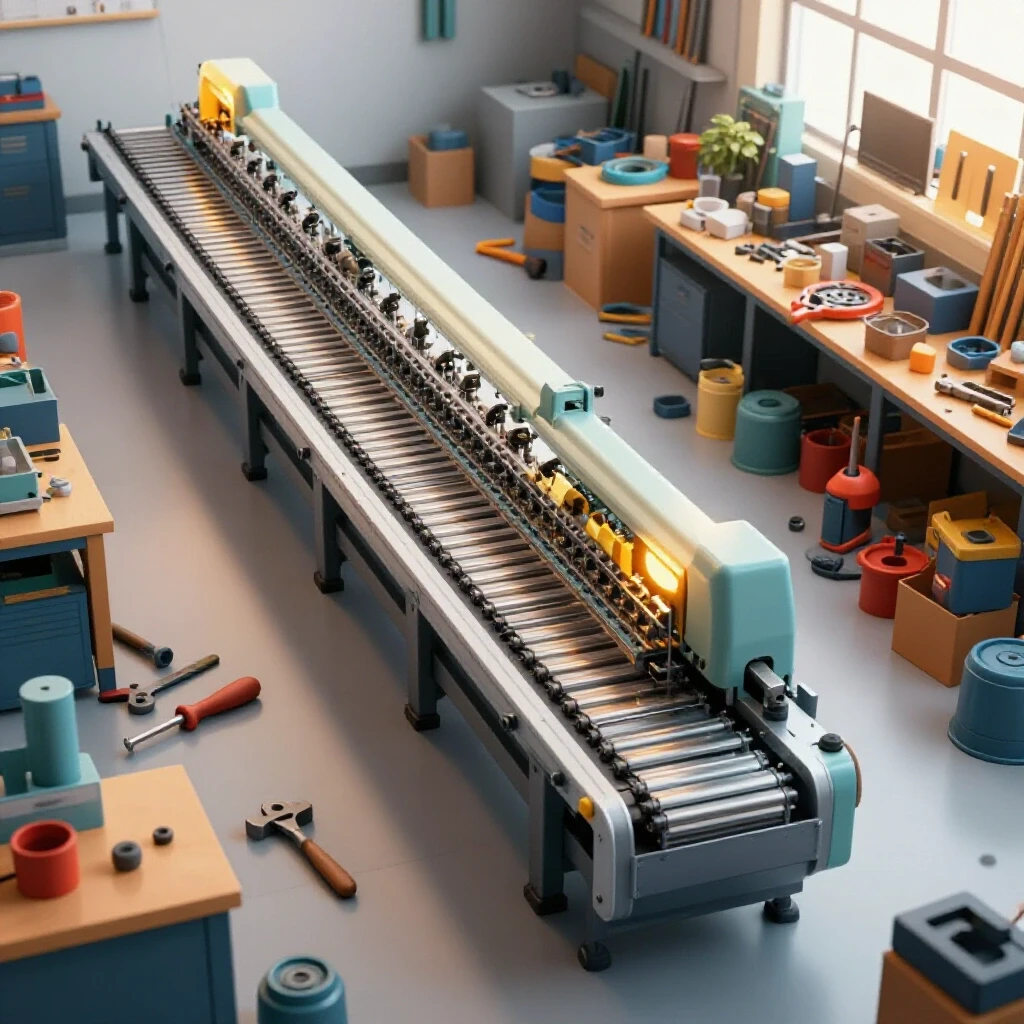
When you analyze your advanced workshop layout, you have to look at how much time you spend walking. In a lean manufacturing environment, movement that doesn’t add value is considered waste. I use a simple “spaghetti diagram” to map out my floor. I draw a line on a shop floor plan every time I move a piece of metal. If the lines cross over themselves or loop back to the same station repeatedly, the layout is failing.
Effective shop travelers—the documents that follow a part through the shop—should be placed at “transfer points.” These are the physical locations where a part moves from one process to another, such as from the material rack to the CNC plasma table. By placing a structured job card at these stations, you ensure the operator knows exactly what the next step is without having to ask.
| Layout Type | Material Travel Distance | Efficiency Rating | Best Use Case |
|---|---|---|---|
| Linear Flow | Shortest | High | High-volume, single-product runs |
| U-Shaped Flow | Moderate | Very High | Small teams, shared machinery |
| Island/Cell Flow | Variable | Moderate | Complex, custom one-off builds |
| Random/Organic | Longest | Low | Hobby setups, low-output shops |
Designing a Layout for Documentation and Physical Workflow
A documentation-friendly layout is a floor plan designed to provide clear stations for work orders, cut lists, and quality checks. This prevents paperwork from getting lost under piles of scrap or covered in grinding dust.
In my shop, I have designated “clean zones” near each major machine. These aren’t offices; they are simple, wall-mounted desks with a magnetic board. This is where the fabrication tracking documents live. When I am scaling a fabrication shop, I make sure these stations are positioned at least 5 feet away from heavy grinding areas to protect the legibility of the notes.
One of the biggest mistakes I see is placing the job card on the machine itself. Vibrations from a CNC gantry or sparks from a plasma torch can destroy a paper traveler in minutes. Instead, use a clear acrylic sleeve mounted to a swivel arm. This keeps the instructions at eye level but out of the line of fire. It also provides a dedicated space for the operator to sign off on tolerances before the part moves to the welding table.
- Establish 3-foot minimum access zones around all documentation stations.
- Use color-coded folders for different stages: Red for “In Progress,” Green for “Quality Check,” and Blue for “Ready to Ship.”
- Ensure lighting at these stations is at least 500 lux to make reading fine-print cut lists easier.
Integrating CNC Plasma Table Setups with Job Documentation
CNC integration involves syncing your CAD/CAM instructions with physical job cards to ensure the correct cut files are used for specific material batches. This bridge between the digital and physical worlds is where most errors occur.
When you set up a CNC plasma table, the job card should include the specific filename of the G-code and the required nozzle size. I have found that “software drift” is a real problem. This happens when you update a drawing in the office but the operator at the machine is still using an older version of the file. By requiring the operator to verify the “Date Modified” timestamp on the job card against the file on the controller, you eliminate this risk.
My transition to CNC taught me that automation doesn’t replace the need for a paper trail; it increases it. You are moving faster, which means you can make mistakes faster. A well-designed job card for a CNC workflow should include a “First Article Inspection” (FAI) checkbox. This forces you to measure the first part off the table against the shop traveler’s specs before the machine runs the rest of the nest.
- List the specific material alloy and thickness on the card.
- Include the gas pressure settings for the plasma power supply.
- Note the expected “consumable life” to track when the electrode needs a swap.
- Record the total cut time for accurate job costing later.
Managing 3-Phase Power Converters and Electrical Loading
A 3-phase power converter is a device that transforms single-phase residential or light-commercial power into the three-phase power required by industrial-grade fabrication machinery. This is essential for running heavy-duty motors and high-capacity welders efficiently.
As you scale, you will likely hit the limit of your 200-amp single-phase service. I had to learn this the hard way when I tried to run a 10hp rotary phase converter alongside my dust collection system and a 60-amp plasma cutter. The voltage sag was enough to crash the CNC controller. Now, I use a dedicated phase balancing log on my machine maintenance cards.
I recommend checking the voltage balance between the three legs (L1, L2, and L3) once a month. If the legs are more than 5% out of balance, your motors will run hot and eventually fail. A rotary phase converter is generally more robust for the high-surge loads of a fabrication shop, but a Variable Frequency Drive (VFD) is excellent for dedicated, single-machine setups like a mill or lathe.
| Converter Type | Cost | Power Quality | Best For |
|---|---|---|---|
| Static Converter | Low | Poor (2/3 power) | Constant speed, light loads |
| Rotary Converter | Medium | Good | Multiple machines, high surge |
| VFD | Medium/High | Excellent | Precision speed control |
| Digital Phase Converter | High | Superior | CNC electronics, sensitive gear |
Designing High-Volume Air Quality and Dust Collection Systems
Dust collection duct design is the engineering of a vacuum system to remove airborne particulates, such as metal dust and smoke, from the shop environment. Proper design considers air velocity and static pressure to ensure pollutants are actually captured.
In a professional shop, air quality isn’t just about comfort; it’s about machine longevity. Fine metal dust is conductive. If it gets into your CNC control box, it can bridge contacts and fry a motherboard. I designed my current system to pull 1,200 CFM (Cubic Feet per Minute) at the source. I also integrated a maintenance checklist directly onto the shop traveler for long-running jobs. If a project requires more than 4 hours of continuous grinding, the job card triggers a mandatory filter pulse-clean.
When designing your ductwork, avoid 90-degree elbows. They create massive static pressure losses. Use two 45-degree bends with a short straight section between them instead. I aim for a transport velocity of 4,000 feet per minute (FPM) for metal dust. This ensures the heavy particles don’t settle in the bottom of the pipes and create a fire hazard.
- Use 6-inch main lines for high-volume collectors.
- Install blast gates at every machine to maximize suction where it is needed.
- Check filter pressure gauges daily; a 2-inch water column increase usually means it is time to clean.
Workflow Optimization Tips for the Evolving Fabricator
Workflow optimization is the process of identifying and removing steps in your production that do not add value to the final product. It involves refining the sequence of operations to maximize the output of your existing equipment.
One technique I have adopted is “kit-based” fabrication. Instead of cutting all parts for ten tables and then welding all ten, I use the job card to organize parts into “kits.” Each kit contains everything needed for one assembly. This reduces the floor space taken up by “Work in Progress” (WIP). When your shop is small, WIP is the enemy. It blocks aisles, hides tools, and makes it impossible to maintain a clean material flow.
I also suggest a “Red Tag” area for material that doesn’t meet the specs on the job card. If a plate comes off the CNC with a bad taper or a missed hole, it gets a red tag and goes to a specific bin. It does not stay on the workbench. This visual cue tells everyone in the shop that the part is a “no-go,” preventing it from being accidentally welded into a finished assembly.
Technical Foundations of Job Card Templates
A job card template is a structured document that records critical data like material specs, cut lists, weld sequences, and inspection checkpoints. Choosing the right one depends on the complexity of your typical project.
For a micro-manufacturer, the template must be flexible. It needs to handle a simple bracket job just as well as a multi-part assembly. I prefer a “modular” template. The top section is always the same: customer info, job number, and material type. The middle section changes based on the process. If it is a CNC job, there is a grid for nesting layouts. If it is a welding job, there is a section for gas types and wire feed speeds.
The “why” behind this documentation is traceability. If a customer calls six months later and says a weld failed, you can look at the job card. You can see who welded it, what the settings were, and even the batch number of the welding wire. This level of professionalism is what separates a hobbyist from a semi-professional operator.
- Header: Job ID, Date, Customer, Priority Level.
- Material: Alloy, Thickness, Source Heat Number (for certified work).
- Operations: A numbered list of steps (e.g., 1. Cut, 2. Deburr, 3. Bend).
- Quality Control: Space for “Actual” vs. “Target” measurements.
- Notes: Operator feedback on machine performance or material issues.
Software Integration and CAD/CAM Workflows
Software integration is the practice of connecting your design tools (CAD) and manufacturing tools (CAM) with your shop management system to reduce manual data entry. This ensures that the physical job card matches the digital model.
I use cloud-based folders to store my cut files, but the job card acts as the “key” to those folders. Each card has a QR code that, when scanned by a tablet in the shop, opens the exact drawing and 3D model for that part. This has been a game-changer for my workflow. It eliminates the “Which version is this?” conversation entirely.
However, be wary of over-complicating this. If you spend more time managing the software than you do cutting metal, you have lost the battle. Start with a simple paper-based system. Once that system is robust and you find yourself repeating the same steps, then automate it. I have seen many shops fail because they tried to implement a complex ERP (Enterprise Resource Planning) system before they even had a consistent way to write down a cut list.
- Verify that your CAM software’s “Post Processor” matches your CNC controller version.
- Keep a physical “Master Book” of common cut settings for different materials as a backup.
- Use a simple spreadsheet to track machine hours and calculate your actual shop rate.
Executing the Transition: A Practical Checklist
Moving to a professional workflow is a marathon, not a sprint. I recommend making one major change per month. If you try to reorganize the layout, install a phase converter, and start a new documentation system all in the same week, your production will grind to a halt.
Start with the material flow. Clear the aisles and define the path. Next, implement the job cards. Even if you are a one-man shop, write it down. It builds the habit. Then, look at your utilities—power and air. Finally, integrate the automation. This sequence ensures that by the time the CNC table arrives, you have the “infrastructure of information” ready to support it.
- Week 1: Map your current material travel paths and identify three major bottlenecks.
- Week 2: Create a basic job card template and use it for every single project, no matter how small.
- Week 3: Audit your electrical load and check for voltage balance on your 3-phase equipment.
- Week 4: Clean your dust collection ducts and measure the static pressure to ensure peak performance.
Frequently Asked Questions
How do I keep job cards clean in a greasy shop environment? I use heavy-duty 8-gauge vinyl job ticket holders. They are heat-resistant and can be wiped down with a degreaser. For very high-heat areas, I use a magnetic clipboard that stays on a nearby pillar rather than on the workbench.
Should I go fully digital with my shop tracking? Not immediately. Digital systems are great for data, but they are fragile. A dropped tablet or a dead battery can stop your production. I find a “hybrid” approach works best: paper for the shop floor and digital for the office and long-term archiving.
What is the most common mistake in shop layout? Underestimating “buffer space.” You need room for the material that is waiting to be processed. If you don’t design a “parking lot” for your WIP, it will end up in your aisles, which kills your efficiency and creates a safety hazard.
How often should I update my job card templates? Review them every six months. Ask yourself: “What information did I need this month that wasn’t on the card?” and “What part of this card did I never actually fill out?” Trim the fat and add the essentials.
Do I really need a rotary phase converter for a small CNC? If your CNC has sensitive electronics and a spindle or plasma unit that draws a lot of power, a rotary converter is much safer than a static one. A digital phase converter is even better but significantly more expensive.
What air velocity do I need for aluminum vs. steel dust? Both require high transport velocities to prevent settling, but aluminum dust is an explosion hazard. I aim for 4,000 to 4,500 FPM. Always ensure your dust collector is properly grounded to prevent static sparks.
How do I track material “drops” or scrap? I include a “Material Yield” section on my job cards. The operator records how much of the sheet was used. If a significant “drop” (reusable scrap) remains, it gets labeled with the job number and material type before going back on the rack.
What is the best way to train a new helper on these systems? Use the job card as the training manual. If the card is well-designed, a new person should be able to follow the steps with minimal intervention. If they get stuck, it usually means your template is missing a critical piece of information.
How do I calculate the ROI of a new CNC machine? Use your job cards to track “Before and After” times. Record how long a part took to make manually versus on the CNC. Factor in the machine payment, power, and consumables. Most shops find that the reduction in “rework” is the biggest contributor to ROI.
Can I use a VFD to run a 3-phase welder? No. VFDs are designed for motor loads, not the transformer or inverter loads found in welders. For a welder, you need a rotary phase converter or a dedicated 3-phase utility drop.
Why is static pressure loss important in duct design? Static pressure is the resistance the air faces as it moves through the pipes. If your resistance is too high, your CFM will drop, and the dust won’t be captured. Every bend, transition, and foot of pipe adds resistance.
What is the first thing I should put on a job card? The “Target Finish Date.” Without a deadline, jobs tend to expand to fill the available time. Putting the date at the top of the card keeps the priority clear for everyone in the shop.
(This article was written by one of our staff writers, Edward Sinclair. Visit our Meet the Team page to learn more about the author and their expertise.)