How to Reduce Machine Setup Swaps in Custom Shops (DIY Fix)
I remember the exact moment I realized my shop was outgrowing me. I was standing over a manual mill, swapping out a heavy vise for a rotary table for the third time that afternoon. Between cleaning the chips, tramming the head, and finding my zeros, I had spent two hours just moving metal around without making a single cut. My background in manufacturing operations told me this was a “setup tax” I couldn’t afford. For those of us scaling from hobbyists to micro-manufacturers, these transitions are the silent killers of productivity. We have the skills and the machines, but our floor space and workflows are often still stuck in “one-off” mode.
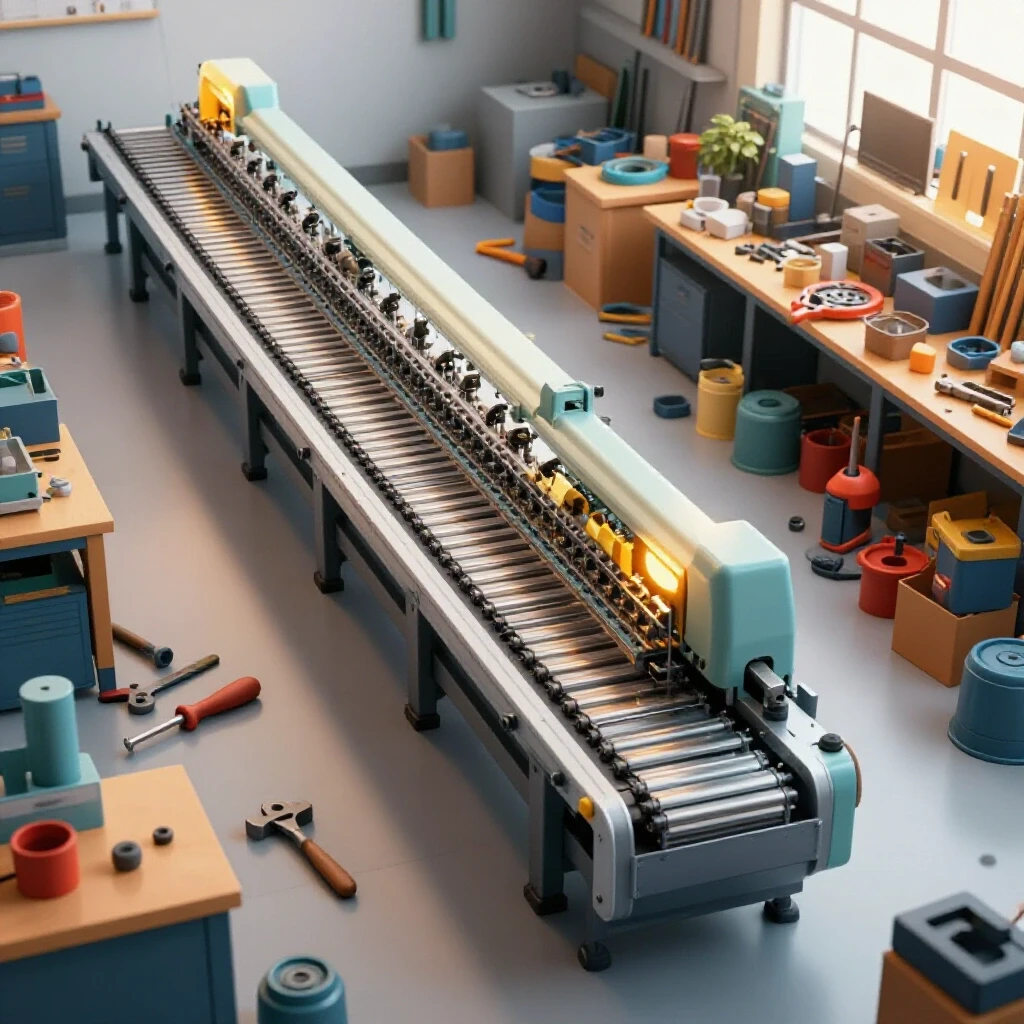
The transition to a high-output environment requires a shift in how we view our floor space and our tooling. It isn’t just about working faster; it is about reducing the friction of moving from one task to the next. When we integrate automation like CNC plasma or power-hungry 3-phase machinery, the complexity grows. If we don’t have a plan for how material flows or how power is delivered, we end up with a shop full of bottlenecks and high-voltage headaches.
Mapping Material Flow to Minimize Tooling Downtime
A systematic layout analysis involves tracking the physical path a piece of metal takes from the delivery truck to the shipping crate. By identifying “loops” and “backtracking,” you can position machines to ensure that the next tool needed is always within reach.
In my early days, I used a “spaghetti diagram.” I took a floor plan of my shop and drew a line for every movement I made during a standard project. The result was a mess of overlapping lines that looked like a bowl of pasta. I realized I was walking miles every week just to get from the raw material rack to the horizontal band saw. By moving the saw closer to the rack and placing the primary welding table between the saw and the grinders, I cut my movement by 40%.
For an advanced shop, you need to think about machine zoning. Group your “dirty” tools—grinders, plasma tables, and sanders—away from your “clean” tools like mills and lathes. This prevents grit from ruining precision ways and reduces the time spent cleaning machines before a setup.
Workshop Layout Flow Comparison
| Layout Type | Movement Efficiency | Setup Complexity | Best Use Case |
|---|---|---|---|
| Random/Organic | Low (High Foot Traffic) | High (Tools Scattered) | Initial hobby setup |
| Process-Based | Medium (Grouped by Task) | Medium (Shared Tooling) | General fabrication |
| Linear/Cellular | High (Direct Path) | Low (Dedicated Stations) | Repeatable production |
Building Modular Fixturing Plates from Shop Scrap
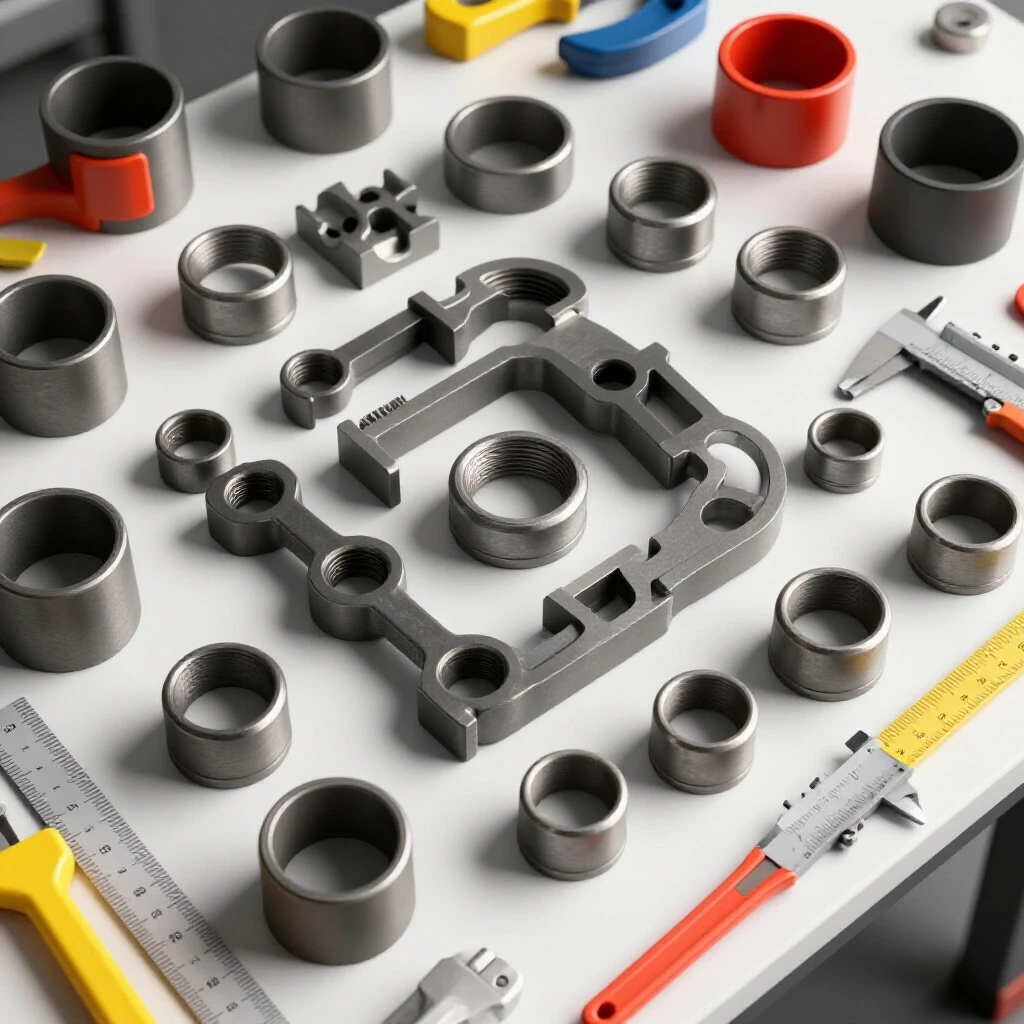
Modular fixturing involves creating a universal “base” for your machines that allows different jigs to be bolted down in a repeatable, known position. This eliminates the need to “dial in” a part every time you switch between different jobs.
One of the most effective DIY fixes I implemented was a series of sub-plates for my mill and welding table. I took 3/4-inch thick aluminum scrap and drilled a precise grid of 1/2-inch holes spaced exactly two inches apart. I then tapped these holes. Now, instead of clamping parts directly to the table, I bolt my jigs to this sub-plate.
Since the plate stays on the machine, I only have to find my “zero” once. When I need to switch from a bracket-making jig to a tube-notching fixture, I simply unbolt one and bolt down the other. The grid ensures the new fixture is perfectly aligned. This reduced my changeover time from thirty minutes to less than five.
- Use precision ground stock if possible for the sub-plate.
- Drill “alignment pin” holes that are slightly tighter than your bolt holes.
- Keep a dedicated set of hardware (bolts, pins, and spacers) in a labeled bin near the machine.
Optimizing 3-Phase Power for High-Output Fabrication
A 3-phase power converter is a device that takes standard single-phase residential power and transforms it into the three-wave power required by industrial-grade motors. This is essential for running heavy-duty lathes, mills, and large compressors without stalling.
Most home-based shops are limited to 240V single-phase power. When you bring in a professional CNC mill, you’ll likely face a power gap. I opted for a Rotary Phase Converter (RPC). Unlike a static converter, which only helps a motor start, an RPC uses a “idler motor” to generate a true third leg of power. This provides the torque needed for heavy cuts and keeps the voltage balanced across all three lines.
Balancing the voltage is critical. If one leg of your 3-phase power is significantly higher or lower than the others (more than 5% variance), you risk overheating your motors or frying expensive CNC control boards. I check my phase balance monthly using a multimeter at the machine’s disconnect switch.
3-Phase Converter Options for Custom Shops
| Feature | Static Converter | Rotary Phase Converter (RPC) | Variable Frequency Drive (VFD) |
|---|---|---|---|
| Power Output | ~60% of Motor Rating | 100% of Motor Rating | 100% + Speed Control |
| Complexity | Low | Medium | High (Per Machine) |
| Cost | Lowest | Moderate | Varies by HP |
| Best For | Light-duty manual tools | Multiple machines/CNC | Single machine speed tuning |
Designing High-Volume Air Filtration for Clean CNC Operations
Air quality management focuses on capturing fine particulate matter and fumes at the source before they can settle on machinery or be inhaled. In a shop with a CNC plasma table, this requires a combination of water tables and high-CFM (Cubic Feet per Minute) extraction fans.
When I installed my first CNC plasma, the smoke was unbearable. I learned that a standard shop vac or a small bathroom fan wouldn’t cut it. You need to calculate the static pressure loss of your ductwork. Static pressure is the resistance the air faces as it moves through pipes and around bends. If you use long runs of flexible corrugated hose, your 1,500 CFM fan might only be pulling 600 CFM at the tool.
I redesigned my system using 6-inch rigid metal ducting with smooth interior walls. I kept bends to a minimum, using 45-degree elbows instead of 90-degree ones. For a typical 4×4 plasma table, you want at least 1,000 to 1,200 CFM of actual airflow at the hood to keep the shop breathable.
- Calculate Volume: Determine the square footage of your “dirty zone.”
- Size the Fan: Aim for a “room air exchange” every 3 to 5 minutes.
- Seal the Joints: Use foil tape on all duct seams to prevent pressure leaks.
- Exhaust Outside: Whenever possible, vent fumes directly outside rather than trying to filter and recirculate them.
Workflow Sequencing to Eliminate Redundant Machine Resets
Workflow sequencing is the practice of organizing your “build list” so that you perform all operations requiring a specific tool at the same time. This “batching” approach prevents you from constantly switching between drilling, milling, and tapping.
In my shop, I noticed I was constantly changing the collets in my mill. I would mill a pocket, then switch to a drill bit, then switch back to an end mill for the next part. Now, I run all the milling operations for the entire week’s worth of parts in one go. Then, I swap the tool once and do all the drilling.
This requires a mental shift. You have to stop thinking about “finishing one part” and start thinking about “completing one process.” While it feels like you aren’t making progress because you don’t have a finished product until the very end, the total time spent per part drops significantly.
- Group parts by material thickness to avoid adjusting saw stops.
- Perform all “dirty” grinding tasks in one block of time to minimize cleaning.
- Use “master files” in your CNC software that include multiple parts on one sheet of metal.
CNC Gantry Leveling and Tooling File Configuration
Gantry leveling is the process of ensuring that the moving arm of a CNC machine is perfectly parallel to the cutting bed. Proper calibration ensures that the machine “knows” exactly where the tool is, allowing for “drop-in” accuracy that requires no manual adjustment between jobs.
If your gantry is out of square by even a fraction of an inch, your parts will be skewed. I spent a full weekend with a dial indicator and a precision square, shimmying the rails of my plasma table until the movement was within .002 inches over four feet. This upfront work pays off every time I start a new job. I no longer have to “test cut” to see if the machine is accurate.
In the software side, I use tooling offsets. Instead of manually finding the top of the material for every tool change, I use a “touch plate” that tells the computer exactly how long each tool is. This information is stored in a library. When I swap from a 1/4-inch end mill to a 1/2-inch end mill, the computer automatically adjusts the height.
Actionable Benchmarks for Shop Optimization
- Machine Spacing: Maintain a 3-foot minimum clear zone around all stationary tools for safety and maintenance access.
- Air Velocity: Aim for 3,500 to 4,000 FPM (Feet Per Minute) inside your dust ducts to prevent chips from settling and clogging the pipe.
- Phase Balance: Ensure the voltage between any two legs of your 3-phase system is within 2% to 5% of each other.
- Floor Load: Most residential garage floors are 4 inches thick, which can support about 3,000 to 4,000 lbs in a small area. Distribute the weight of heavy CNCs using steel plates if necessary.
Integrating Automation Without the Learning Curve Crash
The jump to automation often fails because the shop owner tries to automate everything at once. The key is “incremental integration.” Start by automating the most repetitive, low-skill task in your shop. For many, this is the cutting of raw plate.
When I brought in my first CNC plasma, I didn’t try to do complex 3D parts immediately. I used it to cut simple gussets and tabs—things I used to do by hand with a grinder. This allowed me to learn the software (CAD/CAM) without the pressure of a high-stakes project.
CAD (Computer-Aided Design) is where you draw the part, and CAM (Computer-Aided Manufacturing) is where you tell the machine how to move. I recommend spending at least an hour a day on the software, even when you aren’t at the machine. The more comfortable you are with the digital workflow, the less time you’ll spend scratching your head in front of the gantry.
- Start Simple: Master 2D shapes before moving to complex assemblies.
- Standardize Materials: Stick to a few common thicknesses (e.g., 1/8″, 3/16″, 1/4″) to keep your “cut charts” simple.
- Document Everything: Keep a notebook of the “feeds and speeds” that work best for your specific machine and material.
Final Steps for Shop Evolution
Transitioning to a high-efficiency shop is a marathon, not a sprint. It starts with a clean floor and a clear plan. By focusing on modular fixturing, optimized power, and smart material flow, you can stop being a “setup mechanic” and start being a manufacturer.
My advice is to pick one area—perhaps your most frustrating tool swap—and apply these DIY principles this weekend. Build that sub-plate or reorganize that one corner of the shop. The minutes you save today will compound into hours of productive cutting time tomorrow.
Frequently Asked Questions
How do I know if I need a Rotary Phase Converter or a VFD? If you have one machine and want to control its speed (like a lathe), a VFD is excellent. However, if you have multiple 3-phase machines or a CNC system with sensitive electronics, a Rotary Phase Converter is generally more stable and cost-effective for the whole shop.
What is the best way to level a CNC gantry without expensive lasers? Use a high-quality dial indicator mounted to the gantry. Run it across a known flat surface, like a precision ground bar or even a thick piece of float glass. Adjust the leg heights or rail shims until the needle stays still across the entire travel.
Can I use PVC pipe for my shop’s dust collection? While common, PVC can build up a static charge that can lead to shocks or, in rare cases, dust explosions. If you use it, you must run a copper grounding wire through the inside and outside of the pipe. Rigid metal ducting is the safer, more professional choice.
How much CFM do I really need for a welding smoke extractor? For a “source capture” arm located within 12 inches of the weld, you need about 600–900 CFM. For general room filtration, you want to move the entire volume of air in your shop at least 4 to 6 times per hour.
What is the “G54” offset I keep hearing about in CNC? G54 is a “Work Coordinate System.” It’s basically a saved “home base” for a specific fixture. By using G54 through G59, you can tell the machine where six different jigs are located on the table, so you never have to find the edges manually after the first setup.
Is a 100-amp sub-panel enough for a CNC-based home shop? Usually, yes. A CNC plasma, a compressor, and shop lights will rarely pull more than 60–70 amps simultaneously. However, if you plan to run a large 3-phase mill and a high-duty cycle welder at the same time, you may want to look into a 150-amp or 200-amp service.
How do I stop my air lines from getting moisture into my plasma cutter? A single “water trap” isn’t enough. You need a multi-stage approach: a refrigerated dryer is best, but a DIY “copper coil” cooler followed by a desiccant dryer will work for most small shops. Dry air is the secret to long consumable life.
What is the most common mistake when laying out a shop? Putting machines against walls without leaving room for maintenance. Always leave at least 24 to 36 inches of space behind a CNC or a lathe so you can access the electronics cabinet or clean out the chip tray without moving the whole machine.
How do I calculate static pressure for my ducting? Every foot of pipe and every elbow has a “resistance” value found in industrial duct charts. You add these up to find the total resistance. If the total resistance is higher than your fan’s “static pressure rating,” the air simply won’t move effectively.
Why should I use a sub-plate instead of just clamping to the table? Repeatability. A sub-plate with a known grid allows you to pull a jig off the machine and put it back on a month later in the exact same spot. This eliminates the 20-minute “dialing in” process every time you switch jobs.
(This article was written by one of our staff writers, Edward Sinclair. Visit our Meet the Team page to learn more about the author and their expertise.)