Cold Saw vs Abrasive Chop Saw Edge Finish Compared (Review)
Scaling a fabrication shop is often a lesson in discovering hidden friction. In my 20 years of running a manufacturing space, I have learned that true efficiency is not found in how fast a machine runs, but in how little work you have to do between steps. When I first transitioned from a basic garage setup to a more professional environment, I realized that the quality of a cut edge determines the speed of the entire assembly line. If a part comes off a saw and needs ten minutes of grinding before it can be clamped for welding or indexed on a CNC plasma table, you have a bottleneck.
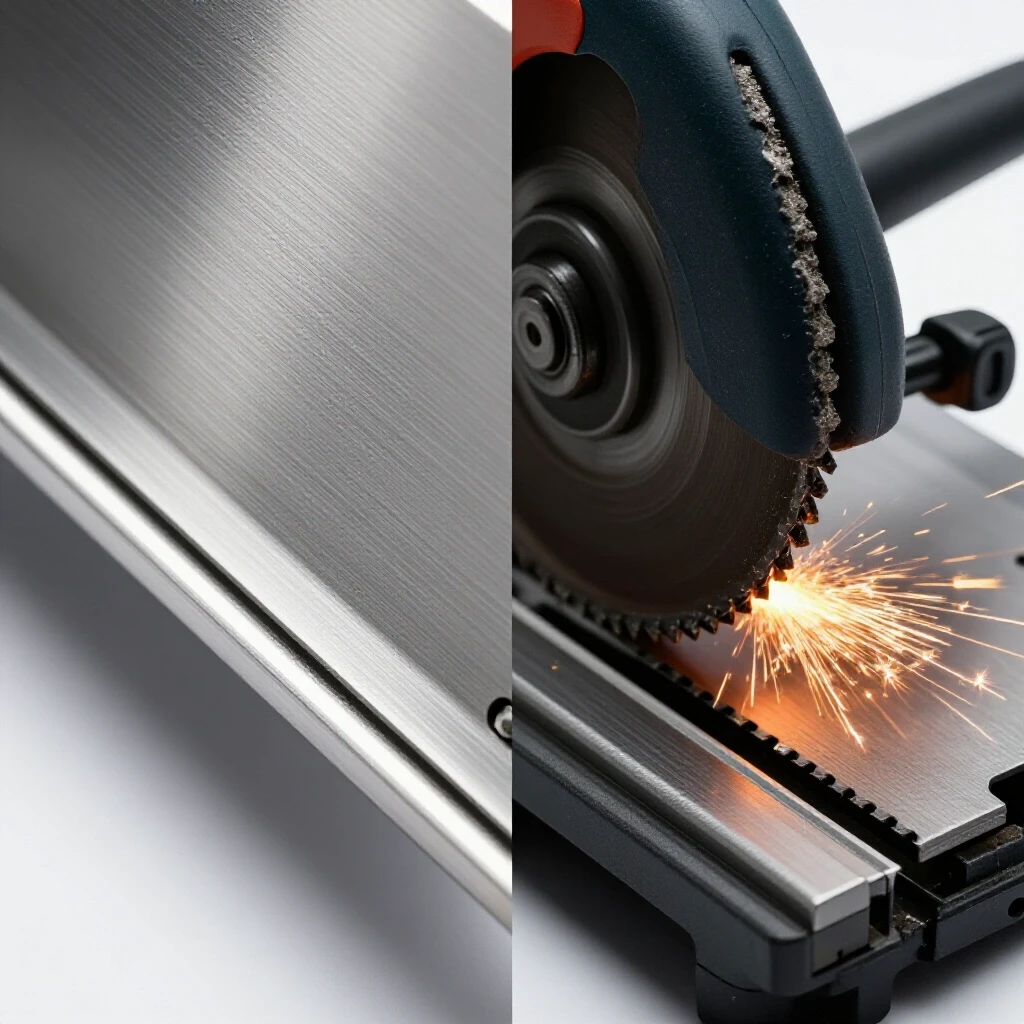
The struggle many of us face as we move toward micro-manufacturing is the balance between speed and precision. We often focus on the big machines, like the CNC gantry, while ignoring the humble cutoff station. However, the difference in surface quality between high-friction cutting and low-speed shearing can change your entire shop layout. A rough edge requires a secondary cleaning station, which adds footprints to your floor plan and extra steps to your workflow.
In this guide, I will break down the physical characteristics of the edges produced by different cutting methods. We will look at how the finish affects your ability to scale, how it interacts with automated systems, and why the “cleanliness” of a cut is a core metric for any advanced shop owner looking to optimize their operation.
The Physics of the Cut Surface and Material Integrity
The surface finish of a metal cut is a direct result of how the tool interacts with the molecular structure of the material. This interaction dictates whether the edge is ready for the next stage of production or if it requires significant manual labor to correct.
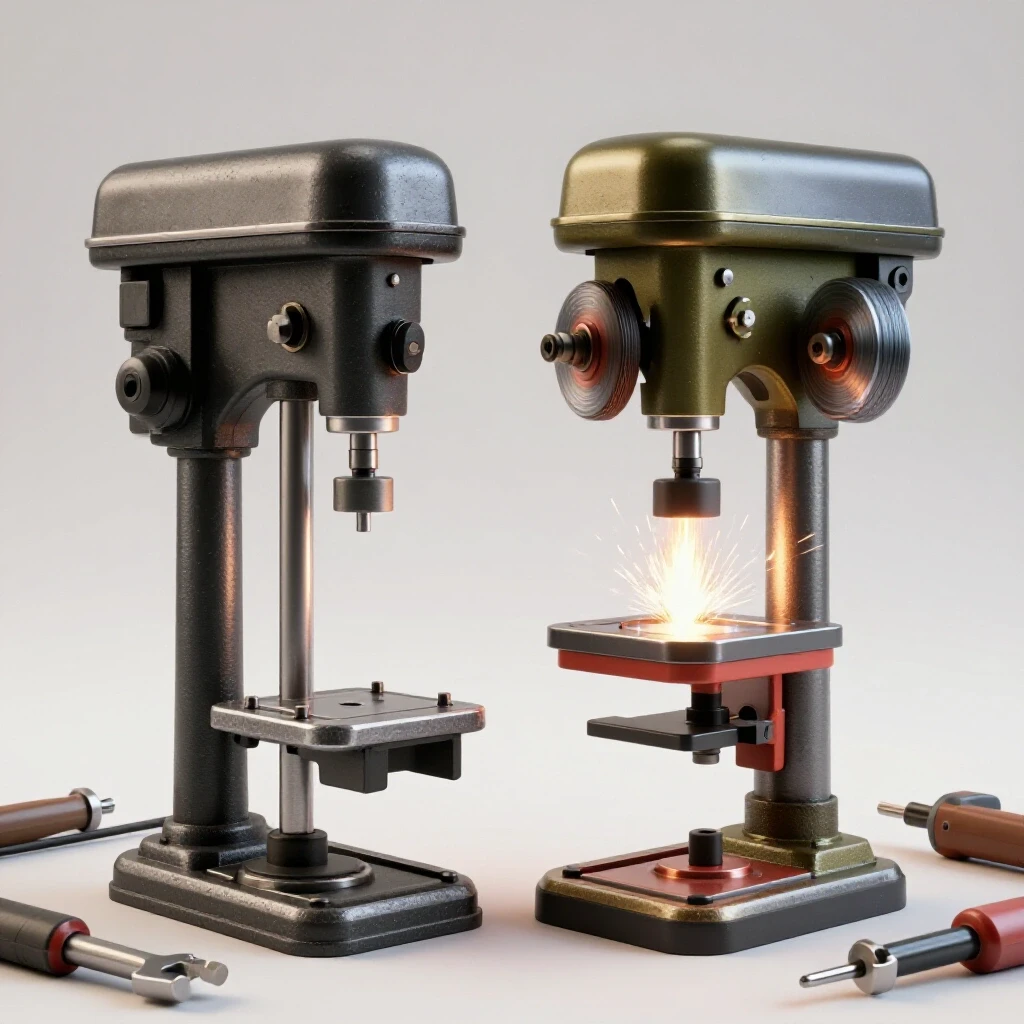
In a professional shop, we look at the “face” of the cut. When using a high-speed abrasive method, the tool essentially melts and grinds its way through the metal. This creates a surface that is often jagged and covered in oxidized material. On the other hand, a cold-cutting process uses a solid blade with teeth that physically lift chips of metal away from the base. This “shearing” action results in a surface that looks more like it was processed on a milling machine than a rough saw.
Comparing Surface Roughness and Micro-Friction
Surface roughness is the measure of the small peaks and valleys left on the metal after a cut. A smoother surface allows for tighter tolerances and better fit-up during the assembly phase of fabrication.
When I analyze the micro-friction of an abrasive-cut edge, I see a surface that is highly irregular. These irregularities can cause issues when you try to slide a part into a jig or against a fence on a CNC table. The “sandpaper” texture of an abrasive cut can even wear down your precision measuring tools over time. In contrast, the cold-sawing process produces a finish with very low roughness. This means the parts can be touched, measured, and joined without the need for a file or a flapper disc.
Heat-Affected Zones and Edge Hardening
A heat-affected zone (HAZ) is an area of the metal that has not melted but has had its properties changed by intense heat. This is a critical factor for those of us integrating CNC workflows and high-precision welding.
Abrasive cutting generates immense heat through friction. This heat travels into the metal, often changing its color to blue or straw-yellow. More importantly, it can “work-harden” the edge of certain steels. If you plan to drill holes or tap threads near that cut later, a hardened edge will destroy your bits. Cold-cutting keeps the heat in the chip, not the workpiece. This leaves the metallurgical properties of the edge intact, ensuring that your secondary CNC operations remain predictable and your tools stay sharp.
Burr Formation and Post-Cut Requirements
A burr is an unwanted ridge of material remaining on the edge of a workpiece after a cutting operation. In high-volume fabrication, burrs are the enemy of throughput because they require manual removal.
In my early days, I underestimated the cost of “deburring.” I thought it was just part of the job. But as I moved toward lean manufacturing, I realized that every second spent with a hand grinder was a second the CNC plasma table wasn’t running. The type of saw you choose directly dictates the size and tenacity of these burrs.
The “Volcano” Effect of Abrasive Slag
Abrasive saws create a heavy, melted burr that often wraps around the bottom and sides of the cut. This isn’t just extra metal; it is a mixture of melted parent material and abrasive grit.
- Height: These burrs can often reach 1/16th of an inch or more.
- Hardness: Because they are cooled quickly by the surrounding air, they become incredibly hard and brittle.
- Removal: Removing these requires a hard grinding wheel, which creates more dust and heat.
- Fit-Up Impact: You cannot get a square fit-up with these burrs in place, forcing you to clean every single piece before it hits the welding table.
The Clean Shear of Cold Sawing
A cold saw produces a minimal, “soft” burr. Because the tool is shearing the metal at a low RPM, the material is pushed out of the way rather than melted.
- Height: The burr is usually microscopic or thin enough to be removed with a simple hand scraper.
- Texture: It is not hardened by heat, making it much easier to shave off.
- Workflow: In many cases, parts can go straight from the saw to the assembly jig.
- Safety: The absence of sharp, jagged slag reduces the risk of cuts during material handling.
Impact on CNC Integration and Workflow Optimization
Integrating automation into a shop requires parts that are consistent. If your material flow is interrupted by inconsistent edge finishes, your CNC systems will not reach their full potential.
When I redesigned my shop layout to include a CNC plasma line, I had to rethink my material travel paths. If a part comes off a saw with a poor finish, it has to move to a “grinding zone.” This creates a loop in your material flow that kills productivity. By choosing a cutting method that produces a finished edge, you can move in a linear path from the saw to the CNC table or the welding station.
Why Edge Quality Matters for CNC Indexing
CNC machines rely on “zero points” or “home positions.” To get an accurate cut, your raw material must sit perfectly flush against the machine’s squaring arms or fences.
If your part has a rough, abrasive-cut edge, it will not sit flat. A burr as small as 0.020 inches can throw off your entire nest, leading to parts that are out of square. I have seen projects ruined because a fabricator tried to index a part off a “raw” abrasive cut. The clean, milled-like finish of a cold-cut edge ensures that when you push that tube or plate against your CNC stops, it is exactly where the software thinks it is.
Reducing Secondary Operations in Lean Manufacturing
Lean manufacturing is about removing “waste,” and in a fab shop, “re-work” is the most common form of waste. Re-work includes any time you spend touching a part a second time to fix a problem created in the first step.
| Metric | Abrasive Cut Finish | Cold Saw Finish |
|---|---|---|
| Edge Squareness | Often wanders 1-3 degrees | Typically within 0.005″ |
| Surface Texture | Rough, 125-250 RMS | Smooth, 32-63 RMS |
| Weld Prep Time | High (Grind + Degrease) | Low (Wipe only) |
| Heat Discoloration | Significant (Blueing) | None (Bright Metal) |
| Dimensional Accuracy | Low (Blade Flex) | High (Rigid Blade) |
Strategic Workshop Layout and Material Flow
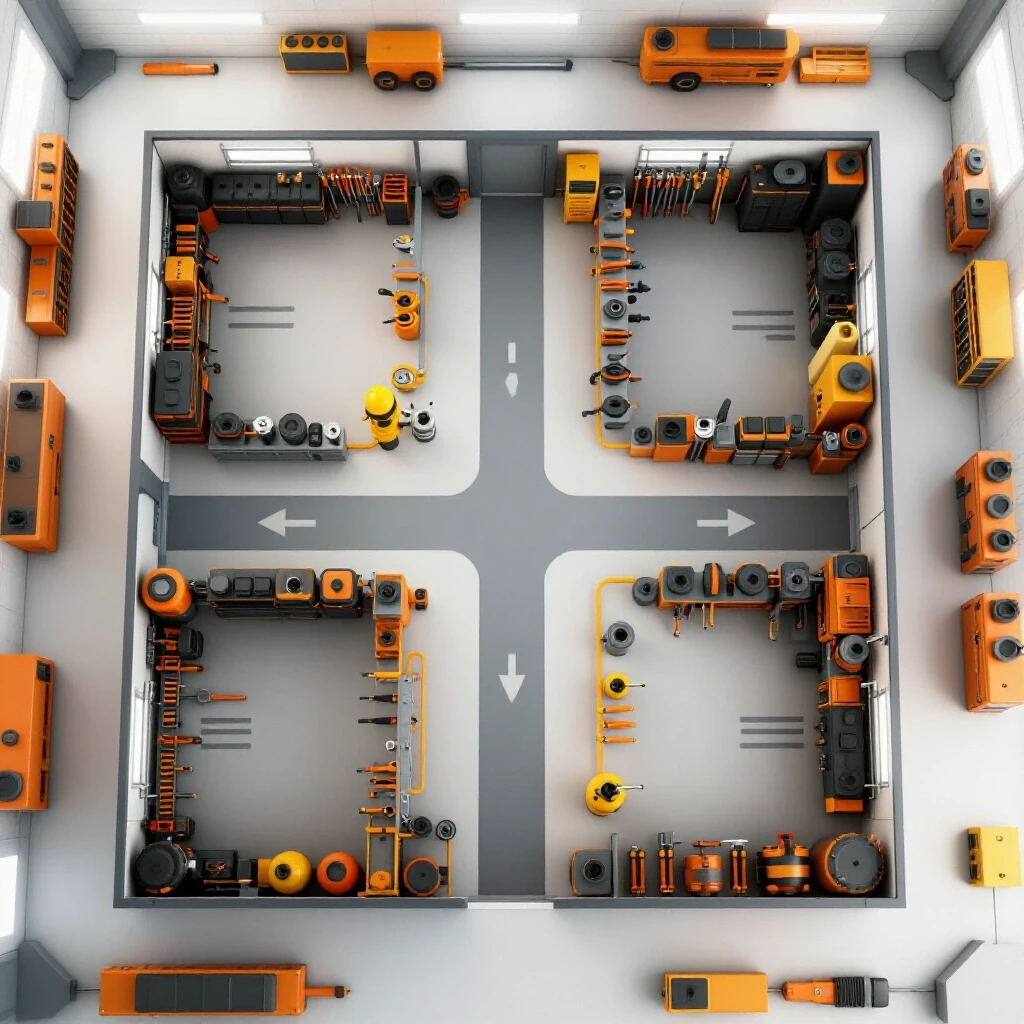
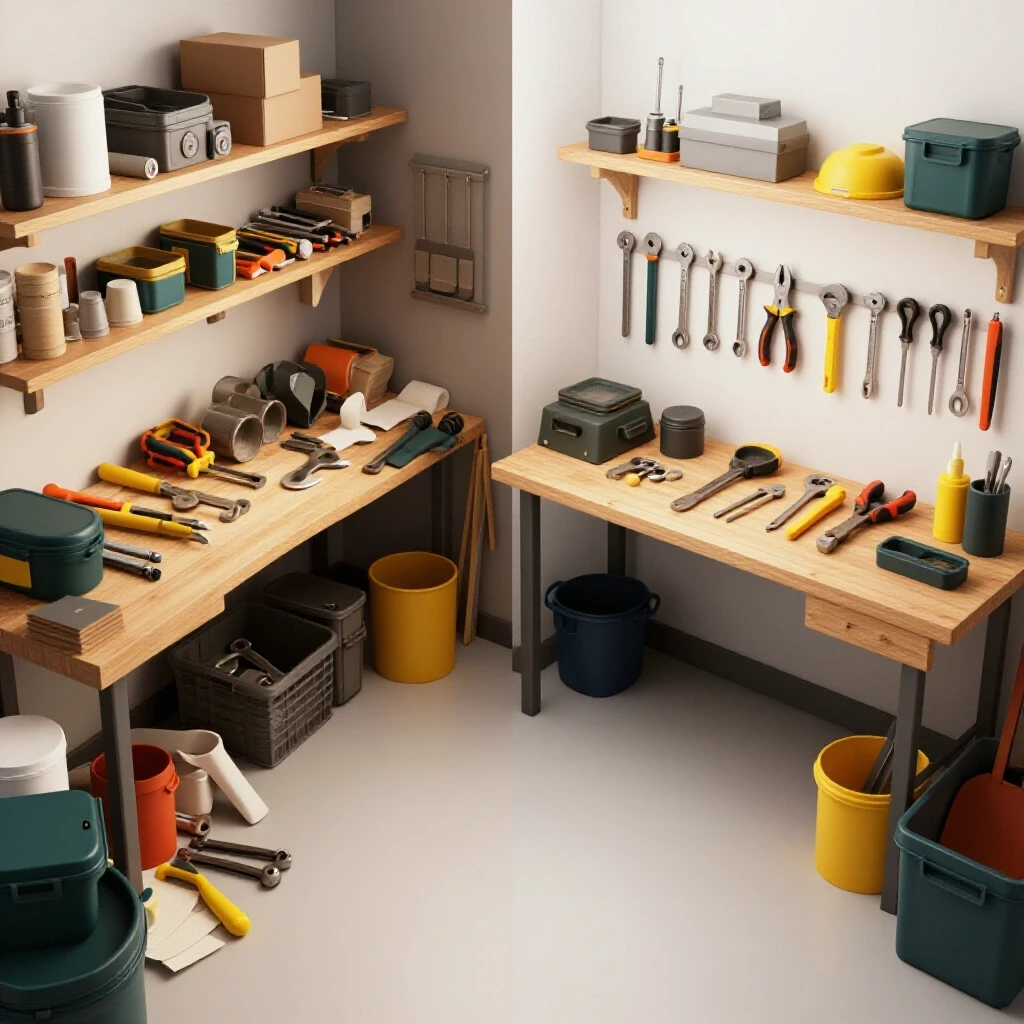
When you are scaling a shop, you have to think about “machine zoning.” This means grouping tools based on the cleanliness of their output and the requirements of their input.
In my shop, I treat the cutoff area as the “gateway.” If the gateway produces dirty, rough parts, the rest of the shop suffers. I recommend a linear flow: Material Storage -> Cutoff Station -> Quality Control/Deburr -> CNC/Welding. If you use a saw that produces a high-quality edge, the “Quality Control/Deburr” zone shrinks significantly. This saves floor space that can be used for more 3-phase equipment or a larger CNC gantry.
Managing 3-Phase Power for High-Quality Cutting
Many of the machines capable of producing a “milled” edge finish require 3-phase power. For a home-based or micro-manufacturing setup, this usually means installing a rotary phase converter (RPC).
A rotary phase converter takes your standard single-phase 240V power and uses a generator motor to create a third leg of power. This is essential for the high-torque, low-RPM motors found in professional-grade saws. When I installed my first 20HP RPC, it changed how I could process material. The stability of 3-phase power allows the saw to maintain a constant chip load, which is exactly what creates that smooth, burr-free surface we are looking for.
- Step 1: Calculate your total Full Load Amps (FLA) for all 3-phase machines.
- Step 2: Size your converter to handle the largest motor’s startup surge (usually 2-3x the running amps).
- Step 3: Balance the voltage across all three legs to within 5% to protect the saw’s motor.
Designing the Material Handling Path
The weight and length of metal stock make material handling a major bottleneck. If you are cutting 20-foot sticks of tubing, your saw needs clear “in-feed” and “out-feed” zones.
I suggest a minimum of 22 feet of clear space on both sides of the saw. If space is tight, consider placing the saw at an angle or near a roll-up door. However, remember that the finish of the cut affects how you handle the material. Abrasive cuts are hot and sharp; you need heavy gloves and a place for the parts to cool. Cold-cut parts are cool to the touch and can be moved immediately. This “instant handling” capability allows for a much tighter and more efficient material loop.
Case Study: The Cost of a 5-Minute Cleanup
In one of my previous shop configurations, I was using an abrasive setup to prep parts for a CNC-cut assembly. I tracked the time spent on a batch of 50 baseplates.
Each plate took about 45 seconds to cut, but each one required 4 minutes of grinding to remove the slag and true up the edge for the CNC table. That is over 3 hours of manual labor just to “fix” the cuts. When I switched to a process that yielded a clean edge, the cleanup time dropped to 30 seconds per part. I saved 2.5 hours on a single job. Over a month, that is enough time to take on an entirely new project. This is the “hidden” ROI of edge quality.
Tracking Finishing Time for Amortization
If you are trying to justify the cost of upgrading your machinery, you need to look at the “Amortization of Time.”
- Log your current time: Spend one week timing how long you spend grinding, filing, and cleaning edges.
- Calculate the hourly rate: Even if you are the owner, value your time at a shop rate (e.g., $75/hr).
- Find the delta: Compare your current cleanup time to the estimated cleanup time of a higher-quality cut (usually 70-80% less).
- Project the savings: Multiply that time saved by your hourly rate over 12 months. Often, the machine pays for itself in labor savings alone within the first year.
Integrating Tooling Files and CAD/CAM Workflows
The ultimate goal for an advanced shop is a seamless transition from a digital design to a finished part. The quality of your raw material cuts plays a huge role in how you set up your CAM (Computer-Aided Manufacturing) software.
When your saw produces a perfect 90-degree cut with a smooth face, you can trust your “stock size” in your CAD software. If your cuts are irregular, you have to add “material allowance” in your software to account for the cleanup. This wastes material and adds complexity to your programming.
Calibrating Your CNC to Your Cut Quality
If you are using a CNC plasma table to notch or finish parts that were first cut on a saw, the edge finish is your primary reference point.
- Edge Probing: Many modern CNC systems use touch-probes to find the material edge. A rough, slag-heavy edge will give the probe a false reading.
- Grounding: Plasma cutting requires a strong electrical ground. A clean, non-oxidized edge provides a much better connection than one covered in abrasive residue.
- Kerf Compensation: When you know your edge is perfectly square, you can more accurately calculate your kerf (the width of the cut) for secondary operations.
Conclusion: The Path to a Professional Finish
Transitioning from a hobbyist mindset to a professional manufacturing operation requires a shift in how you view “quality.” It is no longer just about the final product; it is about the quality of the part at every single stage of the process. The edge finish of your metal is the heartbeat of your shop’s efficiency.
By moving away from high-heat, high-friction cutting methods, you reduce the physical burden on yourself and your team. You eliminate the need for massive grinding stations, improve your air quality by reducing metallic dust, and create a workflow that supports the precision of CNC technology.
As you look at your shop layout this year, ask yourself where the bottlenecks are. If you see a pile of parts waiting to be ground, you have found your first target for optimization. Investing in the quality of your cut is not just about the “look” of the metal—it is about the “flow” of your business.
Frequently Asked Questions
How does edge finish affect weld penetration?
A clean, sheared edge allows for much better weld penetration and a cleaner bead. Abrasive cuts often leave behind grit and carbonized material that can cause porosity in the weld. If you don’t grind an abrasive cut back to “bright metal,” you risk a structural failure in the joint.
Can a cold-cut edge be used for precision tapping?
Yes. Because cold cutting does not create a heat-affected zone, the metal remains at its original hardness. This makes it much easier to drill and tap compared to an abrasive-cut edge, which may have “hard spots” that can snap a tap or dull a drill bit.
Why does my abrasive saw cut wander, and how does it affect the finish?
Abrasive blades are thin and flexible. When they hit the material at high speeds, they can “deflect” or wander, especially on round tubing. This creates a surface that is not only rough but also out of square, requiring significant machining or grinding to fix.
Is the burr from a cold saw dangerous?
While any metal edge can be sharp, the burr from a cold saw is usually a thin “wire” edge. It is much less aggressive than the jagged, hardened “slag” produced by an abrasive saw. However, I always recommend a quick pass with a hand deburring tool for safety.
Does the finish quality change with different types of steel?
Yes. Softer metals like aluminum can “smear” when cut with an abrasive blade, leading to a very poor finish. Stainless steel work-hardens very quickly, so the heat from an abrasive saw can make the edge nearly impossible to work with later. Cold cutting is generally superior for maintaining consistent finishes across different alloys.
How does edge quality impact my CNC plasma consumables?
If you are indexing a part off a rough edge and the torch height control (THC) has to compensate for slag or irregularities, it can lead to “diving” or inconsistent arc gaps. This puts unnecessary wear on your electrodes and nozzles. A clean edge ensures a stable start for every CNC path.
Do I need to degrease a cold-cut edge before welding?
Most cold saws use a liquid coolant during the cut. While the edge is physically clean and smooth, you will still need to wipe it down with a solvent to remove any residual oil before welding to ensure a contaminant-free joint.
Can I achieve a “mirror” finish with a cold saw?
While a cold saw produces a very smooth, “milled” appearance, it is not a mirror finish. You will see slight “arc” marks from the blade’s teeth. However, for 99% of fabrication work, this finish is considered “ready-to-use” without further processing.
What is the biggest mistake people make when evaluating edge quality?
The biggest mistake is looking only at the “face” of the cut and ignoring the “squareness.” A finish can look smooth, but if the blade deflected during the cut, the part is still inaccurate. Always check both the roughness and the 90-degree accuracy.
How does a better edge finish save money on tooling?
When your parts come off the saw clean, your subsequent tools—like end mills, drill bits, and even sanding belts—last much longer. You aren’t forcing them to cut through hardened slag or abrasive grit that has been embedded in the metal surface.
(This article was written by one of our staff writers, Edward Sinclair. Visit our Meet the Team page to learn more about the author and their expertise.)