Simple Workshop Cleanup Checklists to Reduce Clutter (Guide)
When I first started fabrication in my garage twenty years ago, I thought “organization” just meant finding my favorite hammer. As my shop evolved from a hobby space into a high-output manufacturing environment, that mindset nearly cost me my business. I found myself tripping over drops of 4130 tubing while trying to load a 4×8 sheet onto the CNC plasma table. My productivity was tanking, not because I lacked skill, but because my shop’s physical flow was broken. Transitioning to a semi-professional operation requires more than just buying faster tools; it demands a total rethink of how your space handles material, power, and air.

Mapping Material-Flow Loops to Eliminate Production Bottlenecks
A material-flow loop is the calculated path a piece of raw stock takes from the moment it enters your shop until it leaves as a finished product. Mapping this path helps you identify “choke points” where items pile up or where you are forced to move heavy objects multiple times unnecessarily.
In a high-output shop, every time you touch a piece of metal without adding value to it, you are losing money. I used to keep my raw steel rack at the back of the shop because it was out of the way. However, my saw was near the front door. This meant I was carrying 20-foot sticks of tubing across the entire shop floor, dodging the welder and the mill. By rearranging the layout to a “Linear Flow” or “U-Shape Flow,” I reduced my material handling time by 40%.
Workshop Layout Flow Comparison
| Layout Type | Best For | Primary Advantage | Main Drawback |
|---|---|---|---|
| Linear Flow | Long, narrow shops | Clear entry and exit points | Requires significant length |
| U-Shape Flow | Square or wide shops | Shared loading/unloading dock | Can get congested in the center |
| Cellular Layout | Multi-process parts | Minimizes travel for specific kits | Hard to reconfigure for new jobs |
To optimize your layout, start by drawing your shop to scale. Use a 3-foot minimum access zone around every major machine. This isn’t just for safety; it ensures you have enough room to swing a wrench or clear a jam without hitting another piece of equipment. If you are integrating a CNC plasma table, remember that you need at least five feet of clearance on the loading side to account for forklift or gantry crane movement.
Measuring Floor Capacities and Machine Spacing Boundaries
Floor capacity refers to the amount of weight per square foot your shop floor can safely support without cracking or shifting. Machine spacing boundaries are the designated “no-go” zones around equipment that ensure operator safety and maintenance access.
When I installed my first heavy CNC mill, I didn’t consider the thickness of my slab. Most residential garages have a 4-inch pour, which is often sufficient for cars but can struggle with the concentrated point loads of industrial machinery. A shifting floor will ruin the leveling of a CNC gantry, leading to inaccurate cuts and premature wear on your lead screws.
Before anchoring any heavy equipment, check for floor levelness. I use a precision machinist’s level to ensure the machine isn’t twisting. If your floor has a significant slope for drainage, you may need to pour a dedicated level pad or use heavy-duty adjustable leveling feet.
- CNC Plasma Table: Requires 360-degree access for slat cleaning and scrap removal.
- Manual Lathe: Needs clear space behind the headstock for long bar stock.
- Welding Station: Requires a 5-foot buffer from flammable materials and sensitive electronics.
Engineering 3-Phase Power Systems for Heavy Machinery
3-phase power is a type of electrical distribution that uses three alternating currents to provide more consistent torque and efficiency for industrial motors. Most home-based shops only have single-phase power, which requires a conversion strategy to run professional-grade equipment.
As you scale, you will likely find that the best deals on used industrial equipment are 3-phase machines. Don’t let the power requirement scare you off. You have three main options: Static Converters, Rotary Phase Converters (RPC), and Variable Frequency Drives (VFD). In my shop, I use a 20HP Rotary Phase Converter to run my entire back wall of equipment. It’s a “set it and forget it” solution that provides clean enough power for most heavy motors.
3-Phase Converter Comparison
| Converter Type | Cost | Power Quality | Best Use Case |
|---|---|---|---|
| Static Converter | Low | Poor (reduces HP by 1/3) | Small motors, intermittent use |
| Rotary (RPC) | Medium | Good (runs multiple tools) | Lathes, Mills, Ironworkers |
| VFD | Low-Medium | Excellent (variable speed) | Single dedicated machines |
When installing an RPC, pay close attention to the “manufactured leg.” This third leg of power is created by the converter and can have a higher voltage than the other two. Never connect your machine’s sensitive control electronics (like a CNC controller) to this manufactured leg. Always use the two “real” legs from your panel to power the computer and the third leg only for the spindle motor.
Designing High-Volume Air Filtration and Fume Extraction
Air filtration involves removing particulate matter (like grinding dust), while fume extraction focuses on pulling harmful gases (like welding smoke) away from the operator’s breathing zone. Both systems rely on Cubic Feet per Minute (CFM) and static pressure to function effectively.
If you are running a CNC plasma table, a water table or a high-volume down-draft system is mandatory. I’ve found that for a 4×4 table, you need at least 1,200 to 1,500 CFM of airflow to effectively capture the fine dust. Without it, that dust settles on your precision rails and acts like sandpaper, destroying your bearings.
Air Filtration CFM Requirements by Tool
- 6-inch Bench Grinder: 250–300 CFM
- Vertical Band Saw: 400–500 CFM
- CNC Plasma Table (4×4): 1,200–1,500 CFM
- Welding Station (Source Capture): 600–800 CFM
When designing your ductwork, avoid 90-degree elbows. Every sharp turn increases static pressure loss, which reduces the effective suction at the tool. Use 45-degree “Y” junctions and long-radius bends. I recommend using 6-inch main lines and dropping down to 4-inch lines only at the tool connection to maintain high air velocity and prevent dust from settling inside the pipes.
Daily Protocols for Tool and Surface Management
A daily reset protocol is a systematic approach to returning a workshop to its “baseline” state at the end of every shift. This process ensures that tools are accounted for, surfaces are clear, and the shop is ready for immediate production the following morning.
In a high-output environment, clutter isn’t just an eyesore; it’s a safety hazard and a productivity killer. I follow a strict “last 15 minutes” rule. The last 15 minutes of every work day are dedicated to a visual reset. This isn’t a deep clean; it’s a strategic reorganization to ensure tomorrow’s workflow isn’t hindered by today’s leftovers.
The 10-Minute Daily Reset Checklist
- Clear the Cut-Offs: Move all usable scrap to the designated bin and toss the small bits.
- Wipe the Rails: Use a clean rag to wipe the dust off the CNC gantry rails.
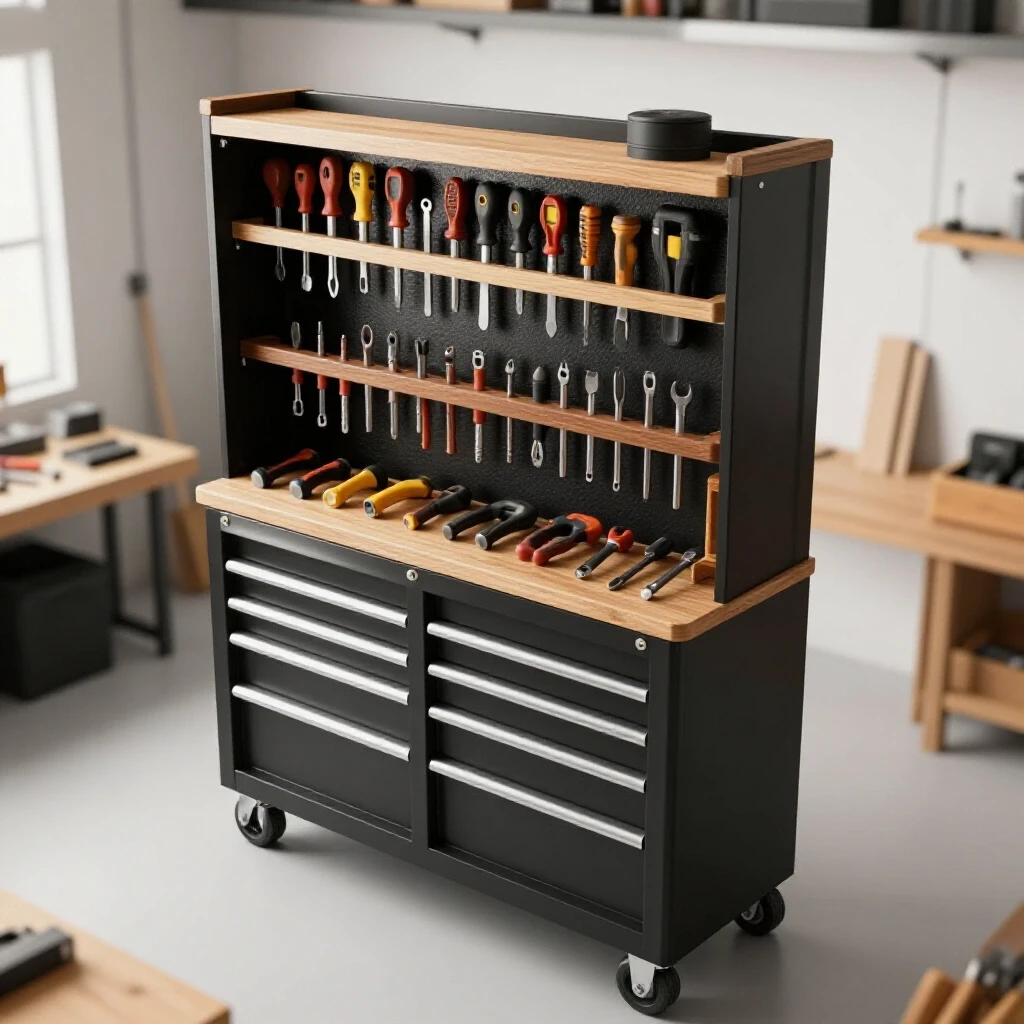
- Shadow Board Audit: Ensure every hand tool is back in its designated spot on the wall.
- Surface Sweep: Clear the main welding table of all jigs, clamps, and grinders.
- Air Tank Drain: Open the moisture purge valve on your air compressor to prevent line rust.
By implementing this, I stopped the “morning hunt” for the 10mm wrench or the angle grinder. When you walk into a clean shop at 7:00 AM, your mental friction is lower, and you can jump straight into high-value work like CAD design or machine setup.
Weekly Maintenance for Advanced Fabrication Systems
Weekly maintenance protocols are deeper inspections of machinery and infrastructure that prevent long-term wear and unexpected downtime. These tasks focus on lubrication, calibration, and filter replacement.
Every Friday afternoon, I spend an hour on “System Health.” This is where I check the things that don’t need daily attention but will cause a catastrophic failure if ignored. For example, I check the tension on the CNC drive belts. A loose belt leads to “ovals” instead of “circles” in your bolt holes. I also inspect my 3-phase converter for any signs of overheating or loose connections in the junction box.
Weekly Machine Health Benchmarks
- CNC Plasma: Check air dryer desiccant. If it’s pink, change it. Moisture kills consumables.
- Air Compressor: Check oil levels and inspect belt tension.
- Dust Collector: Empty the primary bin and pulse the filters to clear fine dust.
- Leveling Check: Use a spirit level on the main fabrication table to ensure no legs have shifted.
One lesson I learned the hard way: never skip the air dryer check. I once ruined $200 worth of plasma electrodes in a single afternoon because my refrigerated dryer had tripped a breaker, and I didn’t notice the moisture in the lines. Now, checking the air quality is a non-negotiable part of my weekly routine.
Optimizing Raw Stock and Jig Storage
Strategic storage involves categorizing materials and fixtures so they are easily accessible based on their frequency of use. This reduces the time spent searching for supplies and prevents over-ordering.
I used to stack my sheet metal against the wall. To get to the 14-gauge sheet at the back, I had to move five other heavy sheets. It was dangerous and exhausting. I eventually built a vertical “toast rack” for my sheet goods. Now, I can pull any single sheet out in seconds. For my jigs and fixtures, I use heavy-duty pallet racking with labeled bins.
- Fast-Movers: Keep your most used materials (e.g., 1/8-inch flat bar, 11-gauge sheet) at waist height.
- Heavy Items: Store heavy plate or large castings as low to the ground as possible to minimize lifting risks.
- Specialty Jigs: Hang these on the wall or store them in high-reach areas since they are used less frequently.
When you organize your stock, you also get a better handle on your inventory. You’ll stop buying more 1-inch square tubing just because you couldn’t find the three sticks hidden under a pile of scrap. This directly improves your shop’s cash flow.
Successfully Integrating CNC Tool Workflows
CNC integration is the process of moving from manual fabrication to automated cutting and machining. This requires a shift in how you plan your day, moving from “hands-on” work to “machine-tending” and programming.
The biggest hurdle in moving to CNC isn’t the machine itself; it’s the software workflow. You need a clean path from CAD (Computer-Aided Design) to CAM (Computer-Aided Manufacturing) to the Machine Controller. I recommend standardizing your file naming conventions. If you have five versions of a bracket file, you will eventually cut the wrong one.
- Design: Create the part in CAD, ensuring all tolerances account for the kerf (width of the cut).
- Post-Process: Use CAM software to generate the G-code, selecting the correct feed rates for your material thickness.
- Setup: Square the material on the table and “zero” the torch or spindle.
- Dry Run: Run the program with the torch off to ensure the gantry won’t hit any clamps.
- Execution: Monitor the cut, looking for signs of dross or tip-ups.
In my shop, I keep a dedicated “Cut Log” next to the CNC. I record the material, the amperage, and the feed rate for every job. This data is invaluable when I have to repeat a job six months later. I don’t have to guess the settings; I just look at the log.
Scaling Without Losing Efficiency
As your shop grows, the complexity of managing it increases exponentially. Scaling isn’t just about more machines; it’s about better systems. You have to move from being the “worker” to being the “operations manager.”
One metric I track closely is “Amortization.” If I buy a $15,000 CNC table, I need to know how many parts I have to sell to pay for it. I also factor in the cost of electricity and consumables. If a machine isn’t paying for its square footage, it’s just a very expensive paperweight.
- Floor Load Standards: Always over-engineer your equipment stands. A vibrating machine is an inaccurate machine.
- Electrical Balance: Every month, use a clamp-on ammeter to check the load on your main panel. Ensure you aren’t nearing the 80% capacity limit of your main breaker.
- Air Quality Safety: If you notice a “haze” in the shop after an hour of welding, your CFM is too low. Don’t compromise on your lungs.
Building a semi-professional shop is a marathon, not a sprint. It took me years to refine my current layout, and I’m still making small tweaks. The key is to remain data-driven. If a layout change doesn’t save you steps or improve safety, don’t do it.
Frequently Asked Questions
How do I know if I need a Rotary Phase Converter or a VFD?
If you have one machine that needs 3-phase power, a VFD is usually the cheaper and more precise option because it allows for speed control. If you have three or more 3-phase machines, a Rotary Phase Converter is better because it can power the whole shop at once.
What is the ideal spacing between a CNC plasma table and a welding bench?
I recommend at least 8 to 10 feet. Plasma cutting creates a lot of fine, conductive dust. If that dust gets sucked into your high-end TIG welder’s cooling fans, it can short out the internal boards.
Can I run a 5HP air compressor on a standard residential circuit?
Usually no. A true 5HP motor pulls about 22-24 amps at 230V. You will need a dedicated 30-amp or 40-amp circuit. Always check the motor’s nameplate for the Full Load Amps (FLA) rating.
How often should I level my CNC gantry?
Check it once a month or any time you move a heavy piece of equipment nearby. Ground settling or heavy vibrations can cause the frame to shift slightly, which will affect your cut quality.
What is the best way to handle “drops” or scrap metal?
Sort them by material type and thickness immediately. I use color-coded bins: Blue for aluminum, Red for stainless, and Grey for mild steel. If a piece is too small to be used for a bracket (typically under 4×4 inches), toss it in the scrap bin.
Why does my CNC plasma torch keep “diving” into the metal?
This is usually a Torch Height Control (THC) issue. It can be caused by a bad ground, moisture in the air lines, or incorrect voltage settings in your CAM software. Start by checking your work clamp connection.
How do I calculate the static pressure loss in my dust collection?
Every foot of pipe and every bend adds resistance. You can use online calculators, but a general rule is that a 90-degree elbow adds as much resistance as 10 feet of straight pipe. Minimize bends to keep your suction strong.
Is a water table better than a downdraft table for plasma cutting?
A water table is better for trapping fine dust and preventing plate warping, but it can be messy. A downdraft table is cleaner but requires a very powerful (and loud) fan to be effective.
What is the “3-foot rule” in shop safety?
This refers to keeping a 3-foot clear path around all electrical panels and emergency shut-offs. It also applies to the workspace around a machine to ensure the operator can move freely without tripping.
How do I balance the load on my 3-phase converter?
Use a multimeter to check the voltage between all three legs while the machine is running. They should be within 5% to 10% of each other. If one leg is significantly higher, you may need to add “run capacitors” to the converter.
What is “kerf” and why does it matter for CNC?
Kerf is the width of the material removed by the cutting process. In plasma cutting, the kerf is usually between 0.040 and 0.060 inches. You must account for this in your software so your finished parts aren’t too small.
How can I reduce the noise level in a small shop?
The biggest noise makers are the air compressor and the dust collector. If possible, build a small, ventilated “sound closet” outside the main shop area to house these units. This can reduce the ambient noise by 15-20 decibels.
(This article was written by one of our staff writers, Edward Sinclair. Visit our Meet the Team page to learn more about the author and their expertise.)