How to Clean and Restore an Old Workshop Pegboard (DIY Fix)
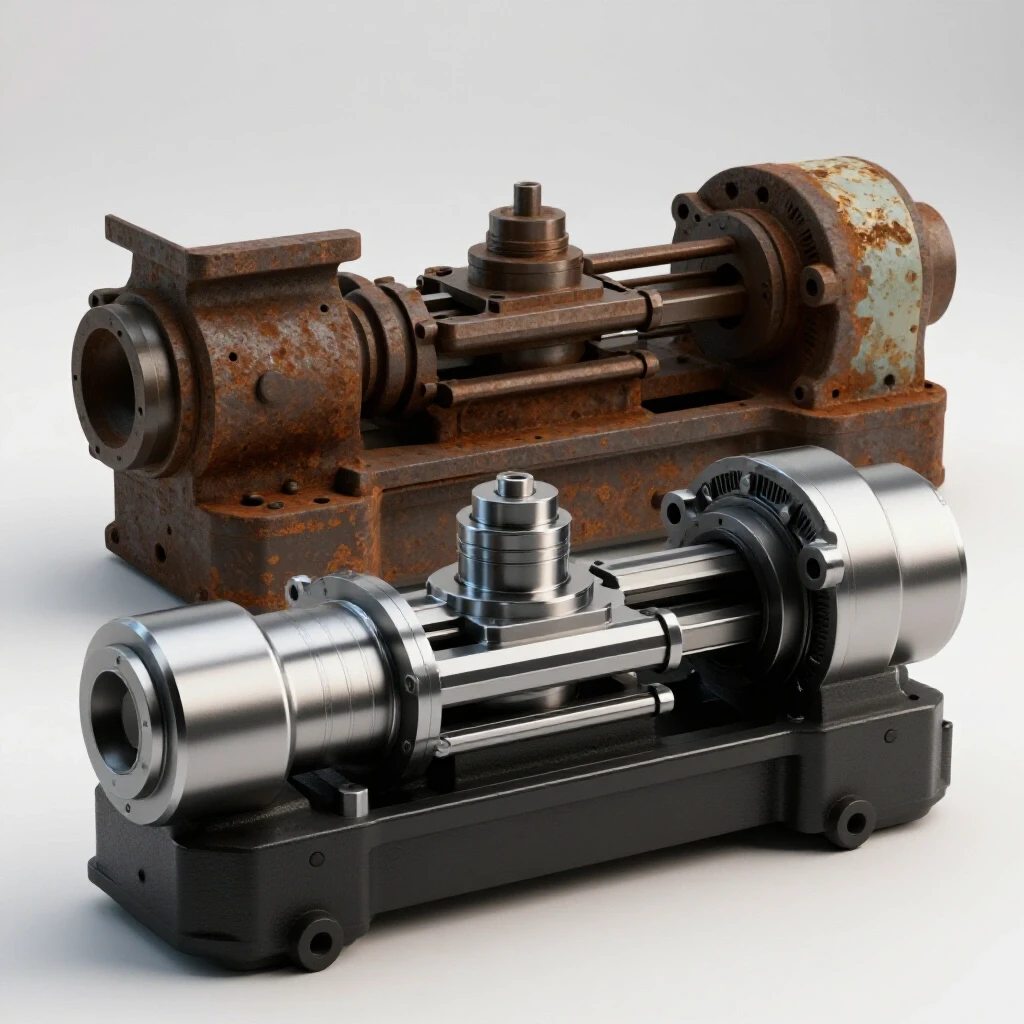
Walking into a shop that hasn’t seen a broom since the Eisenhower administration is a specific kind of thrill. Last summer, I pulled a 1942 heavy-duty drill press out of a shed in rural Ohio. Bolted to the wall behind it was a massive, oil-soaked sheet of industrial-grade steel pegboard. It was covered in a thick “shop fur”—that wonderful mixture of evaporated cutting fluid, cast iron dust, and ancient cobwebs. Most people would have tossed it, but to a restorer, that panel is a piece of history. It held the very wrenches and jigs that kept that drill press alive for eighty years.
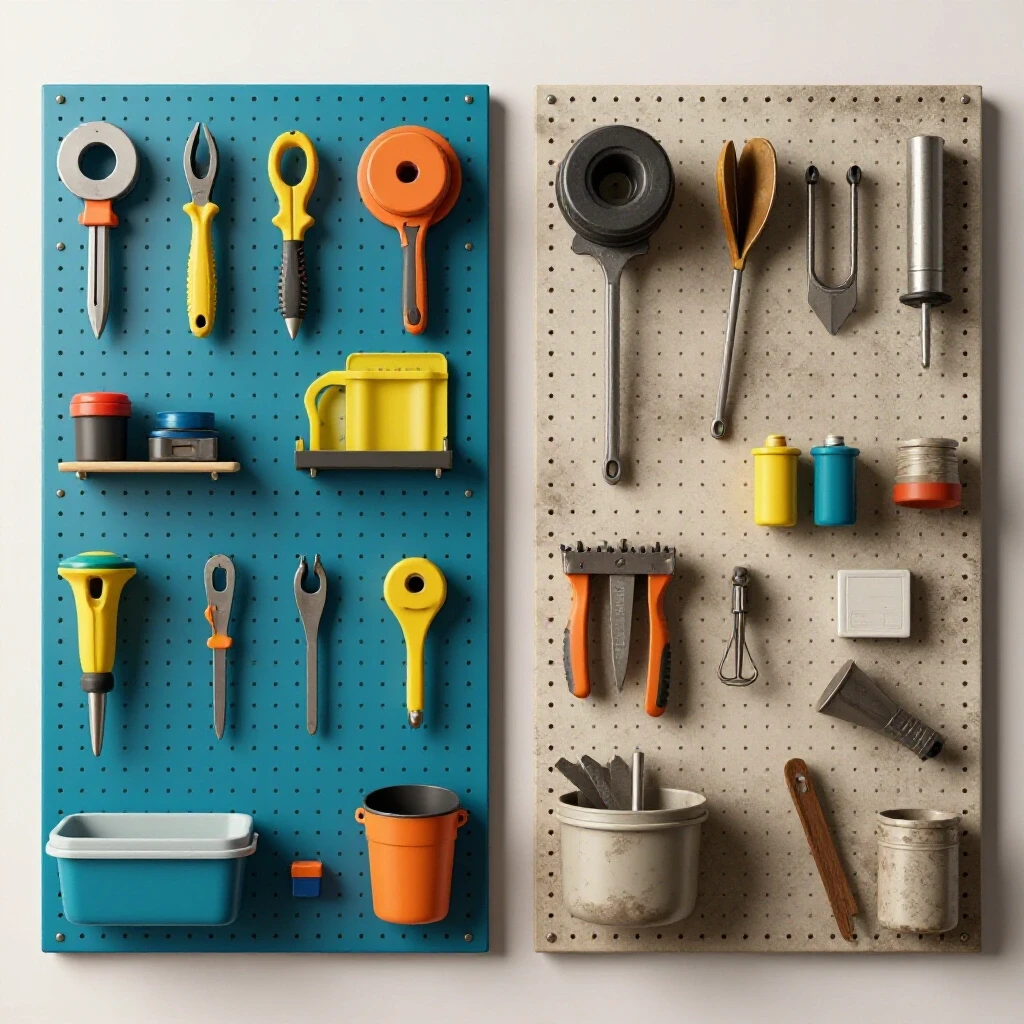
Restoring these perforated panels is much like bringing a lathe back to life. You aren’t just cleaning a surface; you are preserving a functional workspace. Whether you are dealing with a heavy-gauge steel plate or a high-density hardboard panel from the 1960s, the goal is the same: restore the load-bearing integrity and ensure it can hold your precision tools without failing. In my eighteen years of machinery rescue, I’ve learned that a disorganized shop is a dangerous shop. A properly refurbished tool board is the first step in a methodical restoration environment.
Assessing the Structural Viability of Vintage Tool Storage Panels
Evaluating the physical condition of a storage panel involves checking for material fatigue, deep oxidation, and hole deformation. This step determines if the piece can still support heavy iron tools or if the base material has become too brittle or thin to remain functional and safe in a working shop.
Before you turn a single screw, you must determine if the substrate is worth the effort. For metal panels, I look for “pitting,” which occurs when rust eats deep into the steel, leaving small craters. If the rust is merely on the surface, it can be salvaged. However, if the metal around the holes has thinned to the point of being sharp or flimsy, it may fail under the weight of a heavy pipe wrench or a milling vice handle.
Hardboard panels require a different inspection. I check for “wicking,” where moisture has traveled up the fibers, causing the board to swell and lose its internal bond. If you can peel the layers apart with a fingernail, the structural integrity is gone. I often use a digital caliper to measure the thickness at various points. A standard vintage hardboard should be a consistent 0.25 inches. If it has swollen to 0.30 inches or more, it’s likely too soft to hold a hook securely.
Identifying Material Types and Common Failures
| Material Type | Common Age Signs | Restoration Potential | Key Risk Factor |
|---|---|---|---|
| Cold-Rolled Steel | Red oxide rust, bent corners | High; can be straightened | Structural thinning from deep rust |
| High-Density Hardboard | Warping, “wallowed” holes | Moderate; requires sealing | Moisture-induced delamination |
| Galvanized Steel | White powdery oxidation | High; requires specific primers | Zinc-oxide respiratory hazards |
Why Structural Integrity Matters for Heavy Tooling
In a machinery shop, we aren’t just hanging plastic screwdrivers. We are hanging 24-inch adjustable wrenches, cast-iron faceplates, and heavy boring bars. A failure in the board means a precision tool hitting a concrete floor. I always test the “pull-out strength” of a suspect hole by inserting a standard hook and applying a 10-pound downward force. If the material flexes more than 5 degrees, it needs reinforcement or replacement.
Removing Stubborn Hardware and Decontaminating Aged Surfaces
This stage focuses on the systematic removal of seized hooks and the elimination of decades of shop grime. Using specialized solvents and mechanical force, we strip away layers of congealed oil, grease, and old paint to reveal the raw substrate, ensuring a clean foundation for subsequent restoration steps.
Decades of exposure to aerosolized oils and humidity can “glue” metal hooks into the board. On the Ohio project, the hooks were so rusted into the steel panel that they felt welded. I treat these just like a seized bolt on a tractor engine. I start with a 50/50 mix of acetone and automatic transmission fluid (ATF), which is a classic restorer’s secret for penetrating tight tolerances.
Once the hardware is out, the decontamination begins. Shop grease is often acidic or contains sulfur from old cutting oils, which can continue to eat the board if not neutralized. I avoid using water-based cleaners on hardboard, as it causes swelling. For steel, a heavy-duty degreaser is essential to ensure that your new protective coating actually sticks to the metal rather than the grime.
Step-by-Step Decontamination Process
- Apply penetrating oil to every hook-to-hole contact point and let it sit for 24 hours.
- Use a pair of parallel-jaw pliers to gently rock the hooks. Avoid “tugging,” which can distort the circular holes into ovals.
- Scrape away thick “crust” using a plastic putty knife to avoid gouging the base material.
- Wipe the entire surface with mineral spirits. This dissolves grease without the rapid evaporation issues of brake cleaner.
- For metal panels, follow up with a denatured alcohol wipe to remove any oily residue left by the mineral spirits.
Dealing with Obsolete Fastener Patterns
Interestingly, some very old industrial panels don’t use the modern 1-inch spacing. I once found a panel with 0.75-inch spacing, which made modern hooks useless. If you encounter this, do not throw the board away. You can often modify modern hooks by slightly bending the “legs” with a bench vise and a small hammer. Maintaining the original board preserves the “footprint” of the vintage shop it came from.
Mechanical Rust Eradication and Surface Smoothing Techniques
Mechanical restoration involves using abrasives and hand tools to physically remove oxidation and level the surface of the panel. This process prepares the metal or board for new coatings by creating a uniform texture and removing loose scale that would otherwise cause the new finish to fail prematurely.
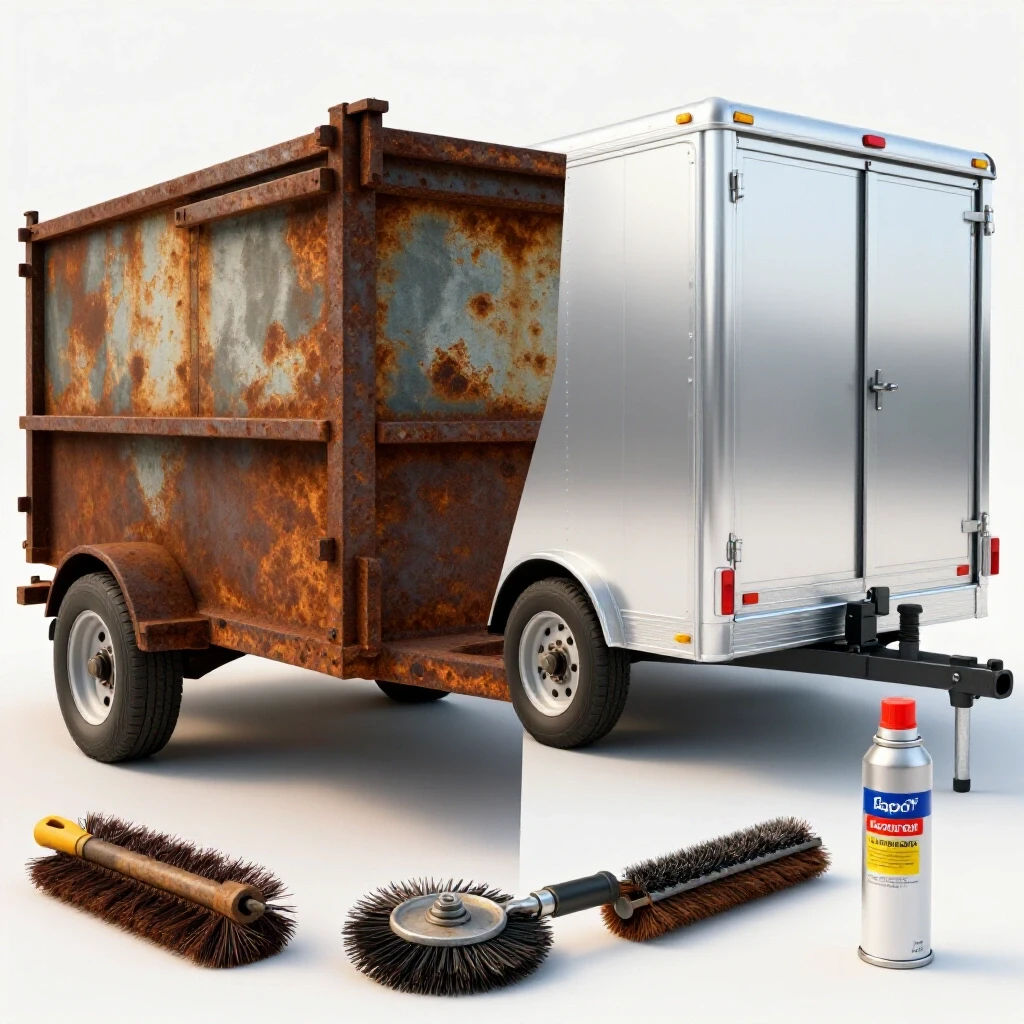
Once the board is degreased, you’ll likely see the true extent of the oxidation. On steel panels, I prefer a “preservation-first” approach. I don’t want to remove more metal than necessary. I start with a fine-wire wheel on a drill or a random orbital sander with 120-grit paper. The goal is to remove the loose “scale” but stop as soon as you hit bright, shiny metal.
For hardboard, the “rust” is usually just deep-seated stains and a “fuzzy” surface caused by broken fibers. I use a sanding block with 220-grit paper to lightly knock down these fibers. This is very similar to how I would prep a wooden handle for a vintage hammer. You want a smooth surface that won’t soak up an excessive amount of paint or primer.
Rust Removal Method Trade-offs
| Method | Best For | Pros | Cons |
|---|---|---|---|
| Manual Wire Brushing | Small rusted patches | Preserves base metal | Labor-intensive; slow |
| Orbital Sanding | Large flat surfaces | Very fast; uniform finish | Can “thin” the metal if overdone |
| Chemical Chelators | Intricate hole interiors | Reaches where brushes can’t | Requires large soaking tanks |
| Scouring Pads | Light surface oxidation | No risk of deep scratches | Won’t remove heavy scale |
The Importance of Hole Interior Cleaning
A common mistake is cleaning the face of the board but ignoring the inside of the holes. Rust inside the holes acts like sandpaper on your tool hooks, eventually leading to “play” or wobbling. I use a small round file or a “bottle brush” style wire tool to clear out the interiors. If you are working on a metal panel, ensure you see a hint of bright metal inside each aperture. This ensures a clean contact point for the hook.
Restoring Hole Integrity and Load-Bearing Capacity
Over time, pegboard holes can become wallowed out or bent, compromising their ability to hold heavy wrenches or lathe chucks. Restoring these points involves structural reinforcement or reshaping the apertures to ensure that tool hooks sit squarely and securely without the risk of falling or shifting.
If a hole has become “wallowed out”—machinist speak for enlarged and uneven—it won’t hold a hook at the correct 90-degree angle. On hardboard panels, I fix this by using a two-part epoxy. I apply a small amount of epoxy to the damaged edge, let it cure, and then re-drill the hole to the standard 0.25-inch diameter. This creates a “bushing” effect that is often stronger than the original board.
On steel panels, the holes usually get bent rather than enlarged. I use a small anvil or a heavy block of scrap steel as a “dolly” behind the hole and gently tap the metal flat with a ball-peen hammer. It’s a process very similar to auto body repair. You are trying to move the metal back into its original plane without stretching it.
Reinforcement Checklist for Heavy Loads
- Check for Cracks: Look for hairline fractures between holes (stress risers).
- Measure Diameter: Ensure holes haven’t stretched beyond 0.26 inches for a standard 1/4-inch hook.
- Verify Flatness: Use a straightedge across the board; a warped board creates uneven stress on hooks.
- Backing Strips: If a section is weak, consider gluing a thin strip of plywood or a metal strap to the back before mounting.
Why “Squareness” Matters
If your hooks aren’t sitting square, your tools will lean. This isn’t just an aesthetic issue. In a shop with vibration—like one with a running 5-horsepower air compressor—leaning tools can slowly walk their way out of the holes. Ensuring each hole is perfectly circular and the surrounding area is flat is a safety requirement, not a luxury.
Applying Durable Protective Finishes for High-Traffic Workshops
Selecting and applying a finish is the final defense against future corrosion and wear. Whether using a brush-on enamel or a spray-applied primer, the goal is to create a hard, chemical-resistant barrier that can withstand the constant friction of tools being moved and the presence of cutting oils.
In my experience, the best finish for a workshop fixture is a high-quality oil-based enamel. It dries to a hard, “shell-like” finish that resists the oils found on our hands and tools. For metal boards, a “self-etching” primer is a must. This primer contains a small amount of phosphoric acid that “bites” into the steel, creating a chemical bond that prevents rust from creeping under the paint later.
For hardboard, you must seal the “thirst” of the material. I use a shellac-based primer. Shellac is an incredible sealer because it sticks to almost anything—including any residual oils you couldn’t quite clean out of the fibers—and it prevents the topcoat from soaking in unevenly.
Coating Application Metrics
- Primer Thickness: Aim for 1.5 to 2.0 mils (0.0015 to 0.002 inches).
- Drying Time: Wait at least 24 hours between primer and topcoat in a 70°F environment.
- Flash-off Time: If using spray cans, wait 10 minutes between light coats to prevent “runs.”
- Hardness Test: You should not be able to mark the paint with a fingernail before you begin hanging tools.
Choosing the Right Color for Tool Visibility
While many people like a classic “shop grey,” I often recommend a lighter color like a “machine cream” or even white. Why? Because a light-colored board reflects more light into the dark corners of your shop and makes the silhouettes of your tools stand out. This is a trick I learned from looking at 1950s factory manuals; high-contrast workspaces reduce eye strain and improve safety.
Leveling and Securing the Panel for Heavy Machinery Tooling
Reinstalling a restored panel requires precise alignment and robust anchoring to handle the weight of cast iron accessories. Using machinist levels and heavy-duty fasteners ensures the board remains perfectly vertical and stable, preventing vibrations or weight imbalances from pulling the fixture away from the wall.
When I mount a board, I don’t just screw it to the drywall. I use “furring strips”—1×2 inch pieces of wood—to create a 0.75-inch gap between the board and the wall. This gap is essential; without it, the hooks have nowhere to go. I use a 24-inch machinist’s level to ensure the furring strips are perfectly vertical. If the board is tilted, gravity will constantly pull your tools toward one side, causing unnecessary wear on the holes.
For the actual mounting, I prefer “GRK” style structural screws over standard drywall screws. Drywall screws are brittle and can snap under the shear load of a board loaded with 100 pounds of steel. A structural screw has a higher tensile strength and a built-in washer head that spreads the load across the board’s surface.
Alignment and Mounting Framework
- Locate Studs: Use a deep-scan stud finder; never rely on drywall anchors for heavy tool storage.
- Install Furring Strips: Space them every 16 inches. Use a level to ensure they are plumb.
- Pre-drill the Board: Even if the holes are already there, pre-drilling the mounting points prevents the board from “mushrooming” around the screw head.
- The “Four-Corner” Start: Drive screws into the top two corners first, check for level one last time, then finish the remaining fasteners.
- Load Testing: Once mounted, hang your heaviest tool in the center and watch for any bowing. If it bows more than 1/8th of an inch, add a center support strip.
Final Inspection and Calibration
Once the board is up, I do a “sweep” with my hand. The surface should feel smooth, and there should be no sharp edges from the cleaning process. If I’m hanging precision instruments like micrometers or dial indicators, I often add a small piece of felt or rubber behind the hook to prevent any metal-on-metal contact that could mar the tool’s finish. It’s these small details that separate a “fix” from a “restoration.”
Frequently Asked Questions
Can I use an electrolysis bath to clean a metal pegboard? While electrolysis is fantastic for solid cast iron parts like a lathe tailstock, it’s difficult for large, flat sheets. You would need a massive tank and a very large sacrificial anode to get an even “line of sight” for the current. For these panels, mechanical cleaning or a wiped-on chemical chelator is usually more practical.
How do I stop “flash rust” from forming after I’ve sanded the steel? Flash rust happens when bare steel reacts with humidity in the air. To prevent this, apply your first coat of primer within 30 minutes of finishing your mechanical cleaning. If you can’t paint right away, wipe the metal down with a light coat of WD-40, but remember you’ll have to degrease it again thoroughly before painting.
My hardboard pegboard is sagging in the middle. Can I flatten it? Yes, but it takes patience. You can lightly dampen the back of the board (do not soak it) and lay it on a flat concrete floor with heavy weights (like engine blocks or weights) on top for 48 hours. Once flat, immediately seal both sides with shellac to “lock” the fibers in that position.
What is the best way to clean the actual hooks? I put all the hooks in a small plastic container filled with white vinegar for 24 hours. The acetic acid dissolves the rust. Afterward, I neutralize them in a bath of water and baking soda, dry them thoroughly with a heat gun, and then give them a quick spray of clear enamel to prevent future rusting.
Is it safe to paint over old “shop fur” if I can’t get it all off? Absolutely not. Any oil or dust trapped under the paint will eventually cause the finish to bubble and peel. In a vibration-heavy environment like a workshop, a poor bond will fail quickly. If the grime is stubborn, use a stiffer wire brush and a stronger solvent like Xylol (with proper ventilation).
What should I do if the holes are too small for modern hooks? This is common with vintage industrial boards. Use a 1/4-inch high-speed steel (HSS) drill bit to slightly enlarge the holes. Run the drill at a medium speed to avoid “grabbing” and tearing the metal. If it’s a hardboard, use a “brad-point” bit to get a clean, crisp edge without fraying.
Can I use automotive spray paint for the final finish? Yes, automotive “engine enamel” is actually excellent for this. It is designed to be oil-resistant and can handle higher temperatures, which is a plus if your shop gets hot in the summer. It also tends to have a higher solids content, providing a thicker, more durable layer.
How much weight can a restored 1/4-inch hardboard panel actually hold? If mounted correctly with furring strips every 16 inches and secured to studs, a standard 4×8 sheet can easily hold 100-150 pounds of distributed weight. However, individual hole capacity is usually limited to about 5-10 pounds. For heavier items like a 20-pound sledgehammer, I recommend using two hooks or a dedicated bracket.
Is there a way to restore the “snap” to loose hooks? If your hooks are wobbling, it’s usually because the board has thinned or the hook “tang” has bent. You can use a small piece of plastic tubing (like aquarium airline tubing) cut into tiny “washers” to slide onto the hook. This fills the gap and provides a snug, vibration-resistant fit.
Should I paint the back of the board? If you are in a high-humidity area, yes. Painting the back prevents moisture from entering the substrate from the wall side, which is the primary cause of warping and “hidden” rust. A single light coat of primer is usually enough for the backside.
(This article was written by one of our staff writers, Richard Beaumont. Visit our Meet the Team page to learn more about the author and their expertise.)