Easy Project Tracking Templates for Custom Welders (DIY Fix)
Running a fabrication shop for over two decades has taught me that the transition from a hobbyist setup to a high-output professional space is rarely about buying more tools. It is about how you manage the movement of metal and the data that follows it. When I first started, I relied on my memory to track settings for different material thicknesses and job stages. As my shop grew and I integrated CNC plasma systems and heavier material handling equipment, that “mental log” became a massive bottleneck. I found myself wasting hours re-testing cut speeds or hunting for offcuts because I lacked a simple way to record my process.
The stress of scaling a shop often comes from the feeling that you are losing control of your time. You might have the best welder on the market, but if you spend twenty minutes looking for the right jig or a specific job sheet, your throughput suffers. I realized that the secret to a professional workflow isn’t expensive software; it is a grounded, manual system for recording job steps and machine parameters. By organizing your physical layout and using basic, DIY methods to track your work, you can eliminate the “re-learning” phase of every new project.
Rethinking Shop Layouts to Improve Job Flow
A workshop layout is the physical map of your production process, determining how raw material travels from the rack to the shipping crate. In a high-output environment, every foot of unnecessary travel adds up to hours of lost time over a month. I focus on creating a linear flow where material enters one side of the shop and exits the other, minimizing “back-tracking” which often leads to physical clutter and safety hazards.
| Layout Type | Material Travel Path | Best Use Case | Primary Drawback |
|---|---|---|---|
| U-Shaped | Entry and Exit on same wall | Small shops with one bay door | High risk of bottleneck at the door |
| Linear (I-Flow) | Straight line from back to front | Long, narrow shops | Requires entry/exit points at both ends |
| Zell (Cellular) | Circular clusters by tool type | High-volume micro-manufacturing | Hard to move large, heavy weldments |
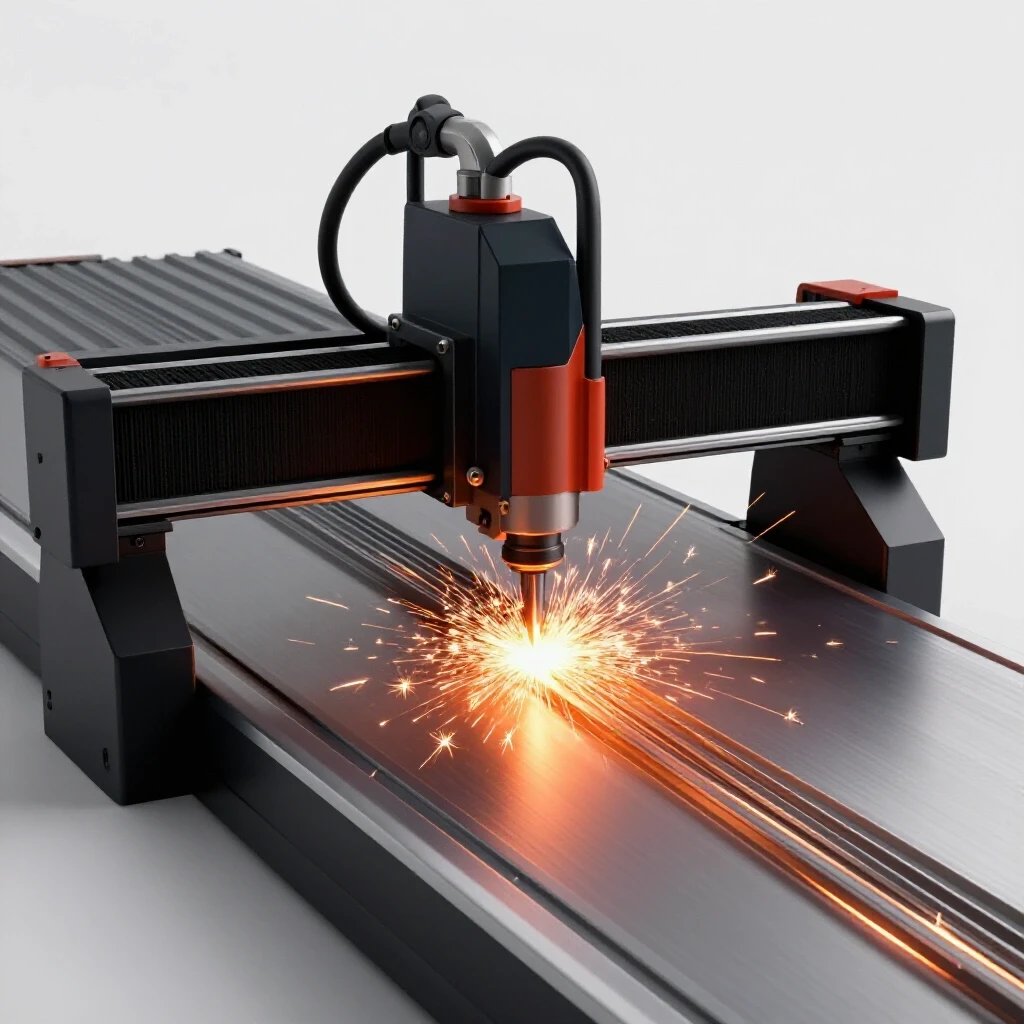
When I redesigned my shop, I moved my CNC plasma table closer to the material rack. This reduced the distance I had to carry heavy 4×8 sheets, which saved my back and my floor space. I also established 3-foot minimum access zones around every major machine. This ensures that even when a large project is on the welding table, I can still move freely to reach my logs or adjust my phase converter.
Building a shop that works for you requires measuring your floor load ratings. If you plan to install a heavy CNC table or a large press brake, you must ensure your concrete slab can handle the concentrated weight. Most residential slabs are 4 inches thick, which is generally sufficient for light-to-medium equipment, but industrial-grade machines may require reinforced footings to prevent cracking over time.
Managing Power and Air for Consistent Fabrication Results
Integrating automation like a CNC plasma cutter requires more than just floor space; it demands a stable electrical and pneumatic foundation. Most advanced home shops lack native 3-phase power, which is necessary for running industrial-grade motors and high-capacity welders efficiently. I solved this by installing a rotary phase converter, which uses a generator-like motor to produce a third leg of power from a standard 240V single-phase supply.
A rotary phase converter is a mechanical device that creates three-phase electricity, allowing you to run professional machinery without a utility company upgrade. When setting this up, I had to learn about phase balancing. This involves ensuring the voltage between all three legs is within a 5% to 10% range. If the voltage is too lopsided, you risk overheating your CNC motors or causing the electronics to trip.
| 3-Phase Option | Initial Cost | Power Quality | Maintenance |
|---|---|---|---|
| Rotary Converter | Moderate | Good (Mechanical) | Low (Bearings) |
| Digital Converter | High | Excellent (Clean) | Very Low |
| Static Converter | Low | Poor (Reduced HP) | None |
Air quality is the second pillar of a functional CNC setup. Plasma cutting generates a significant amount of fine dust and fumes that can quickly coat every surface in your shop. I designed a multi-stage cyclone dust collection system to handle this. For a standard 4×4 or 5×10 plasma table, you generally need an exhaust fan capable of moving 1,000 to 2,000 CFM (cubic feet per minute). Without this, the fine metallic dust will settle into your welder’s cooling fans and sensitive electronics, leading to premature tool failure.
Creating Low-Cost Manual Systems to Record Fabrication Steps
The most effective way to track a custom welding job is through a simple, repeatable document that stays with the project. I use a basic paper log for every job that enters the shop. This log includes the date, the material type, the specific weld parameters used, and a checklist of the fabrication steps. This prevents the “what did I do last time?” syndrome that kills productivity.
You don’t need a subscription to manage this. A simple spreadsheet printed out and kept on a clipboard works wonders. I include columns for “Cut Speed,” “Amperage,” and “Gas Pressure.” When I find the “sweet spot” for a 3/16-inch steel bracket, I write it down. The next time a similar job comes in, I don’t have to waste scrap metal doing test cuts. I simply look at my previous log and set the machine.
- Material Log: Track the gauge, grade, and source of your steel or aluminum.
- Parameter Log: Record the wire feed speed, voltage, and shielding gas flow for specific joints.
- Time Log: Note the start and end times for cutting, fitting, and welding to help with future quoting.
- Maintenance Log: Document when you change consumables or clean your air filters.
I have found that keeping these logs in a dedicated “Documentation Station” near the center of the shop is best. This station consists of a simple desk with a few binders and a pen. By making it easy to reach, I am more likely to actually use it. If I have to walk across the shop to find a notebook, I won’t do it, and that data is lost forever.
Integrating CNC Plasma Workflows into Your Shop Logs
When you bring a CNC plasma table into your workflow, the amount of data you need to manage increases significantly. You are no longer just worrying about weld settings; you now have to track CAD files, CAM toolpaths, and consumable wear. I treat my CNC table as a separate “work cell” with its own specific set of tracking requirements.
Before I hit “start” on a program, I follow a manual safety and setup checklist. This includes checking the air pressure at the back of the machine, ensuring the ground clamp is directly on the workpiece, and verifying that the torch height controller is active. I record the “pierce height” and “cut height” for every different material I run. These metrics are vital because even a small change in air humidity can affect how the arc performs.
- File Management: Use a consistent naming convention for your DXF and G-code files (e.g., JobName_Material_Date).
- Consumable Tracking: Note how many pierces you get out of a single nozzle or electrode. This helps you predict when a failure might occur mid-cut.
- Lead-In/Lead-Out Settings: Record which shapes require longer lead-ins to prevent divots on the finished edge.
- Nesting Efficiency: Keep track of how much scrap is left on a sheet so you can use it for smaller parts later.
One lesson I learned the hard way was neglecting to track my “dry run” results. I once ran a complex gate design without checking the toolpath limits, and the gantry crashed into a clamp. Now, my DIY project sheet includes a checkbox for “Gantry Clearance Verified.” It takes two seconds to check that box, but it saves hours of repair work and hundreds of dollars in parts.
Building a Physical Documentation Station for the Shop Floor
A documentation station is a centralized hub where all your shop’s “brainpower” lives. It doesn’t have to be fancy. My first station was a salvaged kitchen cabinet with a piece of plywood on top. The goal is to have a flat surface for writing and a organized place to store your binders. I keep my 3-phase power logs, air filtration maintenance schedules, and project checklists all in one spot.
I also include a “Maintenance Interval” chart on the wall above the station. This chart lists every major tool and the hours of use required before it needs service. For example, my air compressor gets an oil change every 500 hours, and my plasma water table gets cleaned every three months. By tracking these intervals on a simple paper calendar, I avoid the mechanical failures that happen when you are in the middle of a deadline.
- Binder 1: Machine Manuals. Keep every manual for every tool in one place for quick troubleshooting.
- Binder 2: Active Projects. This holds the current checklists and drawings for jobs on the floor.
- Binder 3: Archive. Move completed project logs here so you can reference them for repeat orders.
- Tooling Board: Use a shadow board for your most common measuring tools (calipers, squares, markers) so they are always at the station.
Managing a shop is a game of inches. By reducing the time you spend searching for information, you increase the time you spend under the hood or at the CNC console. These analog tracking methods are the “glue” that holds a professional fabrication workflow together. They provide a level of consistency that allows you to scale your output without increasing your stress levels.
Practical Benchmarks for Shop Optimization
To know if your shop is actually becoming more efficient, you need to track specific metrics. I look at “Arc-On Time” versus “Setup Time.” In a hobby shop, setup time often outweighs arc-on time. In a professional, lean-focused environment, we want to flip that. My goal is always to have the machine running as much as possible, which is only possible if the material and the data are ready to go.
| Metric | Target Goal | Why It Matters |
|---|---|---|
| Setup Time | < 15 Minutes | Minimizes downtime between different jobs |
| Material Scrap Rate | < 5% | Directly impacts your profit margins on every sheet |
| Duct Air Velocity | 3,500–4,000 FPM | Ensures heavy metallic dust doesn’t settle in pipes |
| Phase Voltage Balance | < 5% Variation | Protects sensitive CNC electronics from damage |
I recommend doing a “spaghetti map” of your shop once a year. Take a floor plan and draw a line for every step you take to complete a common project. If the lines look like a tangled mess of spaghetti, your layout is killing your efficiency. Use your project logs to see where you are getting stuck. If you notice you are constantly re-adjusting your 3-phase converter, it might be time to look at a more stable power solution or a dedicated sub-panel.
Building a high-output shop is a journey of continuous improvement. You start with a layout that makes sense, you build a power and air infrastructure that can handle the load, and you implement a simple, DIY system to track your progress. When you stop guessing and start recording, you move from being a hobbyist to a true manufacturing professional.
Frequently Asked Questions
How do I track my welding settings without using a computer? I recommend using a “Parameter Binder.” Create a simple table with columns for material thickness, wire speed, voltage, and gas flow. Print several copies and keep them in a three-ring binder near your welding station. Whenever you achieve a perfect weld, take thirty seconds to write down those settings. This becomes your shop’s personal “recipe book” for success.
What is the best way to organize a CNC plasma workflow? The best way is to use a “Job Folder” system. Every project gets a physical folder that contains the printed drawing, the cut list, and a log sheet for the CNC settings used. This folder stays with the metal as it moves from the plasma table to the welding bench and finally to the finishing area.
How can I tell if my shop layout is inefficient? Look for “bottlenecks,” which are areas where material or people get stuck. If you have to move one machine to use another, or if you find yourself walking across the shop to get a tool you use every five minutes, your layout needs work. A good layout allows for a “one-way” flow of material.
Why is 3-phase power so important for scaling a shop? Industrial machines are designed for 3-phase power because it is more efficient and provides more consistent torque for large motors. While you can run a shop on single-phase, you will eventually hit a limit on the size and power of the tools you can use. A phase converter allows you to bridge that gap without a costly utility upgrade.
What are the risks of poor air filtration in a fabrication shop? Beyond the obvious health risks of breathing metal fumes, poor air filtration leads to “dust creep.” Fine metallic dust is conductive and abrasive. It can get inside your CNC’s computer, your welder’s circuit boards, and the bearings of your power tools, causing them to fail much sooner than they should.
How do I calculate the CFM needed for my dust collection? For a CNC plasma table, you generally need to maintain an air velocity of at least 150 to 200 feet per minute across the open surface of the water table or downdraft booth. For most 4×4 tables, this equates to an exhaust fan rated between 1,200 and 1,500 CFM, depending on your duct length and the number of bends in the pipe.
Can I use a simple spreadsheet for project tracking? Yes, a basic spreadsheet is an excellent “middle ground” between paper logs and expensive software. You can set up columns for job name, material cost, hours worked, and machine settings. The key is to keep it simple so that it doesn’t become a chore to update.
What should be on a daily machine safety checklist? Your checklist should include: checking air pressure/moisture traps, verifying ground connections, inspecting consumables for wear, ensuring all safety guards are in place, and checking for any loose bolts on moving gantries. Doing this every morning takes five minutes but can prevent a day of downtime.
How do I handle scrap material tracking? I use a “Remnant Log.” When I have a significant piece of material left over from a CNC run, I label it with the material type and gauge using a paint marker. I then note its approximate size in a small notebook kept by the material rack. This prevents me from cutting into a brand-new sheet when a small scrap would have worked.
Is it worth it to track my time on every job? Absolutely. Even if you aren’t billing by the hour, knowing how long a job takes is the only way to quote accurately in the future. It also helps you identify which parts of your process are taking too long, allowing you to focus your “lean” improvements where they will have the most impact.
(This article was written by one of our staff writers, Edward Sinclair. Visit our Meet the Team page to learn more about the author and their expertise.)