How to Replace Leaking Gear Oil Seals in Lathe Head (Fix)
Walking into a cold shop and finding a fresh puddle of gear oil beneath a vintage lathe is a rite of passage for any restorer. I have spent 18 years reviving cast iron ghosts, from pre-war South Bends to heavy-duty Monarchs. These machines were built to last centuries, but the rubber and leather components inside them have a much shorter shelf life. When the oil that keeps your gear train cool starts weeping out of the headstock, it is a sign that the mechanical integrity of the machine is at risk.
Restoring classic metalworking equipment requires more than just a wrench; it demands a deep respect for the tolerances established by long-defunct manufacturers. I remember a specific 1946 gear-head lathe I rescued from a damp basement in Ohio. The headstock was nearly empty, the gears were running dry, and the floor was soaked in decades of 20-weight oil. The culprit was a pair of hardened, cracked seals on the input shaft. Replacing these components is a methodical process that bridges the gap between old-world casting and modern material science.
Diagnosing Fluid Migration in Vintage Headstock Assemblies
Identifying the exact source of a leak in a complex gear-head lathe is the first step toward a successful restoration. Gear oil has a way of traveling along casting ribs and pooling far from its actual exit point.
Before you start turning bolts, you must confirm where the oil is escaping. I often use a “dusting” technique. After cleaning the exterior of the headstock with a mild degreaser, I puff a light coating of white chalk dust or talcum powder around the shaft exits. After running the lathe for ten minutes, the oil path becomes a clear, dark streak in the powder. This prevents you from disassembling the wrong side of the machine.
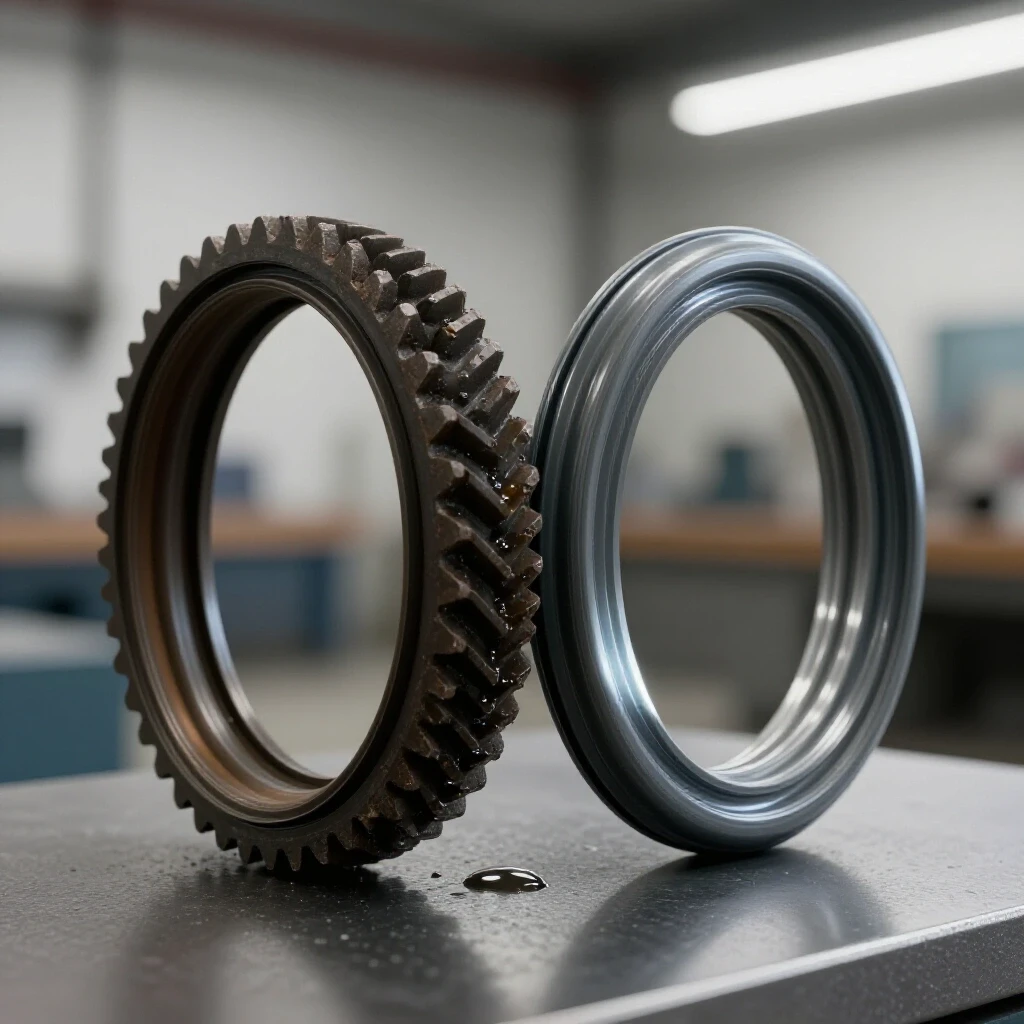
Most leaks in manual lathes occur at the interface where a rotating shaft exits the stationary headstock casting. Over decades, the original seals—often made of felt or early synthetic rubber—lose their elasticity. They become brittle, or worse, they wear a groove into the steel shaft itself. If you see oil dripping from the spindle nose or the gearbox input, you are likely looking at a failed internal barrier.
Strategic Planning for Heavy Casting Disassembly
Removing components from a 500-pound headstock requires a plan that prioritizes both the safety of the restorer and the preservation of the cast iron.
- Documenting the Sequence: I use a digital camera to record every gear position and shim location. Vintage machinery often relies on specific spacing that isn’t always documented in surviving manuals.
- Managing Weight: Many headstock covers and bearing caps are made of heavy, brittle cast iron. If you drop a cap, it won’t just dent; it will shatter. I use small bottle jacks or wooden blocking to support shafts as they are being serviced.
- Organizing Fasteners: Obsolete thread patterns are a nightmare to replace. I use magnetic trays and labeled bags for every bolt. If you lose a 1930s-era square-head set screw, you might find yourself at a vanishingly small number of specialty suppliers or forced to turn a new one on another machine.
Selecting Modern Replacements for Obsolete Seals
When you pull an 80-year-old seal out of a machine, you won’t find a modern part number on it. You must rely on precise measurements and material compatibility.
The goal is to find a modern radial lip seal that fits the existing bore and shaft. I use a high-quality micrometer to measure the shaft diameter to the nearest 0.001 inch. Then, I use a telescoping gauge to find the internal diameter of the housing bore. Modern seals typically consist of a metal casing, a Nitrile (NBR) or Viton lip, and a small garter spring that provides tension.
| Material Type | Temperature Range | Oil Resistance | Best Use Case |
|---|---|---|---|
| Nitrile (NBR) | -40°F to 225°F | Excellent | Standard gear oils, most common choice. |
| Viton (FKM) | -15°F to 400°F | Superior | High-speed spindles or synthetic oils. |
| Felt/Leather | Variable | Poor | Only for strictly historical museum pieces. |
For most vintage machinery restoration projects, Nitrile is the workhorse. However, if the lathe runs at high RPMs or uses modern synthetic gear lubricants, Viton is worth the extra few dollars for its chemical resilience.
Removing Seized Bearing Caps and Gear Clusters
In the world of restoring classic cast iron, “stuck” is the default state. Seized parts are often held fast by a combination of dried oil “varnish” and light surface oxidation.
When a bearing cap refuses to budge, avoid the temptation to use a screwdriver as a pry bar. Cast iron is strong in compression but very weak in tension; prying against a flange can easily snap it. Instead, I use a dead-blow hammer and a block of hardwood to vibrate the part. If that fails, a localized heat gun—not a torch—can expand the outer casting enough to break the bond of the old oil.
If the seal is buried behind a gear cluster, you may need to use a gear puller. Always use a protective brass puck between the puller’s screw and the end of the shaft. This prevents the hardened steel of the puller from “mushrooming” the shaft end, which would make reassembly impossible.
Preparing the Shaft Surface for a Leak-Proof Interface
A new seal will fail within hours if it is installed on a rough or grooved shaft. This is a critical step in the machine disassembly tips I share with fellow hobbyists.
- Cleaning: Use a lint-free cloth and mineral spirits to remove all traces of old grease and metal shavings.
- Inspection: Look for a “wear groove” where the old seal sat. If you can catch your fingernail in the groove, the new seal won’t seat properly.
- Polishing: If the shaft is just stained, I use 600-grit emery cloth wrapped around the shaft. I pull it back and forth in a “shoe-shine” motion to create a smooth, bright finish.
- The Speedi-Sleeve Option: If the groove is deep, you don’t have to weld and regrind the shaft. A stainless steel “repair sleeve” can be pressed over the damaged area to provide a brand-new, perfectly sized surface for the seal.
Precise Installation of the New Radial Seal
Installing the seal is a game of alignment. If the seal enters the bore at even a slight angle, the metal casing will deform, and it will leak before you even turn the machine on.
I prefer to use a seal driver set, but in a pinch, a piece of PVC pipe with a diameter slightly smaller than the seal’s outer edge works well. The key is to apply pressure only to the outer metal rim of the seal, never the flexible inner lip. Before pressing it in, I apply a thin film of the machine’s gear oil to the shaft and the seal lip. This prevents “dry start” damage, where the friction of the first few rotations burns the rubber before the internal oil can reach it.
Ensure the seal is seated to the same depth as the original. If you push it too far, you might block an internal oil return gallery, causing pressure to build up and force oil past the new seal anyway.
Reassembling the Headstock and Verifying Tolerances
Once the seal is in place, the process of restoring classic cast iron moves into the final alignment phase. This is where your photos and notes become invaluable.
- Slide the gear clusters back into position, ensuring all keys and snap rings are fully seated.
- Replace the bearing caps. If the machine used paper gaskets originally, I prefer to cut new ones from high-quality gasket material rather than relying solely on RTV silicone. RTV can squeeze out into the gear train and clog oil passages.
- Check the shaft end-play. Use a dial indicator to ensure that you haven’t accidentally changed the bearing preload while tightening the caps. Standard clearances for vintage sleeve bearings usually fall between 0.001 and 0.002 inches.
- Refill the headstock with the manufacturer-recommended oil. For many old lathes, this is a non-detergent ISO 32 or 46 hydraulic oil, or a specific spindle oil.
Testing and Long-Term Observation
The final step in any machinery restoration is the “run-in.” I don’t just flip the switch and walk away. I run the lathe at its lowest speed for 20 minutes, checking the temperature of the bearing caps with an infrared thermometer. They should be warm to the touch, but never hot.
After the initial run, I let the machine sit overnight. I place a clean piece of cardboard under the headstock. In the morning, a dry piece of cardboard is the ultimate confirmation of a successful repair. This systematic approach ensures that you aren’t just “fixing a leak,” but preserving the mechanical history of a tool that might serve another three generations.
Frequently Asked Questions
How do I find a seal for a lathe made in the 1930s? Most vintage lathes used standard-sized bores even back then. Measure your shaft and bore with a micrometer and use an online seal crossover tool. If the original was felt, you can often find a modern lip seal that fits the same dimensions, provided there is enough depth in the housing.
Can I use automotive RTV instead of a real seal? No. RTV is a gasket maker for stationary mating surfaces. It cannot seal a rotating shaft. Using it in place of a radial lip seal will result in immediate failure and potentially contaminate your gear oil.
What if the shaft is too worn for a standard seal? Look into “Speedi-Sleeves” by SKF. These are ultra-thin stainless steel sleeves that press over the worn shaft. They provide a new surface without requiring you to machine the shaft down to a non-standard size.
Should the seal face “in” or “out”? The open side of the seal (the side with the garter spring) should almost always face the fluid you are trying to contain. In a headstock, the spring should face inward toward the gears and the oil.
Is it necessary to remove the entire spindle to change a seal? It depends on the lathe design. On many gear-head lathes, the input and output shafts have their own bearing caps that can be removed without disturbing the main spindle. Always check your service manual first.
What is the best way to clean 50-year-old gear oil sludge? Mineral spirits and a stiff nylon brush are usually safest for the cast iron. Avoid harsh caustic cleaners that can strip the original “japanning” or paint if you are trying to preserve the machine’s patina.
How do I know if my gear oil is “yellow metal safe”? Many vintage lathes have bronze bushings or brass shift forks. You must use an oil labeled “MT-1” or “GL-4.” Avoid modern “GL-5” automotive gear oils unless they specifically state they are non-corrosive to yellow metals, as the sulfur additives can eat your bearings.
What if I break a cast iron bearing cap during disassembly? Cast iron can be repaired via brazing or nickel-rod welding, but it requires high heat and slow cooling. For a bearing cap, it is often better to find a “donor” part from a machinery scrap yard or have a new one cast using the broken pieces as a pattern.
How tight should the bearing cap bolts be? Vintage manuals rarely give torque specs. A good rule of thumb for cast iron is “snug plus a quarter turn.” Over-tightening can strip the threads in the soft cast iron or crack the flange of the cap.
Why is my new seal still weeping slightly? Check the “vent” on the headstock. If the air vent is clogged with paint or grease, the air inside the headstock expands as it warms up, building pressure that forces oil past even a brand-new seal.
(This article was written by one of our staff writers, Richard Beaumont. Visit our Meet the Team page to learn more about the author and their expertise.)