How to Clean and Restore Sticking Metal Tool Drawers (Fix)
Walking into a shop and finding a 1940s-era lathe cabinet or a heavy-duty machinist’s chest is a bittersweet moment for a restorer. You see the potential in the thick-gauge steel and the industrial heritage, but the reality is often a set of drawers frozen solid by decades of oxidized grease and creeping rust. I have spent nearly two decades reviving these mechanical cast-offs. In my experience, the difference between a tool that glides with a finger’s touch and one that requires a pry bar is rarely about brute force. Instead, it is about understanding the chemistry of corrosion and the physics of metal-on-metal friction.
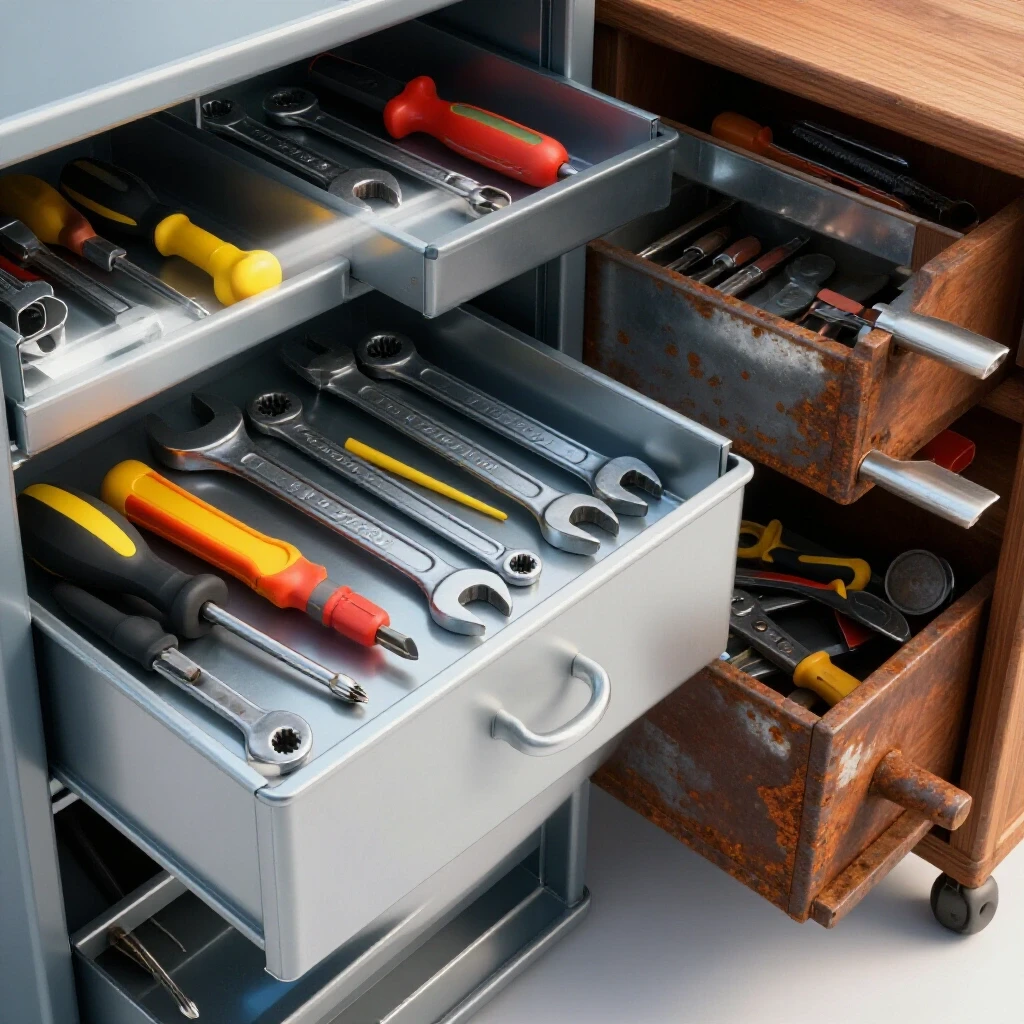
Restoring the smooth operation of metal storage units is a foundational skill in machinery rescue. When we bring home a piece of equipment that has sat in a damp basement for thirty years, the internal sliding components are often the most neglected. These aren’t the flimsy, ball-bearing slides you find in modern kitchen cabinetry. These are friction-fit, steel-on-steel assemblies designed to hold hundreds of pounds of high-speed steel cutters and heavy iron chucks. To bring them back to life, we must be patient, methodical, and respectful of the original tolerances.
Initial Assessment of Structural Integrity and Safety
Before attempting to force a seized sliding mechanism, you must evaluate the structural health of the entire unit to ensure it can withstand the restoration process. Heavy metal cabinets can weigh hundreds of pounds even when empty, and a stuck drawer often hides a significant amount of weight that can shift suddenly.
Safety is the first priority when dealing with heavy workshop furniture. I always start by inspecting the base of the unit. If the bottom is rotted through with “lacey” rust, the structural integrity is compromised. Before I even think about the drawers, I ensure the unit is level and supported on stable ground or a heavy-duty workbench. If the cabinet is top-heavy because the bottom drawers are stuck shut with heavy contents, I use cribbing—blocks of wood—to support the weight as I work.
I also look for “pin-holing,” which are tiny holes caused by deep-seated corrosion. If the runners themselves are pin-holed, they may lack the strength to carry a load after the rust is removed. A quick tap with a small hammer can tell you a lot; a healthy “ring” is good, while a dull “thud” suggests the metal is thin and weak. Once I am sure the frame is solid, I can begin the delicate process of freeing the internal components.
Why Seized Sliding Assemblies Fail and How to Diagnose the Friction
Friction in vintage metal slides is rarely caused by a single factor; it is usually a combination of oxidized metal, “varnished” lubricants, and physical deformation from overloading. Understanding these three enemies is the only way to formulate an effective plan for restoring smooth movement.
Oxidation, or rust, expands the volume of the metal. When rust forms between two tightly fitted sliding surfaces, it acts like a wedge, locking the parts together. This is compounded by “varnished” grease. Old-school lubricants were often animal-fat based or simple mineral oils that oxidize over time. After forty years, this grease turns into a hard, resin-like substance that acts more like an adhesive than a lubricant. Finally, there is mechanical misalignment. If a heavy tool was dropped into a drawer in 1965, the runner might be slightly bowed, creating a high-pressure spot that prevents movement.
To diagnose the cause, I use a thin feeler gauge—a tool used to measure very small gaps—to see how far I can probe into the slide. If the gauge stops immediately, I’m likely dealing with hardened grease. If it goes in but feels “gritty,” rust is the culprit. If the drawer moves an inch and then stops dead with a metallic “clank,” I’m looking at a mechanical bend or a physical obstruction like a loose bolt.
Systematic Disassembly of Seized Metal Runners
Removing a drawer that refuses to budge requires a strategy that balances chemical intervention with thermal physics. You should never use a sledgehammer on vintage steel; the shock can crack old welds or permanently deform the runners.
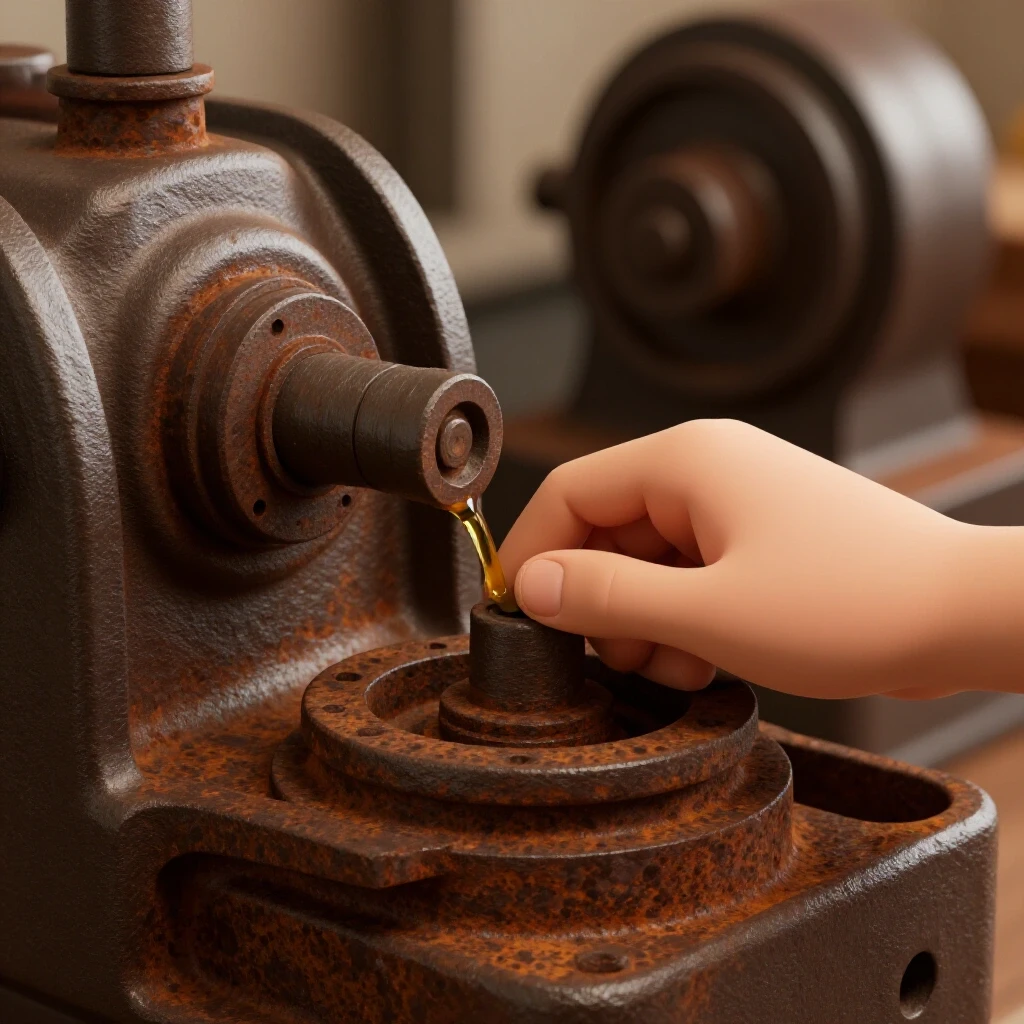
I begin by applying a high-quality penetrating oil. These oils have a very low viscosity and use capillary action—the ability of a liquid to flow into narrow spaces without the assistance of gravity—to seep into the microscopic gaps between the slide and the runner. I prefer to let the oil work for at least 24 to 48 hours. If the drawer is still stuck, I move to thermal expansion.
Using a heat gun, I gently warm the outer runner. The goal is to get the outer metal to expand slightly more than the inner drawer slide. You don’t need the metal to be red hot; usually, 150 to 200 degrees Fahrenheit is enough to soften old grease and break the “stiction” of the rust. While the metal is warm, I use a dead-blow hammer—a hammer filled with sand or shot to prevent bouncing—to give the drawer a firm but controlled jar. This vibration often breaks the final bond, allowing the drawer to slide out for a full cleaning.
Chemical Rust Removal for Precision Sliding Surfaces
Once the drawers are out, you are often faced with a mess of brown flakes and black sludge. Stripping this corrosion without removing the healthy base metal is critical for maintaining the tight tolerances required for smooth operation.
I generally avoid aggressive grinding or sanding on sliding surfaces because it creates uneven spots that lead to “chatter” or sticking later on. Instead, I use chelating agents. Chelation is a chemical process where a molecule binds to metal ions. In our case, these chemicals specifically target iron oxide (rust) while leaving the underlying steel untouched. I submerge the runners in a bath of these agents for 12 to 24 hours. The result is a gray, surgically clean surface that preserves the original machining marks.
For larger cabinets that cannot be submerged, I use electrolysis. This involves using a 12V DC power supply (like a car battery charger), a sacrificial piece of scrap iron, and a solution of water and washing soda. The electric current pulls the oxygen away from the rust, effectively “lifting” it off the surface. It is a slow process but incredibly effective for deep, structural corrosion in corners where a brush cannot reach.
| Method | Speed | Risk to Base Metal | Best Use Case |
|---|---|---|---|
| Chelating Bath | Slow (12-24 hrs) | Zero | Precision slides and small parts |
| Electrolysis | Moderate (6-12 hrs) | Very Low | Large frames and internal corners |
| Wire Wheel | Fast | Moderate (can gouge) | External panels and non-critical surfaces |
| Scouring Pads | Very Fast | Low | Light surface flash rust |
Correcting Warped Slides and Mechanical Misalignment
After the metal is clean, you may find that the drawers still bind. This is usually due to the runners being out of square. In the world of machinery restoration, we measure “squareness” using a machinist’s square and “flatness” using a precision straightedge.
I check the runners for “bowing” by placing a straightedge along the length of the slide. If I see light passing through the middle, the runner is bent. To fix this, I use a large bench vise or a small hydraulic press to gently “tweak” the metal back into alignment. I do this in tiny increments, checking the straightness after every turn.
Another common issue is “racking,” where the cabinet frame has become a trapezoid rather than a rectangle. This happens if the unit sat on an uneven floor for decades. I use a precision level—accurate to 0.001 inch per foot—to ensure the cabinet is perfectly level. Sometimes, just shimming one corner of the cabinet with a piece of sheet metal is enough to make all the drawers slide perfectly again.
Selecting the Right Lubricant for Long-Term Metal-on-Metal Contact
The final step in reviving a sliding assembly is choosing a lubricant that provides a low coefficient of friction without attracting the grit and metal shavings common in a workshop environment.
I avoid heavy, “tacky” greases for tool drawers. While they provide great lubrication, they act as a magnet for sawdust and metal chips, which eventually turns the grease into a grinding paste. For vintage steel-on-steel slides, I prefer a dry-film lubricant or a high-quality white lithium grease applied very sparingly. A dry-film lubricant, often containing PTFE (polytetrafluoroethylene), goes on as a liquid and dries to a slippery, wax-like finish. This prevents dust from sticking to the runners while still providing the “slickness” needed for heavy loads.
If the slides are particularly worn, I might use a “moly” (molybdenum disulfide) grease. This is a high-pressure lubricant that fills in the microscopic pits left behind by old rust, creating a smoother surface for the metal to glide over. The key is to apply the lubricant, slide the drawer back and forth several times, and then wipe away any excess. You only need a microscopic layer to be effective.
Actionable Tracking Framework for Large Projects
When you are restoring a cabinet with ten or twenty drawers, it is easy to lose track of which slide belongs to which slot. Vintage machinery was often hand-fitted at the factory, meaning Drawer A might fit perfectly in Slot 1 but bind in Slot 2.
- Label Everything: Before disassembly, I use a center punch to put small, discreet dots on the back of each drawer and the corresponding runner (e.g., one dot for the top drawer, two for the second).
- Document Tolerances: I keep a log of the gap measurements using feeler gauges. A standard “healthy” gap for a friction slide is usually between 0.005 and 0.010 inches.
- Hardware Inventory: I use magnetic trays to keep all original fasteners together. If a screw is an obsolete thread pattern (like many pre-war British or specialized American threads), I make sure to clean it by hand rather than risk losing it.
- Alignment Checklist: After reassembly, I check for “drift”—where a drawer slides open on its own. This indicates the cabinet is not level front-to-back.
Reclaiming the Precision of the Past
Restoring a sticking metal drawer is a microcosm of the larger machinery restoration world. It requires a blend of chemical knowledge, physical patience, and a keen eye for geometry. When you finally push that heavy steel drawer and it glides shut with a satisfying, muffled “clink,” you aren’t just fixing a storage unit. You are preserving a piece of industrial history that was built to last several lifetimes.
The process of de-rusting, straightening, and lubricating these old assemblies teaches us to respect the materials. It reminds us that even the most seized and neglected piece of iron can be returned to service if we approach it with the right tools and a methodical mindset. Whether you are working on a 1920s machinist chest or the base of a heavy milling machine, the principles remain the same: clean the metal, square the frame, and use the right lubrication for the job.
Frequently Asked Questions
Why shouldn’t I just use a bigger hammer to force the drawer open? Using excessive force on a seized drawer can lead to permanent deformation of the sheet metal or, worse, cracking the cast-iron frame if the unit has one. Force also tends to “gall” the metal—a process where the two surfaces cold-weld together under pressure—making the restoration much harder.
What is the best way to remove “varnished” grease without damaging the paint? A mild solvent like mineral spirits or odorless paint thinner is usually best for softening old grease. Apply it with a natural-bristle brush and let it sit. Avoid harsh paint strippers unless you intend to completely repaint the unit, as they will eat through the original industrial finish.
How do I know if the rust is too deep to save the metal? If you can push a screwdriver through the metal with moderate hand pressure, it is likely too far gone for a structural restoration. However, if the rust is just surface scale, even if it looks “heavy,” the underlying steel is usually thick enough to be salvaged.
Can I use modern ball-bearing slides to replace the old friction slides? While possible, it usually requires significant modification to the cabinet and the drawer. For most vintage enthusiasts, preserving the original friction-slide design is preferred for historical accuracy and because the original steel-on-steel design is often more durable for holding heavy metalworking tools.
Why does the drawer still stick after I’ve removed all the rust? This is almost always due to a mechanical misalignment. Check the “squareness” of the drawer box and the parallelism of the runners. If the runners are even 1/16th of an inch closer together at the back than the front, the drawer will bind as you push it in.
Is electrolysis safe for all types of metal? Electrolysis is safe for steel and cast iron. However, you should never use it on aluminum, brass, or copper, as the process can damage these softer, non-ferrous metals. Also, always perform electrolysis in a well-ventilated area, as the process releases small amounts of hydrogen gas.
What should I do if the original screws are snapped off in the frame? This is a common issue with old machinery. You will need to center-punch the broken bolt, drill it out with a slightly smaller bit, and use a screw extractor. If the threads are damaged, you may need to use a “tap” to chase the threads or an “insert” to restore the hole to its original size.
How often should I lubricate the drawers after restoration? In a standard shop environment, a light re-application of dry-film lubricant once a year is usually sufficient. If your shop is not climate-controlled and has high humidity, you may need to check for “flash rust” more frequently and apply a thin coat of protective oil.
What is the “stiction” I keep hearing about? “Stiction” is a portmanteau of “static” and “friction.” It refers to the higher amount of force required to start a drawer moving compared to the force required to keep it moving. Proper cleaning and the use of specialized lubricants are designed specifically to reduce this initial resistance.
Can I use a wire wheel on a bench grinder to clean the slides? A wire wheel is great for flat, non-critical surfaces, but be careful on the actual sliding edges. A high-speed wire wheel can “round over” sharp edges that are meant to be square, which can lead to the drawer feeling “sloppy” or loose in its tracks. Hand-scrubbing with a stiff wire brush and solvent is often safer for precision areas.
(This article was written by one of our staff writers, Richard Beaumont. Visit our Meet the Team page to learn more about the author and their expertise.)