How to Repair a Sticking Spindle Lock on Metal Mill (Fix)
Restoring a vintage vertical mill often feels like a slow-motion rescue mission. I remember a specific 1948 Bridgeport I pulled out of a damp basement in Ohio. The machine was a ghost of its former self, covered in a thick skin of “shop fudge”—that unholy mixture of dried coolant, cast iron dust, and congealed way oil. The most frustrating part wasn’t the rust on the table, but the fact that the manual spindle locking mechanism wouldn’t budge an inch. It was frozen solid, rendering tool changes impossible without two pipe wrenches and a lot of swearing.
In my 18 years of reviving neglected workshop machinery, I’ve learned that these small, mechanical interfaces are often the most overlooked. A sticking lock isn’t just an inconvenience; it’s a sign of internal neglect that can lead to permanent damage if forced. When we talk about restoring classic metalworking equipment, we aren’t just cleaning surfaces. We are restoring the tactile communication between the machinist and the metal.
Assessing the Condition of Vintage Milling Head Locks
Before reaching for a wrench, you must understand the mechanical state of the locking assembly and the risks involved with aged cast iron.
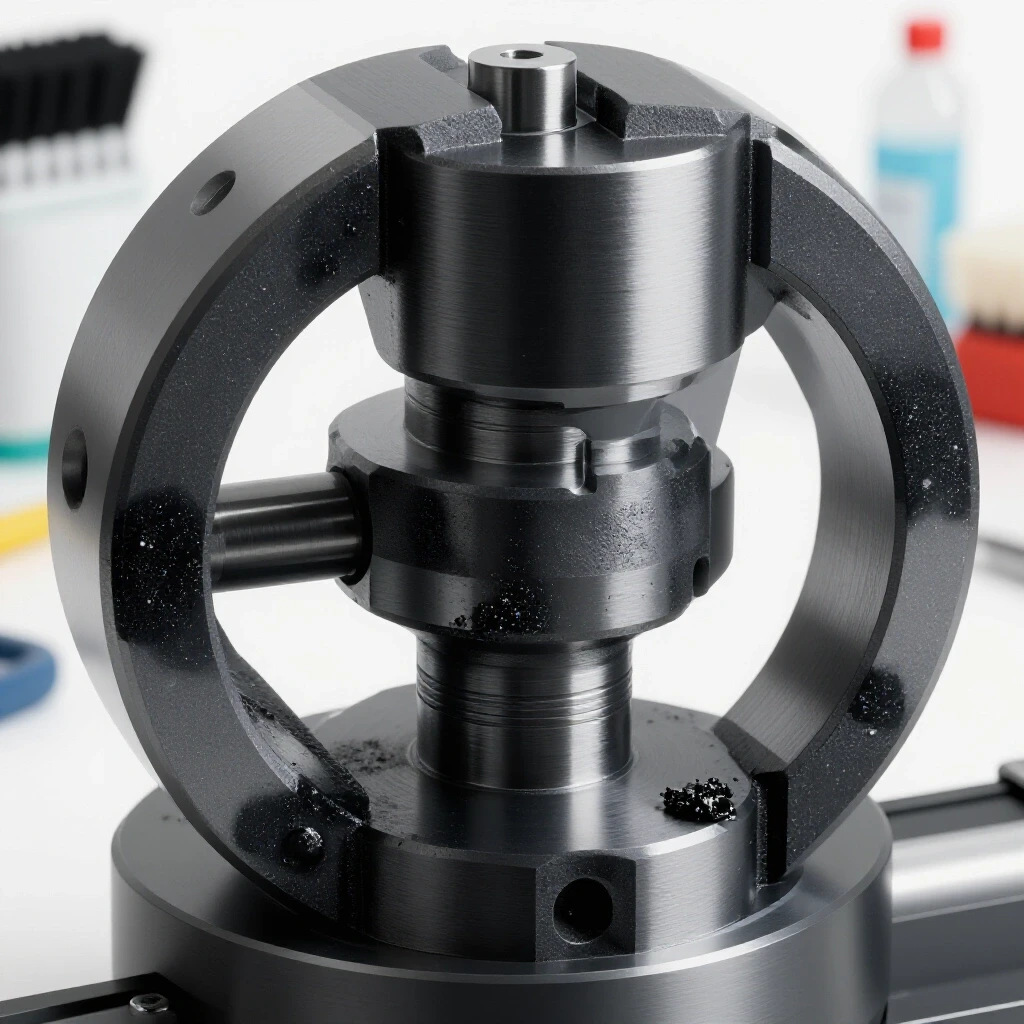
Most manual mills use either a spring-loaded plunger or a threaded draw-bolt system to freeze the spindle in place during tool changes. Over decades, fine metal chips, known as swarf, find their way into the tight tolerances of these parts. When mixed with old-school organic oils, this debris creates a physical bond that can be stronger than the original fastener. I always start by checking for “witness marks”—the tiny scratches or mushroomed edges that tell me if a previous owner tried to force the mechanism with a hammer.
Why Seized Cast Iron Screws Crack Under Force
Cast iron is incredible in compression but notoriously brittle when subjected to the localized tension of a stuck bolt.
If you apply too much torque to a frozen locking lever, the internal threads in the mill head can strip, or worse, the casting itself can hairline fracture. I’ve seen restorers ruin a perfectly good J-head by using a “cheater bar” on a stuck lock. The goal is to break the chemical bond of the rust without exceeding the shear strength of the metal. This requires a combination of chemical penetrants and patience, rather than raw physical strength.
| Method | Effectiveness on Heavy Rust | Risk to Base Metal | Best Use Case |
|---|---|---|---|
| Penetrating Oil (Kroil/Liquid Wrench) | High | Very Low | Initial soak for 24-48 hours. |
| Induction Heating | Very High | Medium | Breaking bonds in localized areas without open flame. |
| Ultrasonic Cleaning | Medium | None | Removing “shop fudge” from small pins and springs. |
| Electrolysis Bath | High | Low | Stripping rust from the entire locking assembly. |
Mapping the Disassembly Sequence for Internal Pins
A systematic approach to taking apart the locking assembly prevents the loss of obsolete springs or custom-machined pins.
I recommend using a dedicated parts tray and a digital camera to document every turn of a screw. On many older machines, the locking pin is held in place by a hidden set screw, often buried under layers of paint or grease. If you try to drive the pin out without removing that set screw, you will gall the internal bore. Galling is a form of wear caused by adhesion between sliding surfaces; in this case, the hardened pin tears into the softer cast iron of the head.
- Clear the Surface: Use a brass wire brush to remove paint around the entry point of the lock.
- Locate Fasteners: Search for “blind” set screws that might be pinning the assembly.
- Apply Heat: Use a heat gun (not a torch, if possible) to expand the casting slightly.
- Mechanical Persuasion: Use a brass or copper drift—never a steel punch—to gently tap the pin.
- Inventory: Place all springs, washers, and pins into a labeled bag immediately.
Methods for Stripping Corrosion from Internal Lock Parts
Once the components are out, you need to remove the oxidation without changing the critical dimensions of the parts.
For small parts like locking plungers and springs, I prefer using a chelating agent like Evapo-Rust. Unlike acids, chelators only target the iron oxide, leaving the healthy base metal untouched. This is vital for maintaining the 0.001 to 0.002-inch clearances required for smooth operation. If the rust is particularly heavy, an electrolysis bath set at 12V DC can lift the scale off without the need for abrasive scrubbing.
Addressing Galling and Surface Deformation on Locking Faces
The business end of a locking pin often becomes mushroomed or scarred from years of being hammered into the spindle.
If the pin face is deformed, it won’t seat properly in the spindle notch, leading to “slippage” during tool changes. I often have to chuck these pins into a lathe and take a very light cleanup cut—usually no more than 0.005 inches—to restore the original geometry. If you don’t have a lathe, you can use a fine-grit diamond stone to hand-dress the face. The goal is a smooth, flat surface that maximizes contact area with the spindle.
Identifying and Sourcing Obsolete Fastener Patterns
Many vintage mills, especially those from the pre-war era, use thread patterns that you won’t find at a modern hardware store.
You might encounter 1/2-12 threads or specific Whitworth patterns that were common in early 20th-century American and British manufacturing. Before you try to “chase” a thread with a modern tap, verify the pitch with a thread gauge. If the threads are damaged, I often prefer to make a custom replacement on the lathe rather than re-tapping the casting to a modern size. Preserving the original thread pattern maintains the historical integrity and value of the machine.
Selecting Modern Lubricants for Manual Locking Mechanisms
The biggest mistake I see in restorations is the use of heavy automotive grease on internal locking pins.
Grease acts like a magnet for metal chips. Over time, those chips get ground into the bore, causing the sticking problem to return. Instead, I use a high-quality way oil (ISO VG 68) or a dry molybdenum disulfide spray. Dry lubes are excellent for locking mechanisms because they provide the necessary slipperiness without the “tack” that attracts swarf.
- Way Oil (ISO 68): Best for general lubrication; stays in place but requires regular cleaning.
- Dry Moly Spray: Best for tight-tolerance pins; does not attract dust or chips.
- White Lithium Grease: Avoid this; it dries out over time and turns into a sticky paste.
Reassembling for Precision and Repeatability
Putting it all back together requires a clean environment and a “feel” for the mechanical limits of the hardware.
When reinstalling the locking pin, check the fit in the bore before adding the spring. It should slide freely under its own weight. If there is any resistance, stop and check for burrs inside the casting. I use a small telescoping gauge to check the bore for roundness. If the bore is slightly out of round due to past abuse, a light pass with a flex-hone can restore the surface finish without removing significant material.
Aligning the Lock with Factory Tolerances
A successful repair means the lock engages firmly with minimal effort and releases completely when the lever is backed off.
After reassembly, I perform a “feel test.” With the lock engaged, there should be zero perceptible movement in the spindle when applying moderate hand pressure to a wrench. When disengaged, the spindle should spin freely without any “clicking” sounds, which would indicate the pin is dragging. If you hear a click, the return spring might be too weak or the pin might be slightly too long after your repair.
Maintaining Physical Safety with Heavy Castings
Working on the headstock of a mill involves heavy components that can easily crush fingers or toes if they slip.
Always support the spindle or the headstock with wooden blocking if you are removing major support bolts. Even a small “sticking” repair might require tilting the head of the mill. Never rely solely on the machine’s internal worm gears to hold the weight during a teardown. I use heavy-duty ratcheting straps or a shop crane when I’m working solo to ensure nothing moves unexpectedly.
Tracking the Restoration Process
I keep a “Machine Log” for every piece of equipment that enters my shop. This isn’t just for nostalgia; it’s a technical record that helps with future maintenance.
- Initial Measurements: Record the runout of the spindle before and after the lock repair.
- Part Dimensions: Note the diameter of the locking pin and the bore size.
- Lubrication Schedule: Document what type of oil you used so you don’t mix incompatible lubes later.
- Cost Tracking: Keep receipts for any custom-made springs or specialty fasteners.
Final Testing and Operational Checks
The final step is to put the machine through its paces. I usually perform a series of tool changes using different collets to ensure the lock holds under various conditions.
If the lock feels “spongy,” it’s usually a sign of a weak spring or air trapped in a grease-packed bore. If it feels “gritty,” there is still debris inside. A perfect repair should feel crisp—a definitive “thunk” when it engages and a smooth, silent release. This level of precision is what separates a “cleaned-up” tool from a truly restored piece of industrial history.
Frequently Asked Questions
Can I use a torch to loosen a stuck locking pin? I advise against using an oxy-acetylene torch on cast iron unless you are highly experienced. Uneven heating can cause the casting to crack. A heat gun or a specialized induction heater is much safer as it provides more controlled, lower-temperature heat.
What if the return spring is broken and I can’t find a replacement? You can source “spring assortments” from industrial suppliers like McMaster-Carr. Match the wire diameter, outside diameter, and “rate” (the stiffness) as closely as possible. If the original is missing, you may have to experiment with different rates until the pin retracts reliably.
Is it okay to sand the locking pin to make it fit better? Avoid using sandpaper, as the grit can embed in the metal and act as an abrasive later. Use a fine-cut file or a stone. If the pin is significantly undersized after cleaning, it’s better to turn a new one from O1 tool steel.
How do I know if the internal bore is damaged? Use a bright flashlight and a dental mirror to inspect the walls of the bore. Look for deep grooves or “steps.” If the bore is badly scored, you may need to ream it slightly oversized and make a matching oversized pin.
Why does my lock stick only when the machine is warm? This is often due to thermal expansion. If the tolerances between the pin and the bore are too tight, the metal expands as the machine runs, causing the parts to bind. Increasing the clearance by just 0.0005 inches usually solves this.
Can I use WD-40 as a long-term lubricant? No. WD-40 is a solvent and a water displacer, not a long-term lubricant. It will eventually evaporate and leave behind a gummy residue that will make the sticking problem worse.
What is the best way to remove old, hardened paint from the lock lever? Chemical strippers are effective, but for small parts, a soak in hot water and laundry detergent can often soften old oil-based paints. For stubborn cases, a wire wheel on a bench grinder works well, provided you don’t round off the sharp edges of the lever.
How tight should the set screw holding the lock assembly be? It should be snug but not “gorilla tight.” Use a small amount of medium-strength thread locker (Blue Loctite) to prevent it from vibrating loose, rather than over-torquing it.
Is it worth restoring a lock that has been badly mushroomed? Usually, yes. The locking pin is a relatively simple part to replicate on a lathe if the original is beyond repair. The value of having a functional, safe machine far outweighs the few hours spent on the lathe.
What should I do if the spindle itself is marred where the lock engages? Light marring can be smoothed out with a fine slip stone. Be very careful not to remove too much material, as this can affect the balance of the spindle at high speeds. If the damage is deep, you may need to consult a professional grinding service.
Taking the Next Step
Restoring a sticking mechanical interface is a masterclass in patience. It teaches you to listen to the machine and respect the materials. Once that locking mechanism clicks into place with the precision the engineers intended back in the 1940s, you’ll find that the rest of the restoration feels much more achievable. Start with a soak, move to gentle heat, and always prioritize the integrity of the cast iron. Your mill—and your knuckles—will thank you.
(This article was written by one of our staff writers, Richard Beaumont. Visit our Meet the Team page to learn more about the author and their expertise.)