How to Mount a Vintage Bench Press for More Stability (Fix)
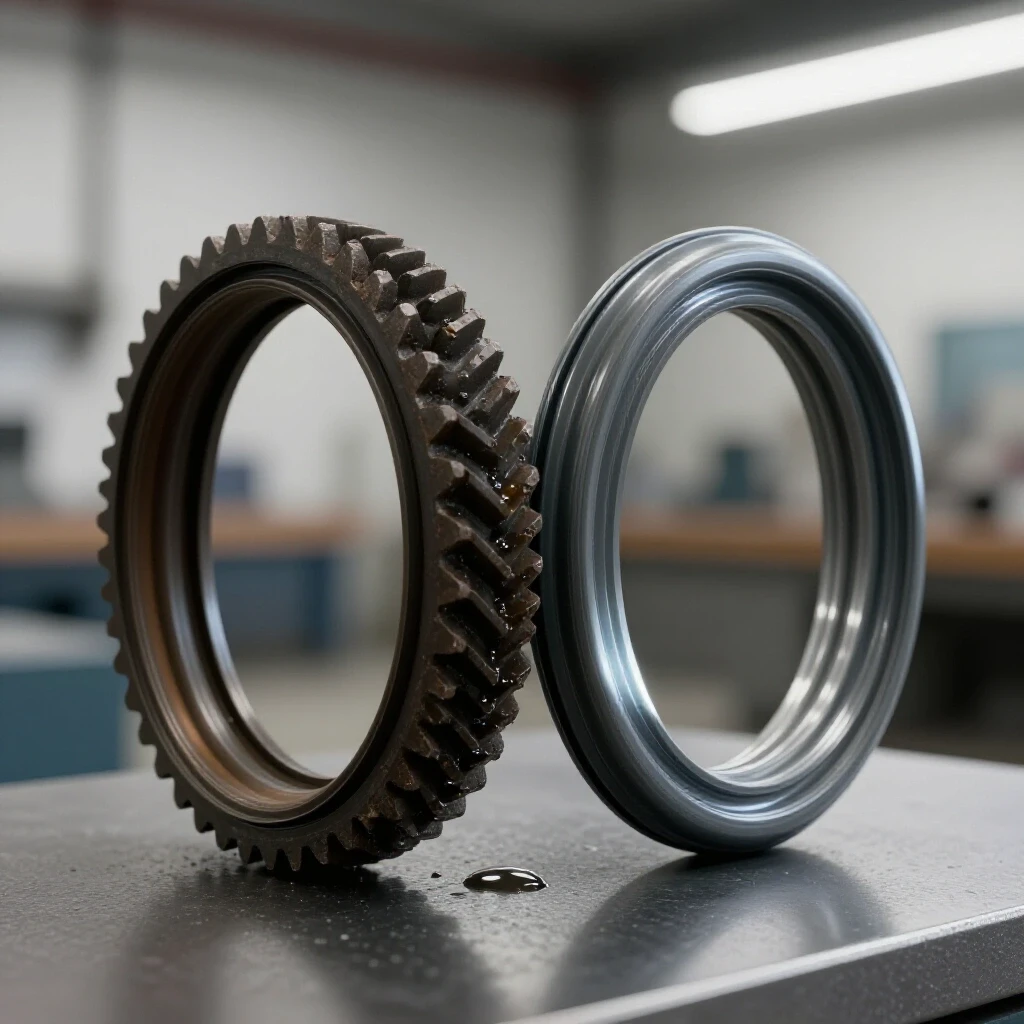
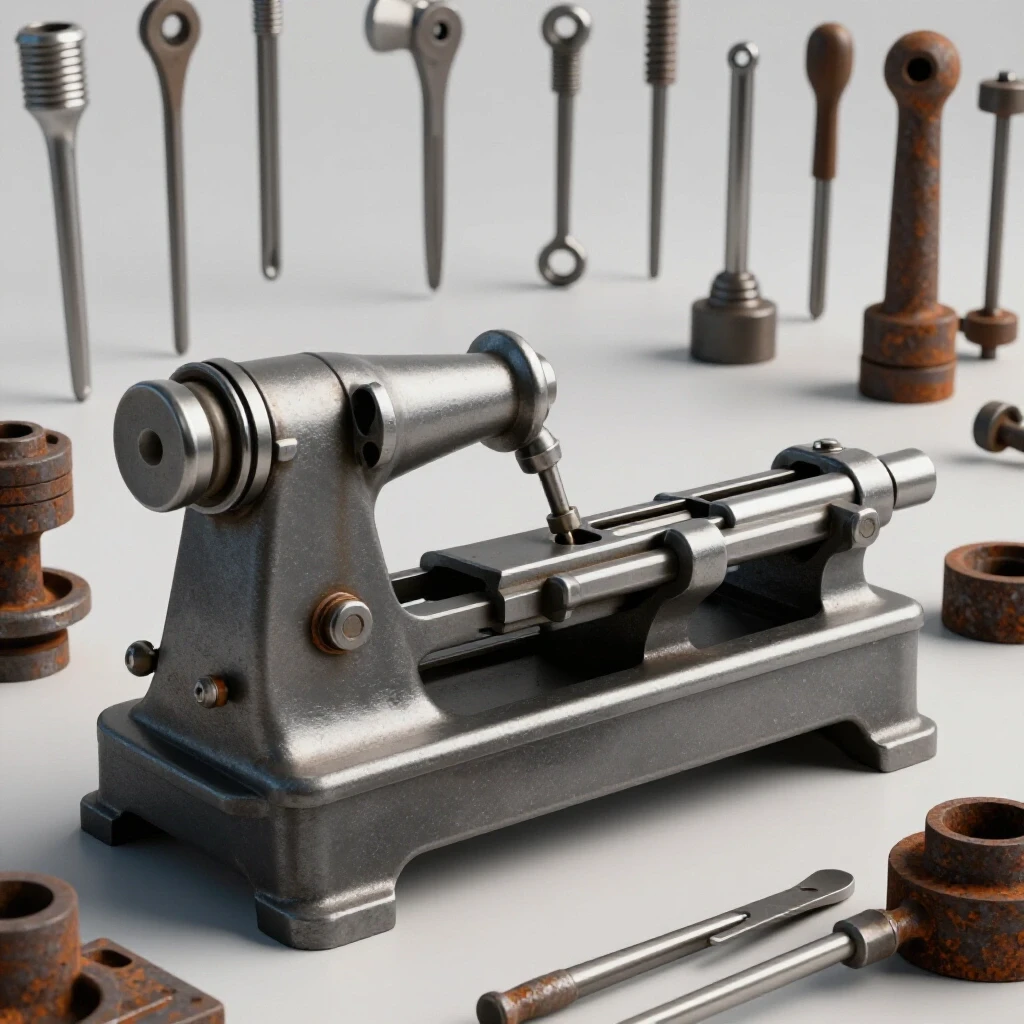
I have spent the better part of two decades in unheated garages and dimly lit workshops, coaxing life back into machines that the world had long ago written off as scrap. There is a specific kind of silence in a workshop when you are staring at a piece of pre-war steel, covered in forty years of scale and “barn find” grime. It is the silence of a puzzle waiting to be solved. Whether it is a 1940s South Bend lathe or a heavy-duty vintage lifting bench, the principles of restoration remain the same: patience, mechanical empathy, and a deep respect for the way things used to be built.
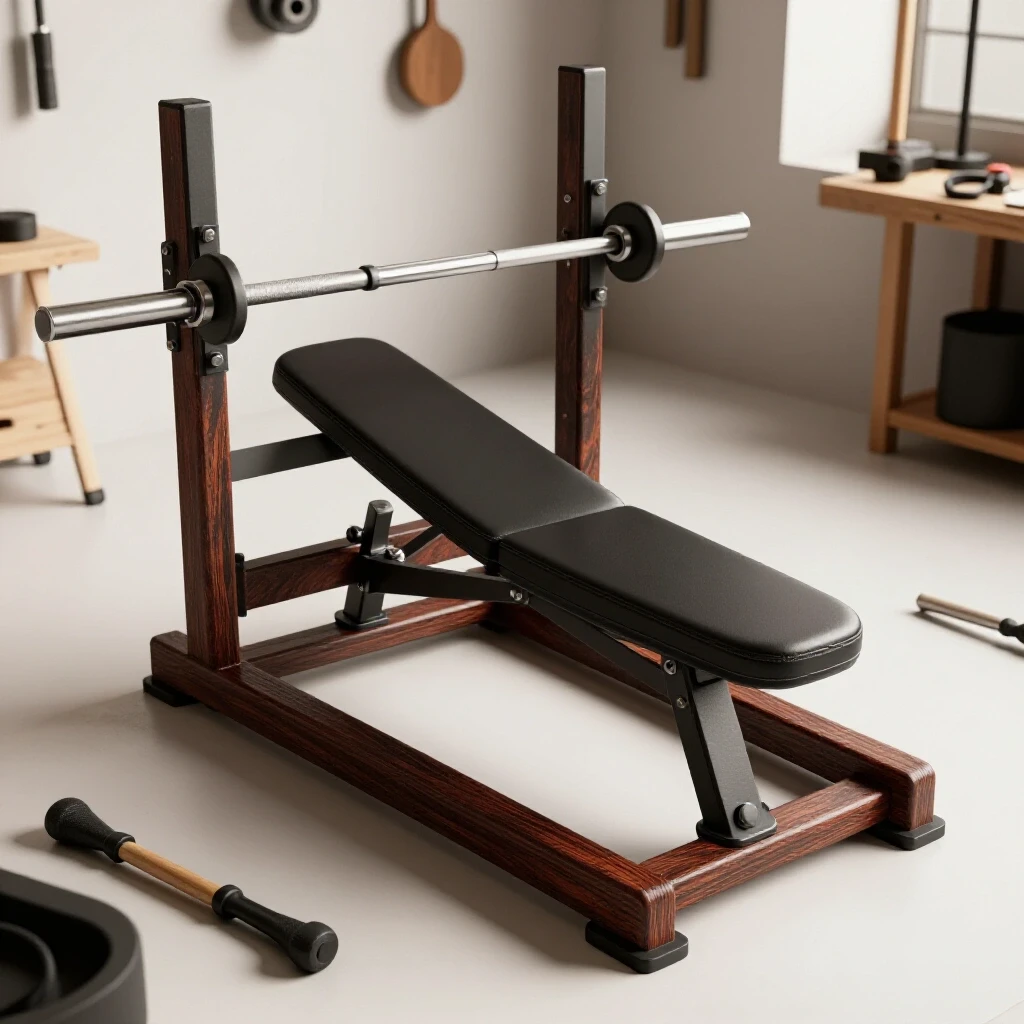
Restoring classic cast iron is not merely about aesthetics; it is about reclaiming the structural rigidity that modern, thin-walled equipment simply cannot match. When you find an old-school weight bench with a frame made of thick-walled channel steel or heavy iron castings, you aren’t just looking at a tool. You are looking at a foundation. However, these pieces often arrive in our shops with seized pivots, missing hardware, and bases that have been warped by decades of improper storage. To make these units safe and stationary for modern use, we must apply the same precision we would use when leveling a milling machine.
Evaluating the Structural Integrity of Vintage Steel Frames
Before any restoration begins, you must determine if the base metal is worth the hundreds of hours you are about to invest. This involves a systematic check for hairline cracks, severe pitting, and structural fatigue that could compromise the safety of the equipment under heavy loads.
I always start with a “thump test.” Striking a large casting with a brass hammer should produce a clear, bell-like ring. A dull thud usually indicates a hidden crack or a pocket of internal corrosion. In my 18 years of doing this, I have seen beautiful-looking frames that were actually held together by little more than layers of old lead-based paint and hope. If the frame is sound, we then look at the geometry. I use a precision machinist’s level—accurate to 0.0005 inches per foot—to check for twists in the main rails. If a frame is twisted, no amount of floor bolting will ever make it truly stable.
- Visual Inspection: Look for “spider-web” patterns in the paint which often hide stress fractures.
- Ultrasonic Testing: For high-value restorations, a basic thickness gauge can reveal if internal rust has thinned the tube walls.
- Alignment Check: Lay the frame on a known flat surface, like a grade-B surface plate, to identify wobbles.
Strategies for Disassembling Seized Fasteners and Rusted Joints
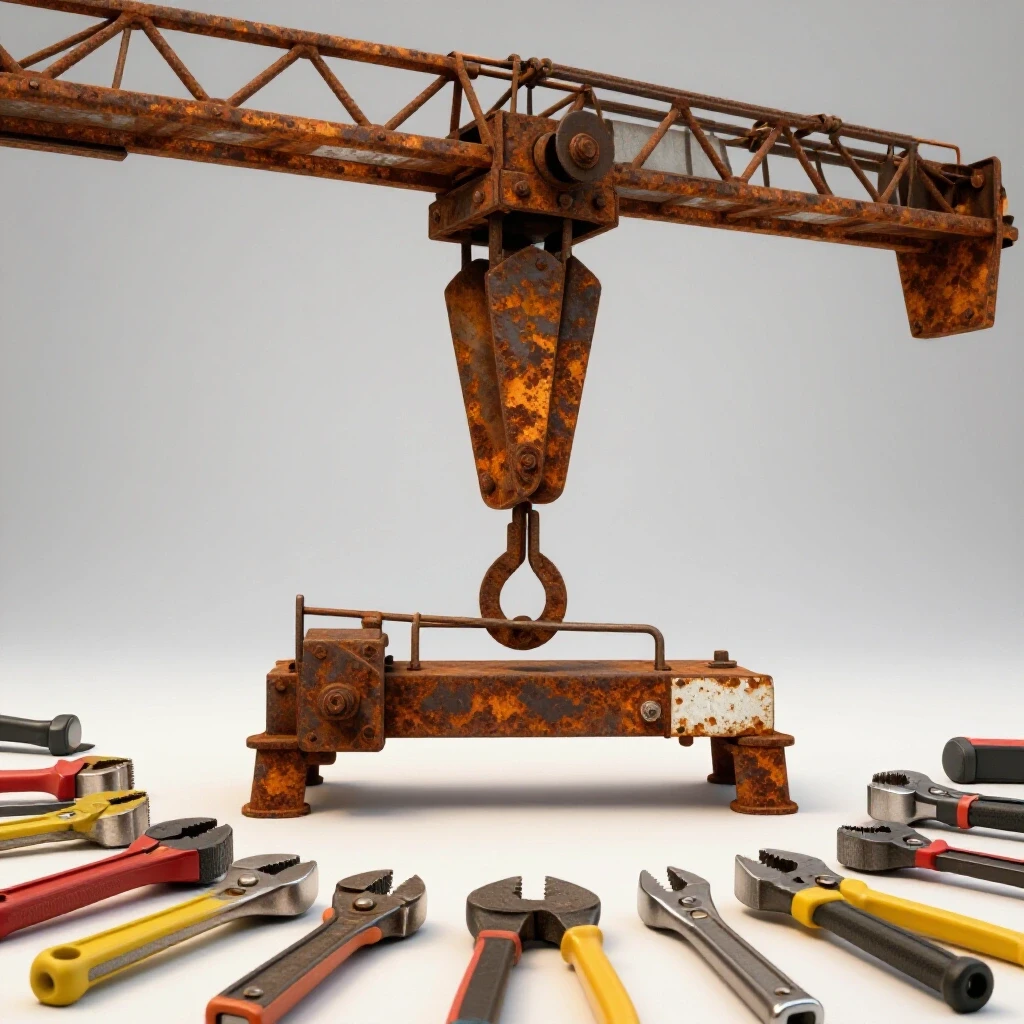
Vintage machinery restoration often begins with a battle against oxidation. When a steel bolt has been sitting in a cast iron hole for fifty years, they essentially become one piece of metal through a process called galvanic corrosion.
I never start with a long breaker bar. That is the fastest way to snap a vintage bolt that has an obsolete thread pattern you’ll never find at a local hardware store. Instead, I use a 50/50 mix of acetone and automatic transmission fluid (ATF). This home-brewed penetrant has consistently outperformed commercial sprays in my shop. If the fastener remains stubborn, I move to a “thermal release plan.” By heating the surrounding casting with an oxy-acetylene torch while keeping the bolt relatively cool, the expansion of the hole often breaks the rust seal.
| Method | Best For | Risk Level |
|---|---|---|
| Penetrant Soak (24-48 hrs) | Surface rust and light oxidation | Low – No damage to base metal |
| Thermal Expansion (Torch) | Heavy seized bolts in thick castings | Medium – Risk of cracking cast iron |
| Shock Loading (Impact) | Breaking loose “frozen” threads | High – Can shear bolt heads |
| Drill and Tap Out | Completely sheared or rotted fasteners | Very High – Permanent modification |
Chemical Rust Removal and Electrolysis for Large Castings
Removing machinery rust requires a balance between being thorough and being gentle. You want to strip the corrosion without removing the “skin” of the original metal, which contains the historical casting marks and maintains the tight tolerances needed for stability.
For large frame components, I prefer an electrolysis bath. This process uses a 12V DC power supply (like a manual battery charger) and a solution of washing soda and water. By connecting the rusted part to the negative terminal and a piece of scrap steel to the positive, the rust is literally pulled off the vintage part and deposited onto the scrap. It is a line-of-sight process, so you have to rotate the part, but it is far safer than grinding, which can leave unsightly gouges in the steel.
- Electrolysis Setup: Use a 12V DC source at 2 to 10 amps depending on the part size.
- Chelating Agents: For smaller parts, modern water-based evaporative rust removers work well and are non-toxic.
- Wire Brushing: Only use brass brushes for final cleaning to avoid leaving deep scratches in the iron.
Custom Bracket Fabrication and Floor Anchoring Patterns
Once the frame is clean, the focus shifts to making the unit immovable. Increasing the rigidity of a vintage steel frame often requires fabricating custom mounting plates that provide a wider footprint than the original design intended for 1950s garage floors.
I typically fabricate footplates from 1/4-inch A36 structural steel. These plates are welded or bolted to the existing legs to distribute the downward force over a larger area of the concrete. For a piece of equipment that will face dynamic loads, 3/8-inch or 1/2-inch wedge anchors are the standard. These anchors expand inside a hole drilled into the concrete, creating a mechanical bond that can withstand thousands of pounds of pull-out force.
- Template Making: Use heavy cardstock to trace the floor contact points.
- Plate Cutting: Use a bandsaw or plasma cutter to shape the 1/4-inch steel plates.
- Hole Patterning: Drill holes at least 2 inches from the edge of the plate to prevent the steel from tearing.
- Deburring: Always chamfer the edges of your fabricated parts to prevent stress risers.
Precision Leveling and Vibration Dampening for Heavy Equipment
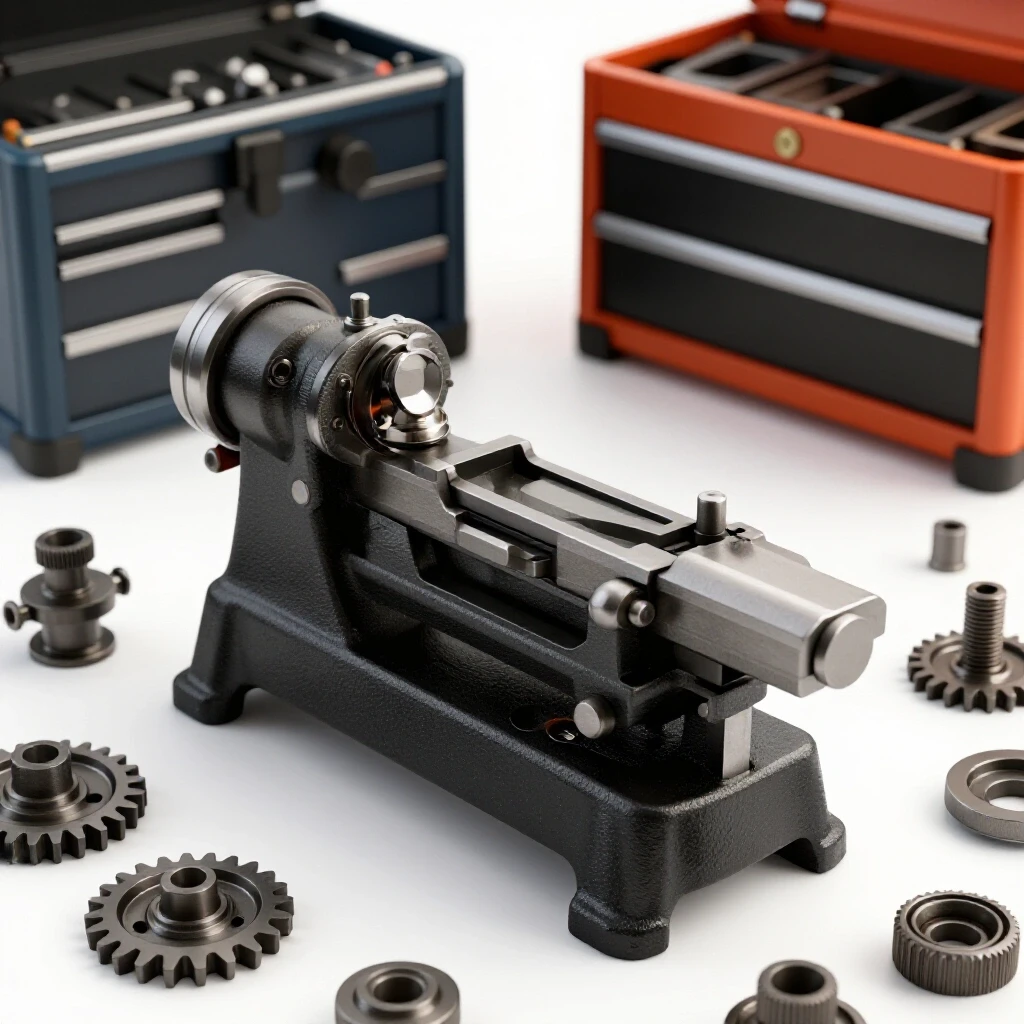
A bench that is bolted down but not level is a recipe for uneven wear and potential failure. Just as I would perform machinery hand scraping on a lathe bed to ensure it sits flat, I use shims to ensure the bench frame is perfectly supported.
Concrete floors are rarely flat. If you bolt a rigid steel frame down to an uneven floor, you will actually pull the frame into a twist, which can cause the moving parts to bind. I use “vibration-dampening shims” made of a sandwich of steel and high-density rubber. These shims allow you to level the equipment to within a few thousandths of an inch while also absorbing the micro-vibrations that occur during use. This results in a much “deader” and more solid feel when the equipment is under load.
- Scraping Density: While we don’t need 20 PPI (points per inch) for a bench, ensuring the mounting feet have at least 10 PPI of contact with the shims is a good benchmark.
- Isolation Pads: Use 70-durometer rubber pads under the mounting plates to reduce noise transfer to the floor.
- Leveling Bolts: In some cases, I weld a threaded bung into the footplate to allow for fine-tuned height adjustments before the final floor anchors are tightened.
Sourcing Obsolete Hardware and Final Reassembly
One of the greatest challenges in machine disassembly tips is dealing with the hardware. Older American equipment often used thread pitches that are no longer standard, such as 1/2-12 or 1/2-13 with non-standard hex head sizes.
I keep a database of vintage standard threads to help identify what I’m looking at. If a bolt is too far gone, I often have to turn a new one on my lathe to match the original aesthetics and strength. When reassembling, I use a high-pressure molybdenum disulfide grease on all pivot points. This is the same lubricant I use for babbitt bearing pouring and sleeve bearing service, as it stays in place under high pressure and prevents the “stick-slip” motion common in old machinery.
| Component | Recommended Lubricant | Maintenance Interval |
|---|---|---|
| Threaded Adjusters | Anti-seize compound (Nickel or Copper) | Once during assembly |
| Pivot Pins | Molybdenum Disulfide Grease | Every 6 months |
| Sliding Rails | ISO 68 Way Oil | Monthly |
| Exposed Steel | Paste Wax or Boeshield T-9 | As needed for rust prevention |
Case Study: Rebuilding a 1938 Steel Frame Station
A few years ago, I rescued a heavy-duty incline station that had been sitting in a damp basement since the late 70s. The main pivot shaft was seized solid due to a lack of lubrication and heavy surface scale. Using a 20-ton hydraulic press, I had to carefully push the shaft out, which required a custom-made jig to avoid crushing the hollow tube frame.
After stripping the rust via electrolysis, I found the original bearing surfaces were deeply scored. Instead of just slapping it back together, I bored out the pivot and pressed in new bronze sleeve bearings. I then fabricated a new 1/2-inch thick base plate and anchored it to my shop floor using four 5-inch long wedge anchors. The difference was night and day. What was once a rickety, squeaking pile of junk became a rock-solid piece of history that felt more stable than anything you could buy in a big-box store today.
Practical Alignment Checklist for Restored Equipment
To ensure the equipment is safe and functional, I follow a strict checklist during the final stages of the project. This ensures that the precision we worked so hard to achieve is maintained.
- Check for Squareness: Use a large framing square to ensure the uprights are 90 degrees to the base.
- Verify Bolt Torque: Ensure all floor anchors are torqued to the manufacturer’s specification (usually around 40-50 ft-lbs for 1/2-inch anchors).
- Test Pivot Smoothness: The moving parts should move freely without any side-to-side play.
- Inspect Weld Penetration: If any custom fabrication was done, use a dye penetrant test to ensure there are no cracks in the new welds.
- Final Leveling: Re-check the level after the anchors are tight, as the tension can sometimes shift the frame.
Conclusion
Restoring a vintage piece of workshop or gym history is a journey of discovery. It requires us to look past the rust and see the engineering intent of the original builders. By applying the rigorous standards of machinery restoration—from chemical rust removal to precision leveling and custom anchoring—we do more than just fix a tool. We preserve a mechanical legacy. When you finally stand back and look at a piece of equipment that is now bolted firmly to the earth, leveled to a thousandth of an inch, and moving as smoothly as it did the day it left the factory, the effort becomes worth it. It is no longer just a bench; it is a testament to the durability of well-made iron.
Frequently Asked Questions
How do I know if my vintage frame is made of cast iron or mild steel?
You can perform a “spark test” using a bench grinder. Mild steel will produce long, yellow sparks with few “bursts” at the end. Cast iron produces shorter, duller red sparks that break into many small “stars.” Additionally, cast iron is generally thicker and has visible parting lines from the sand-casting process, whereas steel is often made of uniform tubes or channels.
What is the best way to drill into an old concrete floor for anchoring?
Use a high-quality rotary hammer (SDS-plus) rather than a standard hammer drill. Rotary hammers hit much harder and will drill a cleaner, more precise hole. Always drill the hole about 1/2-inch deeper than the anchor length to allow for any dust that doesn’t get vacuumed out, which prevents the anchor from bottoming out prematurely.
Can I use epoxy to fill pits in the metal before painting?
While you can use metal-filled epoxies for cosmetic repairs, they should never be used for structural fixes. If a piece of the frame is thinned out by rust, the only safe fix is to cut out the bad section and weld in new matching steel. For cosmetic pitting on non-structural surfaces, a high-build primer or a specialized machinery filler works well.
How do I prevent the floor anchors from vibrating loose over time?
Using a nylon-insert lock nut (Nyloc) on the top of the wedge anchor is a great first step. However, the real key is the vibration-dampening pad. By isolating the metal frame from the concrete floor with a layer of stiff rubber, you reduce the energy that causes the nuts to back off. Periodically checking the torque with a wrench is also part of standard shop maintenance.
Is it safe to weld on old cast iron frames?
Welding cast iron is notoriously difficult because the high carbon content makes it prone to cracking as it cools. It usually requires pre-heating the part to 500-1200 degrees Fahrenheit, using specialized nickel-content welding rods, and then cooling it very slowly in a bed of sand. For most restorers, bolting custom steel brackets to the iron is a safer and more reliable option than welding.
What should I do if a pivot pin is worn down?
If the pin is undersized, the joint will wobble. The best fix is to turn a new pin on a lathe from 4140 chromoly steel, which is much stronger than standard mild steel. If the hole in the frame is also worn (oblong), you should bore it out to a larger size and press in a bronze bushing to return it to the original factory tolerances.
How can I identify the thread pitch of a rusted vintage bolt?
First, clean the threads thoroughly with a wire brush. Then, use a thread pitch gauge, which is a tool with various “teeth” that you match against the bolt. If it’s a vintage American machine, it will likely be Unified National Coarse (UNC) or Fine (UNF), but be aware that pre-1940s equipment sometimes used proprietary pitches that require a lathe to recreate.
Why is my vintage bench still wobbling after I bolted it down?
This usually happens because the frame itself is not rigid enough or the floor is uneven, causing the frame to “bridge” over a low spot. If you tighten the bolts without shimming the gaps, you are just bending the steel. Loosen the bolts, find the gaps with a feeler gauge, insert steel shims until the gap is gone, and then re-tighten the anchors.
What paint is best for a restored heavy-duty frame?
I prefer a two-part epoxy primer followed by an industrial alkyd enamel or a “chassis black” paint. These are much more resistant to chips, oils, and perspiration than standard spray-can paint. If you want a truly period-correct look, many old machines were finished in a dull “machinery gray” which can be custom-mixed at most industrial paint stores.
Is electrolysis safe for all types of metal?
Electrolysis is excellent for steel and cast iron. However, you should never use it on aluminum, brass, or galvanized (zinc-coated) parts. The process will eat away at aluminum and can create toxic fumes when reacting with zinc. Always stick to iron-based metals for the electrolysis bath and use a well-ventilated area to avoid the buildup of hydrogen gas.
(This article was written by one of our staff writers, Richard Beaumont. Visit our Meet the Team page to learn more about the author and their expertise.)