How to Weld Custom Tool Holding Slots on Workbenches (Fix)
When I first pulled a 1938 Hendey lathe out of a damp barn in rural Ohio, I wasn’t just looking at a machine; I was looking at a decade of work. The cast iron was hidden under a thick crust of dried lard and surface oxidation. My immediate problem wasn’t the seized spindle or the worn ways—it was the chaos of the workspace. As I began the delicate process of disassembly, I realized that my standard workbench was a cluttered mess of specialized wrenches, scrapers, and calipers. To restore a machine of that caliber, I needed a workspace that functioned as a precision instrument. This led me to modify my steel assembly tables by integrating permanent, welded steel holders directly into the bench structure.
Restoring vintage machinery requires a level of patience that most modern manufacturing has forgotten. You cannot rush a seized 1/2-inch square-head bolt that has been cold-welded by rust for sixty years. Similarly, you cannot perform high-precision scraping or bearing fitting on a bench that is disorganized. By fabricating dedicated steel slots for your most-used restoration tools, you clear the deck for the heavy lifting. This guide covers the intersection of structural welding and precision machine rescue, ensuring your workshop is as resilient as the cast iron tools you bring back to life.
Assessing the Structural Integrity of Steel Work Surfaces
Before you strike an arc to add storage to your bench, you must evaluate the foundation of your workspace. A workbench used for machine restoration often supports hundreds of pounds of cast iron, such as a drill press head or a lathe tailstock. I look for a top plate that is at least 1/4-inch thick, though 1/2-inch is preferable for maintaining flatness under heat.
Evaluating the bench involves checking for existing warpage using a precision straightedge. If the bench surface is bowed, any tool holders you weld to the side might interfere with the movement of heavy parts. I also inspect the underside for structural bracing. If you are welding near a corner, ensure the heat won’t distort the primary leg supports. A stable, flat surface is the first requirement for any machine alignment task, and your modifications should never compromise that baseline.
Identifying Material Composition for Better Fusion
Understanding the metallurgy of your workbench is critical for a successful weld. Most industrial benches are made from A36 mild steel, which is highly weldable and predictable. However, some older shop fixtures might use cast iron plates or high-carbon steel salvaged from other machinery.
I always perform a simple spark test if the material is unknown. Mild steel produces long, yellow sparks with few “bursts,” while cast iron produces short, redder sparks that drop off quickly. If your bench is cast iron, you cannot simply weld steel bars to it with standard MIG wire; you would need nickel-rod and a complex pre-heating cycle to avoid cracking. For this guide, we assume a standard steel plate construction, which allows for robust, structural modifications using common welding techniques.
Preparing Rusted Bench Plates for Fabrication
You cannot achieve a sound weld through seventy years of shop grime and oxidation. In my 18 years of restoration, I’ve learned that surface preparation is 90% of the job. For a workbench that has seen better days, this means removing oil-soaked rust and old lead-based paints before you even think about fit-up.
I start with a mechanical approach using a stiff wire wheel on an angle grinder to take off the heavy scale. Following this, I use a chemical chelator, such as a phosphoric acid-based solution, to neutralize any remaining microscopic rust in the pits of the steel. This creates a clean, “bright” metal surface that accepts a weld bead without porosity. If the bench has been used for messy tasks like pouring babbitt bearings, there may be hidden contaminants that require a thorough de-greasing with a heavy-duty solvent.
Comparing Methods for Heavy Rust Removal
When preparing your bench or the machine parts themselves, choosing the right method depends on the thickness of the material and the level of precision required.
| Method | Best Use Case | Risk Level | Precision Impact |
|---|---|---|---|
| Wire Wheel/Mechanical | Heavy scale on thick steel plate | Moderate (can gouge) | Low |
| Electrolysis (12V DC) | Intricate cast iron parts | Low (safe for base metal) | High (preserves dimensions) |
| Chemical Chelators | Flash rust and deep pits | Low | High |
| Sandblasting | Large, non-precision castings | High (can ruin ways) | Low |
Welding Geometry for Tool Retention Systems
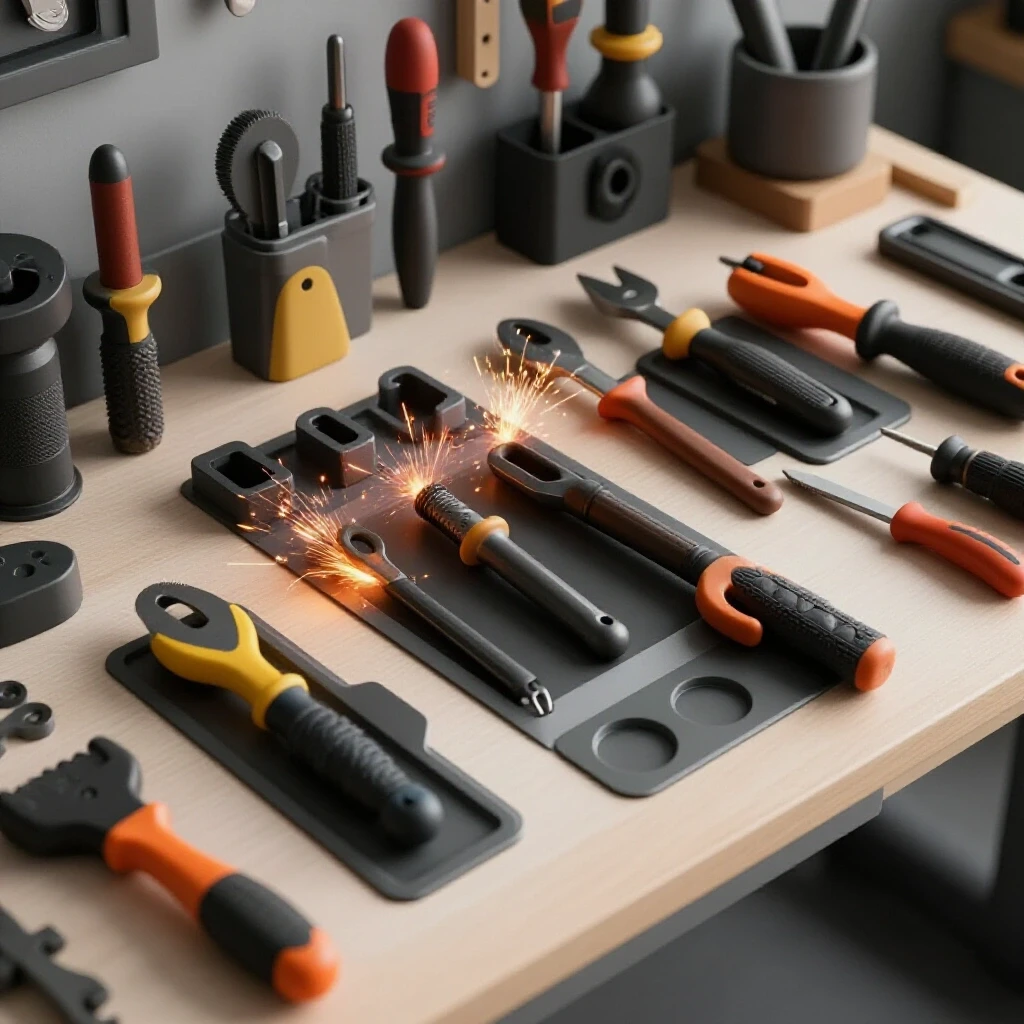
When I design integrated storage for my restoration tools, I focus on the geometry of the holders. For items like my hand scrapers or large adjustable wrenches, I use 1/4-inch flat bar or 1-inch angle iron. The goal is to create a series of slots that allow the tools to hang vertically along the edge of the bench.
I cut my steel stock into 4-inch lengths and space them according to the tools I use most during a teardown. For example, a 1/2-inch gap is perfect for most wrench shanks. I use a magnetic square to hold the pieces at a perfect 90-degree angle to the bench edge. This precision ensures that the tools don’t lean or fall out when I’m hammering on a nearby assembly. I always leave a small gap at the bottom of the slot to prevent the accumulation of metal chips and grinding dust.
Managing Heat to Prevent Bench Warping
One of the biggest mistakes I see in shop fabrication is over-welding. If you run a continuous bead along a 3-foot section of tool slots, the heat will pull the bench plate into a permanent frown. This is disastrous if you use that bench to check the alignment of a machine’s carriage or headstock.
I use a “stitch welding” technique. I place a 1/2-inch tack at the top and bottom of each slot piece. I then move to the opposite end of the bench to allow the first weld to cool. By jumping around, I keep the total heat input low. If I’m working on a thinner 3/16-inch plate, I might even use a damp rag nearby to act as a heat sink, though I’m careful not to quench the weld itself, which could make the steel brittle.
Disassembling and Organizing Seized Machine Components
Once the bench is equipped with its new tool holders, the real work of machine rescue begins. Disassembling a vintage lathe or mill is often a battle against time and chemistry. Seized shafts and frozen pulleys are the norm, not the exception. I approach these with a “preservation-first” mindset, meaning I never use a bigger hammer if a smarter tool will work.
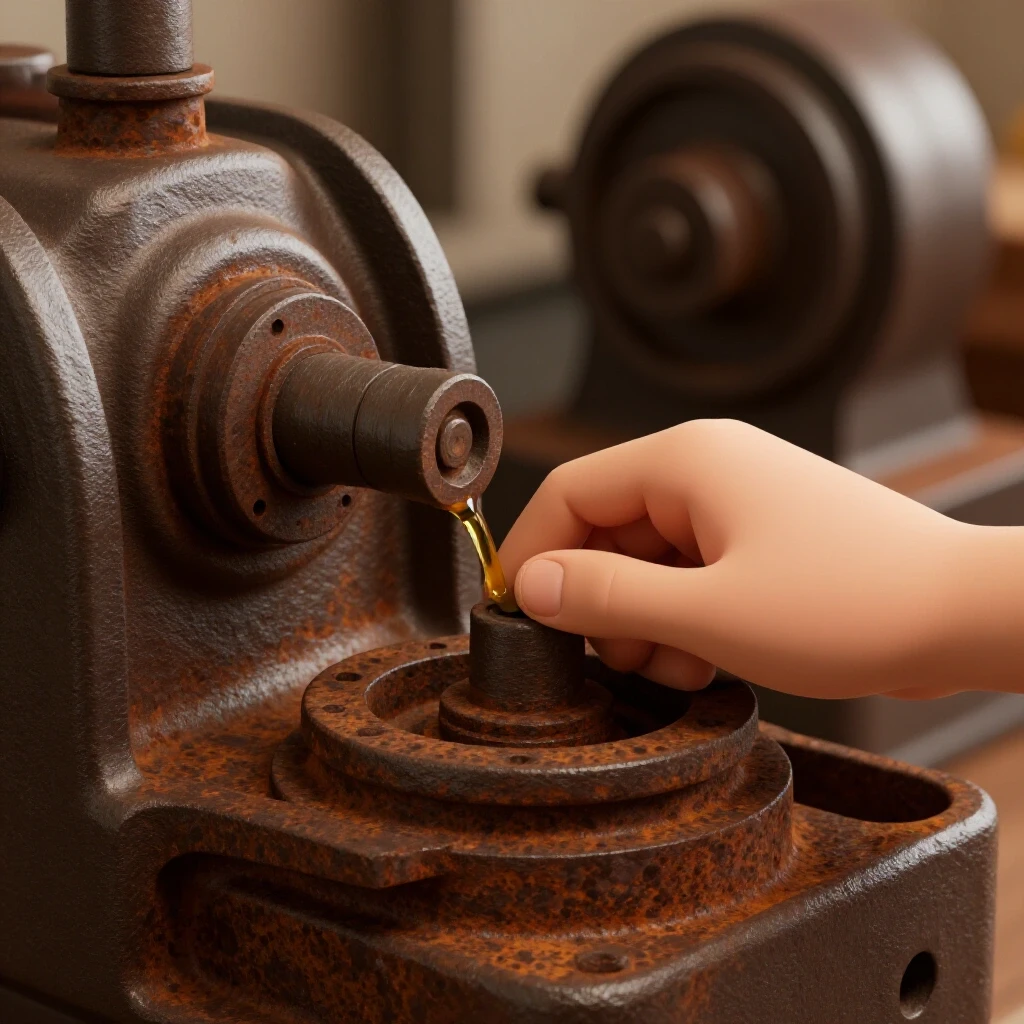
I keep a dedicated slot on my bench for my custom-made brass drifts and pullers. When a shaft is stuck, I apply a 50/50 mix of ATF and acetone, which I’ve found outperforms almost any commercial penetrating oil. I let it soak for 24 hours. If it still won’t budge, I use a propane torch to gently heat the outer casting. The goal is to expand the “hole” while keeping the “shaft” cool. This thermal coefficient difference is often the only way to break a bond that has existed for half a century.
Tracking Parts for Obsolete Machinery
As you strip the machine down, the importance of your organized workbench becomes clear. I use a numbered inventory sheet to track every fastener and gear. Many older machines use thread patterns that are no longer standard, such as 1/2-12 or various Whitworth sizes found on British equipment.
- Document: Photograph every sub-assembly before removing a single screw.
- Label: Use brass tags or permanent markers on parts.
- Measure: Use a thread pitch gauge immediately to identify non-standard bolts.
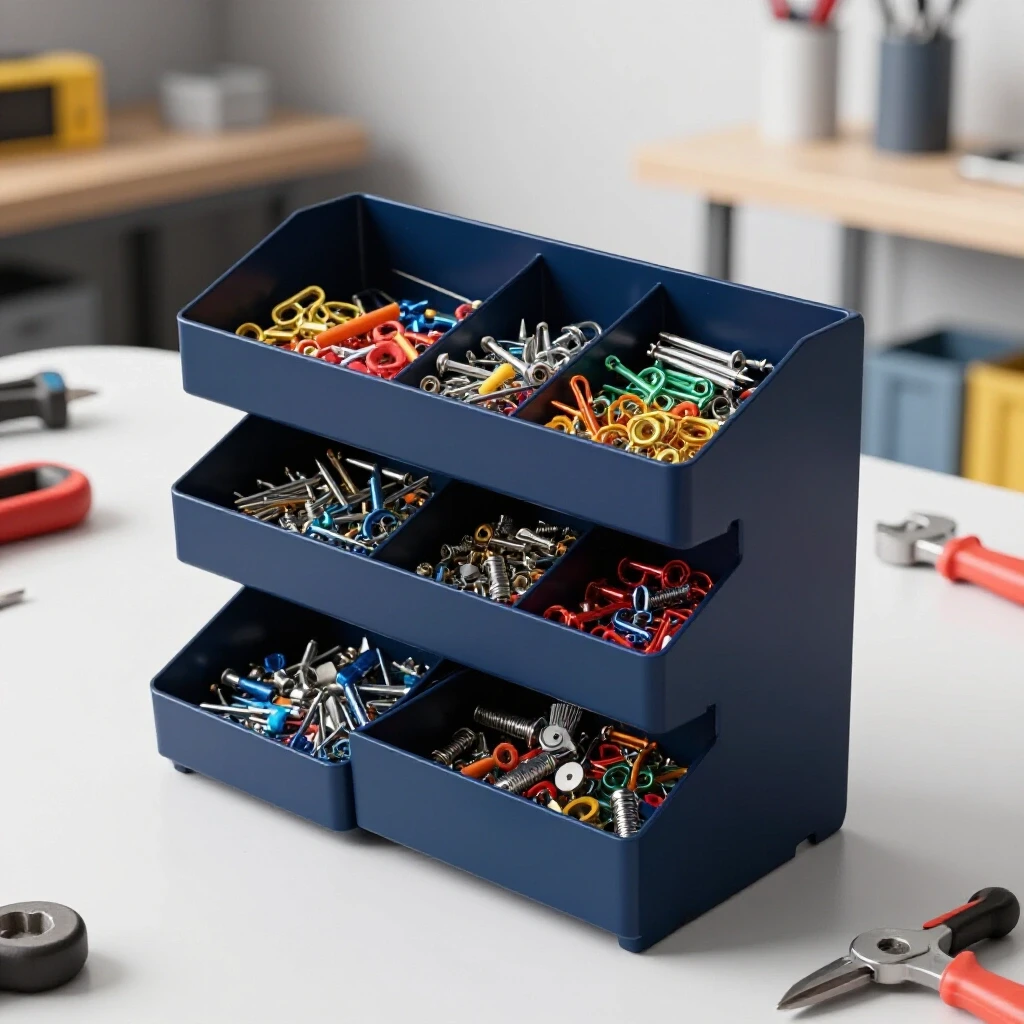
- Protect: Place small, delicate parts in organized bins, while larger castings stay on the reinforced bench.
Chemical Rust Removal and Surface Prep for Welding
When restoring the machine’s components, I often use an electrolysis bath. This is a non-destructive way to remove rust from complex castings without removing the underlying metal. I use a 12V DC power supply (an old manual battery charger works well) and a solution of washing soda and water. The rusted part is the cathode (negative), and a piece of scrap steel is the anode (positive).
After 12 to 24 hours in the bath, the rust is converted into a black sludge that can be easily brushed away. This leaves the original machining marks intact, which is vital for the next step of the restoration: checking for wear. Once the parts are clean, I can accurately measure the tolerances. If a part is beyond repair and needs a new piece welded on, the electrolysis ensures the surface is chemically clean for the best possible fusion.
Electrolysis Setup Parameters
| Component | Specification | Reason |
|---|---|---|
| Voltage | 12V DC | Safe and effective for slow removal |
| Amperage | 2–10 Amps | Depends on the surface area of the part |
| Electrolyte | Sodium Carbonate (Washing Soda) | Conductive and non-toxic |
| Anode Material | Scrap Steel or Stainless | Sacrificial material to collect rust |
| Runtime | 12–48 Hours | Varies by the depth of corrosion |
Servicing Legacy Bearings and Sleeves
Many of the machines I restore don’t use modern ball bearings. Instead, they rely on babbitt bearings or bronze sleeves. Babbitt is a soft white-metal alloy that is poured in place around the spindle. If the bearing is worn, it must be melted out and re-poured—a process that requires a clean, level, and organized workspace.
I check the clearances using Plastigage or a micrometer. For most vintage spindles, a clearance of 0.001 to 0.002 inches is the target. If the clearance is too tight, the bearing will overheat and “wipe.” If it’s too loose, the machine will chatter during use. Having my scrapers and measuring tools in their welded bench slots allows me to move quickly between the melting pot and the machine, ensuring the babbitt is poured at the correct temperature (usually around 650°F to 700°F).
Restoring Precision through Hand Scraping and Alignment
The pinnacle of machinery restoration is hand scraping. This is the process of using a hand-held carbide-tipped tool to remove tiny amounts of metal from a flat surface, like a lathe bed or a dovetail slide. We do this to create “oil pockets” and to ensure the surfaces are perfectly flat and parallel.
I use a high-spot blue (Prussian Blue) to identify the high points on a surface. I rub the part against a known-flat surface plate and then scrape away the blue marks. My goal is usually 10 to 20 “points per inch” (PPI). This level of precision is what separates a “refurbished” machine from a “restored” one. The welded tool slots on my bench keep my various scrapers—each ground to a different radius—ready for use as I work through the different stages of the alignment process.
Alignment Metrics for Classic Machinery
- Spindle Runout: Should be less than 0.0005 inches on a high-quality lathe.
- Bed Flatness: Aim for within 0.001 inches over the entire length of the ways.
- Tailstock Alignment: Must be concentric with the headstock within 0.001 inches to prevent tapered cuts.
- Backlash: In lead screws, I aim for 0.003 to 0.005 inches, though some old machines may require more.
Aligning Fabricated Slots for Precision Tool Storage
Even the tool holders themselves need a level of alignment. If you weld a series of slots and they are crooked, your tools will bind or sit at awkward angles. I use a simple jig made from a piece of 1/4-inch plywood to space the steel bars evenly before tacking them into place.
Once the welding is complete, I use a flap disc on an angle grinder to smooth out the welds. This isn’t just for aesthetics; it prevents sharp edges from cutting your hands or scratching your tools. I then finish the steel with a coat of cold-bluing solution or a durable machinery enamel. This protects the new holders from the same rust that I spent weeks removing from the machine itself.
Final Assembly and Testing the Restoration
The final stage of any project is the reassembly. This is where the organization of your workbench pays off. As I pull parts from their labeled bins and tools from their welded slots, the machine begins to take shape. I use a high-quality ISO 32 or ISO 68 way oil for the sliding surfaces and a dedicated spindle oil for the bearings.
I perform a “test bar” cut on the lathe to verify the alignment. By turning a long piece of aluminum and measuring the diameter at both ends, I can tell if the headstock is parallel to the ways. If the diameters match within 0.001 inches, I know the restoration was a success. The workspace I built—with its custom steel holders and reinforced plate—was the silent partner in achieving that precision.
Frequently Asked Questions
Can I weld tool holders to a cast iron workbench?
It is not recommended to weld directly to cast iron using standard methods. Cast iron is brittle and prone to cracking under the localized heat of a welder. If your bench is cast iron, it is better to drill and tap holes to bolt on your steel tool holders.
What is the best welding process for bench modifications?
MIG (Metal Inert Gas) welding is excellent for this because it allows for fast, clean tacks with minimal heat buildup. However, a Stick welder (SMAW) with 6011 or 7018 rods is perfectly fine for thicker steel plates if you are comfortable with slag management.
How do I prevent my workbench from warping during welding?
Use the stitch welding technique. Instead of a long bead, use short 1/2-inch tacks spaced several inches apart. Allow the metal to cool to the touch between tacks. This minimizes the “pull” of the cooling weld.
What steel thickness is best for tool slots?
I prefer 1/4-inch flat bar. It is thick enough to be structural and easy to weld, but not so thick that it becomes bulky or difficult to cut with a standard hacksaw or portable band saw.
How do I remove deep rust from the workbench before welding?
For a workbench, a 4.5-inch angle grinder with a knotted wire cup brush is the most efficient. For the final prep in the weld zone, use a flap disc to get down to “white metal” (clean, shiny steel).
Is it safe to use electrolysis on all machine parts?
Electrolysis is safe for steel and cast iron. However, you should never use it on “yellow metals” like brass, bronze, or aluminum, as the process can damage the surface or create toxic fumes. Always remove bronze bushings before putting a casting in the bath.
What is the purpose of hand scraping a machine?
Hand scraping creates a surface that is flatter than what most modern milling machines can produce. It also creates a pattern of low spots that hold oil, preventing “stiction” (the tendency of two flat metal surfaces to stick together).
How do I identify non-standard thread patterns on old machines?
Use a thread pitch gauge and a micrometer. If the diameter and pitch don’t match modern UNC or UNF standards, check historical databases for Whitworth, British Standard Fine (BSF), or manufacturer-specific standards like those used by older sewing machine or clock makers.
What should I use to protect my bench and tools from future rust?
For the bench, a light coat of paste wax or a dedicated rust-preventative spray like Boeshield T-9 works well. For the tools in your new slots, keeping them clean and occasionally wiping them with a rag dampened with 3-in-1 oil is usually sufficient.
Why do you use ATF and acetone as a penetrating oil?
Scientific testing and shop experience have shown that a 50/50 mix of Automatic Transmission Fluid and Acetone has a very low surface tension, allowing it to “creep” into tighter spaces than most commercial products, making it ideal for the most stubborn seized parts.
(This article was written by one of our staff writers, Richard Beaumont. Visit our Meet the Team page to learn more about the author and their expertise.)