How to Clean and Rebuild a Metal Lathe Apron Gearbox (Fix)
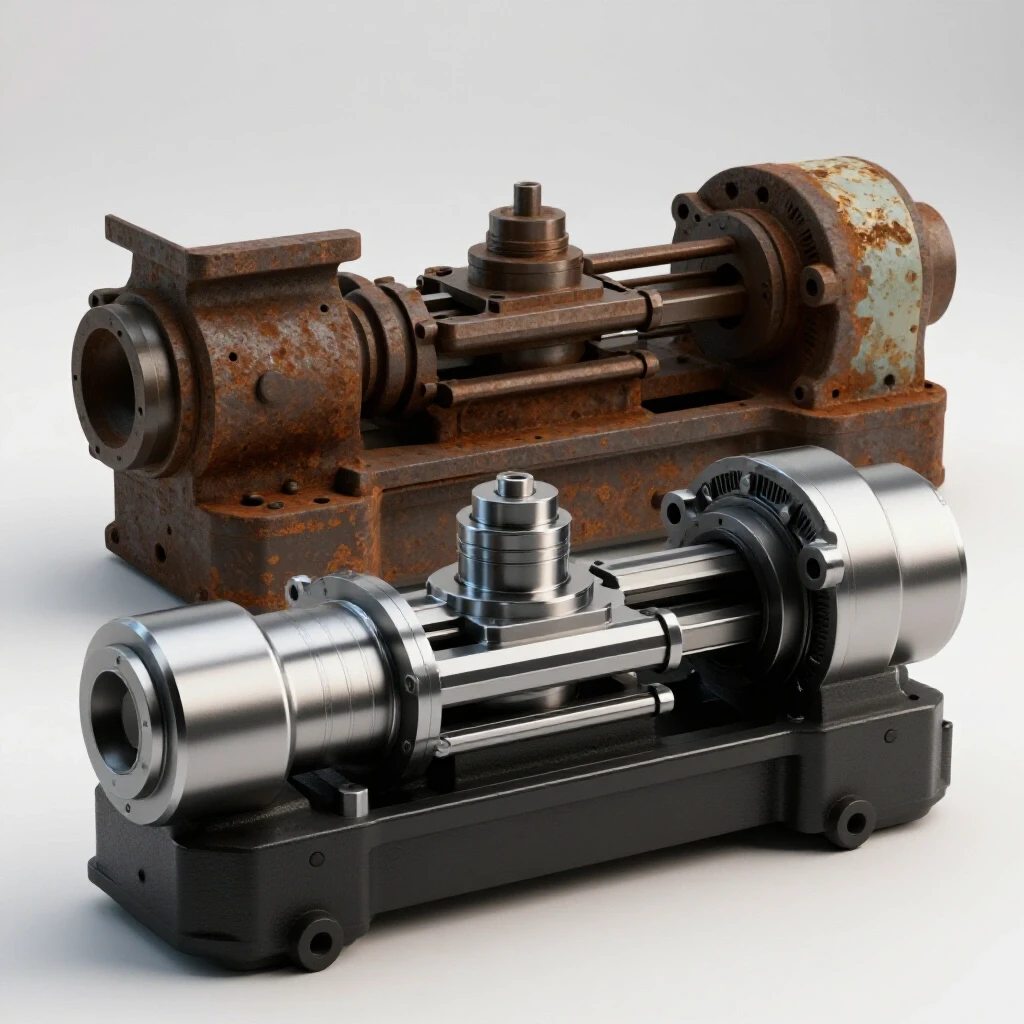
The first time I laid hands on a 1940s-era engine lathe, the apron was a solid block of oxidized grease and cast iron. It didn’t move, didn’t click, and certainly didn’t slide. For many restorers, this is the point where a project feels like a burden. But after 18 years of reviving neglected workshop machinery, I’ve learned that the apron is the mechanical heart of the machine’s manual operation. It is a complex gearbox that translates the rotation of the lead screw and feed rod into the precise movement of the carriage.
Restoring these assemblies is not about speed; it is about forensic mechanical work. You are uncovering the intent of engineers who are long gone, working with tolerances measured in the thousandths of an inch. When you successfully bring a seized gear train back to life, you aren’t just fixing a tool. You are preserving a piece of industrial history that was built to last a century or more.
Evaluating the Condition of the Carriage Gearbox
Before turning a single wrench, you must determine if the internal components are salvageable or if the casting has suffered terminal damage.
The apron is the heavy casting hanging off the front of the lathe carriage. It houses the gears, clutches, and half-nut mechanisms required for longitudinal and cross-feeds. Because this unit sits low and often lacks a sealed environment, it becomes a catch-all for metal chips, coolant, and dust. Over decades, this mixture turns into a grinding paste that can ruin bronze bushings and steel gear teeth.
I begin by checking for “clunk.” If I can move the handwheel and see the internal shafts shifting more than 0.015 inches before the gear engages, I know I’m looking at significant bushing wear. I also look for cracks in the cast iron around the lever pivots. Cast iron is brittle. If a previous owner tried to force a seized lever with a pipe wrench, the housing might be compromised.
Visual and Mechanical Assessment Benchmarks
| Component | Healthy Sign | Red Flag |
|---|---|---|
| Handwheel Play | Less than 0.005″ radial play | Visible wobbling or “slop” |
| Gear Teeth | Smooth, polished contact faces | Pitting, “hooked” teeth, or chips |
| Half-Nuts | Sharp, clean thread profiles | Rounded “V” shapes or thin peaks |
| Oil Reservoirs | Thick, dark oil | Dry cavities or “mayonnaise” (water/oil mix) |
Strategic Disassembly of the Internal Gear Train
Taking apart a vintage gearbox without a plan is a recipe for a permanent “basket case” project.
I approach disassembly like an archeological dig. Vintage machinery often uses “blind” fasteners—taper pins, woodruff keys, and set screws hidden under layers of paint. My rule is simple: if it doesn’t move with moderate pressure, stop and look for a hidden pin. I once spent three hours trying to press a shaft out of a 1930s apron only to find a tiny 1/8-inch taper pin buried under four layers of “machinery gray” enamel.
- Document Everything: Take high-resolution photos of every gear mesh before removal.
- Map the Fasteners: Use a piece of cardboard to poke holes and store screws in the exact orientation they were removed.
- Identify Taper Pins: These are common in older gearboxes. One side is slightly larger than the other. Always drive them out from the small side. If you hit the large side, you are only wedging it tighter.
- Label the Gear Sequence: Use a vibration pen or a permanent marker to number gears. Some look identical but have different tooth counts or hub offsets.
Why Seized Cast Iron Screws Crack Under Force
Seized fasteners are the primary cause of broken castings in classic tool restoration.
When steel screws sit in cast iron for 50 years, galvanic corrosion occurs. This is a process where two dissimilar metals, in the presence of moisture, create a bond that is effectively a weld. If you apply a long breaker bar to a seized bolt, the torque will often snap the bolt head or, worse, crack the cast iron boss it sits in.
My thermal release plan involves a cycle of penetrant and heat. I prefer a 50/50 mix of Acetone and Automatic Transmission Fluid (ATF). It is thin enough to wick into tight tolerances. I apply the fluid, wait 24 hours, and then apply localized heat with a propane torch. You aren’t trying to get the metal red-hot; you just want to expand the iron slightly to break the microscopic bond of the rust.
Thermal Expansion and Penetrant Strategy
- Step 1: Clean the area with a wire brush to allow the penetrant to reach the threads.
- Step 2: Apply ATF/Acetone mix twice daily for three days.
- Step 3: Use a brass drift and a hammer to “shock” the bolt. This vibration helps the fluid travel.
- Step 4: Apply heat to the casting surrounding the bolt, not the bolt itself. This expands the hole, making it larger than the fastener.
Chemical Rust Removal and Sludge Stripping
Once the unit is apart, you are left with a pile of “crusty” parts that need a deep clean without losing the base metal.
Restoring classic cast iron requires a balance between aggression and preservation. I avoid using wire wheels on precision surfaces like gear teeth or bearing journals. A wire wheel can round off the sharp edges required for proper mechanical engagement. Instead, I rely on chemical baths.
Electrolysis baths are excellent for large cast iron housings. By using a 12V DC power supply (like an old manual battery charger), a sacrificial anode (scrap steel), and a solution of washing soda (sodium carbonate), you can lift rust off the iron without any scrubbing. The rust literally migrates from the apron to the scrap steel.
Rust Removal Method Comparison
| Method | Best For | Pros | Cons |
|---|---|---|---|
| Electrolysis | Large castings, deep rust | Reaches into cavities, no metal loss | Slow (12-24 hours), messy |
| Evapo-Rust | Precision gears, shafts | Non-toxic, safe for skin, very effective | Expensive for large volumes |
| Mineral Spirits | Greasy, non-rusted parts | Dissolves old oil quickly | Flammable, fumes, doesn’t kill rust |
| Manual Scraping | Flat mating surfaces | High precision control | Labor intensive, risk of gouging |
Servicing Legacy Bushings and Bearings
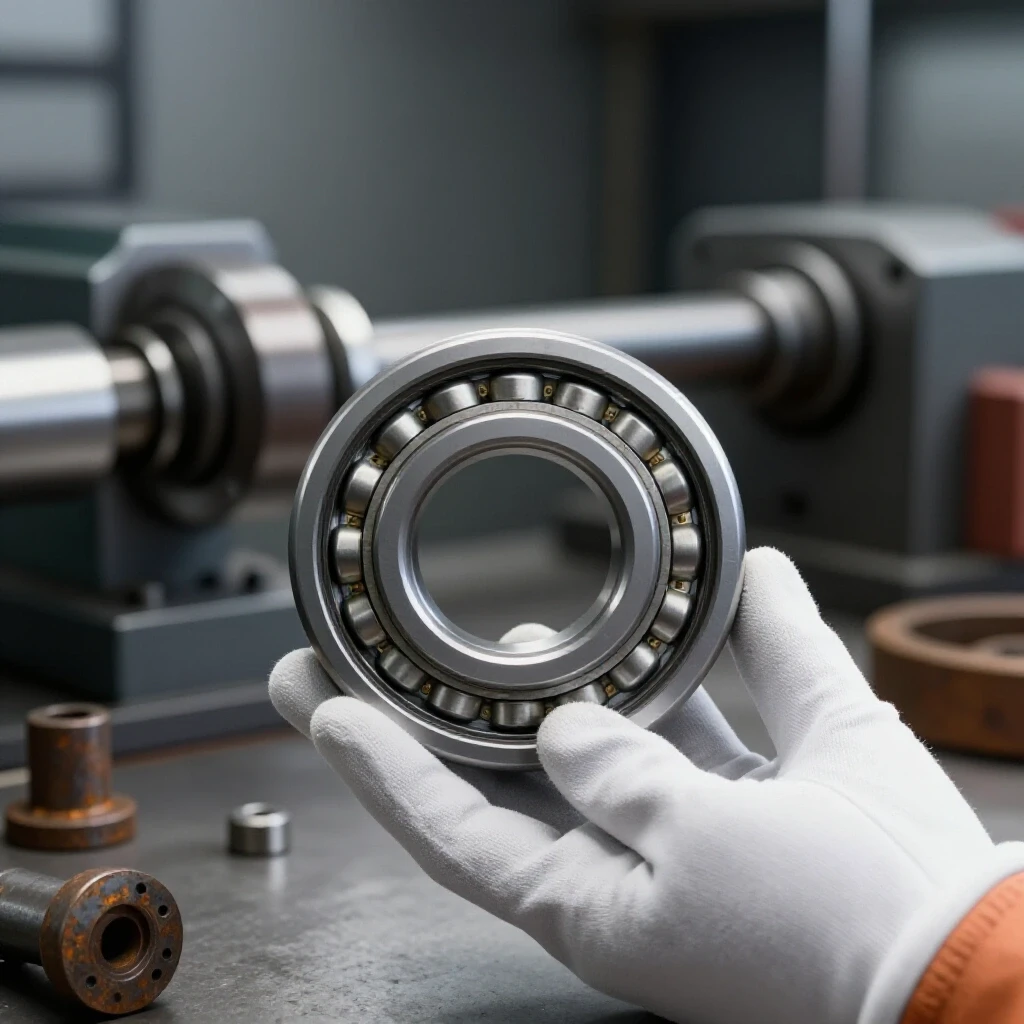
The shafts in most vintage aprons do not ride on ball bearings; they ride in bronze bushings or directly in the cast iron.
A bushing is a replaceable sleeve that acts as a wear surface. In my experience, if a shaft has more than 0.003 inches of radial play, the bushing needs replacement. If the machine is extremely old, you might encounter babbitt—a soft white metal alloy poured into the casting.
When I find a worn bronze bushing, I often have to turn a new one on another lathe, as these sizes are rarely standard by modern metrics. I aim for a clearance of 0.001 to 0.002 inches. This allows for a thin film of oil to support the shaft, preventing metal-on-metal contact. This “hydrodynamic lift” is what makes an old machine feel “silky” rather than “gritty.”
Measuring and Correcting Wear
- Micrometer Check: Measure the shaft diameter at the wear point and the unworn section. If the shaft is “necked down” (smaller in the middle), it must be turned smooth or replaced.
- Telescoping Gauges: Measure the inside diameter of the bushing. Subtract the shaft diameter from this number to find your clearance.
- Oil Grooves: If you make a new bushing, you must cut oil grooves. Without a path for the lubricant to travel, the bushing will starve and seize within hours of use.
Sourcing Obsolete Fasteners and Legacy Threads
One of the biggest frustrations in restoring machinery from the early 20th century is the lack of standardized threads.
Before the Unified Thread Standard was adopted, manufacturers often used their own proprietary pitches. You might find a 1/2-inch bolt with 12 threads per inch (TPI) instead of the modern 13 TPI. If you lose a screw, you can’t just go to the local hardware store.
I keep a thread pitch gauge and a set of calipers on my bench at all times. If I encounter an obsolete thread, I have three choices: * Chase the thread: If the hole is damaged, I use a tap to clean it, but only if the pitch matches perfectly. * Fabricate: I use a working lathe to cut a new bolt from 1018 or 4140 steel. * Re-tap: As a last resort, if the casting is badly damaged, I will drill it out and tap for the next size up in a modern standard. However, I avoid this to maintain historical integrity.
Rebuilding the Internal Clutch and Half-Nut Mechanism
The apron usually contains two critical engagement systems: the feed clutches and the half-nuts.
The clutches are often “star” or “cone” types. They rely on friction to engage the power feed. Over time, these surfaces become glazed with burnt oil. I use a fine-grit (400-600) abrasive paper on a flat granite plate to “break the glaze” on these friction surfaces. Do not use grease here; the friction depends on a clean, lightly oiled surface.
The half-nuts are the two threaded halves that clamp onto the lead screw for threading. Because they are often made of bronze, they wear out faster than the steel lead screw. If the threads look like “shark fins” (thin and sharp), they are at the end of their life. I have seen some restorers use a process called “Moglice” to cast new threads inside old nut shells, though traditionalists prefer to source or machine new bronze replacements.
Lubrication Systems and Wick Replacement
Old machines don’t have oil pumps; they have “capillary action” systems using felt wicks.
Inside the apron, you will likely find small channels filled with felt. These wicks pull oil from a reservoir and deliver it to the bearings. In every restoration I perform, I replace 100% of the felt. Old felt is usually clogged with fine metal dust, which acts like sandpaper on your newly polished shafts.
I use F1-rated industrial wool felt. It is dense and holds oil well. When installing, ensure the wick is in physical contact with the rotating shaft. I also check the “oil windows” or Gits-style oilers. If the spring-loaded caps are broken, replace them. A gearbox is only as good as the oil staying inside it and the dirt staying out.
Lubricant Selection for Vintage Gearboxes
- ISO 68 Way Oil: Best for the sliding surfaces and the main gear train. It contains “tackifiers” that help the oil stick to vertical surfaces.
- ISO 32 Spindle Oil: Used for high-speed shafts with very tight tolerances.
- Avoid Automotive Oil: Do not use modern engine oil. The detergents in car oil are designed to keep particles in suspension for a filter to catch. Most old lathes don’t have filters; you want the particles to settle to the bottom of the sump.
Torque-Controlled Reassembly and Alignment
Putting the gearbox back together is a test of patience. You must ensure that every gear spins freely before the next one is installed.
I start by painting the interior of the casting with an oil-resistant “glyptal” coating. This seals the porous cast iron and prevents any remaining grit from migrating into the oil. As I install shafts, I check for “end play.” If a shaft can slide back and forth more than 0.005 inches, it may cause gears to misalign under load. I use thin shim washers to take up this excess space.
Once the internal gear train is assembled, I test the movement by hand. It should feel smooth, with a consistent resistance. If there is a “tight spot” in the rotation, a gear tooth might be slightly deformed or a shaft might be bent. I use “engineers’ blue” (a marking dye) to find where the gears are binding.
Final Assembly Checklist
- Check Interlocks: Most aprons have a safety mechanism that prevents the half-nuts and the power feed from being engaged at the same time. Verify this works perfectly.
- Verify Gasket Integrity: I prefer high-quality paper gaskets or a very thin smear of oil-resistant RTV. Too much sealant can squeeze into the gearbox and clog oil passages.
- Hand-Turn Test: Rotate the input shaft for at least 50 revolutions. Listen for any clicks or rhythmic thumps.
- Check Drain Plugs: Ensure the drain plug is sealed with a fresh copper washer or Teflon tape.
Testing Precision and Backlash
The final step is verifying that your work has restored the machine’s accuracy.
Backlash is the “dead space” you feel when changing directions with the handwheel. While you can never eliminate it entirely in a manual machine, a rebuild should reduce it significantly. I aim for less than 0.010 inches of backlash on the main carriage handwheel. If it’s higher, I look at the rack and pinion engagement.
I use a dial indicator to measure the movement. I move the carriage in one direction, set the indicator to zero, and then slowly turn the wheel the other way until the carriage actually moves. The distance shown on the dial before movement occurs is your backlash.
Precision Benchmarks for a Rebuilt Apron
- Carriage Travel: Should require less than 5 lbs of force on the handwheel to initiate movement.
- Feed Engagement: Levers should “snap” into place without grinding.
- Clutch Slippage: Under a heavy (simulated) load, the clutch should hold firm without needing excessive tightening.
Frequently Asked Questions
How do I know if my gear teeth are too worn to reuse? If the teeth have lost more than 25% of their original thickness or if you see “pitting” that covers more than 30% of the tooth face, the gear is a candidate for replacement. However, for a hobbyist machine, even “ugly” gears will often function if they are cleaned and properly lubricated.
Can I use grease inside the apron instead of oil? Generally, no. Most vintage aprons were designed for “total loss” oiling or oil baths. Grease tends to trap metal chips and hold them against the wear surfaces, acting like an abrasive. Only use grease if the original manufacturer’s manual specifically calls for it on a particular open gear.
What if I can’t find a replacement part for a 70-year-old lathe? The vintage machinery community is vast. Sites like Practical Machinist or VintageMachinery.org are invaluable. Often, you can find someone with the same machine who can provide dimensions for you to machine a replacement. In extreme cases, 3D scanning and casting a new part is an option, though costly.
Is it safe to use a torch on cast iron? Yes, but you must be careful. Cast iron does not handle rapid, localized temperature changes well. Use a “soaking” heat rather than a concentrated blue flame on one spot. Never quench hot cast iron with water, as it will almost certainly crack.
How do I remove “fossilized” grease that won’t budge? A heat gun and a plastic scraper are your best friends. Once the bulk is gone, use a stiff nylon brush and kerosene. Kerosene is an excellent solvent for old organic oils and is less volatile than gasoline.
What is the best way to clean out the internal oil passages? I use a combination of pipe cleaners and compressed air. After the casting is chemically cleaned, I blow air through every hole. If air doesn’t come out the other side, I use a small drill bit—turned by hand—to clear the blockage.
Why are my half-nuts not engaging fully? This is usually caused by “swarf” (metal chips) packed into the threads of the lead screw or the nuts themselves. It can also be caused by a misaligned apron. If the apron has sagged due to wear on the V-ways, it will no longer be centered on the lead screw.
Should I paint the inside of the apron? Yes, using a dedicated sealer like Glyptal. This prevents the cast iron from “sweating” old oil back into your clean lubricant and makes future cleanings much easier.
How much backlash is “normal” for an old lathe? On the carriage travel, 0.010″ to 0.020″ is common and manageable. On the cross-slide, you want to aim for 0.005″ or less if possible. Remember, manual machinists always “dial out” the backlash by approaching their measurement from the same direction.
What if I find a broken gear tooth? A common repair is “pegging.” You drill and tap the gear hub where the tooth was, screw in a high-strength bolt, and then file the bolt head to the shape of the surrounding gear teeth. It’s a tedious process but can save an otherwise unobtainable gear.
(This article was written by one of our staff writers, Richard Beaumont. Visit our Meet the Team page to learn more about the author and their expertise.)