Cheap vs Quality Metalworking Tools: Is It Worth It? (Guide)
The first time I stood in my empty two-car garage with a $2,000 budget, I felt a mix of excitement and genuine dread. As a former industrial maintenance technician, I knew exactly what high-end fabrication machinery looked like, but I also knew I couldn’t afford it. The tension between buying entry-level gear and investing in professional-grade equipment is the first major hurdle every new fabricator faces.
Choosing where to spend your limited funds is not just about the price tag on the box. It is about understanding the trade-offs in precision, duty cycles, and long-term reliability. In my twelve years of documenting workshop builds, I have found that a strategic approach to tool selection prevents the “buy it twice” syndrome that drains so many starter budgets.
Evaluating Your Starter Metal Workshop Layout
A functional workshop layout is the foundation of a safe and efficient fabrication space. It involves more than just placing tools against a wall; it requires a deep understanding of workflow, material handling, and the physical footprint of each machine. Proper planning ensures you have enough clearance for long metal stock and safe exit paths.
When I planned my first space, I focused on the “work triangle” concept used in kitchens, but adapted for metal. You need a clear path between your cutting station, your welding table, and your grinding area. In a confined garage, this often means putting heavy equipment on locking casters. This allows you to pull a machine into the center of the room for a large project and tuck it away to save space later.
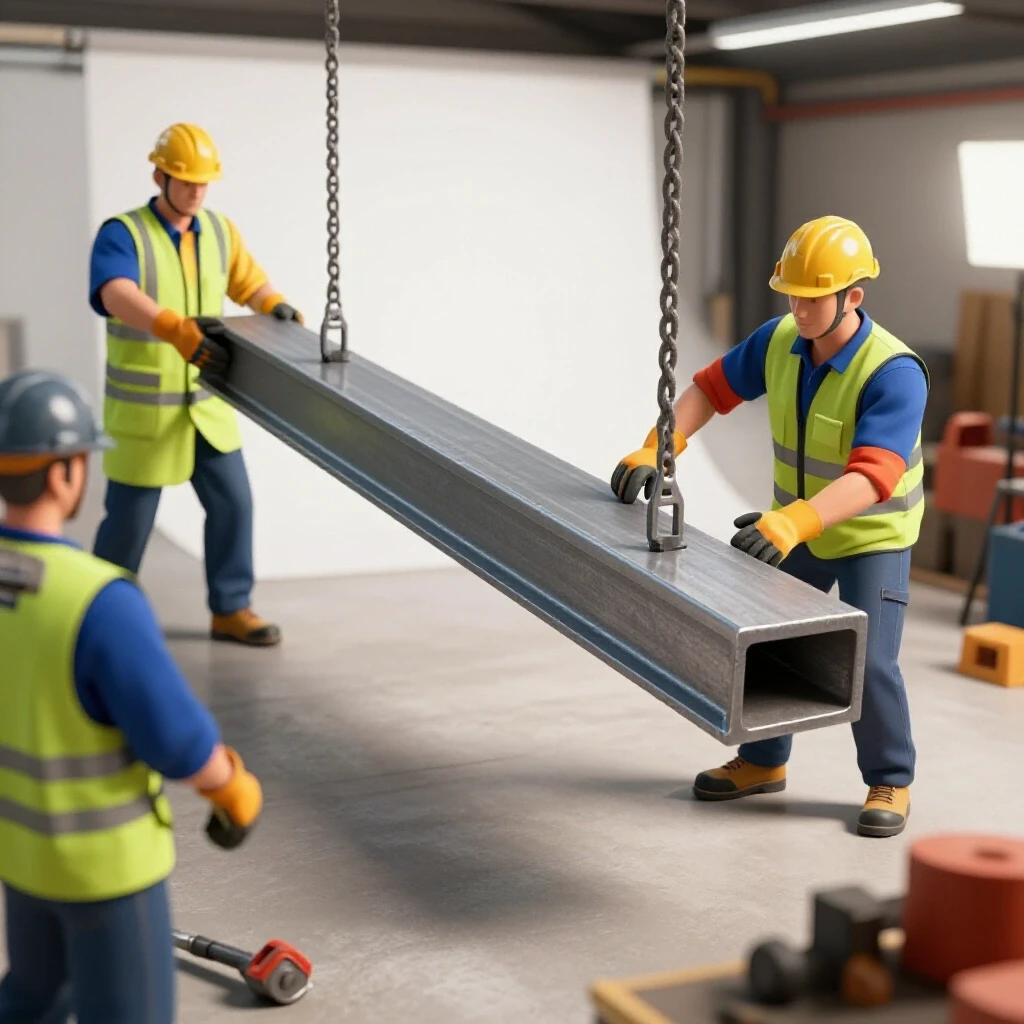
I recommend mapping your floor plan using 1:12 scale cutouts or digital layout tools. You must account for “swing zones”—the area where a long piece of square tubing might pivot and hit a water heater or a parked car. For a standard 20-foot garage, I suggest keeping the center lane open for material movement.
| Tool Category | Minimum Clearance | Footprint Type |
|---|---|---|
| Welding Station | 3 Feet (All Sides) | Static/Fixed |
| Horizontal Bandsaw | 6 Feet (In-feed/Out-feed) | Mobile |
| Bench Grinder | 2 Feet (Side Clearance) | Bench Mounted |
| Main Workbench | 4 Feet (Front Access) | Static/Heavy |
Navigating Beginner Welder Power Requirements
Understanding the electrical capacity of your home is vital before purchasing any heat-producing equipment. Most residential garages are wired with standard 15-amp or 20-amp circuits, which may not support the heavy draw of a welder or a large air compressor. Miscalculating this can lead to frequent breaker trips or even electrical hazards.
In my early days, I made the mistake of running a small welder and a high-velocity fan on the same 15-amp circuit. The breaker tripped halfway through a critical bead. Now, I always advise beginners to perform a basic circuit audit. Look at your breaker panel. If you see a “15” on the switch, you are limited to about 1,800 watts. A “20” gives you 2,400 watts.
Most entry-level welders are designed for 120V household outlets, but they often perform better on a dedicated 20-amp line. If you plan to do heavy fabrication, you might eventually need a 240V outlet. This is a significant cost, so start by identifying which outlets in your garage are on which circuits. Label them clearly so you never plug two high-draw tools into the same line.
Balancing Affordable Fabrication Tools with Precision Needs
The decision to buy a budget-friendly tool versus a premium one often comes down to how much the tool’s accuracy affects the final product. Some tools are “dumb” tools where a cheaper version works fine, while others are “precision” tools where low quality leads to frustration and wasted material.
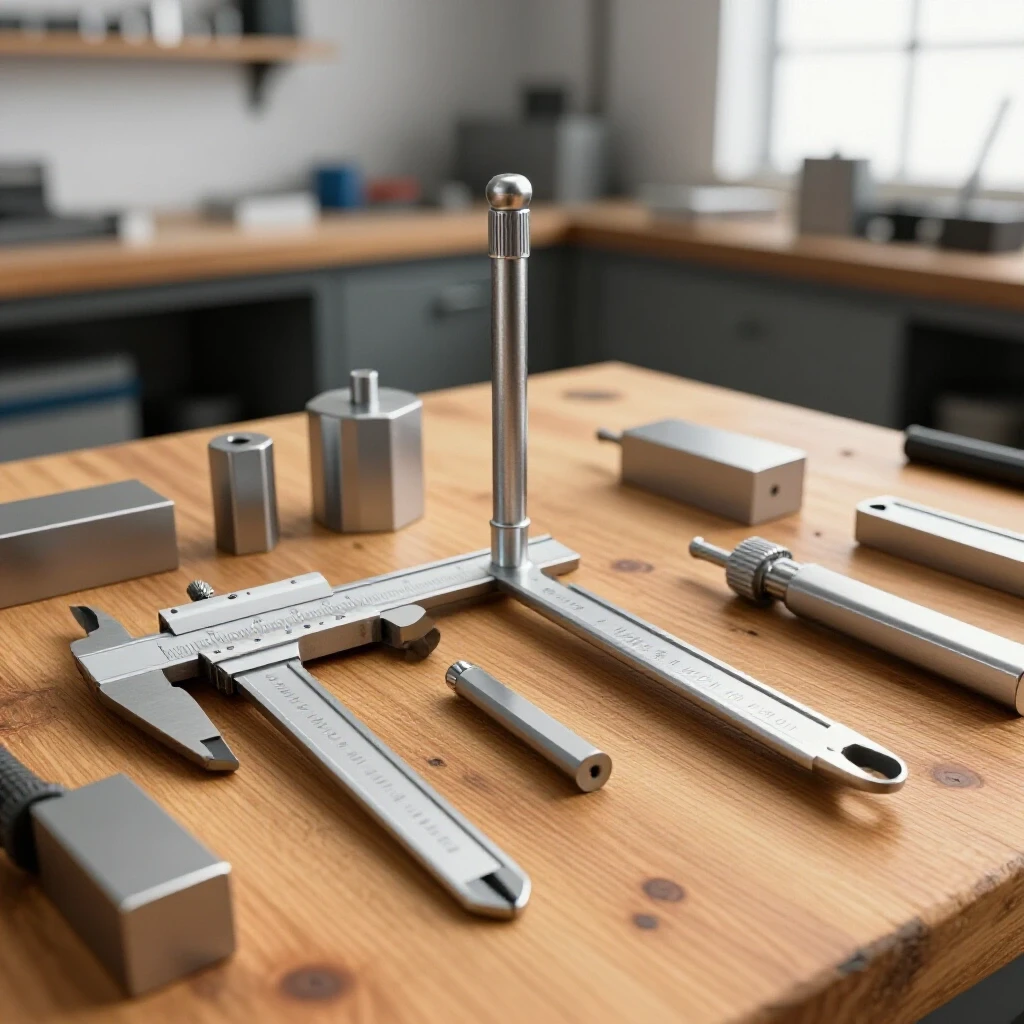
I use a simple rule: if the tool has a motor or a measuring scale, I lean toward quality. If the tool is a static hunk of steel, like a weld-down clamp or a teardrop mallet, I look for the most affordable option. For example, a cheap set of calipers might lose its zero point every three measurements, which is infuriating when you are trying to fit a sleeve over a shaft.
Interestingly, I have found that many beginners overspend on the machine itself and underspend on the “tooling”—the bits, blades, and abrasives that do the actual work. A high-end saw with a cheap, dull blade will perform worse than a budget saw with a premium carbide-tipped blade.
- Measuring Tools: Allocate more of your budget here. Accuracy is non-negotiable.
- Clamping and Fixturing: Go for quantity over name-brand quality. You can never have too many clamps.
- Power Hand Tools: Look for mid-range options with replaceable motor brushes to extend their lifespan.
Establishing Garage Workshop Ventilation and Safety
Metalworking creates fine dust, hazardous fumes, and intense ultraviolet light that can cause long-term health issues if not managed. A proper ventilation setup is not an optional luxury; it is a core requirement for any indoor fabrication space. You must ensure a consistent exchange of fresh air to keep the environment breathable.
I follow a simplified version of industrial airflow standards. For a standard garage, you want to achieve several air exchanges per hour. This is measured in Cubic Feet per Minute (CFM). A simple box fan in a window is rarely enough when welding or grinding galvanized steel or using certain paints.
I recommend a dual-zone approach. First, use source capture, such as a localized fume extractor or a powerful shop vacuum with a HEPA filter attached directly to your grinder’s shroud. Second, use ambient ventilation, like a high-CFM exhaust fan mounted high on a wall to pull out rising heat and smoke.
| Activity | Recommended Ventilation Type | Target Airflow (CFM) |
|---|---|---|
| Light Grinding | Shop Vac + Open Door | 150 – 300 |
| MIG/TIG Welding | Fume Extractor | 400 – 600 |
| Plasma Cutting | Dedicated Exhaust Fan | 800+ |
| Spray Painting | Cross-Draft System | 1,000+ |
Why Budget Metalworking Tools Require Better Maintenance
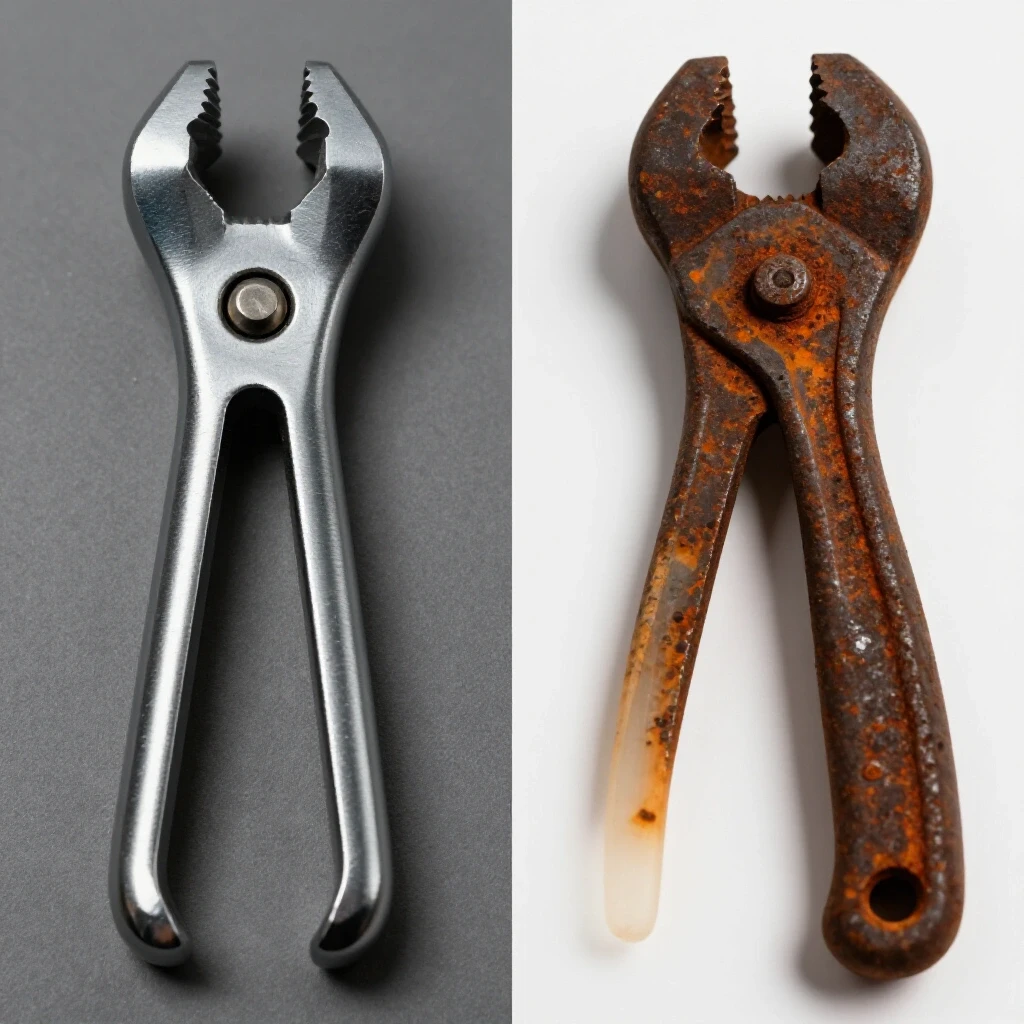
Choosing less expensive equipment does not mean you can’t produce professional results, but it does mean you have to work harder to maintain the machinery. Lower-priced tools often have wider tolerances and use materials that wear out faster under heavy loads. Regular inspections and adjustments are the only way to keep them accurate.
During my time as a maintenance tech, I learned that heat is the primary enemy of affordable motors. Budget grinders often have smaller cooling fans and less copper in their windings. If you push them too hard without letting them cool down, the internal insulation will melt. I suggest a “touch test”—if the tool’s casing is too hot to hold comfortably, it’s time to take a break.
You should also keep a maintenance log. Track how many hours you use a tool and when you last lubricated its moving parts. For a budget bandsaw, this might mean checking the blade tracking and tension before every single use. It takes five minutes, but it prevents a $30 blade from snapping and ruining your project.
Creating a Workshop Electrical Setup Checklist
A safe electrical environment is the backbone of a productive workshop. Before you bring in heavy machinery, you must verify that your power delivery system can handle the load without overheating wires or causing fires. This checklist helps you audit your space before you start your first project.
- Identify the Main Breaker: Ensure you know how to shut off power to the entire garage in an emergency.
- Map the Circuits: Use a plug-in circuit tester to see which outlets are linked. Mark them with a permanent marker.
- Check Wire Gauge: For 20-amp circuits, ensure the wiring behind the wall is at least 12-gauge. 14-gauge is only rated for 15 amps.
- Inspect Grounding: Metalworking tools must be properly grounded to prevent electric shock, especially when welding.
- Install GFCI Outlets: Use Ground Fault Circuit Interrupter outlets near any area where moisture might be present.
- Evaluate Extension Cords: Never use thin “lamp cords” for power tools. Use heavy-duty, 12-gauge cords and keep them as short as possible.
Allocating Your Initial Tooling Budget
When you are starting with a few thousand dollars, every penny must be tracked. I recommend a tiered spending strategy where you prioritize safety and foundational tools over specialized gadgets. This prevents you from running out of money before you even have a way to cut your metal.
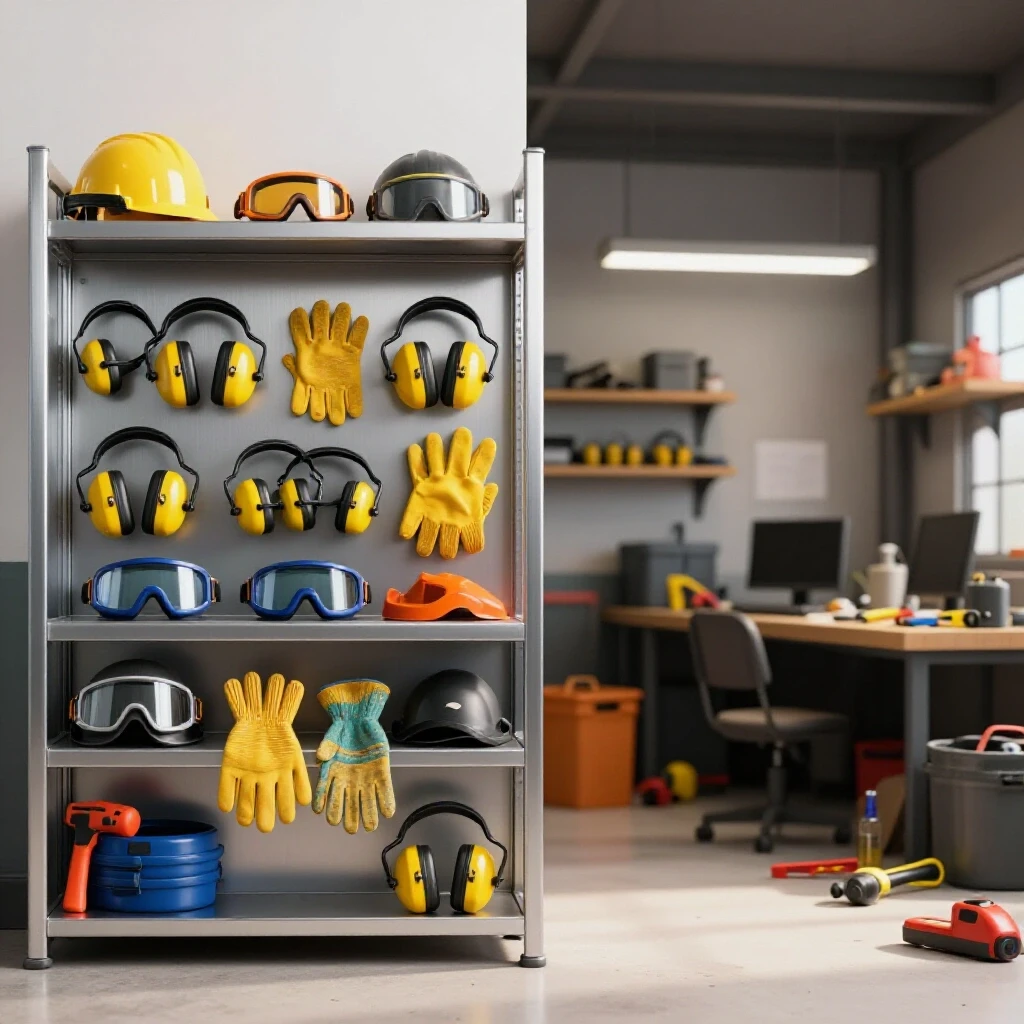
I suggest allocating about 30% of your total budget to high-quality safety gear and measuring tools. This includes a professional-grade welding helmet with a fast reaction time and a set of accurate squares. The remaining 70% can be split between your primary machines (welder, saw, grinder) and your consumables (gas, wire, abrasives).
Building a “Consumables Buffer” is a step many beginners miss. You will spend more on grinding wheels and drill bits than you expect in the first six months. By setting aside $200 specifically for these items, you won’t have to stall a project because you ran out of cutoff wheels.
Why Cheap Abrasives Cost More in the Long Run
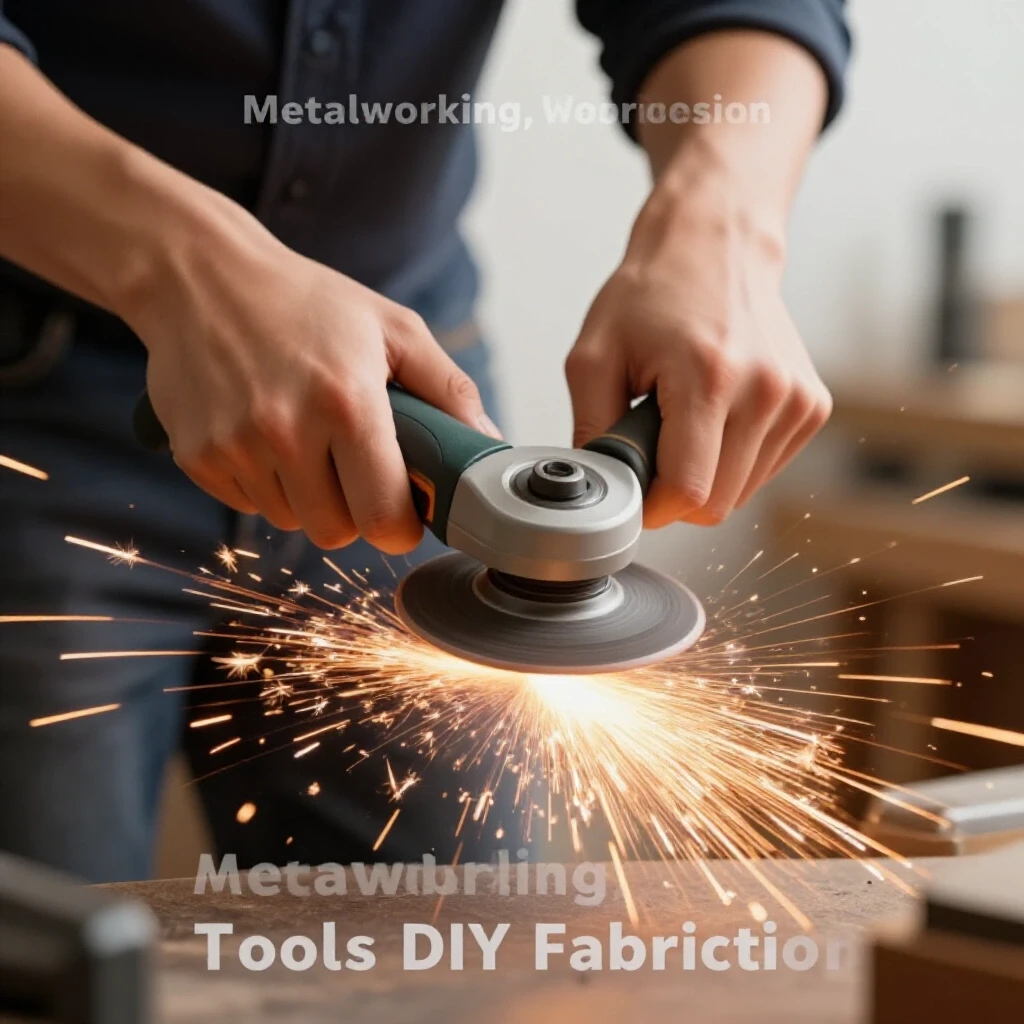
It is tempting to buy the cheapest bulk pack of grinding wheels you can find online. However, in my experience, this is a classic example of a “false economy.” Inexpensive abrasives tend to wear down much faster, meaning you use three wheels to do the work that one high-quality wheel could handle.
Beyond the cost, there is a safety factor. Low-quality wheels are more prone to “glazing”—where the surface becomes smooth and stops cutting—or, worse, shattering under high RPMs. I always look for wheels that meet ANSI safety standards. A shattered wheel can travel at over 100 miles per hour; saving a few dollars is not worth the risk of injury.
Building on this, a high-quality abrasive also produces less heat. Excess heat can warp thin sheet metal or change the temper of the steel you are working on. By investing in better wheels, you spend less time grinding and more time fabricating, which makes your workshop time much more productive.
Essential Starter Tool Sequencing
You don’t need to buy everything at once. In fact, buying too much too soon often leads to a cluttered shop and tools you never use. I recommend a “Project-Based Acquisition” strategy. Buy the bare minimum to complete your first project, then add tools as your skills and needs grow.
- Phase One (The Basics): Personal Protective Equipment (PPE), an angle grinder, a manual hacksaw, and a solid workbench.
- Phase Two (Joining): A budget-friendly welder, welding magnets, and a chipping hammer.
- Phase Three (Precision): A metal-cutting bandsaw, a drill press, and precision marking gauges.
- Phase Four (Finishing): A bench grinder with a wire wheel and perhaps a small sandblasting cabinet.
This sequence allows you to learn the limitations of your current gear before you upgrade. You might find that you enjoy manual layout more than machine-assisted work, which would change your future buying decisions.
Final Steps: Testing Your New Setup
Once your tools are in place and your power is verified, it is time for the “First Cut” test. This isn’t about building a masterpiece; it’s about verifying that your layout works and your safety systems are functional. I always start with a simple project, like a heavy-duty stool or a tool rack.
During this first project, pay close attention to the ergonomics. Are you constantly tripping over your welder’s lead? Is the light sufficient at your grinding station? Use this time to make small adjustments to your tool placement. I’ve redesigned my shop layout three times in the last decade based on these observations.
Record your results. I keep a simple notebook where I track how long a specific brand of drill bit lasted or how many hours I got out of a tank of shielding gas. This data will be your best guide when it comes time to decide if that next “quality” tool is truly worth the investment for your specific needs.
Frequently Asked Questions
How can I tell if a budget tool is safe to use? Look for safety certifications like UL (Underwriters Laboratories) or CSA on the motor housing. Check for physical red flags like thin plastic casings, loose-fitting guards, or power cords that feel brittle. If a tool vibrates excessively or smells like burning ozone during its first use, it may be a sign of poor internal construction.
Is it better to buy a used high-end tool or a new budget tool? In many cases, a well-maintained, used professional tool is superior to a brand-new entry-level one. Professional tools are built with rebuildable parts and sturdier frames. However, for beginners, a new budget tool often comes with a return policy and a manual, which can be helpful if you are still learning the basics of machine operation.
How much should I spend on my first welding helmet? Do not skimp here. A cheap helmet with a slow auto-darken sensor can lead to “arc eye,” which feels like having sand in your eyes. Look for a helmet with a “1/1/1/1” optical clarity rating and at least four sensors. Expect to spend about 10% to 15% of your total starter budget on high-quality eye protection.
What is the most important tool to buy high-quality first? The angle grinder. It is the most used and most dangerous tool in a metal shop. A high-quality grinder has better vibration dampening (reducing hand fatigue) and safety features like “kickback brake” technology that stops the wheel if it gets pinched in the metal.
How do I calculate if my garage circuit can handle a new tool? Check the tool’s data plate for the “Amperage” (A) rating. If it says 15A, it will likely trip a standard 15A breaker if you hit a heavy load. As a rule of thumb, try to keep your continuous load at 80% of the breaker’s capacity. For a 20A breaker, that means aiming for tools that pull 16A or less during normal operation.
Do I really need a dedicated metal-cutting saw, or can I use a grinder? While an angle grinder can cut metal, it is slow and produces a lot of dust and sparks. A dedicated abrasive chop saw or a portable bandsaw provides much straighter cuts and is safer for repetitive work. If your budget allows, a small horizontal bandsaw is often the best “first big upgrade” for a new shop.
What is the “Duty Cycle” and why does it matter for budget tools? Duty cycle is the percentage of a 10-minute period a tool can run before it needs to cool down. A welder with a 20% duty cycle can weld for 2 minutes but must then rest for 8 minutes. Budget tools usually have lower duty cycles. If you ignore this, you will overheat the transformer or motor, leading to permanent damage.
How can I improve the accuracy of cheap measuring tools? You can “calibrate” budget squares against a known 3-4-5 triangle or by using the “flip test” on a straight edge. If a cheap tool is slightly off, you can sometimes file the contact points to bring it into alignment. However, for critical dimensions, there is no substitute for a precision-ground steel ruler or a quality set of calipers.
Are cordless tools worth it for a starter metal shop? Cordless tools offer great convenience, but they are generally more expensive and have less sustained power than corded versions. For a stationary garage shop, corded tools usually offer better value for your money. Save the cordless budget for a high-quality drill/driver, which you will use for almost every project.
What is the best way to manage metal dust in a small space? The most effective way is to stop it at the source. Use “shrouds” on your grinders that connect to a vacuum. For the dust that escapes, use a magnetic floor sweeper to pick up steel shavings and a fine-bristle broom for the rest. Never use compressed air to blow dust around, as this just puts it into the air you breathe.
(This article was written by one of our staff writers, Michael Thompson. Visit our Meet the Team page to learn more about the author and their expertise.)