How to Schedule Custom Metal Fabrication Jobs Easily (Guide)
After twenty years of running a fabrication shop, I have learned that the hardest part of the job isn’t the welding or the cutting. It is the movement. I spent my early years tripping over scrap metal and waiting for a single manual saw to finish a cut before I could start the next task. When I finally moved toward a more professional setup, I realized that my shop was not a collection of tools, but a system that needed to be tuned.
Transitioning from a hobbyist space to a high-output facility requires a shift in how you view your floor space and your time. You are no longer just a builder; you are a shop manager. This change involves more than just buying a CNC plasma table. It requires a deep look at how material moves from the rack to the shipping crate and how you organize the hours in your day to keep every machine humming.

Mapping Shop Floor Logistics to Minimize Production Delays
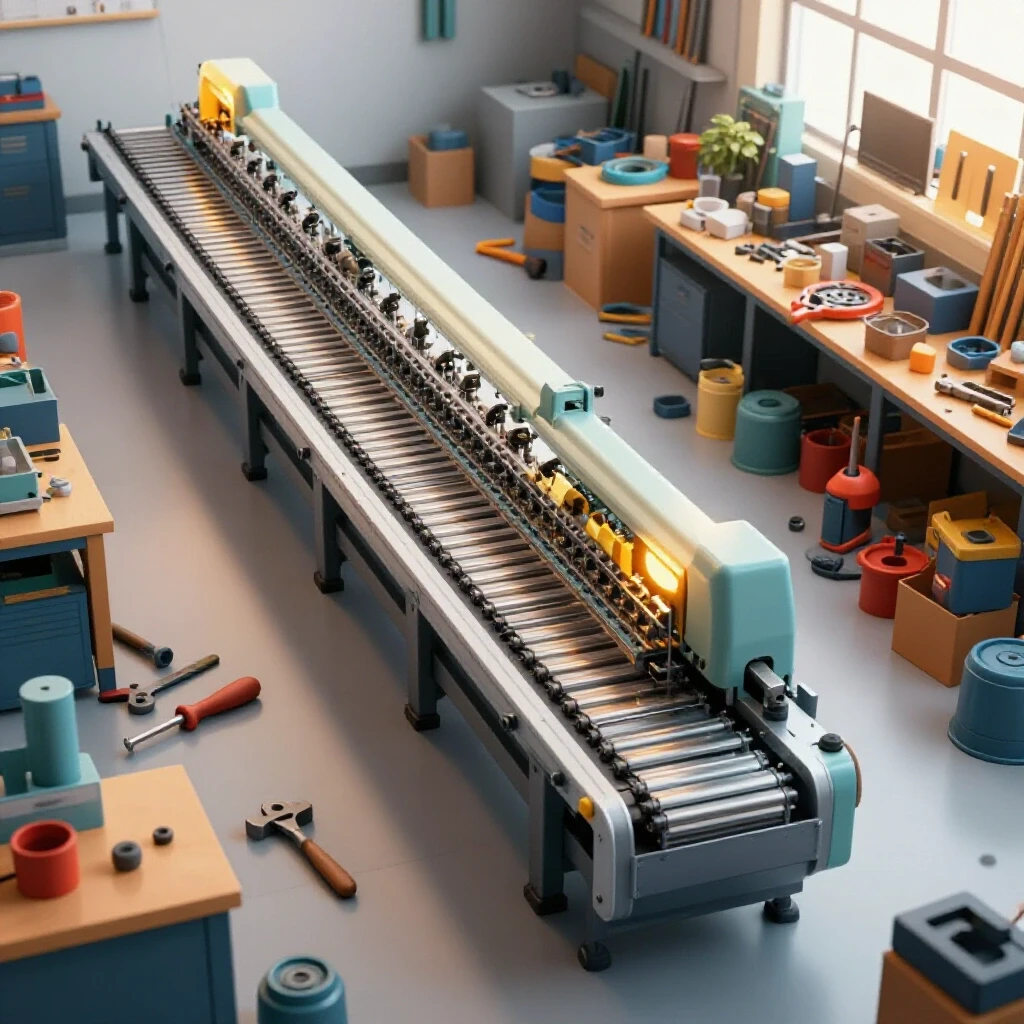
A shop layout is the physical map of your production timeline. It defines how far a piece of metal travels and how many times you have to move it before it becomes a finished product. A well-planned layout reduces physical fatigue and keeps your machines running instead of sitting idle while you clear a path.
When I first redesigned my shop, I tracked my steps for a week. I found that I was walking nearly three miles a day just moving between the material rack and the primary cutting station. By moving my raw stock closer to the entry point and placing my CNC table in a direct line with the assembly bench, I cut my handling time by 40 percent. This is what we call creating a linear flow, where the material moves in one direction without doubling back.
Why Back-and-Forth Foot Traffic Kills Shop Throughput
Foot traffic represents wasted time that could be spent on actual fabrication tasks. Every time you walk across the shop to find a tool or move a part, you are adding “non-value-added” time to your project. Minimizing these steps is the first step in making your shop more efficient.
In a small or medium-sized shop, the goal is to create “work cells.” A work cell groups all the tools needed for a specific task—like grinding or assembly—in one area. This prevents you from hunting for a flap disc or a square in the middle of a job. I recommend keeping a 3-foot minimum access zone around every major machine to ensure you can move safely without bumping into workbenches.
| Layout Style | Best For | Pros | Cons |
|---|---|---|---|
| Linear Flow | High-volume parts | Very fast material movement | Requires a long, narrow space |
| U-Shaped Flow | Small shops | Easy to manage alone | Can lead to material pile-ups |
| Cell-Based | Custom fabrication | Highly flexible for different jobs | Requires duplicate hand tools |
Defining Material Travel Paths and Floor Load Ratings
Material travel paths are the “highways” of your shop where heavy stock moves. These paths must be kept clear of cords, scrap, and tools to prevent accidents and delays. You also need to ensure your floor can handle the weight of heavy machinery and steel racks without cracking.
Standard garage floors are often four inches thick, which is usually enough for a light CNC table. However, if you are installing a heavy plate rack or a large press brake, you may need to verify your floor load rating. I always suggest anchoring heavy machines to the slab to prevent vibration, which can ruin the accuracy of a CNC gantry over time.
Upgrading Electrical Infrastructure for Heavy Machinery
Professional fabrication equipment often requires more power than a standard residential panel can provide. Integrating 3-phase power is a major milestone for any shop looking to scale up. It allows you to run industrial-grade motors that are more efficient and last longer than single-phase alternatives.
I remember the day I brought home my first industrial vertical mill. I didn’t have 3-phase power, so I had to learn about phase converters quickly. Choosing between a rotary converter and a digital one depends on your budget and how many machines you plan to run at once. Getting this right is essential for maintaining a steady production pace.
Comparing 3-Phase Power Converter Options
A phase converter takes your standard single-phase power and creates a third leg of electricity. This allows you to run heavy-duty motors found in high-end compressors, mills, and lathes. Without this, you are limited to smaller, less efficient tools that can slow down your production.
Rotary phase converters are the most common choice because they are rugged and can handle high “in-rush” current when a motor starts. Digital converters are more expensive but provide very clean power, which is better for sensitive electronics. For most fabricators, a rotary converter is the workhorse that keeps the shop moving reliably.
- Rotary Converters: Great for running multiple machines; very durable.
- Static Converters: Cheap, but they only provide two-thirds of the motor’s rated power.
- Digital Converters: Best for CNC machines with sensitive computer boards.
- VFDs (Variable Frequency Drives): Excellent for single machines where you need speed control.
Balancing Voltages to Protect Sensitive CNC Electronics
Voltage balance is the measure of how equal the three legs of your power are. If the voltages are too far apart, your motors will run hot and eventually burn out. For CNC equipment, an unbalanced load can cause the computer to crash or the motors to skip steps.
I use a multimeter to check my phase balance once a month. The National Electrical Code (NEC) suggests keeping the voltage legs within 5 percent of each other. If you see a larger gap, you may need to adjust your converter or check for loose connections in your sub-panel.
Building High-Efficiency Filtration Systems for Metal Fumes
Air quality is often ignored until the shop is filled with smoke from a plasma cutter. High-volume air filtration is not just about comfort; it is about safety and maintaining a clean work environment. If your shop is covered in fine black dust, your electronics and your lungs are at risk.
When I installed my first CNC plasma table, I underestimated the amount of smoke it would produce. Within ten minutes, I couldn’t see the other side of the shop. I had to design a custom duct system and a powerful fan to pull that air out. This is a critical part of organizing a professional workspace.
Calculating CFM Airflow Metrics for Dust Collection
CFM, or Cubic Feet per Minute, measures how much air a fan can move. For metal fabrication, you need enough CFM to pull heavy dust and fumes away from the source before they spread. This requires a fan that can overcome the “static pressure” or resistance of the ductwork.
For a standard welding bench or a small plasma table, you should aim for 1,000 to 2,000 CFM. If your ducts are long or have many bends, you will need a more powerful motor. I always use smooth-walled metal ducts instead of flexible hoses because they have much less resistance.
Designing Duct Networks to Reduce Static Pressure Loss
Static pressure loss is the friction that slows down air as it moves through a pipe. Every elbow and every foot of pipe adds to this loss. If your duct design is poor, even a powerful fan will fail to clear the air in your shop.
- Use long-radius elbows instead of sharp 90-degree turns.
- Keep duct runs as short and straight as possible.
- Ensure the duct diameter matches the fan’s inlet size.
- Seal every joint with foil tape or mastic to prevent leaks.
Streamlining CNC Integration and Toolpath Planning
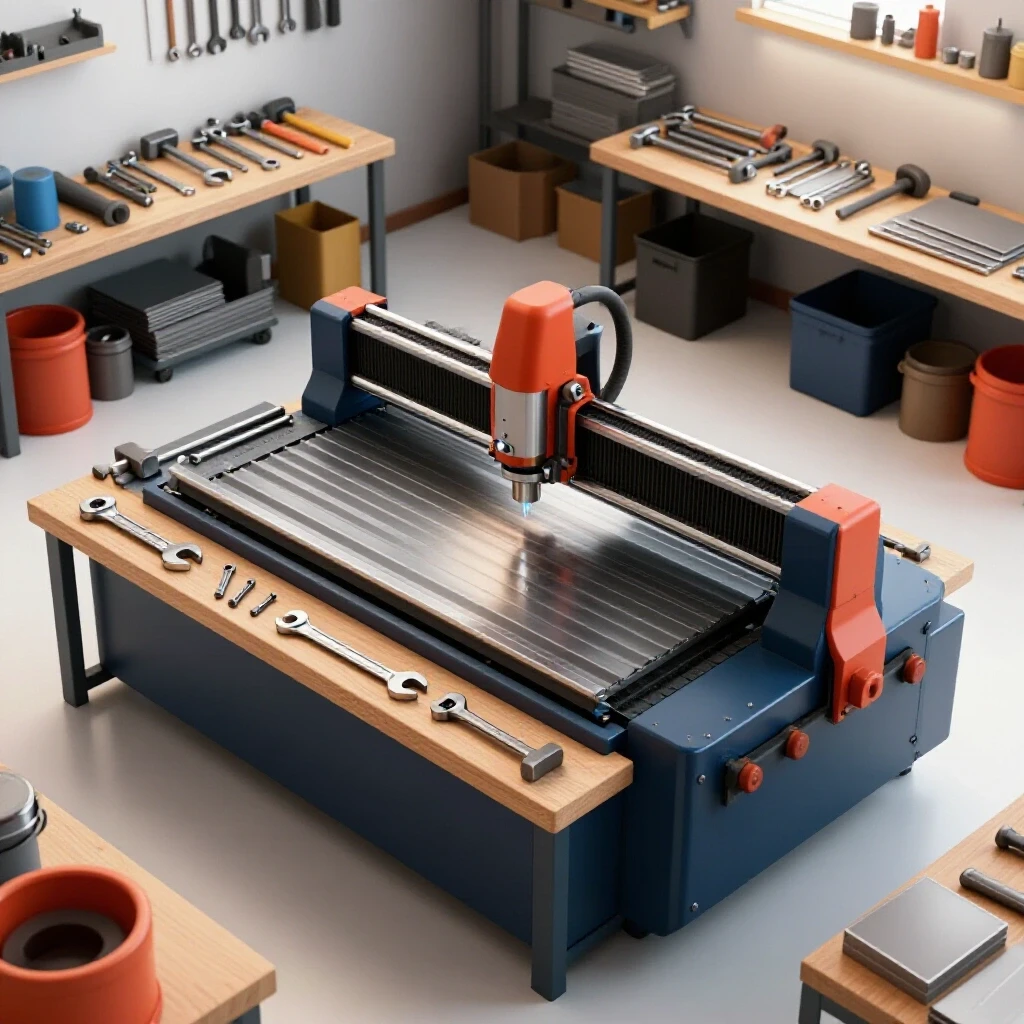
Adding a CNC plasma table or mill is the biggest step toward automating your workflow. However, the machine is only as fast as the person operating it. If you spend three hours at the computer for every one hour of cutting, you haven’t really improved your efficiency.
I found that the secret to fast CNC work is a solid library of “tooling files.” These are pre-set configurations for different metal thicknesses and types. Instead of guessing the cut speed every time, I just select the material from a list and start the machine. This reduces setup time and prevents wasted material.
Leveling CNC Plasma Lines and Gantry Calibration
A CNC machine must be perfectly level and square to produce accurate parts. If the gantry is even slightly out of alignment, your holes will be oval and your squares will be skewed. This leads to parts that don’t fit together during assembly, which ruins your schedule.
I spent an entire weekend leveling my plasma table using a precision machinist’s level. I also used a “tramming” tool to make sure the torch was perfectly vertical. This initial investment in time saved me hundreds of hours of grinding and filing parts later on.
Managing Software CAD/CAM Integrations for Faster Output
CAD (Computer-Aided Design) is where you draw the part, and CAM (Computer-Aided Manufacturing) is where you tell the machine how to cut it. Modern software often combines these two, making the transition much smoother. Learning to use these tools efficiently is the core of modern fabrication.
- Standardize your layers: Use the same colors for cuts, scores, and etchings every time.
- Create templates: Save a file with your most common sheet sizes already drawn.
- Use nesting software: This automatically arranges parts to save the most material.
- Keep a digital log: Record which settings worked best for specific batches of steel.
Coordinating Multi-Stage Fabrication Tasks for Maximum Throughput
Managing a shop with multiple jobs running at once requires a clear system for tracking progress. You need to know exactly where every part is in the process—from raw stock to the final finish. This prevents machines from sitting idle while you figure out what to do next.
I use a simple physical project board in my shop. It has columns for “To Cut,” “To Weld,” and “To Finish.” Every job has a card that moves across the board. This visual system is much more effective than a digital one because I can see it from across the room without stopping my work.
Using Spreadsheets and Project Boards for Task Tracking
You don’t need expensive software to manage a busy shop. A well-organized spreadsheet can track your material inventory and estimated labor hours. Combined with a physical board, this creates a powerful system for keeping your projects on track.
The key is to break every job down into small, repeatable steps. Instead of writing “Build Gate” on the board, I write “Cut Frame,” “Weld Pickets,” and “Grind Welds.” This allows me to fit smaller tasks into gaps in my day, such as while I am waiting for a CNC program to finish.
Managing Equipment Availability and Material Delivery
One of the biggest bottlenecks in any shop is waiting for material to arrive or for a specific tool to become free. You must coordinate your tasks based on what is available right now. If the saw is busy, that is the perfect time to work on CAD drawings or clean the shop.
I always schedule my material deliveries for Monday mornings. This gives me a clear view of what I can accomplish for the week. If a delivery is delayed, I shift my focus to maintenance or assembly tasks that don’t require new stock. Flexibility is the key to a productive shop.
Conclusion
Building a professional-grade fabrication shop is a journey of constant refinement. It starts with a layout that respects the physics of material movement and ends with a scheduling system that keeps your tools busy. By focusing on 3-phase power, air quality, and CNC integration, you create a space that can handle high-output work without the stress of a hobbyist setup.
Your next step should be to map your current workflow. Take a piece of paper and draw your shop floor. Trace the path a single piece of metal takes from the door to the shipping table. If that line looks like a tangled mess, start there. Move one bench, clear one path, and watch your productivity begin to climb.
FAQ
How do I determine if I need a rotary or digital phase converter?
If you are running basic motors like those on a saw or drill press, a rotary converter is usually the most cost-effective choice. However, if you are powering a CNC machine or a modern welder with sensitive computer boards, a digital converter is safer because it provides a perfectly balanced voltage that won’t damage electronics.
What is the most efficient way to organize hand tools in a fabrication shop?
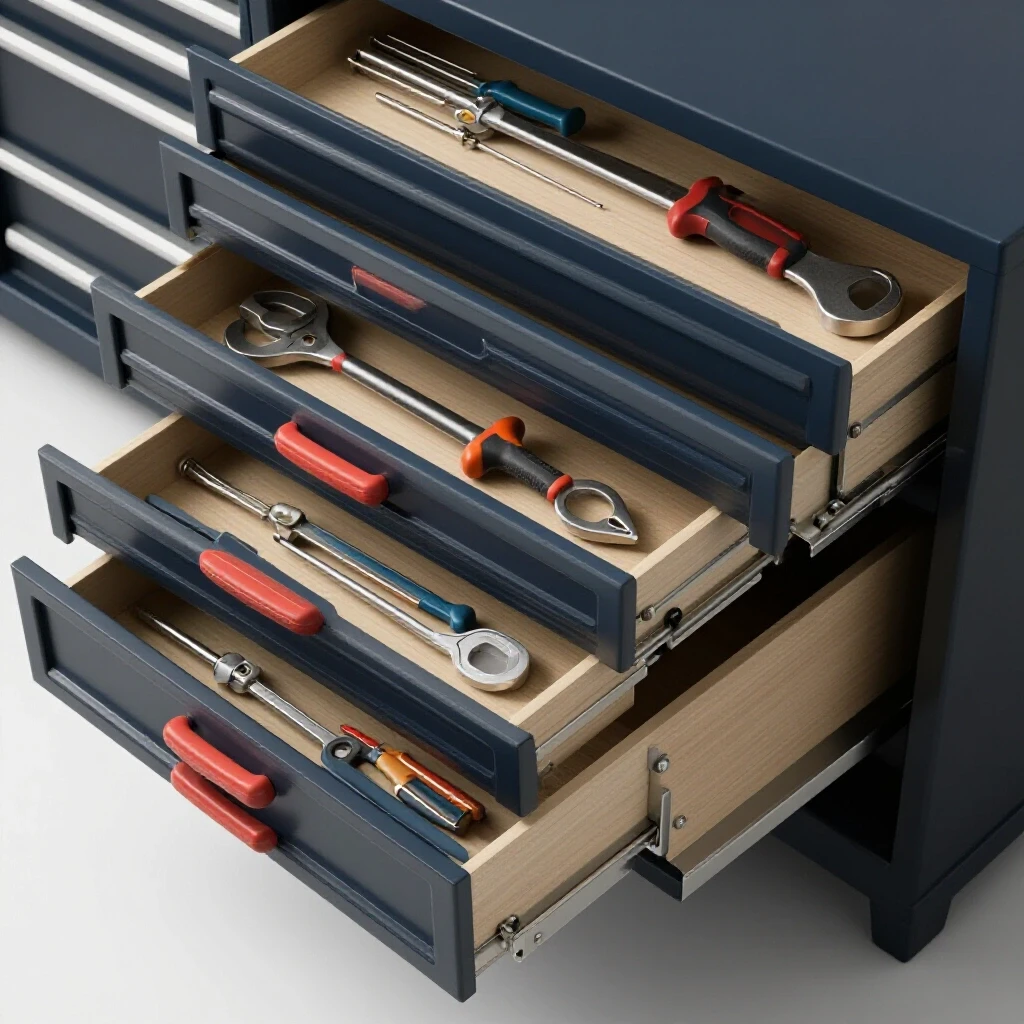
The most efficient method is to use “shadow boards” or dedicated tool carts for specific work cells. Keep your grinders, squares, and clamps within arm’s reach of your welding table. This prevents you from walking across the shop to find a tool, which is a major time-sink in custom work.
How much CFM do I really need for a CNC plasma table?
For a 4×4 or 5×10 plasma table, you should aim for at least 1,200 to 1,500 CFM at the source. This ensures that the fine dust and heavy smoke are pulled into the water tray or exhaust duct before they can rise into the shop’s breathing zone.
Why is material flow so important in a small shop?
In a small shop, space is your most valuable resource. If your material flow is poor, you end up moving the same piece of steel three or four times just to get it out of the way. This “double handling” wastes time and increases the risk of injury or damage to the part.
Can I run a CNC plasma table on a standard 220V residential circuit?
Yes, most small to mid-sized CNC plasma tables run on 220V single-phase power. However, the plasma cutter itself often pulls a lot of amps. You may need a dedicated 50-amp or 60-amp circuit to ensure the machine doesn’t trip the breaker during a long cut.
How do I prevent my CNC gantry from getting out of square?
Check your gantry for squareness at the start of every week. Use a large framing square or the “3-4-5 triangle” method. Also, ensure that your drive belts or rack-and-pinion gears are clean and properly tensioned, as debris can cause the motors to skip and throw the machine out of alignment.
What is the best way to track multiple small jobs at once?
A physical “Kanban” board is highly effective. Use columns for “Backlog,” “In Progress,” and “Done.” This gives you an instant visual of where your bottlenecks are. If the “In Progress” column is full, you know you shouldn’t start a new job until something moves to “Done.”
How often should I maintain my shop’s air filtration filters?
In a high-output shop, you should check your filters once a month. If you are doing a lot of grinding or plasma cutting, you may need to clean or replace them more often. A clogged filter reduces CFM and puts extra strain on your fan motor.
Is it worth upgrading to 3-phase power for a home-based shop?
If you plan to buy industrial-grade machinery, yes. 3-phase motors are simpler, more durable, and more efficient than single-phase motors. It also opens up a huge market of used industrial tools that are often much cheaper than their single-phase counterparts.
What is the biggest mistake people make when setting up a CNC table?
The biggest mistake is not spending enough time on the foundation. If the table isn’t perfectly level and the slats aren’t flat, your torch height control will struggle, and your cuts will be inconsistent. A solid, level base is the foundation of all CNC accuracy.
(This article was written by one of our staff writers, Edward Sinclair. Visit our Meet the Team page to learn more about the author and their expertise.)