Low-Cost Ways to Reduce Steel Offcut Scrap Waste (DIY Guide)
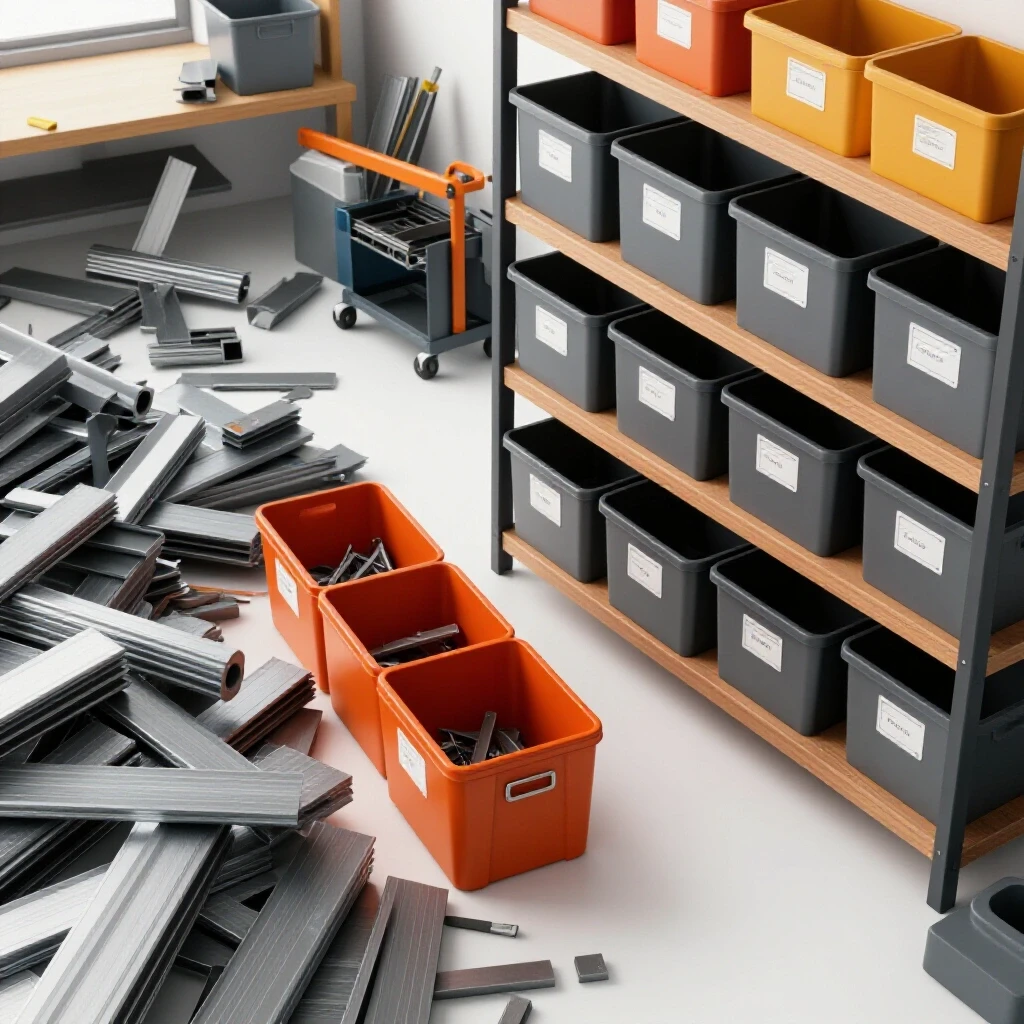
Scaling a fabrication shop from a personal garage into a professional-grade workspace brings a unique set of challenges. Over the last 20 years, I have learned that the difference between a profitable micro-manufacturer and a struggling hobbyist often comes down to how they handle their floor space and their material. When you are moving toward an advanced workshop layout, every square foot matters. One of the most common bottlenecks I see is the “someday pile”—that growing mountain of steel remnants that sits in a corner, gathering rust and taking up room where a new machine should be.
In my early years, I treated leftover steel as a secondary concern. I was more focused on the excitement of the build than the management of the waste. However, as my production volume increased, I realized that hunting through a pile of jagged offcuts for twenty minutes was killing my throughput. I was losing money not just in wasted material, but in the time spent searching for it. This guide focuses on manual, high-efficiency strategies to manage your steel remnants using simple tools and lean principles. These methods are designed to help you reclaim your floor space and reduce your material costs without spending thousands on new equipment.
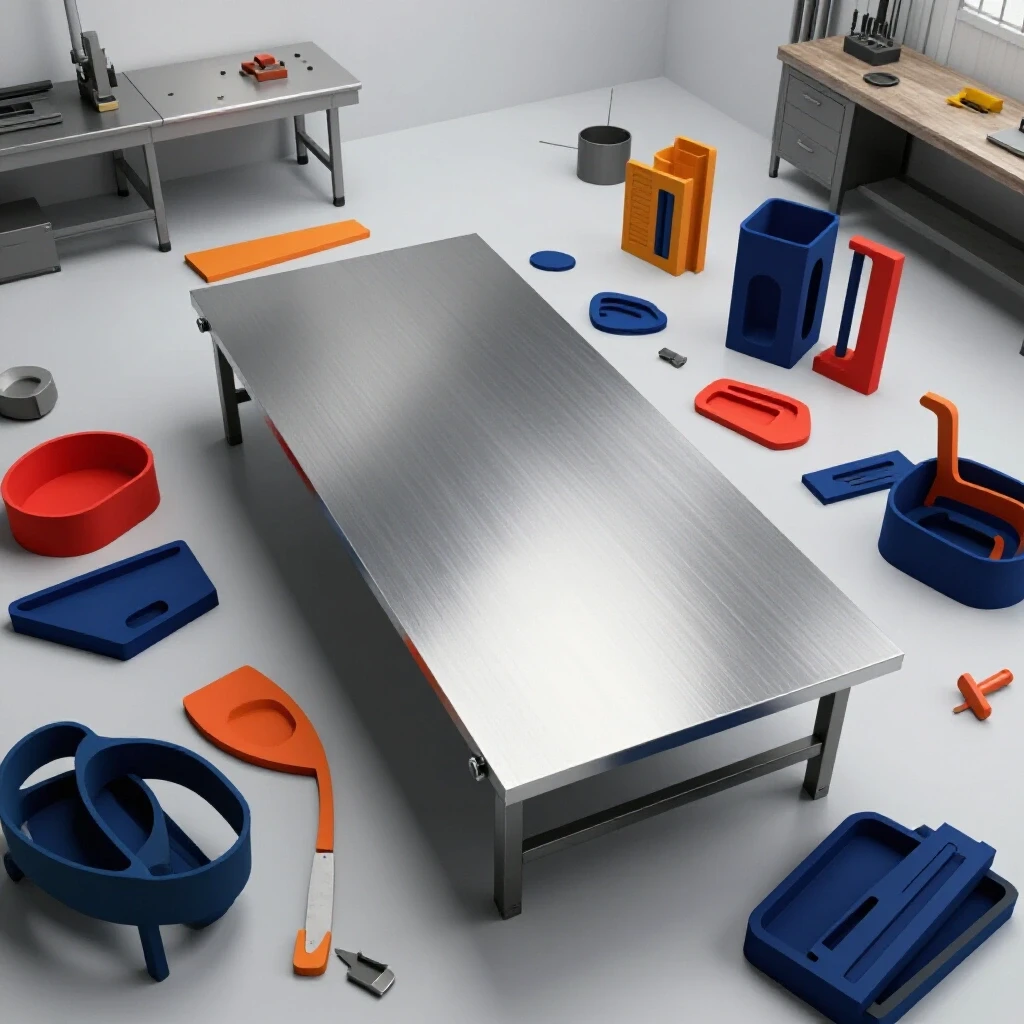
Mapping Material Flow Loops to Minimize Waste
Mapping material flow involves tracing the physical path steel takes from the moment it enters your shop until it leaves as a finished product or a scrap piece. By understanding these loops, you can identify where material gets stuck and create a layout that encourages the use of remnants. This process reveals hidden bottlenecks in your daily operations.
In a lean shop, the goal is to have material move in a continuous direction. When I first audited my own shop flow, I found that my offcuts were traveling across the room three times before being stored. This “spaghetti” flow is a major source of fatigue and wasted time. To fix this, you should designate a “remnant station” directly adjacent to your primary cutting area, whether that is a cold saw or a manual plasma station.
By placing your storage for small pieces right where the cutting happens, you make it easier to save a piece than to throw it away. This minimizes the physical effort required to keep the shop clean. I recommend using a simple floor-load rating check if you plan to stack heavy plate remnants. Most residential garage floors are four inches thick, which can handle significant weight, but concentrated loads of steel plate should be distributed using a simple wooden pallet or a steel frame to prevent cracking the concrete.
Designing a Linear Cutting Station
A linear cutting station is a layout where raw material enters at one end, is cut to size, and the resulting leftovers are immediately sorted into bins. This arrangement prevents the common mistake of letting offcuts pile up on the floor or on workbenches, which creates a safety hazard and slows down your movement.
- Place your primary saw or cutting table near the main entrance for easy loading.
- Set up a series of labeled bins or racks immediately to the left or right of the outfeed.
- Ensure there is a 3-foot minimum access zone around the station to allow for safe material handling.
Categorizing Remnants by Size and Material Type
Effective sorting means dividing your leftover steel into clear categories based on its thickness, shape, and alloy. This system allows you to find the right piece for a job in seconds, preventing the habit of cutting into a fresh, full-sized sheet when a smaller remnant would suffice. It turns a pile of junk into a usable inventory.
I have found that the most effective way to manage these pieces is a bin-based system. In my shop, I use color-coded bins for different alloys. For example, blue might be for mild steel, while red is for stainless. This is crucial because mixing alloys can lead to contamination during welding later on. Within those bins, I further divide the material by thickness.
A simple way to do this without expensive shelving is to use vertical PVC pipes or wooden dividers for long, thin offcuts like square tubing or flat bar. For flat plate, a vertical toaster-style rack is much better than a horizontal stack. When plates are stacked horizontally, the piece you need is always at the bottom. A vertical rack allows you to see the profile of every piece at once.
| Storage Method | Best For | Pros | Cons |
|---|---|---|---|
| Vertical Toaster Rack | Plate and Sheet | Easy to see profiles | Hard to store very small pieces |
| PVC Tube Bundles | Rod and Tubing | Keeps long pieces upright | Can get top-heavy if not secured |
| Color-Coded Bins | Small Tabs/Gussets | Very fast sorting | Requires frequent “purging” of tiny bits |
| Wall-Mounted Hooks | Flat Bar | Uses vertical space | Limited weight capacity |
Manual Part Nesting Using Paper Templates
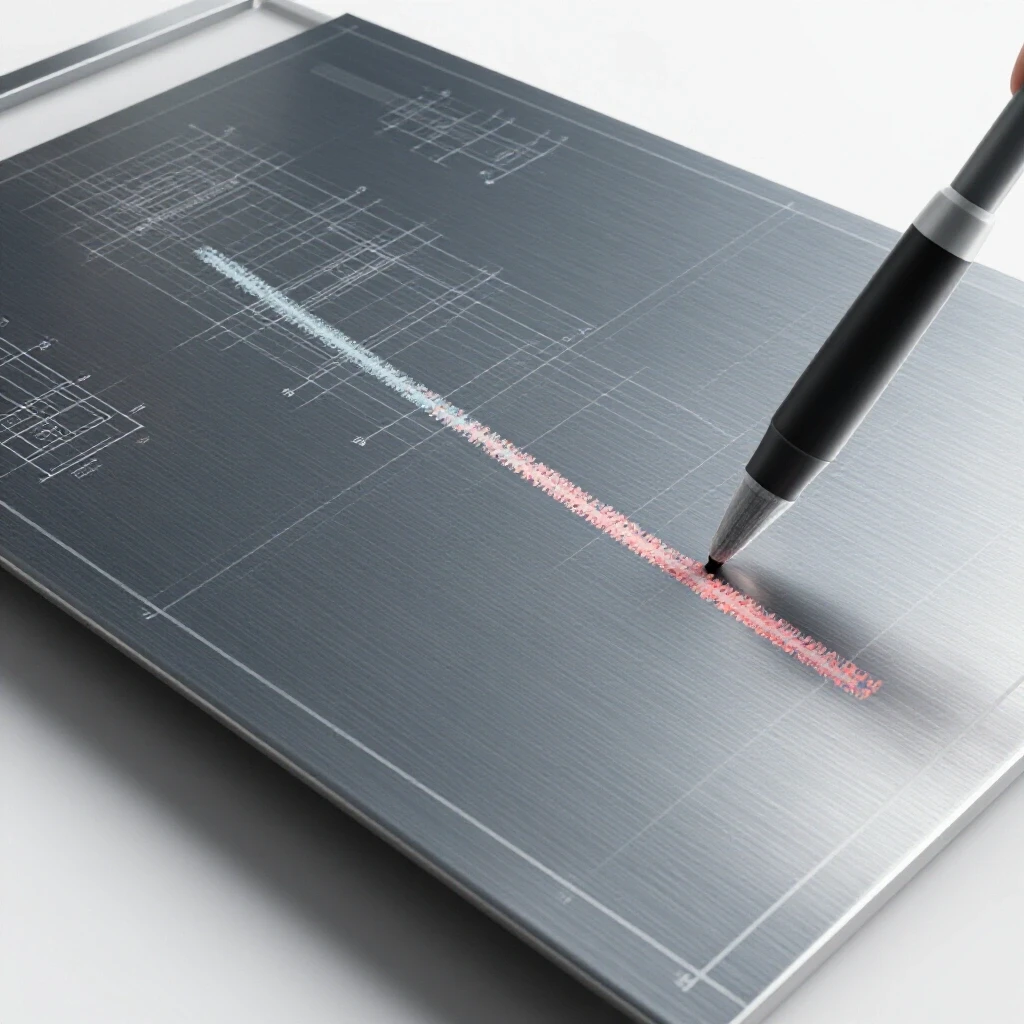
Manual nesting is the practice of physically arranging part outlines on a sheet of metal to maximize material use. By using physical templates, a fabricator can visually confirm the best placement for each cut, significantly reducing the amount of unusable steel left over after a project. This is a low-cost alternative to expensive software.
Before I integrated a CNC plasma table setup, I relied entirely on heavy cardstock templates. If you are cutting multiple gussets or brackets, take the time to trace them onto the steel with a fine-point paint pen. Move the templates around like a puzzle to find the tightest fit. Interestingly, you can often fit 15% to 20% more parts on a sheet just by rotating the shapes 45 degrees.
When you are doing this, remember to account for the “kerf,” which is the width of the material removed by the cutting tool. For a standard oxy-acetylene torch or a manual plasma cutter, I usually allow for a 1/8-inch gap between parts. If you are using a cold saw, the gap must match the thickness of the blade. This precision prevents you from accidentally overlapping cuts and ruining a piece of steel.
Creating a Template Library
A template library is a collection of frequently used part shapes cut from cardboard, thin plywood, or sheet metal. By keeping these on hand, you can quickly check if a leftover scrap is large enough to produce a common part, rather than grabbing a new sheet of steel.
- Identify your five most common parts (gussets, base plates, etc.).
- Cut a master template for each out of a durable material.
- Label each template with the required material thickness.
- Hang these on a shadow board near your material storage.
Building Shop Jigs from Recovered Material
Shop jigs are custom-made tools or guides designed to hold workpieces in place during fabrication. Using steel offcuts to create these fixtures turns potential waste into valuable shop assets that improve accuracy and speed while keeping the cost of specialized tooling to a minimum. It is a practical application of lean manufacturing.
One of the best uses for those 2-inch or 3-inch squares of plate is building 90-degree welding squares. Instead of buying expensive cast iron blocks, I often weld two pieces of scrap at a perfect right angle and add a small brace. These are “expendable” jigs; if they get hit by a stray arc or covered in spatter, I haven’t lost a high-value tool.
Another great use for offcuts is creating “stops” for your saw or workbench. If you are doing a production run of 50 parts, you can clamp a piece of scrap tubing to your table to act as a physical limit. This ensures every part is the same length without the need for repeated measuring. This simple step reduces human error and further limits the creation of unusable “short” pieces that end up in the bin.
Implementing Visual Management Systems for Small Pieces
Visual management uses clear, color-coded, or labeled storage areas to make the status of material inventory obvious at a glance. In a fabrication setting, this means creating dedicated zones for specific shapes and sizes of steel, which prevents the over-purchasing of new stock. It helps maintain a professional environment.
In a busy shop, “out of sight is out of mind.” If your remnants are hidden in a dark corner, you will forget you have them. I use the 5S methodology—Sort, Set in order, Shine, Standardize, and Sustain—to keep my scrap area functional. The goal is that anyone, even a new helper, should be able to walk into the shop and know exactly where the 1/4-inch plate remnants are located.
I recommend labeling your bins with the specific decimal equivalents of the steel. For example, instead of just saying “thin,” label the bin “.125 (1/8in).” This precision is important as you scale and begin working with more advanced tooling. It also helps when you are balancing your material inventory for tax purposes or project quoting.
The “One-Touch” Rule for Offcuts
The one-touch rule is a productivity principle that states you should only handle a piece of material once before it reaches its final storage location. This prevents the accumulation of “piles” on work surfaces, which is a major cause of shop disorganization and lost parts.
- When a cut is finished, the remnant is immediately measured.
- The thickness is marked on the piece with a silver marker.
- The piece is placed directly into its designated bin.
- If the piece is smaller than a pre-determined “minimum usable size” (e.g., 2×2 inches), it goes straight to the recycling bucket.
Maximizing Every Square Foot with Smart Storage
Smart storage involves using vertical space and mobile racks to keep material organized without consuming valuable floor area. For an advanced shop owner, this means designing storage that can be moved to accommodate different projects or new machinery installations. Flexibility is the key to a long-term shop layout.
When I was struggling with space limitations, I built a mobile “A-frame” rack on heavy-duty casters. This allowed me to store full 4×8 sheets on one side and remnants on the other. Because it was on wheels, I could push it out of the way when I needed to install a 3-phase power converter or clear a path for a large project.
If you are building your own racks, pay attention to the weight limits of your casters. A rack full of steel can easily exceed 2,000 pounds. Use phenolic or steel wheels rather than rubber, as rubber will flat-spot under the constant weight of steel. This mobility is a lifesaver when you are trying to optimize your material-flow efficiency in a tight space.
| Feature | Fixed Wall Rack | Mobile A-Frame |
|---|---|---|
| Space Usage | High (Uses Wall) | Moderate (Floor) |
| Flexibility | Low | High |
| Weight Capacity | Very High | Limited by Casters |
| Ease of Access | Moderate | High (360 degrees) |
Standardizing the Purge Process
A purge process is a scheduled review of your stored remnants to remove pieces that are no longer useful. Without a regular purge, even the best organization system will eventually become a bottleneck, as the volume of scrap exceeds the shop’s capacity to store it safely. This keeps your inventory lean.
I set a “quarterly purge” on my calendar. Every three months, I look at my remnant bins. If a piece of steel has been sitting there for more than six months and I haven’t found a use for it, it gets moved to the “free” pile for local hobbyists or taken to the recycler. This keeps the bins from overflowing and ensures that the material I do keep is actually high-value.
During this process, I also check for rust. In shops without high-volume clean air filtration or climate control, steel can degrade over time. If a piece is heavily pitted, it is no longer suitable for professional-grade work. Keeping only clean, usable material ensures that when a rush job comes in, you aren’t wasting time grinding off rust before you can even start welding.
Practical Steps for Better Material Control
- Define a Minimum Size: Decide the smallest piece of steel you are willing to save. For most shops, anything smaller than a 3×3 inch square is trash.
- Mark Everything: Use a silver paint pen to write the thickness and material type on every offcut before it hits the bin.
- Use Vertical Storage: Get your plate off the floor and into toaster racks to save space and your back.
- Audit Regularly: Don’t let your storage bins become “black holes” for material. If you don’t use it, move it out.
- Build Jigs: Before you throw away a weirdly shaped piece, ask if it could be a specialized clamp or a saw stop.
Frequently Asked Questions
How do I determine the best location for my remnant storage? Place it as close to your primary cutting tool as possible. The goal is to make the “correct” action (storing the scrap) the easiest action. If you have to walk 20 feet to put a piece away, you will eventually just leave it on the floor.
What is the best way to mark steel so the labels don’t rub off? Industrial paint pens are the gold standard. Silver or white works best for mild steel. Avoid using standard permanent markers, as the ink can disappear under a layer of shop dust or oil.
How do I prevent rust on my stored remnants? If your shop has high humidity, a light coat of WD-40 or a dedicated rust preventative can help. However, the best solution is to keep the material off the concrete floor, as concrete holds moisture that will accelerate corrosion.
Should I sort by thickness or by shape first? I recommend sorting by thickness first. In fabrication, the thickness of the material is usually the primary requirement for a part’s strength. You can always cut a shape out of a larger piece, but you can’t easily change the thickness.
Is it worth keeping very small pieces for TIG welding practice? Yes, but keep them in a separate, small container on your welding bench. Don’t let practice pieces clutter up your primary production material bins.
How can I tell different alloys apart if they get mixed up? A “spark test” with a grinder can give you a rough idea, but it takes experience. The best way is to never let them get mixed. Color-code your bins the moment the material arrives from the supplier.
What are the safety risks of storing remnants vertically? The main risk is the “domino effect.” Ensure your toaster racks have high enough dividers to prevent plates from leaning too far. Always wear gloves when handling remnants, as they often have sharp, burred edges from the saw or torch.
How much money can I actually save by managing my scrap better? While it varies, many shops find they can reduce their raw material purchases by 10% to 15% simply by using remnants for small parts, tabs, and gussets that they previously cut from new sheets.
What do I do with the “triangles” left over from miter cuts? These are excellent for making corner gussets for frames. I keep a small “triangle bin” specifically for these, as they are almost always useful for reinforcing 90-degree joints.
How do I handle aluminum and stainless scrap compared to mild steel? These should be kept in entirely separate bins. Cross-contamination (like steel dust on stainless) can cause “tea staining” or rust on the finished product. If space is tight, use lidded plastic tubs to keep them protected.
By focusing on these low-cost, systematic improvements, you can transform the way your shop operates. Managing your material flow isn’t just about saving a few dollars on steel; it is about creating an environment where you can work faster, safer, and with more precision. As you continue to scale your operation, these lean foundations will allow you to integrate more advanced technologies with much less friction. Keep your floor clear, your material marked, and your workflow moving forward.
(This article was written by one of our staff writers, Edward Sinclair. Visit our Meet the Team page to learn more about the author and their expertise.)