Low-Cost Automation Ideas for Small Fabrication Shops (Fix)
Running a shop that has outgrown its hobbyist roots is a unique challenge. You are likely dealing with more work than a single person can handle, but you aren’t quite ready to lease a massive industrial warehouse. I have spent the last 20 years navigating this “middle ground.” In my experience, the transition to a more professional operation isn’t about buying the most expensive machines. It is about how you organize your space, manage your power, and introduce smart, affordable systems that handle repetitive tasks.
When I first started, my shop was a maze of extension cords and scrap piles. I spent half my day moving heavy steel plates just to reach my welder. That wasted time is what I call a “production bottleneck.” To fix it, I had to stop thinking like a craftsman and start thinking like a manufacturing engineer. By applying lean principles to a small-scale environment, I was able to double my output without adding more floor space.

Mapping the Physical Flow of Your Workspace
Advanced workshop layout is the strategic arrangement of tools and workstations to minimize the distance materials and people travel during production. A well-planned floor layout reduces physical fatigue and prevents parts from getting lost or damaged in the shuffle.
In a small shop, every square foot must earn its keep. I use a “U-shaped” flow pattern to keep things moving. Raw material enters through one door, moves through cutting and welding stations, and exits as a finished product near the same point. This prevents the “spaghetti effect,” where you are constantly crossing your own path.
When planning your layout, consider floor load ratings. Standard four-inch concrete slabs can usually handle light machinery, but a heavy CNC table or a large ironworker might require a reinforced pad. I always leave a 3-foot minimum access zone around every major machine. This ensures I have enough room for maintenance and prevents me from feeling boxed in during a long shift.
| Layout Feature | Traditional “Hobby” Shop | Optimized Professional Shop |
|---|---|---|
| Material Path | Random / Back-and-forth | Linear or U-shaped flow |
| Machine Spacing | Cramped / Against walls | 3-foot clear access zones |
| Storage | Floor-based piles | Vertical racking / Cantilever |
| Workflow | Batch processing | Continuous flow / Small lots |
Scaling Your Electrical Backbone with Phase Conversion
A 3-phase power converter is an electrical device that transforms standard residential single-phase electricity into the three-phase power required by heavy-duty industrial motors. This allows you to run high-end lathes, mills, and saws that are often more durable and cheaper to buy used than their single-phase counterparts.
As I integrated more automation into my shop, my power needs changed. I found that single-phase motors often struggled under heavy loads. I decided to install a Rotary Phase Converter (RPC). An RPC uses a “idler motor” to generate the third leg of power. It is a robust solution for shops with multiple machines.
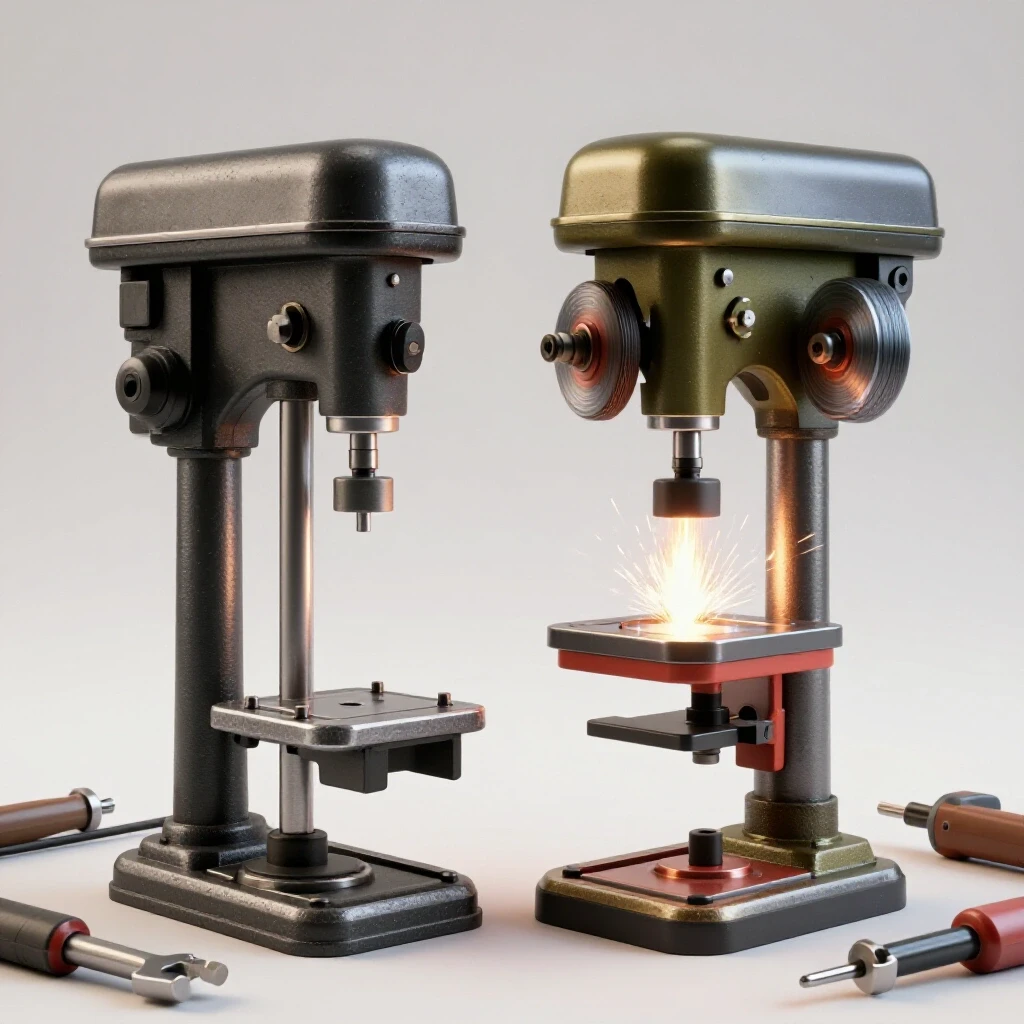
For single machines, like a variable-speed drill press, I often use a Variable Frequency Drive (VFD). A VFD is a solid-state controller that provides 3-phase power while also giving you precise control over motor speed. However, you must be careful with “phase balance.” If the voltage between the three legs varies by more than 5%, it can overheat your motors. I keep a log of my phase voltages to ensure everything stays within the National Electrical Code (NEC) guidelines.
- Rotary Phase Converter (RPC): Best for running multiple machines simultaneously. It is loud but very reliable.
- Variable Frequency Drive (VFD): Best for single machines where speed control is a priority.
- Static Converter: The cheapest option, but it only provides about two-thirds of the motor’s rated horsepower. I generally avoid these for heavy fabrication.
Designing High-Volume Clean Air Systems
High-volume air filtration involves the use of blowers and ductwork to capture smoke, dust, and fumes at the source before they circulate through the shop. Effective ventilation is critical for maintaining a healthy environment and protecting sensitive electronics from metallic dust.
When I added a plasma table, the fumes became a major problem. I had to design a custom dust collection duct design. The key to a good system is maintaining “air velocity.” If the air moves too slowly through the pipes, dust will settle and eventually clog the system. I aim for a velocity of about 3,500 to 4,000 feet per minute (FPM) for metal dust.
I use a multi-stage cyclone separator. The cyclone spins the heavy particles out of the air and drops them into a bin, while the fine dust is caught by a high-efficiency filter. To calculate your needs, look at the CFM (Cubic Feet per Minute) requirements of your tools. Most small shops need a system capable of 1,000–2,000 CFM to be effective.
- Map your ports: Identify every tool that generates dust or fumes.
- Calculate static pressure: Every bend and foot of pipe adds resistance. Use a duct loss calculator to ensure your blower is strong enough.
- Use smooth-walled pipe: Avoid ribbed flexible hoses for long runs, as they kill your airflow.
- Install blast gates: These allow you to close off branches of the system that aren’t in use, focusing all the suction on one tool.
Integrating CNC Gantry Workflows
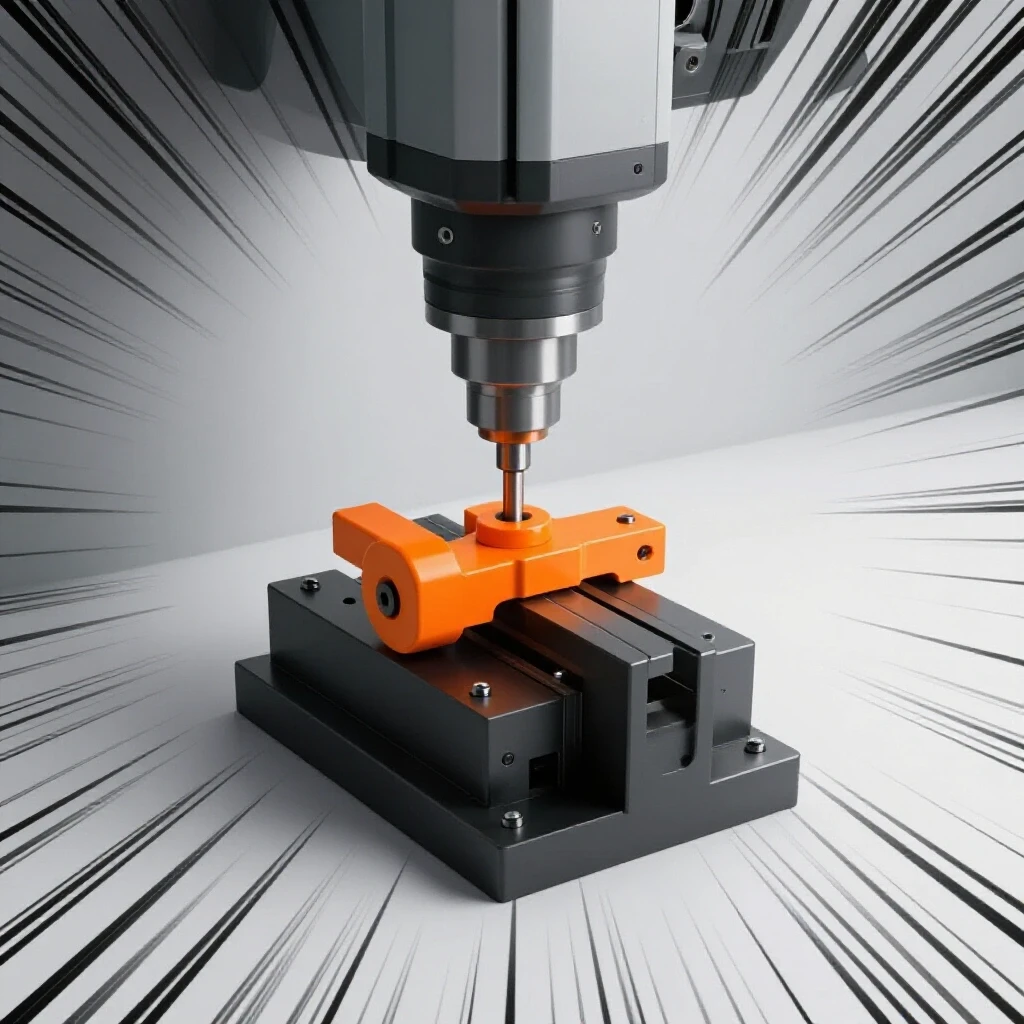
CNC gantry systems are automated frames that move a cutting tool across a flat surface using computer-controlled motors. These systems allow for high-volume, repeatable parts production that would be impossible to achieve by hand.
The biggest hurdle in a CNC plasma table setup is the learning curve. I spent weeks crashing my gantry into the rails because I didn’t understand “limit switches.” Limit switches are small sensors that tell the computer when the machine has reached the end of its travel. They are a cheap way to prevent expensive damage.
When choosing motors, you will see two main types: steppers and servos. Stepper motors move in fixed increments or “steps.” They are affordable and simple but can lose their position if they hit an obstruction. Servo motors use “closed-loop feedback” to constantly check their position. They are more powerful and faster but cost significantly more. For most small-scale fabrication, a high-torque stepper motor is more than enough.
- CAD (Computer-Aided Design): This is where you draw your part.
- CAM (Computer-Aided Manufacturing): This software converts your drawing into “G-code,” which is the language the machine speaks.
- Post-Processor: A small piece of software that tailors the G-code to your specific machine controller.
Optimizing Throughput with Low-Cost Positioning Aids
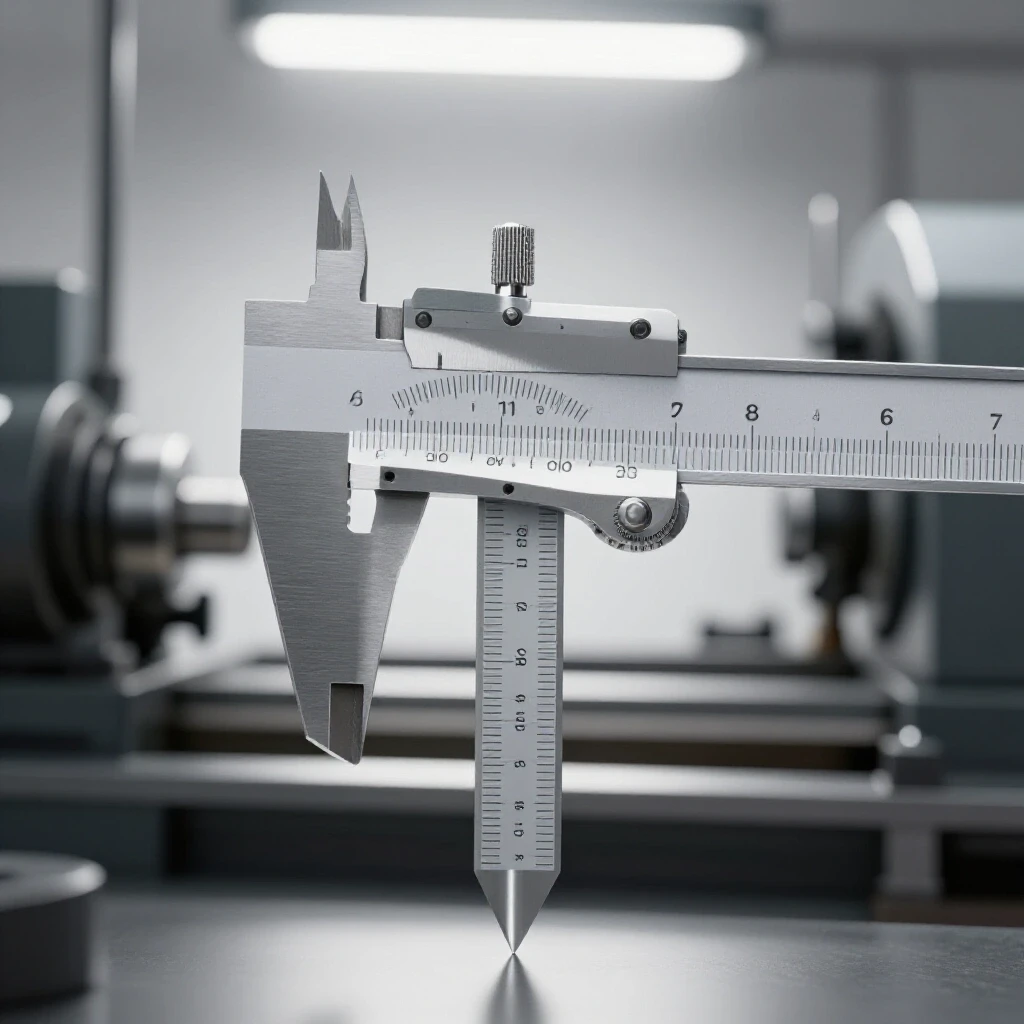
Incremental automation focuses on small, inexpensive upgrades to manual tools that reduce the time spent measuring and setting up for a cut. These “assists” are often the most cost-effective way to increase shop speed.
One of my favorite upgrades was a simple automated stop for my cold saw. I used a long piece of extruded aluminum and a sliding block that I could lock into place. Instead of pulling out a tape measure for every cut, I just slide the block to the correct dimension and go. This reduced my cutting time by 30%.
I also use welding fixturing tables with a grid of holes. These allow me to use clamps and “locators” to hold parts in the exact same spot every time. If I am making 50 brackets, I only have to set the jig once. This is a form of “hard automation” that doesn’t require a single line of code, yet it drastically improves accuracy.
Managing the Technical Transition
The shift toward a more automated shop can be financially stressful. I recommend using a machine amortization sheet to track your costs. Amortization is simply spreading the cost of a machine over its expected lifespan. If a $2,000 upgrade saves you 10 hours a month, and your shop rate is $50 an hour, the machine pays for itself in just four months.
Don’t try to automate everything at once. I started with my biggest bottleneck, which was cutting. Once I had a reliable CNC plasma table setup, I moved on to my air quality issues. This step-by-step approach prevents you from being overwhelmed by technical challenges and helps maintain your cash flow.
- Week 1-2: Analyze your current workflow and identify the slowest task.
- Week 3-4: Research low-cost mechanical aids or simple CNC kits.
- Week 5-8: Install the upgrade and run “commissioning tests” to ensure accuracy.
- Ongoing: Perform maintenance every 50 hours of machine time to prevent unplanned downtime.
Frequently Asked Questions
How much space do I really need for a CNC plasma table? A standard 4×4 or 4×8 foot table usually requires a footprint about two feet larger in each direction for the gantry overhang and cable tracks. You should also leave at least 3 feet of walking space around three sides of the table for loading material and cleaning the water tray.
Can I run a 3-phase motor on a single-phase 220V outlet? Yes, but not directly. You will need a device like a Variable Frequency Drive (VFD) or a Rotary Phase Converter. A VFD is often the most cost-effective solution for a single machine under 5 horsepower.
What is the best way to handle welding fumes in a small shop? Source capture is the most effective method. This means using a “fume arm” or a high-volume extractor hood positioned directly over your welding bench. General shop fans just move the fumes around; you need a system that pulls the air through a filter or exhausts it outside.
Are stepper motors good enough for a professional shop? For most fabrication tasks like plasma cutting or light routing, modern high-torque stepper motors are excellent. They are much cheaper than servos and easier to troubleshoot. Servos are only necessary if you need extreme speeds or very high precision in heavy milling.
How do I calculate the airflow (CFM) I need for my dust collector? Most 4-inch tool ports require about 400 CFM to capture dust effectively. If you have multiple tools running at once, or if you have long runs of ductwork, you may need a 1,500 to 2,000 CFM blower to overcome the static pressure losses in the pipes.
What is the “National Electrical Code” (NEC) and why does it matter? The NEC is a set of standards for safe electrical installation. Following these rules is vital for preventing shop fires and ensuring your insurance covers you in case of an accident. It covers things like wire sizing, grounding, and how to safely hook up phase converters.
Is it better to build a CNC table or buy one? Building from a kit is a great way to save money and learn how the machine works. However, if you are busy with customer work, buying a pre-assembled “prosumer” table can save you dozens of hours of setup time. Value your time at your shop rate when making the decision.
How often should I clean my shop’s air filters? In a high-production environment, you should check your primary filters weekly. Many advanced systems use a “manometer” to measure the pressure drop across the filter. When the pressure rises above a certain point, it means the filter is clogged and needs cleaning or replacement.
What is a “bottleneck” in manufacturing? A bottleneck is the stage in your production process that takes the longest and limits the total number of parts you can finish. For example, if you can cut 100 parts an hour but can only weld 10, welding is your bottleneck. Automation should always target the bottleneck first.
How do I balance the legs of a rotary phase converter? You use capacitors to shift the load and balance the voltage between the generated leg and the two utility legs. It is best to check the voltage while the machine is running under a typical load, as the balance can change between “idle” and “working” states.
(This article was written by one of our staff writers, Edward Sinclair. Visit our Meet the Team page to learn more about the author and their expertise.)