Upgrades to Speed Up Your Custom Welding Setups (DIY Guide)
Scaling a fabrication shop is rarely a straight line. I remember a Tuesday afternoon about ten years ago when I realized my shop had hit a wall. I was tripping over drops of 2-inch square tubing while trying to reach my drill press, and my CNC plasma table was buried under half-finished projects. I had the tools, but I didn’t have a system. The stress of a bottlenecked shop isn’t just about lost profit; it’s about the physical toll of moving the same piece of steel four times just to make one cut.
Over 20 years, I have moved from a basic garage setup to a high-output micro-manufacturing space. I’ve learned that the secret to a professional-grade workflow isn’t just buying a bigger welder. It’s about how you integrate your machinery, manage your power, and clear the air. If you want to transition from a hobbyist pace to a semi-professional output, you have to stop thinking like a mechanic and start thinking like a process engineer.

Rethinking the Advanced Workshop Layout for Maximum Throughput
A strategic workshop layout is the physical arrangement of equipment and material to minimize travel distance and eliminate “dead moves.” It focuses on creating a logical path where raw steel enters one end and finished products exit the other.
When I first started, my material rack was at the back of the shop, and my saw was at the front. I calculated that I was walking nearly three miles a week just carrying raw stock. To fix this, you need to map your material-flow loops. Start by drawing a “spaghetti diagram” of your shop. Trace every step you take to complete a common project. If the lines cross or loop back on themselves, you have a bottleneck.
In an advanced shop, machine zoning is vital. I divide my space into “hot” and “cold” zones. The hot zone contains the welding tables and plasma cutter, which generate heat, sparks, and fumes. The cold zone houses the precision tools like the mill, lathe, and CAD station. This separation protects sensitive electronics from grinding dust and keeps your workflow linear.
| Layout Feature | Standard Hobby Setup | Advanced Production Setup |
|---|---|---|
| Material Path | Random / Circular | Linear / U-Shaped |
| Machine Spacing | Cramped (1-2 ft) | 3-foot minimum access zones |
| Floor Load | Standard 4″ slab | Reinforced 6″ for heavy CNC |
| Storage | Floor-based piles | Vertical cantilever racks |
Why Back-and-Forth Foot Traffic Kills Shop Throughput
Linear flow patterns ensure that every movement adds value to the workpiece rather than just burning daylight. By positioning your saw next to your material rack and your welding table next to your CNC plasma table, you reduce the “travel tax” on your time.
I suggest maintaining a 3-foot clearance around every major machine. This isn’t just for safety; it’s for maintenance. When your CNC gantry needs a belt adjustment, you shouldn’t have to move a pallet of steel to reach it. If you are tight on space, put everything on heavy-duty casters. However, for machines like a CNC plasma table, “level and stationary” is always better than “mobile and vibrating.”
Powering the Evolution: 3-Phase Systems in a Single-Phase Shop
A 3-phase power converter is a device that allows industrial-grade machinery to run on standard residential single-phase electricity. It bridges the gap between hobby-grade tools and the high-torque, efficient motors found in professional equipment.
Most home-based shops are limited by a 200-amp single-phase service. This is fine for a MIG welder and a compressor, but it falls short when you bring in a 10HP air compressor or a vertical machining center. To scale, you often need 3-phase power. I’ve gone through the headache of choosing between various converters, and the “right” choice depends entirely on your load.
For most of us, a Rotary Phase Converter (RPC) is the workhorse. It uses a 3-phase idler motor to generate the third leg of power. It’s rugged and handles the high inrush current of starting a large motor. If you are running CNC equipment, however, you need “clean” power. A Digital Phase Converter (DPC) uses solid-state electronics to provide perfectly balanced voltage across all three legs, which protects sensitive control boards from “voltage sag.”
- Static Converters: These are cheap but only provide about 2/3 of the motor’s rated horsepower. Avoid these for anything other than a drill press.
- Rotary Converters: Great for manual mills, lathes, and large compressors. They are loud but reliable.
- Digital Converters: The gold standard for CNC machinery. They are quiet and highly efficient but carry a higher capital cost.
Balancing the Load for Machine Longevity
When installing a converter, you must monitor your phase balance. In my shop, I use a digital multimeter to check the voltage between each leg (L1-L2, L2-L3, and L1-L3). If the legs are more than 5% out of balance, your motors will run hot, and their lifespan will drop significantly.
I recommend dedicated sub-panels for your 3-phase equipment. Running a 3-phase line across the shop in EMT conduit keeps your floor clear and your setup professional. Always check the National Electrical Code (NEC) frameworks for wire sizing; 3-phase loads draw different amperages than single-phase, and undersized wire is a fire hazard you cannot afford.
Managing the Atmosphere: High-Volume Air Filtration and Fume Control
Air filtration systems are designed to capture airborne particulates and gases generated during welding and cutting. These systems use fans and filters to maintain air quality below harmful exposure limits.
If you can smell the welding fumes, your filtration is failing. In a high-output shop, a simple box fan in the window won’t cut it. You need a system that handles at least 1,000 to 2,000 Cubic Feet per Minute (CFM). When I integrated my CNC plasma table, the smoke was overwhelming within three minutes of cutting. I had to design a dedicated downdraft table and a multi-stage cyclone collector.
Duct Design and Static Pressure Management
Ducting is where most DIY setups fail. If you use flexible dryer vents, the internal ridges create “static pressure loss,” which kills your airflow. I switched to smooth-walled spiral steel ducting and saw a 40% increase in suction at the tool.
- Calculate CFM: Determine the volume of your shop and aim for 6 to 8 air exchanges per hour.
- Size the Main Trunk: Start with a large diameter (6-8 inches) near the collector and taper down as you reach individual tools.
- Minimize Bends: Every 90-degree elbow is equivalent to adding 5 to 10 feet of straight pipe. Use 45-degree wyes instead.
- Install Blast Gates: These allow you to direct all the suction to the one tool you are currently using.
For welding fumes, source-point extraction is king. A flexible “snorkel” arm that sits 12 inches from your weld puddle is far more effective than a giant ceiling-mounted scrubber. It captures the hexavalent chromium and ozone before it ever reaches your lungs.
Precision at Scale: Integrating CNC Plasma and Automated Gantry Systems
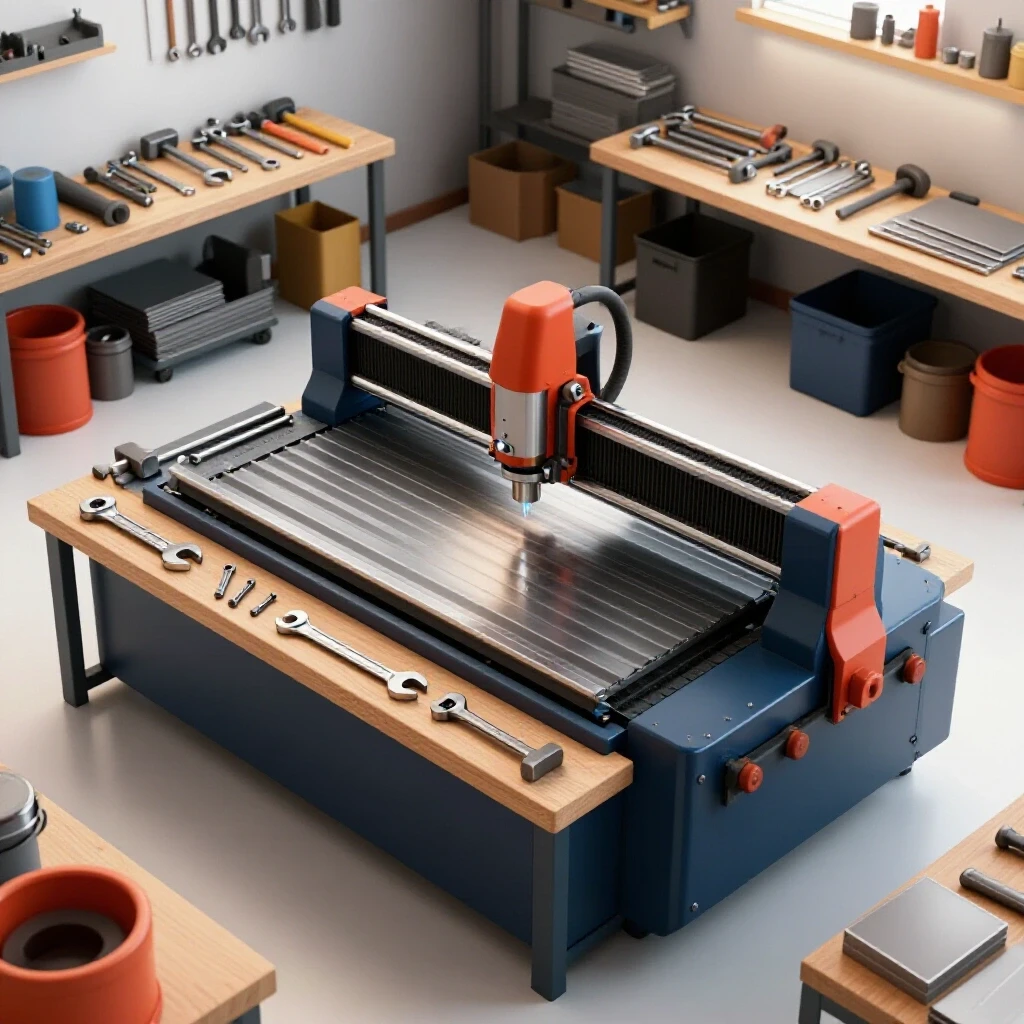
A CNC plasma table setup involves a computer-controlled gantry that moves a plasma torch over a metal sheet to cut complex shapes. This technology replaces manual layout and hand-cutting with digital precision.
Moving to CNC is the biggest hurdle for most fabricators. The learning curve isn’t just the software; it’s the mechanical maintenance. I’ve seen many shops buy a table only to have it sit idle because they couldn’t get the “torch height control” (THC) dialed in. THC is critical because it maintains a consistent gap between the tip and the metal, even if the sheet warps from heat.
Stepper vs. Servo Motors: Choosing Your Drive System
The motors move your gantry, and there are two main types. Stepper motors are common in entry-level tables. They move in “steps” and are generally reliable, but they can “lose steps” if the gantry hits an obstruction, ruining your part.
Servo motors use closed-loop feedback. They have encoders that tell the computer exactly where the torch is at all times. If a servo gets bumped, it knows it’s out of position and corrects itself. For a professional shop where a sheet of 1/2-inch plate costs hundreds of dollars, the reliability of servos is often worth the extra $1,500 to $3,000 in machine cost.
- Water Tables: These use a bed of water to catch sparks and some smoke. They are cheaper to build but messy.
- Downdraft Tables: These use a high-powered fan to pull smoke through the slats. They are cleaner but require a massive fan (at least 2,000 CFM for a 4×4 table).
- Gantry Leveling: Use a machinist’s level. If your rails are off by even 1/16th of an inch over four feet, your cuts will be tapered, and your parts won’t fit during assembly.
Optimizing Fixturing and Tooling Efficiency
Modular fixturing involves using a hole-patterned welding table and standardized clamps to hold workpieces in exact positions. This reduces the time spent measuring and squaring parts for every new project.
Setup time is the silent killer of productivity. If it takes you 20 minutes to square up a frame and 5 minutes to weld it, you aren’t a fabricator; you’re a professional measurer. I moved to a modular 16mm hole-pattern table five years ago, and it changed everything. Instead of using C-clamps and magnets, I use “build-pro” style pins and squares.
Building a Quick-Change Tooling Library
In a high-output environment, you should never be searching for a tool. I use a “shadow board” system for my most-used grinders. Each grinder is dedicated to one task: one for a flap disc, one for a hard stone, and one for a wire wheel.
- Standardize Hardware: Use the same size bolts for as many fixtures as possible so you only need one wrench.
- Color-Coded Jigs: If you make a recurring part, build a dedicated jig and paint it a bright color. Hang it on the wall when not in use.
- Digital Tooling Files: Keep a library of your CNC cut files organized by material thickness and customer name. This allows you to go from “order” to “cutting” in under five minutes.
Software Integration: From CAD to CAM to Steel
CAD (Computer-Aided Design) is where you draw the part, and CAM (Computer-Aided Manufacturing) is where you tell the machine how to cut it. The bridge between these two is the “post-processor,” which translates your design into G-code that the CNC machine understands.
The biggest mistake I see is fabricators trying to learn CAD while they have a customer’s deadline looming. Start with simple 2D software like Inkscape or Fusion 360. Fusion 360 is particularly powerful because it handles both the design and the CAM in one package. This “integrated workflow” means that if you change a hole size in your drawing, the toolpath updates automatically.
I recommend a dedicated “clean room” or a dust-proof cabinet for your shop computer. Grinding dust is conductive; if it gets into your PC’s motherboard, it will short out. I lost a $1,200 controller box because I didn’t have a $50 filter on my electronics enclosure.
Actionable Tracking: The Shop Efficiency Matrix
To see if your changes are working, you need to track your metrics. I use a simple spreadsheet to track my “arc-on time” versus my “setup time.” If my arc-on time is less than 30% of my day, I know my layout or my fixturing is failing me.
- Machine Downtime: Track how many hours a week your CNC is waiting for repairs or material.
- Scrap Rate: Aim for less than 5%. High scrap rates usually point to poor CAD/CAM nesting or a lack of machine leveling.
- Travel Distance: Occasionally time yourself walking from the welder to the saw. If it’s more than 10 seconds, move them closer.
Final Steps for Your Shop Evolution
Scaling up is a marathon, not a sprint. Don’t try to install a 3-phase converter, a CNC table, and a new duct system all in one weekend. Start with the layout. Clear the floor, define your zones, and get your material handling under control. Once the “physics” of your shop are right, the technology will integrate much more smoothly.
I’ve found that a professional shop is defined by its discipline. It’s about putting the tool back in the same spot every time and keeping the air clear enough to breathe. When your workflow is optimized, the work feels less like a chore and more like the craft it’s supposed to be.
Frequently Asked Questions
How much space do I really need for a CNC plasma table? For a standard 4×4 table, you need a footprint of at least 8×8 feet. This allows for the gantry’s overtravel, the control console, and a 3-foot safety zone for loading material. If you plan on loading full 4×8 sheets, you will need a clear “swing zone” to maneuver the plate onto the table.
Can I run a CNC table on a rotary phase converter? You can, but it is risky. Rotary converters can have voltage imbalances between the legs. CNC electronics prefer the “clean” power of a digital phase converter or a dedicated single-phase to 3-phase VFD (Variable Frequency Drive). If you use an RPC, ensure it is oversized for the load to help stabilize the voltage.
What is the best duct material for a DIY dust collection system? For an advanced shop, avoid PVC if possible. It can build up a static charge that causes “shocks” or, in rare cases, ignites fine metallic dust. Spiral-wound galvanized steel is the industry standard. It is smooth, grounded, and handles high static pressure without collapsing.
How do I calculate the CFM needed for my shop air filtration? Multiply your shop’s length x width x height to get the total cubic volume. For a fabrication shop, you want to cycle that air 6 to 8 times per hour. Divide the total volume by 10 or 7.5 to find the CFM rating required for your fan.
Is a water table or downdraft better for plasma cutting? Water tables are easier to maintain and cheaper to build. They are great for reducing part warping. However, they create “plasma muck” that is difficult to dispose of. Downdraft tables are cleaner and better for high-definition cutting but require expensive filtration systems to keep from pumping smoke into the neighborhood.
What is the “Travel Tax” in a workshop? This is the time and energy lost to inefficient movement. If you walk 20 feet to get a tool 30 times a day, you’ve walked 1,200 feet. Over a year, that’s dozens of hours of lost production time. Reducing this tax is the primary goal of lean workshop layout.
Do I need a 200-amp service to run an advanced shop? Generally, yes. A 100-amp service can be maxed out quickly if you are running a 50-amp plasma cutter, a 30-amp compressor, and shop lights/HVAC simultaneously. If you are adding CNC and 3-phase converters, upgrading to 200 amps is often the first logical step.
How often should I level my CNC gantry? Check it once a month or after any “crash.” Temperature swings in a shop can cause the floor to shift slightly, and even a small change can affect cut quality and lead to premature wear on your linear bearings.
What is the most common mistake when scaling a shop? Buying a bigger machine before fixing the workflow. A faster CNC table won’t help you if you still take two hours to find the material and load it. Focus on the “flow” first, then the “speed” of the individual machines.
Is Fusion 360 the best software for a micro-manufacturer? It is currently the most popular because it combines CAD and CAM. However, the learning curve is steep. For simple 2D plasma cutting, many people prefer SheetCam paired with a simpler drawing tool like QCAD. Use what you can master quickly to keep your production moving.
(This article was written by one of our staff writers, Edward Sinclair. Visit our Meet the Team page to learn more about the author and their expertise.)