Designing an Efficient Garage Workshop Floor Plan (DIY Plan)
After twenty years of running a fabrication shop from my home base, I have learned that the difference between a hobbyist and a professional isn’t just the tools. It is the way the space works for you. I remember the day I brought home my first CNC plasma table. I had no plan for where the 4×8 sheets of steel would go, or how I would move them from the truck to the water bed. I spent three days moving heavy machinery just to make a path. That frustration taught me a vital lesson: a shop that is not organized for flow is a shop that loses money.
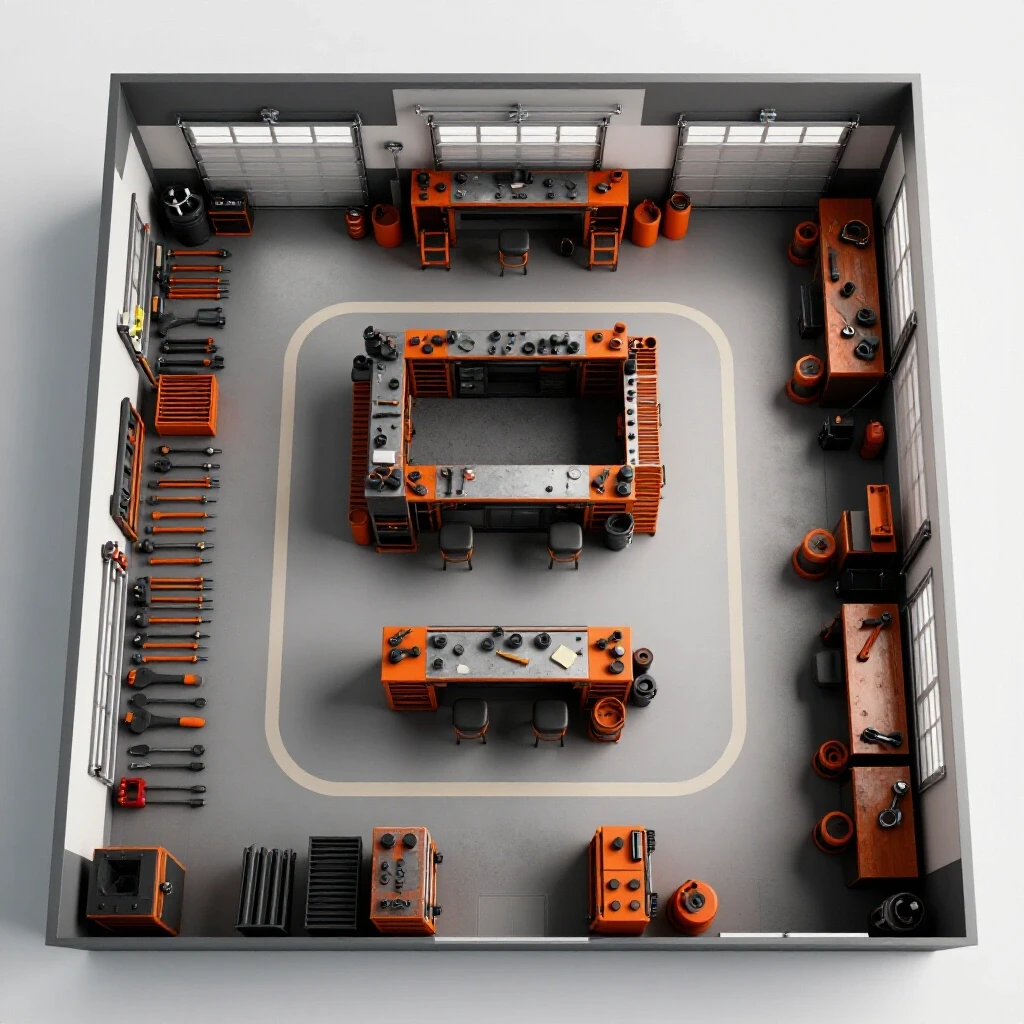
Scaling a business in a residential garage is a constant battle against physics. You have limited square footage, a set amount of electricity, and neighbors who likely don’t want to smell your grinding dust. Transitioning to a high-output environment requires a shift in mindset. You are no longer just “fixing things”; you are managing a manufacturing cell. This means every step you take and every move a piece of metal makes must be calculated. If you find yourself tripping over cords or shuffling piles of scrap to reach your welder, your layout is failing you.
Analyzing the Physics of Material Flow and Floor Capacity
Material flow is the path a raw piece of stock takes from the moment it enters your shop until it leaves as a finished product. In a small space, this path must be as linear as possible to avoid “back-tracking,” which is when you move an item across the same floor space multiple times.
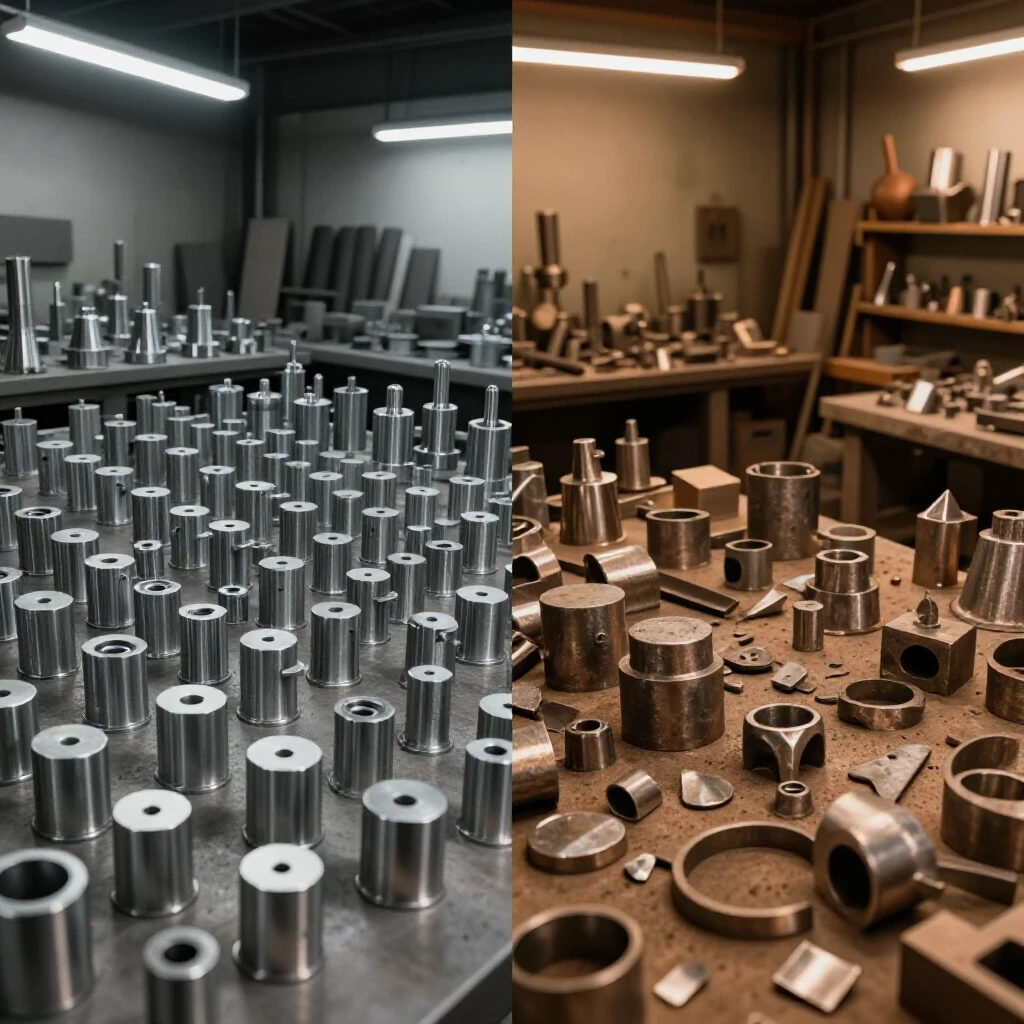
When I first started, my material rack was at the back of the garage. I had to carry heavy bars past my welding bench and my lathe just to get to my saw at the front. This was a classic bottleneck. I eventually reorganized the space so that raw materials enter the “dirty zone” (cutting and grinding) and move toward the “clean zone” (assembly and finishing) without ever crossing paths.
Before you bolt down a single machine, you must also consider floor load ratings. A standard residential garage floor is typically 4 to 6 inches of concrete. While this is strong, a 3,000-pound milling machine or a large CNC table puts a lot of “point load” on a small area. I always suggest checking for cracks or settling before placing heavy equipment. If you are installing a machine with high vibration, like a power hammer, you may need to cut out a section of the slab and pour a reinforced footing to prevent the rest of your floor from cracking over time.
| Layout Type | Description | Best For | Efficiency Rating |
|---|---|---|---|
| U-Shaped Flow | Material enters and exits through the same large door. | Single-door garages. | High |
| Straight-Line Flow | Material moves from one end of the shop to the other. | Long, narrow spaces. | Very High |
| Cellular Layout | Tools grouped by task (e.g., a “welding cell”). | Complex, multi-part builds. | Moderate |
| Random Placement | Tools placed wherever there is an open outlet. | Beginners only. | Low |
Navigating the 3-Phase Power Transition for Residential Fabrication
Most industrial-grade tools, like older bridge mills or high-end lathes, run on 3-phase power. Residential homes only have single-phase power. To bridge this gap, you need a way to create that third leg of electricity. This is a common hurdle for those scaling up their shop.
I have used both static and rotary phase converters. A static converter is cheap, but it only starts the motor; the machine will only run at about two-thirds of its rated horsepower. For a fabrication shop that needs full torque, a Rotary Phase Converter (RPC) is the standard choice. It uses a “idler motor” to generate the third leg of power. When I installed my first RPC, it changed everything. I could finally run a heavy-duty air compressor and a vertical mill at the same time without blowing a breaker.
When planning your electrical layout, the National Electrical Code (NEC) suggests keeping your main panels accessible. I recommend a 3-foot minimum access zone around your breaker box and your phase converter. Also, keep a log of your “phase balance.” This means checking the voltage between the three legs while the machine is under load. If the voltage drops too much on one leg, it can overheat your motors. Modern digital phase converters are more expensive but provide much cleaner power, which is better for sensitive CNC electronics.
- Rotary Phase Converter: Uses a spinning motor to create 3-phase power. Reliable and handles high-surge loads well.
- Digital Phase Converter: Uses solid-state electronics to create perfect 120-degree power. Best for CNC machines.
- VFD (Variable Frequency Drive): Controls a single motor’s speed and provides 3-phase power. Great for lathes and grinders.
Optimizing Clean Air Systems for High-Output Metalwork
Air quality is often overlooked until you find a layer of black dust on every surface of your shop. In a residential garage, you cannot simply open the big door and hope for the best. You need a systematic approach to dust and fume management.
I look at air management in two stages: source capture and ambient filtration. Source capture means sucking the dust away right where it is created, like a vacuum hood on a grinder. Ambient filtration involves an overhead “air scrubber” that cleans the air in the entire room several times an hour. For a standard two-car garage, you should aim for at least 1,000 to 1,500 Cubic Feet per Minute (CFM) of air movement to keep the air safe.
Duct design is where most people make mistakes. Every bend in a pipe creates “static pressure loss,” which reduces the suction at the tool. I learned the hard way that using 90-degree elbows kills your airflow. Instead, use two 45-degree bends to make a gradual turn. Also, keep your main duct runs as large as possible—typically 6 inches—and only reduce the size right at the machine. This keeps the air velocity high enough to prevent dust from settling inside the pipes.
- CFM Requirement: (Shop Volume x Air Changes Per Hour) / 60.
- Air Changes: Aim for 6-10 changes per hour for heavy fabrication.
- Filter Rating: Use MERV 11 or higher to catch fine metallic dust.
- Static Pressure: The resistance the fan must overcome. Keep pipe runs short and straight.
Integrating CNC Automation into a Compact Production Environment
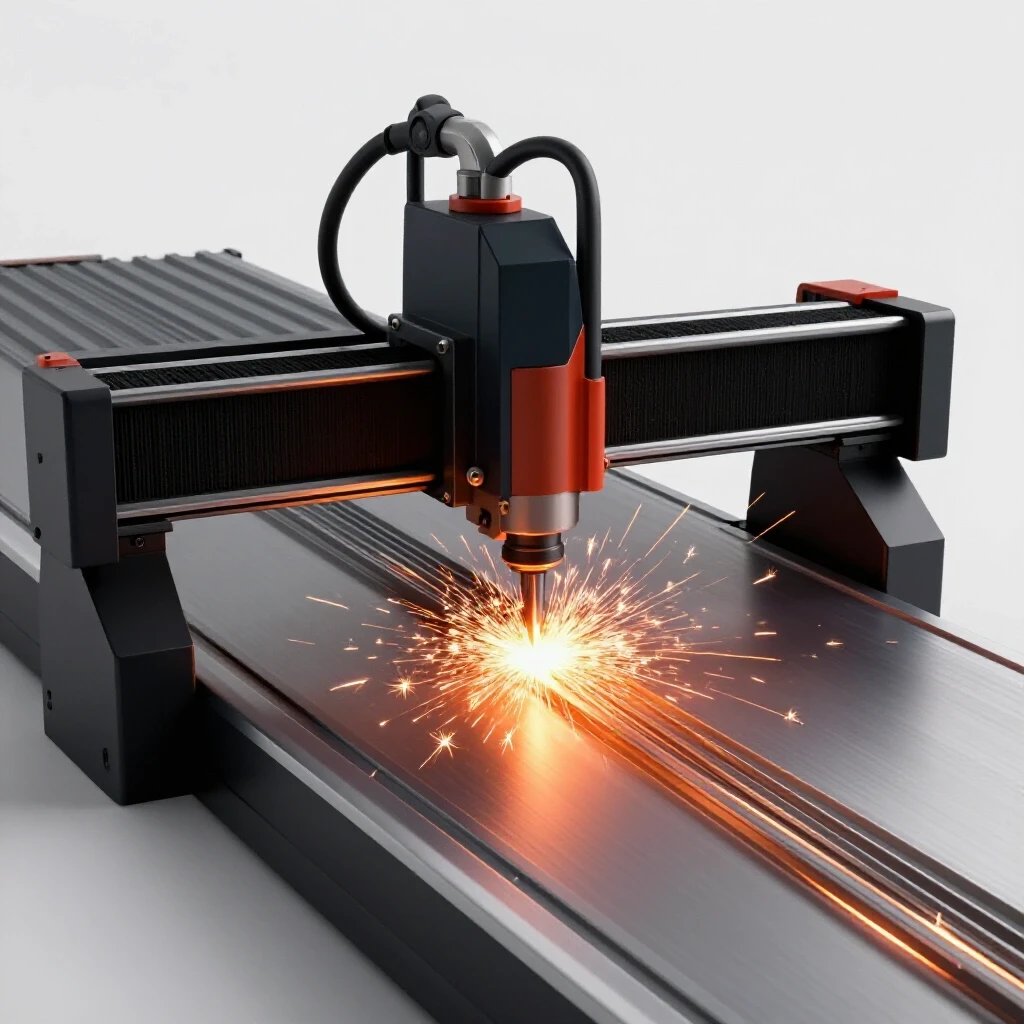
Adding a CNC plasma table or a machining center is the biggest step toward a professional operation. However, these machines require a stable environment. A CNC gantry is sensitive to vibrations and electromagnetic interference (EMI).
When I integrated my first CNC plasma system, I didn’t realize how much electrical “noise” the plasma torch created. It would cause my computer to freeze mid-cut, ruining expensive sheets of plate. I had to learn about “star grounding,” where every component of the CNC system is grounded to a single copper rod driven into the earth. This is a critical step for anyone moving into automation.
Space-wise, a CNC table needs more than just its footprint. You need a 3-foot clearance on at least three sides for loading material and performing maintenance. I also suggest placing your CAD/CAM workstation in a “clean zone” or inside a filtered cabinet. Grinding dust and computers do not get along. Using a closed-loop system with servo motors instead of cheaper stepper motors can also help. Servos “talk” back to the computer, so if the machine hits an obstacle, it knows exactly where it is, rather than just losing its place.
- Leveling: Use a precision machinist’s level. A bed that is off by even 1/16th of an inch can cause cutting errors.
- Cable Management: Use “drag chains” to keep wires from getting tangled in the moving parts.
- Software Workflow: Set up a dedicated network drive so you can send files from your office computer directly to the shop floor.
- Tooling Storage: Keep your consumables (nozzles, electrodes, end mills) in a labeled drawer right next to the machine to reduce setup time.
Why Back-and-Forth Foot Traffic Kills Shop Throughput
Every time you walk across the shop to find a wrench or a tape measure, you are wasting time. In manufacturing, we call this “motion waste.” I used to keep all my hand tools in one big rolling chest. I found myself walking back and forth from the welding table to that chest fifty times a day.
To fix this, I adopted a “point-of-use” strategy. I built small, modular tool racks for each zone. The welding zone has its own clamps, magnets, and pliers. The CNC zone has its own set of wrenches for tool changes. This layout change alone saved me nearly an hour of “walking time” every day.
You should also look at your “work-in-progress” (WIP) storage. When you finish cutting parts on the CNC but aren’t ready to weld them, where do they go? If they sit on your workbench, they block your next task. I use vertical stacking racks to keep parts off the floor and out of the way. This keeps the main floor clear for moving large projects or navigating with a pallet jack.
| Tool Group | Location Strategy | Goal |
|---|---|---|
| Heavy Machinery | Fixed, near power drops. | Minimize electrical runs. |
| Hand Tools | Point-of-use (multiple sets). | Eliminate walking time. |
| Material Storage | Near the entrance. | Easy unloading/loading. |
| Assembly Benches | Center of the shop. | Access from all sides. |
Designing the Digital Backbone of Your Shop
As you scale, managing projects in your head becomes impossible. You need a system to track what material you have, what parts are cut, and what needs to be shipped. This is where software integration comes in.
I use a simple cloud-based system to manage my “cut lists.” When a job comes in, I break it down into parts and material requirements. This allows me to batch my work. Instead of cutting one part for one job, I can see that three different jobs all need the same thickness of aluminum. I can then nest those parts together on the CNC table to save material and reduce setup time.
Don’t forget about maintenance tracking. High-output machines need regular care. I keep a digital log for every major tool. It tells me when to change the compressor oil, when to clean the CNC rails, and when to replace the air filters. Staying ahead of these tasks prevents the “emergency breakdown” that always seems to happen right before a big deadline.
Practical Steps for Your Layout Transition
Redesigning your workspace is a marathon, not a sprint. I recommend starting with a “spaghetti diagram.” Take a floor plan of your shop and draw a line for every movement you make while building a typical project. If the paper looks like a mess of tangled noodles, you have a flow problem.
Next, focus on your “power drops.” Instead of running extension cords across the floor—which is a major safety hazard—install overhead drops or wall-mounted outlets every six feet. This allows you to move mobile workbenches around without worrying about where to plug in your tools.
Finally, be honest about your space. If you are trying to fit a full-scale fabrication shop into a single-car garage, something has to give. You might need to choose between a large CNC table or a heavy-duty welding area. Focus on the tools that generate the most income first.
- Step 1: Map your current workflow and identify where you get “stuck.”
- Step 2: Group tools into functional cells (Cutting, Welding, Machining).
- Step 3: Plan your 3-phase and air filtration runs before moving heavy tools.
- Step 4: Use mobile bases for everything that isn’t a heavy stationary machine.
- Step 5: Implement a “5S” system (Sort, Set in order, Shine, Standardize, Sustain) to keep the layout efficient.
Frequently Asked Questions
How much space do I really need around a CNC plasma table? You should have at least 3 feet of clearance on three sides. This allows you to slide full 4×8 sheets onto the bed and gives you room to clean out the water tray or slats. If you are tight on space, you can place one side against a wall, but make sure you can still reach the gantry for maintenance.
Can I run a 10HP rotary phase converter on a standard 200-amp home service? Yes, most 200-amp residential services can handle a 10HP or even a 20HP converter. However, you must calculate your total “inrush current.” If the converter and a large air compressor start at the exact same time, you might trip the main breaker. Using a “soft start” or staggered power-on sequence helps.
What is the most common mistake in shop air filtration? The most common mistake is not accounting for “make-up air.” If you have a powerful exhaust fan sucking air out of the shop, that air has to come from somewhere. If the shop is sealed tight, the fan will lose efficiency. You need an intake vent (preferably filtered) to allow fresh air in.
Is a 4-inch concrete slab enough for a heavy milling machine? A 4-inch slab is generally sufficient for machines up to about 2,500 pounds, provided the concrete is in good condition. For heavier machines, or those that create high impact, you risk cracking the slab. Using thick steel shims or specialized vibration-damping mounts can help distribute the weight.
How do I prevent CNC electronics from failing in a dusty garage? Heat and dust are the enemies of CNC controllers. Use a sealed NEMA-rated enclosure for your electronics and install a small cooling fan with a fine filter. Regularly blow out the cabinet with compressed air and ensure all your signal cables are shielded to prevent interference.
What is the best way to store heavy metal remnants? Vertical “A-frame” racks are the most space-efficient way to store remnants. They allow you to see exactly what you have without digging through a pile. Label each section by material type and thickness to save time during the nesting process.
How often should I check my 3-phase voltage balance? I recommend checking it once a month or whenever you add a new machine to the circuit. Use a multimeter to measure the voltage between Phase A-B, B-C, and A-C while the machines are running. A difference of more than 5% can indicate a problem with your converter or your wiring.
Do I really need a dedicated CAD/CAM station in the shop? While you can do your design work in the house, having a basic station in the shop is vital for making quick “on-the-fly” adjustments. Even a ruggedized laptop on a rolling stand can save you from walking back and forth when a part doesn’t fit quite right.
What is the most efficient way to handle heavy material alone? A gantry crane or a jib crane is ideal, but in a garage, a heavy-duty hydraulic lift table or a manual pallet jack is more practical. I also use “ball transfers” on my outfeed tables, which allow me to slide heavy plates in any direction with very little effort.
How do I manage the noise of a high-output shop in a neighborhood? Insulating your garage door is the first step. Beyond that, place noisy equipment like air compressors in a dedicated, sound-dampened closet. Using vibration-isolation pads under your machines also prevents the sound from traveling through the floor and into the ground.
By focusing on these systematic improvements, you can turn a cramped garage into a high-throughput fabrication facility. It takes discipline and a willingness to stop working “in” the shop so you can work “on” the shop. The goal is to create an environment where the layout does the heavy lifting, leaving you free to focus on the precision of your craft.
(This article was written by one of our staff writers, Edward Sinclair. Visit our Meet the Team page to learn more about the author and their expertise.)