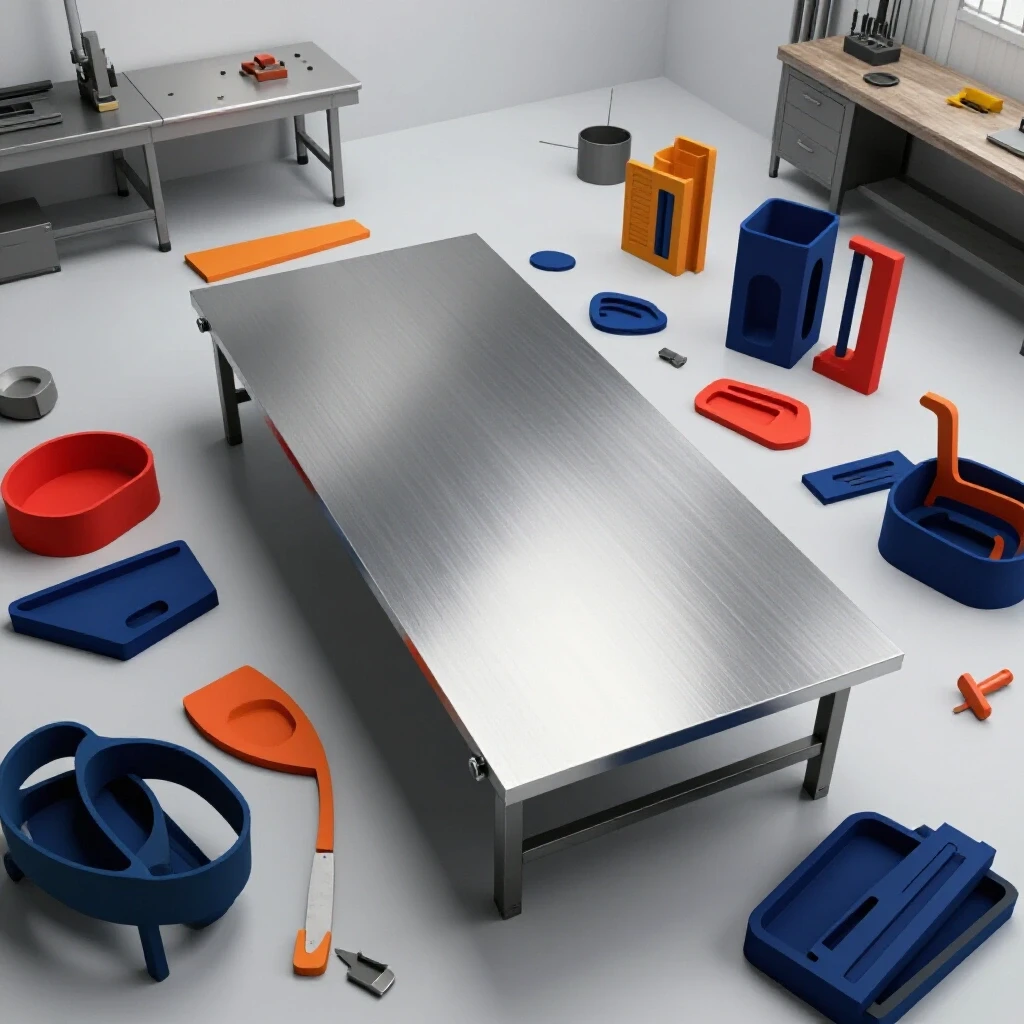
Fast Changeover Steps for Manual Lathe Setups (DIY Tutorial)
After twenty years of running a fabrication shop, I have learned that the difference between a hobbyist and a professional isn’t just the quality of the welds. It is the ability to move from one task to another without losing an hour to searching for tools or recalibrating machines. When I first started, my workshop was a maze of extension cords and piles of scrap. Every time I needed to switch my manual lathe from a threading operation to a simple facing cut, I wasted twenty minutes just clearing the ways and finding my high-speed steel bits.
As my shop evolved and I integrated equipment like CNC plasma tables, I realized that my manual tools were becoming a bottleneck. I had to apply the same lean manufacturing principles to my old engine lathe that I used for my automated systems. Scaling a fabrication shop requires a shift in mindset. You stop thinking about making a single part and start thinking about the flow of material through your space. This transition can be stressful, especially when you are dealing with floor space limits and the technical hurdles of 3-phase power.
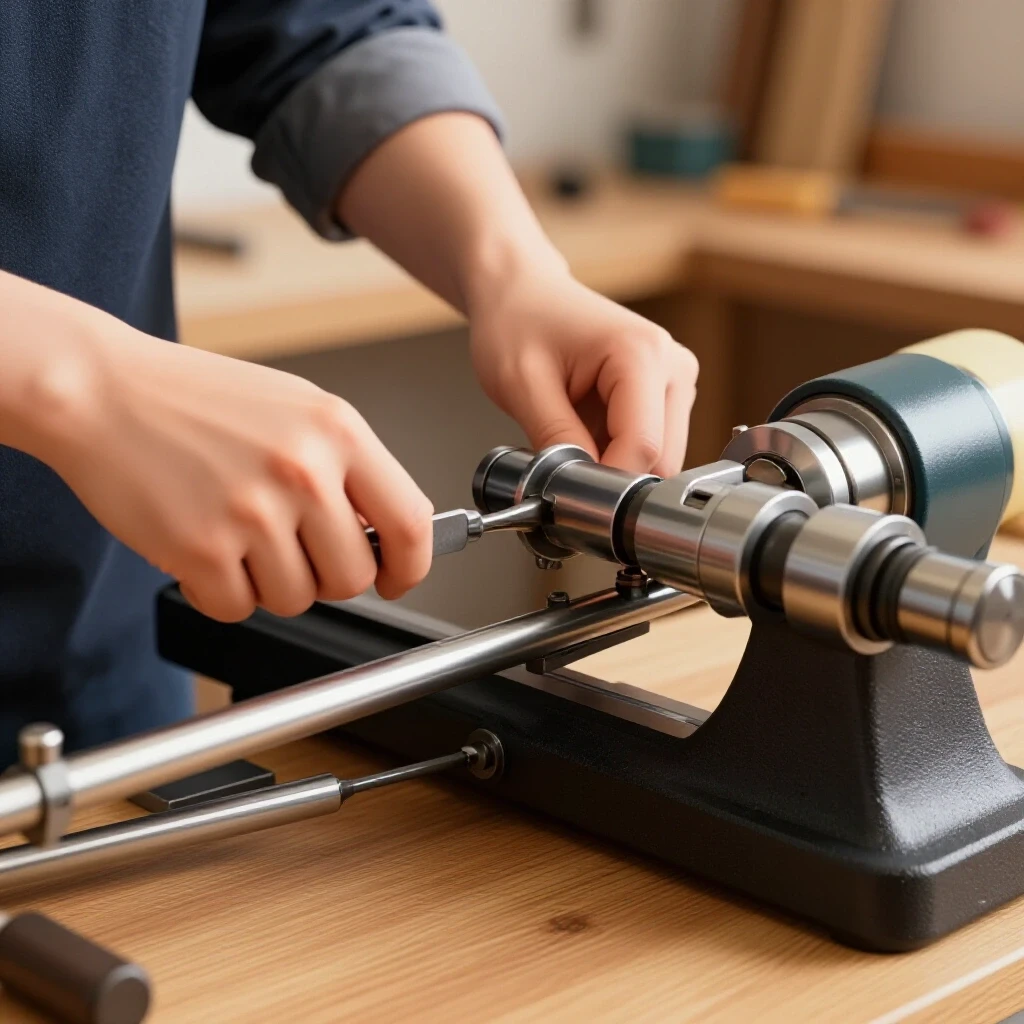
In this guide, I will share the exact steps I used to optimize my manual turning station. We will look at physical shop layouts, electrical needs, and the specific shop-made fixtures that allow for rapid transitions between turning tasks. My goal is to help you turn your workshop into a high-output environment where the machines work for you, not the other way around.
Mapping Workshop Material-Flow Loops for Peak Efficiency
Workshop material flow is the path raw stock takes from the moment it enters your door until it leaves as a finished product. Mapping these loops involves identifying every physical step a fabricator takes, aiming to reduce “travel waste.” By visualizing these paths, you can spot bottlenecks and reorganize your layout to keep your most frequent movements short and logical.
When I redesigned my shop layout, I used a simple “spaghetti diagram.” I took a floor plan and drew a line for every trip I made between my material rack, my manual lathe, and my workbench. The result was a mess of overlapping lines that showed I was walking miles every week just to get basic tools. To fix this, I moved my lathe so that the headstock was closer to my raw material storage. This small change saved me hundreds of steps a day.
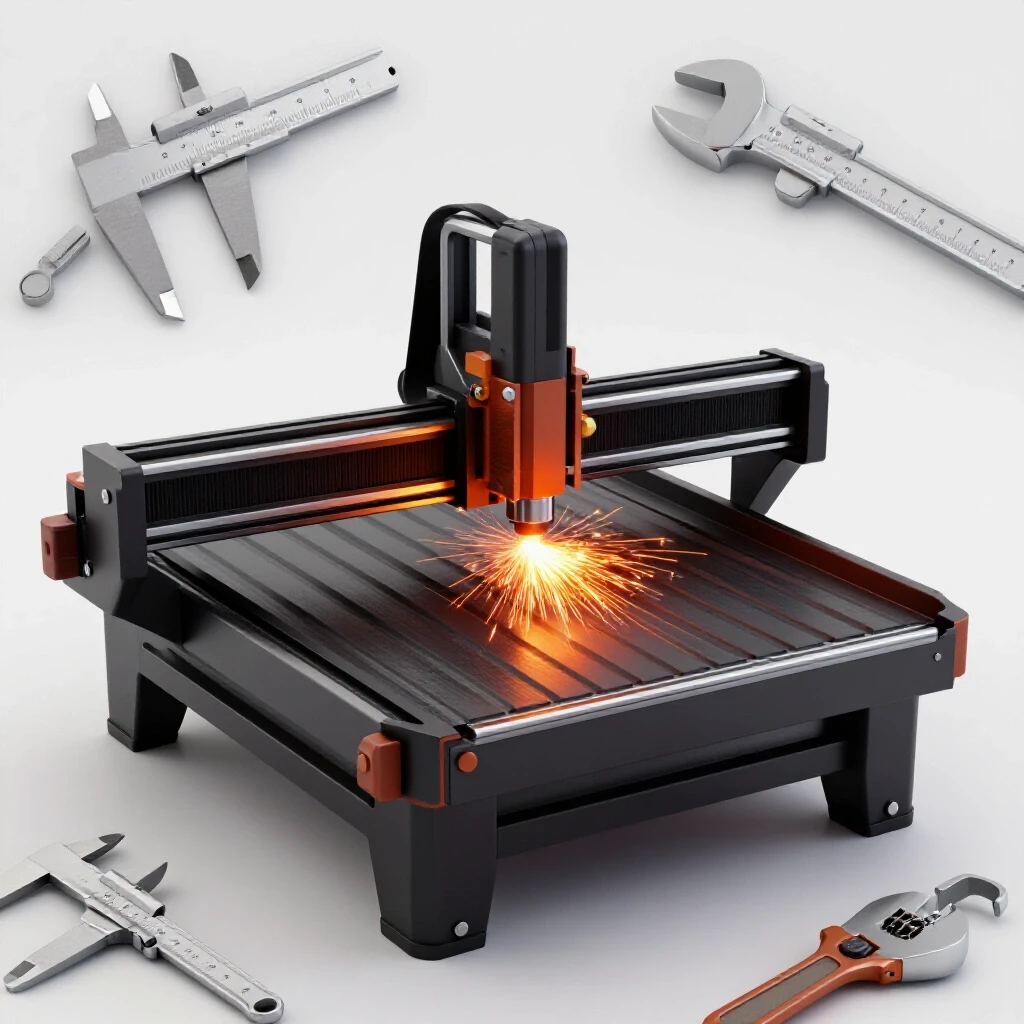
In an advanced workshop, your layout must account for machine “zones.” For example, your CNC plasma table setup needs a 3-foot minimum access zone for maintenance and material loading. Similarly, your manual lathe needs enough clearance so that long bar stock doesn’t poke into a high-traffic walkway. I recommend keeping a 48-inch “main artery” through the shop for moving heavy materials on carts.
| Layout Feature | Hobby Setup | Advanced Fabricator Setup |
|---|---|---|
| Material Path | Random / Obstructed | Linear / Unobstructed |
| Machine Spacing | Cramped (12-18″) | Safety Focused (36″+) |
| Tool Access | Drawers and Boxes | Shadow Boards / Point-of-Use |
| Scrap Management | Floor Piles | Dedicated Mobile Bins |
Building a linear flow pattern reduces the mental fatigue of navigating a cluttered space. When you aren’t tripping over a welder lead to get to your lathe, you can focus on the precision of your work. This is the first step in scaling a fabrication shop successfully.
Optimizing Manual Turning Stations for Rapid Tool Transitions
Rapid tool transitions are the techniques used to swap between different lathe operations—like boring, turning, or knurling—in under a minute. This involves using standardized tool holders and preset heights to eliminate the need for constant shimming. By organizing your manual station this way, you treat your manual lathe with the same efficiency as a modern production cell.
The most important upgrade I ever made to my manual lathe was a high-quality Quick Change Tool Post (QCTP). In the old days, I used a lantern-style post that required me to find the perfect thin piece of shim stock every time I changed a tool. It was a nightmare. With a QCTP, each tool sits in its own holder with a dedicated height adjustment screw. Once you set the tool to the center line of the spindle, you lock it in and never touch it again.
To make this even faster, I built a “tooling tree” right next to the lathe. This is a simple rack that holds all my QCTP holders in a specific order. I don’t have to dig through a drawer with oily hands. I can reach out, grab the threading tool, and click it onto the post in five seconds. This is a core part of workflow optimization tips: keep the tools you use 80% of the time within an arm’s reach.
Another trick I use is a shop-made carriage stop with a dial indicator. If I am making a batch of five parts that all need a shoulder at exactly two inches, I set the stop once. I don’t have to measure with calipers five different times. I just run the carriage up to the indicator mark. These small, repeatable steps are what separate a fast operator from one who struggles with high setup times.
Building Balanced 3-Phase Power Systems for Heavy Machinery
A 3-phase power converter is a device that allows a shop with standard single-phase residential power to run industrial-grade 3-phase motors. These systems are essential for manual lathes and mills because 3-phase motors run smoother, provide more torque, and last longer. Understanding how to balance these phases is critical for protecting your equipment from electrical damage.
Most home-based fabricators start with a static phase converter because they are cheap. However, I quickly learned that static converters only provide about two-thirds of a motor’s rated horsepower. When I was taking heavy cuts on my 14×40 lathe, the motor would bog down. I eventually upgraded to a Rotary Phase Converter (RPC). An RPC uses a “idler motor” to generate a true third leg of power, giving you 100% of your machine’s capability.
When installing an RPC, you must follow National Electrical Code (NEC) guidelines. This means using the correct wire gauge for the amperage load and ensuring the “manufactured leg” (the third wire created by the converter) is not used for control circuits. I always use a digital multimeter to check the voltage balance between the three legs while the lathe is running. If the voltages are more than 5% to 10% apart, your motor will run hot and lose efficiency.
- Static Converter: Best for light-duty, low-cost setups.
- Rotary Converter: Best for high-torque manual lathes and multi-machine shops.
- VFD (Variable Frequency Drive): Excellent for single-machine speed control but requires more technical wiring.
Designing High-Volume Clean Air Filtration and Fume Extraction
Dust collection duct design is the engineering of a vacuum system to remove metal chips, grinding dust, and welding fumes from the shop environment. A well-designed system uses smooth-walled pipes and strategic “drops” to maintain high air velocity. This protects the fabricator’s lungs and prevents fine metallic dust from settling into the sensitive electronics of CNC equipment.
When I added a CNC plasma table setup to my shop, the smoke became a major issue. I couldn’t just open a window anymore. I had to design a high-volume air scrubbing system. For a manual lathe, the primary concern is often the fine dust from sanding or the mist from cutting fluids. I installed a 1,200 CFM (Cubic Feet per Minute) collector with a HEPA filter to catch particles down to 0.5 microns.
Static pressure loss is the “friction” your air faces as it moves through the pipes. If you use too many 90-degree elbows or corrugated hoses, your 1,200 CFM fan might only pull 400 CFM at the machine. I recommend using 6-inch rigid metal ducting for your main lines and tapering down to 4-inch flexible hoses only at the very end. This keeps the air moving fast enough to carry heavy metal particles without them dropping out and clogging the pipes.
- Welding Fumes: Require at least 500-800 CFM at the source.
- Grinding Dust: Needs high velocity (around 4,000 FPM in the pipe) to stay suspended.
- General Air Scrubbing: Aim to cycle the entire volume of shop air 6 to 8 times per hour.
Integrating CNC Workflows with Manual Tooling Procedures
Scaling a fabrication shop often means moving toward automation, but the manual lathe remains a vital “support” tool. Integrating these workflows means ensuring that your manual operations don’t slow down your CNC production. This involves using consistent CAD/CAM data and organizing your manual station to handle the secondary operations that a CNC machine might leave behind.
In my shop, the CNC plasma table handles the heavy lifting of cutting out flat parts. However, those parts often need a tapped hole or a precision-turned boss. I keep a “job traveler” (a simple sheet of paper) with every project. This sheet lists the exact manual lathe settings and tool numbers needed for that specific part. Even though the lathe is manual, I treat the setup like a programmed operation.
One major mistake I see is shop owners buying a CNC system and neglecting their manual tools. They end up with a high-tech plasma table that produces parts in minutes, but then they spend hours fiddling with a manual lathe to finish them. To avoid this, I use a “tooling file” system. For every common thread or diameter I turn, I have a pre-set kit. This reduces the “technical learning curve” for new projects because the hard work of figuring out the setup is already done.
- Standardize Tool Holders: Use the same QCTP size across all manual lathes in the shop.
- Document Setups: Keep a logbook of gear changes for different thread pitches.
- Coordinate Measurements: Use the same digital calipers and micrometers for both CNC and manual work to ensure consistency.
Measuring Success through Throughput and Amortization
Amortization is the process of spreading the cost of an expensive piece of equipment, like a lathe or a phase converter, over its useful life. For a shop owner, tracking this helps determine if an upgrade is actually paying for itself. Throughput is the rate at which your shop produces finished work, and improving it is the ultimate goal of any layout change or tool upgrade.
I used to be afraid of spending $500 on a better tool post. But then I did the math. If that tool post saves me 10 minutes per day, and my shop rate is $60 an hour, the tool pays for itself in just 50 days. After that, it is pure profit. This data-driven approach helped me overcome the financial anxiety of scaling my business.
I keep a simple spreadsheet to track my “changeover time.” Before I reorganized my lathe station, it took me 15 minutes to switch from turning to boring. Now, it takes 3. When you multiply that by five jobs a day, I’ve gained an hour of productive time every single day. That is five hours a week of extra capacity without adding a single square foot to my floor plan.
| Metric | Before Optimization | After Optimization |
|---|---|---|
| Tool Change Time | 120 Seconds | 15 Seconds |
| Average Setup Time | 25 Minutes | 8 Minutes |
| Daily Walking Distance | 1.2 Miles | 0.4 Miles |
| Machine Downtime | 30% | 12% |
Practical Steps for a Systematic Workshop Evolution
Transitioning to a semi-professional space doesn’t happen overnight. It is a series of small, calculated moves. Start by looking at your floor. Are your machines positioned to allow for material flow? If not, spend a weekend moving them. The physical labor of a layout change is free, but the efficiency gains are permanent.
Next, address your power. If you are struggling with dimming lights or weak motors, look into a rotary phase converter. It is a foundational upgrade that allows you to buy heavier, more professional manual tools in the future. Once your power is stable, focus on your air quality. A clean shop is a productive shop, and protecting your health is the best investment you can make.
Finally, tackle the “micro-efficiencies” at your machines. Build the racks, buy the quick-change posts, and stop shimming your tools. These manual lathe efficiency steps are the “low-hanging fruit” of workshop optimization. They don’t require expensive software or complex coding, just a commitment to a more organized way of working.
- Week 1: Map your material flow and move one machine to improve the path.
- Week 2: Install a QCTP and organize a dedicated tool rack.
- Week 3: Evaluate your electrical load and plan for a 3-phase upgrade if needed.
- Week 4: Design and install a basic dust collection drop for your primary grinding area.
By following these steps, you will find that your shop feels larger, even if the walls haven’t moved. You will be able to take on more complex work, meet tighter deadlines, and enjoy the process of fabrication without the constant frustration of a disorganized environment.
FAQ for Advanced Shop Evolution and Lathe Efficiency
How do I know if I need a rotary phase converter instead of a VFD?
A VFD is excellent for controlling the speed of a single 3-phase motor and can often run on single-phase input. However, if you have multiple 3-phase machines or a machine with a complex internal electrical cabinet (like an older industrial lathe with its own contactors), a rotary phase converter is usually a better, more “plug-and-play” solution for the whole shop.
What is the best way to manage metal chips in a small shop?
I recommend a “source-point” approach. Use a mobile chip tray under the lathe and a dedicated shop vacuum with a “cyclone” separator. The cyclone drops the heavy metal chips into a bucket before they reach the vacuum filter, which prevents clogs and makes recycling the scrap much easier.
How much space should I leave around my manual lathe?
At a minimum, you need 3 feet of clearance on the operator side and at least 2 feet at the tailstock end. If you frequently work with long bar stock, ensure there is a clear path behind the headstock for the material to extend through the spindle bore without hitting a wall or another machine.
Can I use PVC pipe for my shop’s dust collection system?
While many people use PVC, it can build up a significant static charge which can lead to shocks or, in rare cases, fire hazards with fine wood dust. For metalworking, I strongly recommend grounded spiral metal ducting. It handles the abrasive nature of metal particles much better and eliminates the static issue.
How do I balance the “manufactured leg” on my 3-phase converter?
You can use “run capacitors” between the phases to balance the voltage. This is best done while the machine is under a typical load. You want the voltages between all three legs (L1-L2, L2-L3, and L1-L3) to be as close as possible, ideally within 5% of each other.
What is the first thing I should do to speed up my lathe work?
Buy or make a set of carriage stops. Being able to hit a shoulder depth repeatedly without stopping the machine to check with a ruler or caliper is the single biggest time-saver for manual turning.
How do I calculate the CFM I need for my shop?
Calculate the total volume of your shop (Length x Width x Height). To get 6 air changes per hour, multiply that volume by 6 and divide by 60. That is the CFM rating your main air scrubber should have to keep the ambient air clean.
Is it worth organizing tools if I am the only one in the shop?
Yes. “Search time” is the biggest hidden cost in a one-person shop. Even if you think you know where everything is, the mental energy spent looking for a specific wrench or insert adds up to significant fatigue by the end of the day.
What are the signs that my shop layout is a bottleneck?
If you find yourself moving one tool to get to another, or if you have “dead zones” where scrap and half-finished projects pile up, your layout is failing you. Another sign is if you are consistently exhausted by “simple” jobs because of the physical effort required to navigate the space.
How do I handle the noise of an industrial-scale shop in a residential area?
Focus on vibration dampening. Use rubber isolation mounts for your 3-phase converter and air compressor. For dust collection, building an insulated “closet” with proper ventilation for the motor can significantly reduce the decibel levels reaching your neighbors.
(This article was written by one of our staff writers, Edward Sinclair. Visit our Meet the Team page to learn more about the author and their expertise.)