How to Align Heavy Hinges on a Steel Bench Lid (DIY Guide)
I have spent over a decade in prototype shops and my own garage, and if there is one thing I have learned, it is that steel is a living thing. You might think a heavy lid and a solid frame are static objects, but the moment you try to marry them with a set of hinges, you realize how much every fraction of an inch matters. I remember a specific project—a heavy-duty tool vault—where I spent three days on the frame only to have the lid bind so badly I couldn’t open it with a pry bar. I had ignored the fundamental physics of pivot alignment.
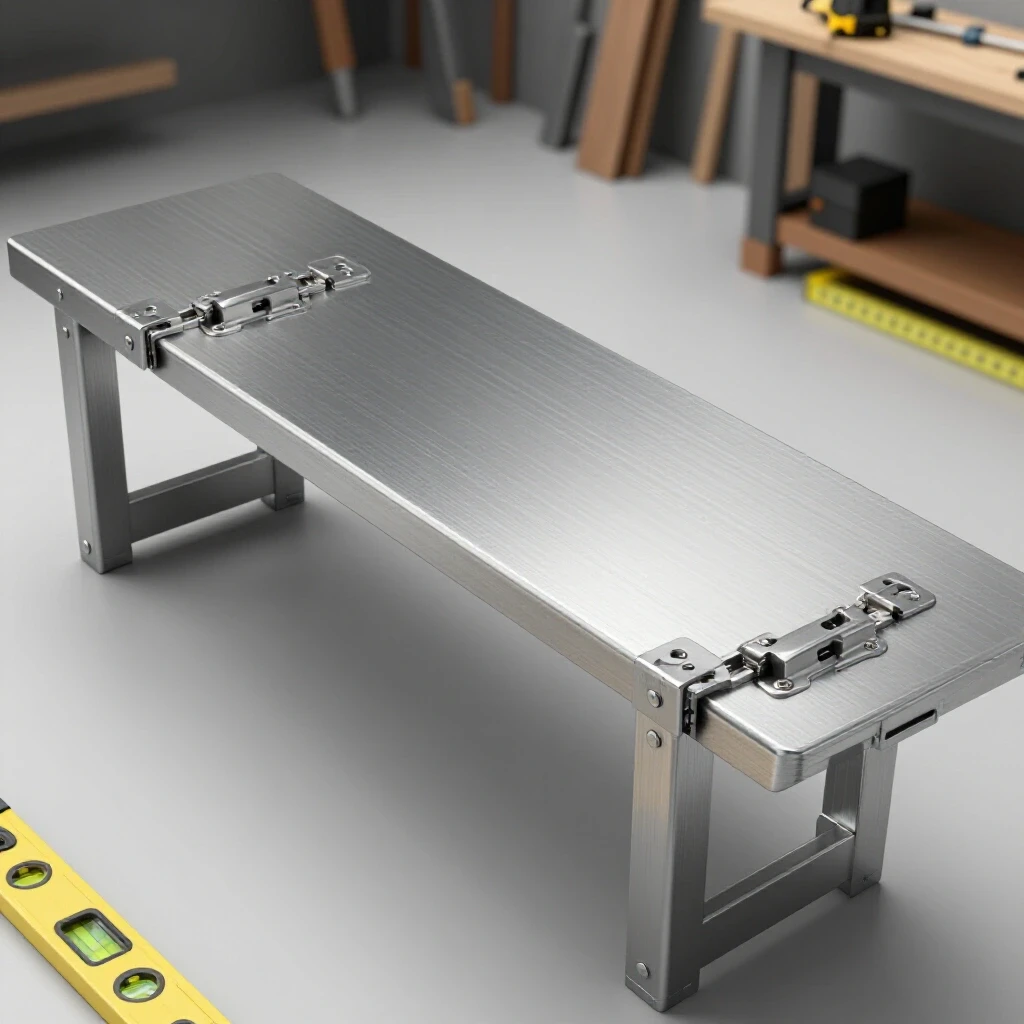
In custom fabrication projects, the transition from individual parts to a functional moving assembly is where most builders hit a wall. You can have the cleanest cuts in the world, but if your pivot points are even slightly out of phase, the entire project feels amateur. This guide focuses on the critical window of time after your parts are cut but before they are permanently joined. We are going to look at how to establish a true axis, use shims to manage gravity, and verify your swing path using basic workshop tools.
Establishing a Single Axis for Pivot Points
The axis of a hinge is the imaginary straight line that runs through the center of the hinge pins. For a lid to move without resistance, every hinge must share this exact same line. If one hinge is tilted or offset by even 1/16th of an inch, the lid will bind because the hinges are trying to rotate around two different points in space.
In my experience, the biggest mistake is treating each hinge as an independent component. You cannot simply measure from the corner for each hinge and hope they line up. Steel often has slight bows or “mill scale” inconsistencies that throw off simple tape measure readings. Instead, you must create a physical or visual reference that spans the entire length of the lid.
The Straightedge Method for Axis Verification
A straightedge is your most valuable tool here. By laying a precision-ground bar across the knuckles of your hinges, you can see gaps that a tape measure would miss. This ensures that the pivot centers are co-linear, meaning they sit on the same line.
- Step 1: Place your hinges roughly where they belong on the frame.
- Step 2: Lay a long, known-straight piece of cold-rolled square bar against the barrel of the hinges.
- Step 3: Look for light passing between the bar and the hinge barrels.
- Step 4: Adjust the hinge positions until the bar touches every barrel uniformly.
| Tool Type | Precision Level | Best Use Case |
|---|---|---|
| Tape Measure | +/- 1/16″ | Rough positioning of hinge spacing |
| Steel Ruler | +/- 1/64″ | Measuring gap between lid and frame |
| Straightedge | +/- 0.005″ | Verifying the straightness of the hinge axis |
| Feeler Gauges | +/- 0.001″ | Checking for uniform clearance in the pivot |
Measuring for Clearance and Gap Consistency
When you are working with heavy steel, you have to account for the “reveal,” which is the gap between the lid and the frame. If this gap is inconsistent, the lid will look crooked, and more importantly, it might strike the frame when it swings. I always aim for a dimensional tolerance of +/- 1/32″ across the entire length of the seam.
Metal layout tips often focus on the marks you make, but the tools you use to maintain those marks are just as important. I prefer using a carbide scribe over a felt-tip marker because a marker line can be 1/16″ wide itself. That width is enough to cause a hinge to bind if you align to the left side of the line on one end and the right side on the other.
Calculating the Swing Path Clearance
The swing path is the arc the lid travels as it opens. Because heavy hinges have a physical thickness, the back edge of the lid will actually move toward the frame before it moves away from it. This is called the “cam action” of the hinge.
- Measure the distance from the center of the hinge pin to the edge of the hinge leaf.
- Add 1/16″ for “breathing room” to prevent the steel from rubbing.
- Use this total value to set your offset from the back of the frame.
- Mark this line clearly using a combination square.
Shimming and Spacing Techniques for Level Placement
In a perfect world, your bench frame and your lid would be perfectly flat. In a garage, they rarely are. Steel often has a natural “crown” or a slight twist from the cooling process at the mill. Shimming is the act of using thin strips of material to lift or tilt a component into the correct position.
I keep a “shim kit” in my drawer that consists of various thicknesses of sheet metal, from 22-gauge up to 10-gauge. When I am setting up hinges, I use these to compensate for any dip in the frame. If the middle of your frame is 1/16″ lower than the ends, your center hinge needs a 1/16″ shim to stay on the same axis as the outer hinges.
Using Feeler Gauges for Precision Gaps
Feeler gauges are thin strips of metal of a known thickness, usually measured in thousandths of an inch. While they are often used for engine work, they are incredible for workshop jigs and fixtures.
- Uniformity: Slide a feeler gauge between the lid and the frame at various points. If it fits tightly at the left and loosely at the right, your lid is skewed.
- Repeatability: Once you find the “sweet spot” where the lid moves freely, record the gauge thickness. You can use this to reset the alignment if a clamp slips.
- Compensating for Gravity: Heavy lids will naturally sag. I often shim the “latch side” of the lid about 0.010″ higher than level, knowing it will settle once the temporary supports are removed.
Using Clamps and Fixtures to Hold Position
Never trust a hinge to stay put just because it is heavy. The moment you move the lid, the hinges will shift. Workshop jigs don’t have to be complicated; they just need to be rigid. I use a combination of C-clamps and locking pliers to “lock in” my alignment before I even think about making it permanent.
When I was a prototype tech, we used “bridge clamps.” These are simple bars of steel that span across the lid and the frame, holding them in a fixed relationship. By clamping the hinges to the lid first, then clamping the lid to the frame, you create a temporary assembly that you can test.
Clamping Layout Strategies
- Primary Anchor: Clamp the two outermost hinges first. These define your primary axis.
- The Center Support: Once the ends are set, place the middle hinge. If it doesn’t sit flat against the frame, do not force it down with a clamp. Instead, use shims to fill the gap.
- Parallelism: Ensure the hinge leaves are perfectly parallel to the lid edge. If a hinge is “toed in” (angled), it will create a lateral force that tries to push the lid sideways as it opens.
| Clamp Type | Pressure Rating | Best Use for Hinge Alignment |
|---|---|---|
| C-Clamp | High | Holding hinges firmly against thick frame sections |
| F-Clamp | Medium | Quick adjustments and holding shims in place |
| Locking Pliers | Low/Medium | Clamping small hinge leaves in tight spaces |
| Parallel Clamps | Medium | Ensuring the lid stays square to the frame |
The Sequential Walk: Refining the Pivot Path
One of the most effective metal layout tips I can share is the “sequential walk.” This is the process of adjusting one hinge at a time while checking the motion of the lid. If you try to move three hinges at once, you will never find the source of a bind.
I always start with what I call the “Master Hinge.” This is usually the hinge closest to the sturdiest part of the frame. I align this hinge as accurately as possible and clamp it tight. This becomes my zero-point. Every other hinge must then be aligned to match the Master Hinge.
The Step-by-Step Adjustment Sequence
- Set the Master: Align the first hinge at the far left. Check its distance from the back edge and its height.
- The Far End: Go to the far right hinge. Align it to the same back-edge distance.
- The String Test: Run a thin nylon string or a laser line across the barrels of the two end hinges.
- Intermediate Hinges: Move the middle hinges until their barrels just touch the string.
- The “Dry” Swing: With everything clamped firmly, slowly lift the lid. If you feel any resistance or hear a “tink” sound, one of the hinges is fighting the others.
Verification and Final Swing Testing
Verification is the final exam for your alignment work. You are looking for two things: smooth motion and consistent gaps. I like to use a “gravity test.” If I lift the lid halfway and let go, it should close (or stay put, depending on the hinge friction) without jumping to one side.
If the lid “walks” or shifts laterally as it opens, your hinges are not parallel to each other. If the lid is hard to start opening but gets easier, your hinge axis is likely tilted downward toward the center. These are the subtle cues that tell you your layout needs a minor adjustment before you finalize the project.
Common Alignment Errors and Indicators
- Squeaking/Groaning: This is often metal-on-metal friction caused by the hinges being “toed in” or “toed out.”
- The “Spring-Back”: If you close the lid and it wants to pop back up a fraction of an inch, your hinges are likely set too deep, causing the lid to bind against the frame.
- Uneven Reveal: A gap that grows wider from left to right usually means the hinges are not on a parallel line with the front edge of the bench.
Advanced Tools for Modern Layout
While I grew up using squares and strings, modern technology has made this process much faster. If you are doing a lot of custom fabrication projects, investing in a few modern layout tools can save hours of frustration.
- Laser Levels: A self-leveling cross-line laser can project a perfectly straight line across all your hinge barrels. If the laser dot isn’t hitting the center of every pin, you have an alignment issue.
- 3D Printed Spacers: If you have a 3D printer, you can print custom blocks that snap onto your hinges and hold them at a specific distance from the frame edge.
- Digital Angle Gauges: These are great for ensuring that the hinge leaves are at the exact same angle relative to the ground, which is crucial if your bench is sitting on an uneven garage floor.
Practical Benchmarks for Success
How do you know when you are done? In my shop, I follow a set of benchmarks. If the project meets these criteria, I know the alignment is solid.
- Tack Spacing Range: While we aren’t joining yet, your clamps should be spaced no more than 4 inches from each hinge to prevent the metal from flexing during the test.
- The Paper Test: You should be able to slide a piece of notebook paper through the gap between the lid and the frame all the way around without it getting stuck.
- Zero Lateral Play: When the lid is open at 45 degrees, try to wiggle it left to right. There should be almost no movement. If it wiggles, your hinges are too loose or misaligned.
Lessons from the Field: Avoiding Rookie Mistakes
I’ve made plenty of mistakes over 13 years. One of the most common is ignoring the thickness of the paint or finish. If you align everything with zero clearance, the moment you add a coat of primer and paint, the lid will rub. Always leave a “paint gap” of about 0.020″ (roughly the thickness of a business card).
Another pitfall is over-clamping. If you use a 10-ton hydraulic clamp on a small hinge, you can actually deform the hinge barrel. Use just enough pressure to hold the piece. If you have to use massive force to get the hinge into position, your steel frame is likely warped, and you need to address that with shims rather than brute force.
Checklist for Final Alignment Verification
- Is the axis straight across all hinge pins?
- Is the gap between the lid and frame uniform (within 1/32″)?
- Does the lid move through its full range without binding?
- Are the hinge leaves flat against both surfaces without gaps?
- Is there enough clearance for the final thickness of the paint?
Conclusion and Next Steps
Aligning heavy hinges on a steel lid is a game of patience and precision. It is the bridge between raw fabrication and a finished, professional product. By focusing on a single axis, using shims to handle material imperfections, and verifying the swing path with clamps, you can avoid the frustration of a binding lid.
Your next step is to gather your layout tools—your straightedge, your shims, and your clamps—and do a “dry fit” of your project. Don’t rush this phase. The time you spend now ensuring that everything moves smoothly will pay off every time you open that lid for years to come. Remember, in the world of metalworking, we measure twice so we only have to fix it once.
FAQ: Precision Alignment for Steel Lids
What is the most common cause of a binding lid?
The most frequent cause is “axis misalignment.” This happens when the center lines of the hinge pins do not form a perfectly straight line. Even a tiny deviation forces the hinges to fight each other as they rotate, creating friction and resistance.
How do I know if I need to use shims?
Lay your hinges on the frame and lid. If you can see light under the hinge leaf or if the hinge “rocks” when you press on the corners, the surface is not flat. You need shims to fill that void so the hinge sits in a neutral, stress-free position.
Can I align hinges by eye?
No. While your eyes are good at spotting large errors, they cannot detect a 1/64″ twist over a four-foot span. Always use a straightedge or a laser to verify the hinge axis.
What should I use for temporary shims?
I recommend using steel feeler gauges for very fine adjustments (under 0.030″) and strips of scrap sheet metal for larger gaps. Avoid using compressible materials like cardboard or wood, as they will deform under the weight of the lid.
Why does my lid shift to the side when I open it?
This usually indicates that the hinges are not parallel to each other. If one hinge is angled slightly differently than the others, it acts like a screw thread, pushing the lid laterally as it turns.
How much gap should I leave between the lid and the frame?
A standard gap (or reveal) is 1/16″ to 1/8″. This provides enough room for the lid to swing without hitting the frame and accounts for the thickness of the paint or powder coating.
Is a laser level better than a straightedge?
A laser is excellent for long spans (over 6 feet), but for most workbenches, a high-quality steel straightedge is more reliable because it provides a physical surface to align the hinge barrels against.
What if my steel frame is slightly bowed?
If the frame is bowed, do not try to bend the hinge to match it. Instead, find the highest point of the bow and shim the other hinges up to that level to maintain a straight axis.
How tight should the clamps be during the alignment check?
The clamps should be tight enough that the hinge cannot be moved by hand, but not so tight that they crush or deform the hinge leaves. If the hinge leaf starts to cup, you are using too much pressure.
Should I align the hinges with the lid open or closed?
Start with the lid closed to set your gaps and reveal. Then, carefully open the lid to verify that the alignment holds true throughout the entire range of motion.
How do I check for “cam action” interference?
Slowly swing the lid and watch the back edge where it meets the frame. If the gap narrows as you open the lid, you need to move the hinge axis further away from the frame to provide more clearance.
What is the “string test” in hinge alignment?
The string test involves stretching a high-tension nylon line across the outer edges of the two end hinges. Any middle hinges should just barely touch the string. It is a low-cost, highly accurate way to check for a straight axis over long distances.
(This article was written by one of our staff writers, Robert Kline. Visit our Meet the Team page to learn more about the author and their expertise.)