Real Financial Return of Adding a Milling Machine (Analysis)
I spent years working at a bench with nothing but an angle grinder, a drill press, and a steady hand. Back then, I thought I was being efficient because my overhead was low. But as my side business grew, I realized I was hitting a wall. I was spending hours trying to get holes to line up or filing edges to fit, and I wasn’t charging nearly enough for that time. Transitioning from a hobbyist to a serious fabricator requires a shift in how you view your shop. It is no longer just a place to build things; it is an economic environment where every minute and every tool must justify its existence.

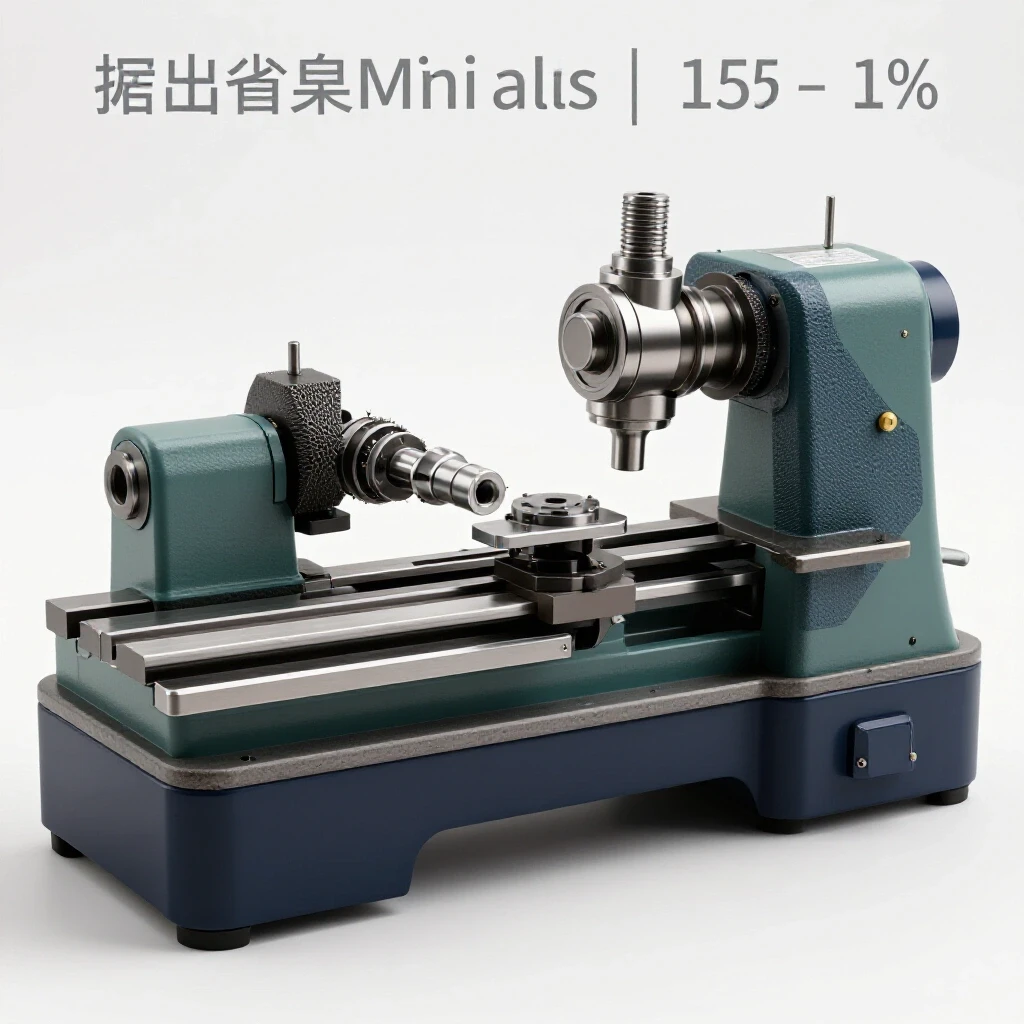
The decision to bring a manual milling machine into a small shop is rarely about wanting a new toy. It is about precision and, more importantly, the ability to reclaim your time. When you are balancing a full-time job and a fabrication business, time is your most expensive resource. If a piece of equipment can turn a two-hour filing job into a twenty-minute machining operation, the math starts to look very different. However, many shop owners fail because they don’t look at the hard numbers. They see the purchase price but ignore the tooling, the power requirements, and the learning curve.
Defining Your True Shop Hourly Rate
A shop hourly rate is the total dollar amount you must charge for every hour of labor to cover your expenses and generate a profit. It is the foundation of every bid you send to a customer.
Most side-hustlers pick a number out of thin air, often landing on something like $30 or $40 an hour because it sounds better than their day job. This is a mistake. In a professional fabrication environment, even a small one, your rate needs to account for the space you occupy, the tools you wear out, and the expertise you provide. For a small shop operating out of a garage or a rented bay, a realistic rate usually falls between $65 and $120 per hour.
To find your number, you must look at your total annual shop costs. If you pay $500 a month for a small shop space and $100 for utilities, you are starting at $7,200 a year before you even strike an arc or turn a spindle. If you only have 15 hours a week to dedicate to your side business, that is 780 hours a year. Dividing your $7,200 overhead by 780 hours gives you an “overhead burden” of roughly $9.23 per hour. This doesn’t include your profit, your consumables, or your own paycheck.
| Expense Category | Annual Cost (Example) | Hourly Burden (780 hrs/yr) |
|---|---|---|
| Shop Rent/Space | $6,000 | $7.69 |
| Utilities (Power/Heat) | $1,200 | $1.54 |
| Insurance & Software | $800 | $1.03 |
| Equipment Maintenance | $500 | $0.64 |
| Total Base Overhead | $8,500 | $10.90 |
Building on this, if you want to take home $50 an hour as profit and wages, your shop rate is already over $60. Once you add in the cost of tools and supplies, you can see why $85 an hour is a standard baseline for many small fabrication shops.
The Impact of Precision Equipment on Workshop Efficiency
Integrating a manual mill into your workflow means moving from “close enough” to “exactly right.” This transition changes the types of jobs you can accept and how quickly you can finish them.
A manual mill allows you to perform operations like squaring blocks, cutting keyways, and drilling precise bolt patterns that a drill press simply cannot handle. Interestingly, the biggest gain isn’t just in the complexity of the work, but in the repeatability. If you have to make ten identical brackets, the mill ensures that bracket number ten is exactly the same as bracket number one. In a manual fabrication setup, human error often leads to scrapped material. By using a mill, you reduce that “scrap rate,” which directly impacts your bottom line.
When I added my first knee mill, I stopped outsourcing small spacers and mounting blocks. I used to pay a local machine shop $150 for a set of custom spacers every time I built a roll cage. Once I had the mill, I could make those same spacers in 45 minutes using $10 worth of raw material. That is a $140 swing in project value. Over ten projects, that machine has already contributed $1,400 toward its own cost just by eliminating outsourced labor.
Tracking the Hidden Cost of Consumables
Consumables are the items used up during the fabrication process, such as end mills, drill bits, coolant, and lubricants. These costs are often “invisible” because they are purchased in small amounts over time.
One of the most common mistakes I see in small shops is failing to track the “consumable burden.” If you buy a $40 carbide end mill and it lasts through five jobs, you have used $8 of that tool per job. If you aren’t adding that to your quote, you are paying the customer to work for them. I recommend a “consumable markup” of at least 10% to 15% on the total labor cost of a job to cover these items.
- End Mills: Expect to spend $20 to $60 for quality HSS or carbide cutters.
- Coolant/Lubricant: A gallon of concentrate can last a small shop a year but costs $40-$60. | Way Oil: Essential for machine longevity; roughly $20 per quart.
- Drill Bits: Frequent sharpening or replacement is a standard operating cost.
In my experience, tracking these costs in a simple spreadsheet is the only way to stay profitable. I track every tool purchase and assign it to a “shop supply” category. At the end of the month, I compare my supply spending to my total invoiced labor. If my supplies are exceeding 15% of my labor, I know I need to adjust my pricing or improve my machining techniques to save on tool wear.
Calculating the Payback Period for New Machinery
The payback period is the amount of time it takes for a new piece of equipment to pay for itself through increased revenue or cost savings. This is the most honest way to evaluate a major purchase.
Let’s look at a realistic scenario. You find a used manual mill for $3,500. You spend another $1,000 on a basic tooling kit (collets, a vise, and a few end mills). Your total investment is $4,500. To find the payback period, you need to determine how much “extra” money that machine brings in per month.
If the mill allows you to take on two new types of jobs per month that pay $300 each in labor, that is $600 of new revenue. If it also saves you $200 a month in outsourced parts, your total monthly gain is $800.
$4,500 (Investment) / $800 (Monthly Gain) = 5.6 Months
In this example, the machine pays for itself in less than half a year. That is an incredible return on investment. However, if you only use the machine once a month for a small task, that payback period could stretch to five years. As a small shop owner, you must be honest about how much work you actually have lined up for the new equipment.
Estimating and Bidding for Profitability
Fabrication job costing is the process of totaling all expenses for a specific project to ensure the final price covers costs and provides a profit. It is part art and part science.
When bidding on a job that requires machining, I use a “three-tier” estimation model. First, I calculate the material cost and add a 20% to 30% markup. This covers the time I spend sourcing the metal and the cost of fuel to go pick it up. Second, I estimate the labor hours. I always add a 20% “buffer” to my labor estimate because something almost always goes wrong—a broken tap, a hard spot in the steel, or a measurement error. Finally, I add the consumable burden.
- Material Cost: $100 + 20% markup = $120
- Labor: 4 hours at $85/hr = $340
- Buffer: 0.8 hours (20%) = $68
- Consumable Burden: 10% of labor = $34
- Total Quote: $562
By using this structured approach, you avoid the “flat-rate trap.” Many hobbyists will look at a part and say, “I can do that for $300.” But after they spend $100 on steel and 6 hours in the shop, they realize they only made $33 an hour before expenses. Using a data-driven model protects your margins and ensures you are actually making money.
Strategic Sourcing for Small-Batch Fabrication
Sourcing refers to the process of finding and buying raw materials and supplies at the best possible price. For a side-hustle, this is often a major challenge due to low volume.
Large machine shops get “tier pricing” because they buy steel by the ton. As a small shop owner, you are likely buying by the foot or the plate. To stay competitive, you need to find ways to reduce these costs. I often look for “remnant” or “drops” at local steel yards. These are leftover pieces from larger orders that are sold at a significant discount.
Another strategy is bulk purchasing for common items. If you know you use a lot of 1-inch square tubing or 1/2-inch aluminum plate, buy it in full lengths (typically 20 feet) rather than small pieces. The price per inch drops drastically when you buy the whole stick. I also apply this to consumables. Buying a 10-pack of end mills is often 15% cheaper than buying them individually. These small savings add up across a dozen jobs and directly increase your project’s final profit.
Analyzing Post-Job Profit and Variance
Post-job reconciliation is the act of comparing your original estimate to the actual costs incurred once the job is finished. This is where you learn how to be a better business owner.
After every major project, I sit down with my notes. I look at how many hours I actually spent versus what I quoted. If I quoted 4 hours but it took 6, I need to know why. Was the setup on the mill more complex than I thought? Did I spend too much time cleaning up the finish? Interestingly, I often find that the “hidden” time—like deburring parts or packing them for the customer—is what eats the profit.
Variance is the difference between your expected cost and your actual cost. A small amount of variance is normal, but if you are consistently over your labor estimate by 20%, you need to raise your rates or work more efficiently. This feedback loop is what separates a hobbyist who is “bleeding money” from a professional who is building a sustainable business.
Tools for Modern Shop Management
Managing the finances of a small metal shop has become much easier with digital tools. You no longer need to be an accountant to keep clean books.
- QuickBooks or FreshBooks: These are excellent for tracking expenses and sending professional invoices. They allow you to see your profit and loss at a glance.
- Excel or Google Sheets: I still use a custom spreadsheet for my job estimates. It allows me to plug in my hourly rate and material costs to generate a quote instantly.
- Inventory Trackers: Apps like Sortly can help you keep track of how many end mills or drill bits you have in stock, so you don’t run out in the middle of a job.
- Digital Calipers and Micrometers: While not “financial” software, high-quality measuring tools prevent costly mistakes. A part made wrong is a part made twice, which is a financial disaster.
Using these tools doesn’t just make you more organized; it makes you look more professional to your clients. A well-formatted, digital invoice with a clear breakdown of costs builds trust. Customers are often willing to pay a higher shop rate if they feel they are dealing with a professional operation.
Moving Forward with Shop Investments
The goal of adding a milling machine is to increase your shop’s capability and your personal earning potential. It is a significant step that moves you away from basic fabrication and into the world of precision manufacturing.
Start by looking at your last three months of work. How many times did you have to turn down a job because you couldn’t machine a flat surface or a precise hole? How much did you spend on outsourced parts? If those numbers are high, the decision is already made. The key is to implement the machine slowly. Don’t try to take on a complex aerospace part on day one. Start with simple brackets and spacers for your existing clients.
As you get faster with the machine, you will find that your “effective hourly rate” increases. If you quote a job based on 4 hours of manual labor but finish it in 2 hours using the mill, you have essentially doubled your hourly rate for that project. This is the ultimate goal of workshop economics: using better tools to produce higher-quality work in less time.
Frequently Asked Questions
How do I determine if a used milling machine is a good financial investment? Look at the “total landed cost,” which includes the purchase price, transportation, electrical upgrades for your shop, and initial tooling. If the total cost is $5,000 and you can identify $1,000 a year in savings or new revenue, the machine is a solid investment with a 5-year payback. Most small shops find the payback is much faster, often 1-2 years.
What is the most common hidden cost when adding a mill? Tooling and workholding. Many people buy a mill for $2,000 and are shocked to find they need another $1,000 for a quality vise, collet set, clamping kit, and basic cutters. Always budget at least 30% of the machine’s cost for the tools needed to actually use it.
Should I charge more for “machining time” than “welding time”? Some shops do, but I prefer a flat shop rate. Machining requires more expensive equipment and tooling, but welding requires more expensive consumables (gas and wire) and safety gear. A consistent rate of $85-$100 per hour across all shop activities keeps your bidding process simple and transparent.
How do I factor in the time I spend learning to use the mill? You should not charge customers for your learning curve. If a professional could do the job in one hour, but it takes you three because you are learning, you should only bill for one hour. Consider your “learning time” as an investment in your own skills, which will pay off on future jobs.
Is it better to buy a new benchtop mill or a used full-sized knee mill? From a financial perspective, a used knee mill (like a Bridgeport or clone) often offers a better return because it is more rigid and versatile, allowing for faster metal removal and larger jobs. However, if you have limited space or power, a high-quality benchtop mill can still be very profitable for small parts.
What is a standard markup for raw materials? A markup of 20% to 50% is standard. The smaller the order, the higher the markup. If you are buying $20 worth of steel, a 50% markup ($10) barely covers your time to cut and prep it. For a $1,000 material order, a 20% markup ($200) is more appropriate.
How often should I review my shop rate? I recommend reviewing your numbers every six months. If your utility bills or material costs have gone up, your rate needs to follow. Small, incremental increases are easier for customers to accept than a single massive jump after three years of stagnant pricing.
How do I handle “small talk” or consulting time with customers? If a customer wants to spend an hour in your shop discussing a design, that is billable time. I usually offer the first 15 minutes for free, but anything beyond that is charged at my standard shop rate. This discourages “tire kickers” and ensures you are compensated for your expertise.
What is the “scrap factor” and how do I calculate it? The scrap factor is a percentage added to your material estimate to cover mistakes or off-cuts. For most fabrication work, adding 10% to your material list is a safe way to ensure you don’t lose money if you mis-cut a single piece of steel.
Can I justify a mill if I only do hobby work? If you aren’t running a business, the “return” is personal satisfaction and capability. However, even for a hobbyist, the “make vs. buy” logic applies. If the mill allows you to avoid buying $500 worth of parts every year, it will eventually pay for itself, even if the timeline is much longer.
(This article was written by one of our staff writers, Michael Hargrove. Visit our Meet the Team page to learn more about the author and their expertise.)