How to Create Standard Metal Prep checklists for DIY (Tips)
In my fourteen years navigating the grit and heat of metal fabrication shops, I have learned that the most dangerous part of a project is often the part you cannot see. I remember a specific instance early in my career involving a heavy equipment rack. On the surface, the steel looked pristine—shiny, silver, and ready for work. However, because we skipped a rigorous degreasing step, the finish began to lift within weeks, hiding a layer of oxidation that eventually compromised the material’s integrity. It was a humbling lesson in why the foundation of any build starts long before a single tool is powered on.
For those of us who value technical accuracy and safety, the initial conditioning of our materials is where we win or lose. When we ignore the microscopic layers of oil, scale, or moisture on our stock, we invite failure into our designs. This guide focuses on creating a systematic approach to preparing metal surfaces in a home workshop, ensuring your projects are built on a base of clean, predictable material.
The Physical Reality of Surface Contamination
Surface contamination refers to any foreign substance—such as oils, oxides, or dirt—that sits on top of the base metal and prevents proper bonding or inspection. Understanding these elements is vital because they act as a barrier between the metal and whatever process follows.
In a workshop environment, metal arrives in various states. New steel often carries a layer of mill scale or shipping oil. If you are working with salvaged material, you might face deep-seated rust or old paint. These are not just aesthetic issues; they are structural liabilities. For example, mill scale is a brittle, flaky layer of iron oxide that forms when steel is hot-rolled. Because it does not expand or contract at the same rate as the underlying steel, it can pop off under stress, taking your finish or your joint’s integrity with it.
Identifying Common Workshop Contaminants
Contaminants are substances that degrade the quality of the metal surface, ranging from visible rust to invisible chemical films. Identifying these early allows you to select the correct removal method.
- Mill Scale: A dark, bluish-grey coating found on hot-rolled steel. It is hard and brittle.
- Hydrocarbons: These include shipping oils, grease, and even fingerprints. They are the primary cause of coating failures.
- Oxidation (Rust): The reaction of iron with oxygen and moisture. It eats into the metal, creating pits that can act as stress risers.
- Mechanical Dust: Fine particles from grinding or sawing that can become embedded in the surface.
The Impact of Surface Pitting on Material Longevity
Pitting is a form of localized corrosion that creates small holes or “pits” in the metal surface. While they may look small, these pits reduce the effective thickness of your material and concentrate stress in a single point.
When I analyze material stress thresholds, I look for these surface irregularities. A smooth piece of 1/8-inch steel behaves predictably. However, a piece of 1/8-inch steel with deep pits may only have a functional thickness of 3/32-inch in certain spots. This creates a “weak link” in your project. By properly cleaning and inspecting your stock, you can identify if a piece is too compromised for a structural load or if it simply needs a thorough mechanical cleaning.
Essential Tools for Workshop Material Preparation
Material preparation tools are the devices used to mechanically or chemically strip away contaminants to reveal the bare, “white” metal underneath. Having the right tool for the specific contaminant ensures you don’t accidentally drive the dirt deeper into the metal.
In my shop, I categorize these tools by their “aggressiveness.” You wouldn’t use a heavy grinding disc to remove light oil, just as you wouldn’t use a soft cloth to remove mill scale. Using the wrong tool can lead to over-thinning your material or creating an uneven surface profile that makes assembly difficult.
Mechanical Abrasives and Their Roles
Abrasives are materials used to wear away the surface of the metal through friction. They are rated by grit size; the lower the number, the more aggressive the cut.
- Wire Brushes (Stainless and Carbon): Excellent for removing loose rust or scale without removing much of the base metal. Always keep your stainless brushes separate from your carbon steel brushes to prevent cross-contamination.
- Flap Discs: These are layers of sandpaper on a rotating disc. They provide a more controlled finish than a solid grinding wheel and are ideal for removing mill scale while maintaining a flat surface.
- Non-Woven Abrasive Pads: Often called “scuff pads,” these are used for light cleaning and creating a “tooth” on the metal for better paint adhesion.
- Angle Grinders: The workhorse of the DIY shop. When used with the correct attachment, they can handle almost any surface conditioning task.
Chemical Cleaning Agents for Degreasing
Chemical cleaners are solvents or detergents used to dissolve oils and greases that mechanical tools might just spread around.
Before you ever touch a grinder to a piece of steel, it should be degreased. If you grind through oil, the heat can bake those hydrocarbons into the pores of the metal. I recommend a two-stage cleaning process: a primary degreaser to remove bulk oil, followed by a high-evaporation solvent for a final wipe-down. This ensures the surface is chemically clean and ready for the next step of your project.
| Cleaning Method | Best For | Risk Factor |
|---|---|---|
| Wire Brushing | Loose rust, debris | Can “burnish” or smear contaminants if not careful. |
| Flap Discs (40-60 grit) | Mill scale, heavy rust | Can remove too much base metal if held in one spot. |
| Solvent Wipe | Oils, greases, prints | Requires high ventilation and proper PPE. |
| Abrasive Blasting | Complex shapes, deep pits | High dust production; requires containment. |
Safety Protocols for Metal Conditioning
Workshop safety protocols are the standardized rules and protective measures used to prevent injury and long-term health issues during fabrication tasks. Preparing metal is a high-energy activity that produces dust, sparks, and fumes.
I have seen many DIYers take safety for granted during the “boring” prep phase. They save their focus for the actual building. However, the fine dust produced by grinding mill scale or old coatings can be toxic if inhaled. Furthermore, the high-speed rotation of preparation tools means that a single slip can result in a significant injury. A rigorous safety checklist is not a suggestion; it is a requirement for anyone working with heavy materials.
Personal Protective Equipment (PPE) for Surface Prep
PPE consists of specialized clothing and gear designed to protect the body from workshop hazards like flying debris and toxic dust.
- Eye and Face Protection: Safety glasses are the minimum, but a full-face shield is better when using wire wheels, as they can shed individual wire “needles” at high speeds.
- Respiratory Protection: A tight-fitting respirator with P100 filters is essential. N95 masks often do not provide a sufficient seal against the fine metallic dust generated by grinding.
- Hearing Protection: Consistent exposure to the high-pitched whine of an angle grinder can lead to permanent hearing loss. Use earplugs or muffs rated for at least 25dB of noise reduction.
- Hand Protection: Heavy-duty leather gloves protect against sharp edges and “kickback” from tools.
Managing the Workshop Environment
The layout and ventilation of your workspace play a major role in safety. When you are removing rust or scale, you are essentially atomizing iron oxide into the air.
- Ventilation: Work near an open door or use a dedicated dust extraction system. If you can see a “haze” in the air, your ventilation is insufficient.
- Spark Management: Ensure your grinding path is clear of flammable materials like sawdust, oily rags, or fuel cans. A spark can smolder in a pile of debris for hours before igniting.
- Tool Inspection: Before starting, check your power cords for nicks and ensure your abrasive discs are not cracked or chipped. A disc spinning at 11,000 RPM that shatters is essentially a grenade.
Step-by-Step Metal Readiness Checklist
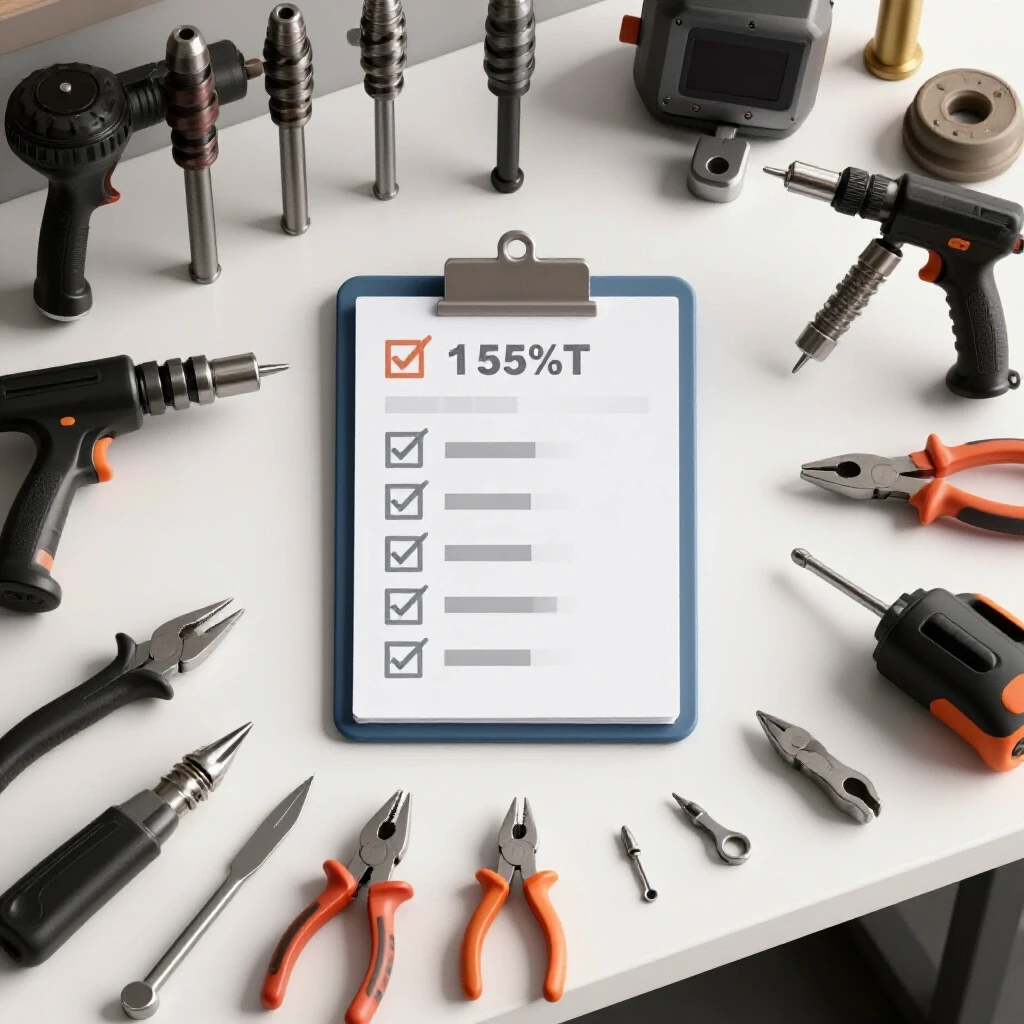
A readiness checklist is a sequential list of tasks performed to ensure a piece of metal is structurally and chemically prepared for fabrication. Following a set order prevents you from having to repeat steps.
In my 14 years of inspection work, I have found that a standardized “flow” reduces errors. If you jump straight to grinding without degreasing, you contaminate your abrasives. If you clean the metal but wait three days to use it, flash rust may form. By following this systematic approach, you ensure the highest quality results with the least amount of wasted effort.
1. Initial Inspection and Sorting
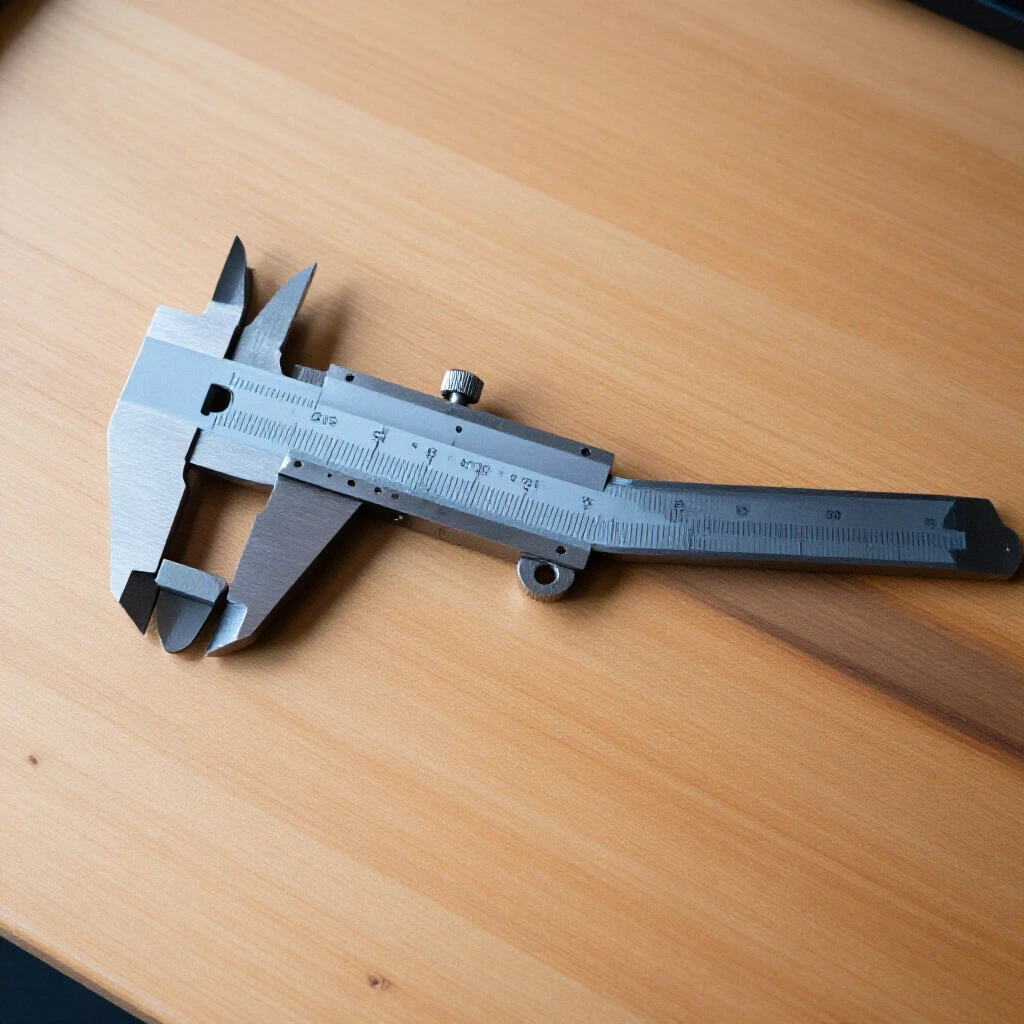
Before doing any work, examine your stock. Is it straight? Are there deep gouges or structural defects? Use a straightedge to check for bows and a caliper to verify the material thickness matches your design requirements. If a piece of 2×2 square tubing is out of square from the mill, your entire frame will be difficult to align.
2. Primary Degreasing
Wipe the entire surface with a clean rag and a degreasing agent. This removes the “shipping film” found on most new metal. I prefer using a lint-free cloth so no fibers are left behind. This step is crucial because it prevents oils from being ground into the metal’s surface in the next step.
3. Mechanical Scale and Rust Removal
Use your angle grinder with a flap disc or wire wheel to remove the mill scale or rust. You are looking for a uniform, “bright” metal finish. * For Structural Joints: Clean at least 2 inches back from any area where pieces will be joined. * For Surface Coatings: Clean the entire visible surface to ensure even adhesion. * Visual Check: The metal should look like a dull mirror—grey and consistent, with no dark patches of scale remaining.
4. Secondary Cleaning and Dust Removal
Once the mechanical work is done, the metal will be covered in fine grey dust. Use vacuuming or compressed air to remove the bulk of it, then perform a final wipe-down with a clean solvent like denatured alcohol. This removes any remaining microscopic particles.
5. Surface Profile Verification
“Profile” refers to the texture or “tooth” of the metal surface. Some coatings require a rougher surface to “grip” onto. If your project requires a specific finish, use a finer grit abrasive (like 120 grit) to smooth out the deep scratches left by heavier grinding. A consistent profile leads to a consistent final product.
6. Protection and Storage
Clean metal begins to oxidize almost immediately, especially in humid garage environments. If you aren’t moving to the next stage of your project right away, consider applying a temporary, weld-through primer or storing the metal in a climate-controlled area. I often wrap my prepared pieces in clean plastic to keep dust and moisture away until I am ready for assembly.
Analyzing Material Stress and Structural Integrity
Structural integrity is the ability of a construction to hold together under its intended load without breaking or deforming excessively. Surface preparation directly affects this by ensuring that the materials can be accurately measured and joined.
When I design a heavy frame, I calculate the load paths—the routes that force takes through a structure. If a surface is covered in rust or scale, the dimensions I measure might be off by several thousandths of an inch. While that sounds small, those gaps add up across a large project, leading to misalignment and uneven stress distribution.
Understanding Yield Strength and Safety Margins
Yield strength is the amount of stress a material can withstand before it begins to permanently deform. In DIY projects, we always want to stay well below this limit.
- Safety Factor: This is the ratio of the material’s strength to the actual load it will carry. For most home projects, a safety factor of 3:1 or 4:1 is recommended. This means if your shelf needs to hold 100 pounds, you design it to hold 300 or 400 pounds.
- The Role of Cleanliness: A clean surface allows for a more accurate assessment of the metal’s condition. You cannot see a hairline crack or a laminating flaw through a layer of mill scale. By stripping the metal back to its base, you are performing a visual “load test” of sorts, ensuring the material is healthy enough for the job.
Common Pitfalls in DIY Material Preparation
Even experienced makers can fall into habits that compromise their work. Recognizing these “rookie mistakes” is the first step toward professional-grade results.
- Over-Grinding: Removing too much material in an attempt to get it clean, which thins the metal and reduces its load capacity.
- Ignoring the Backside: Only cleaning the side of the metal you can see. Contaminants on the “hidden” side can still cause issues during later stages of fabrication.
- Reusing Rags: Using a dirty rag to perform a “final” wipe-down just moves oil from one piece to another.
- Skipping the Edges: The edges of your cut material are often the most contaminated and the most prone to holding burrs that prevent tight fit-up.
Workshop Maintenance and Tool Care
A clean shop leads to clean metal. If your workbench is covered in oil and metal shavings, your freshly cleaned stock will be contaminated the moment you set it down.
I recommend a “clean as you go” policy. After grinding a batch of parts, take five minutes to vacuum the area and wipe down your tools. This prevents cross-contamination between different types of metal (like carbon steel and aluminum) and keeps your workspace safe from slip hazards.
Maintaining Your Abrasives
Abrasive discs don’t last forever. As they wear down, they become less efficient and generate more heat. * Glazing: This happens when the abrasive pores get clogged with soft metal or oil. A glazed disc won’t cut; it just generates friction and heat. Replace it immediately. * Edge Wear: If the edge of a flap disc is frayed, it can leave an uneven surface. * Storage: Keep your sanding discs and wheels in a dry place. Moisture can weaken the bonding agents in some abrasives, making them dangerous to use.
Conclusion: The Discipline of Preparation
In the world of metalworking, the difference between a project that lasts a lifetime and one that fails prematurely is often found in the first hour of work. By implementing a standardized checklist for preparing your materials, you remove the variables that lead to frustration and wasted cost.
I have found that the most successful fabricators are not necessarily the ones with the most expensive tools, but the ones with the most disciplined processes. Taking the time to degrease, mechanically clean, and inspect your metal is a sign of respect for the materials and the physics involved. As you move forward with your next project, remember that the “prep work” isn’t a hurdle to get over—it is the foundation upon which your safety and success are built.
Frequently Asked Questions
Why is mill scale a problem if I’m just going to paint over it?
Mill scale is loosely bonded to the steel. Over time, moisture can get underneath it, causing the scale to flake off. If the scale flakes off, your paint goes with it, exposing the bare steel to rapid corrosion.
Can I use a wire wheel on a drill instead of an angle grinder?
A drill lacks the RPM (rotations per minute) of an angle grinder. While it can work for very light rust, it often “burnishes” or smears contaminants rather than removing them. An angle grinder is much more effective for reaching bare metal.
Is it necessary to degrease new steel that looks clean?
Yes. Most new steel is coated in a thin layer of “lanolin” or shipping oil to prevent rust during transport. This oil is often invisible but will cause significant issues with any coating or joining process.
How do I know if I have ground away too much metal?
Use a set of calipers to measure the thickness of the metal before and after prep. If you have removed more than 5-10% of the original thickness, you are being too aggressive with your grinding and may be compromising the part’s strength.
What is “flash rust” and how do I prevent it?
Flash rust is a very thin layer of oxidation that forms on freshly cleaned steel within minutes or hours, especially in high humidity. To prevent it, keep your workshop dry and apply a temporary protectant or move to the next stage of your project immediately after cleaning.
Why should I keep stainless steel and carbon steel brushes separate?
If you use a brush on carbon steel and then on stainless steel, you will embed tiny particles of carbon steel into the stainless. These particles will rust, causing the stainless steel to “tea stain” and lose its corrosion resistance.
Is denatured alcohol better than mineral spirits for final cleaning?
Denatured alcohol evaporates faster and leaves less residue than mineral spirits. For a final wipe-down before a coating or assembly, alcohol or a dedicated “pre-paint” cleaner is generally superior.
How can I tell if I’ve removed all the mill scale?
Mill scale has a distinct dark grey or bluish tint and a slightly “pebbled” texture. Bare steel is a uniform, bright silver-grey. If you see any dark spots or “shadows” in the metal, the scale is still present.
Can I use a pressure washer to clean my metal?
A pressure washer is good for removing heavy mud or loose debris from salvaged metal, but it will not remove mill scale or oils. Furthermore, the water will cause immediate flash rusting unless the metal is dried and treated instantly.
What is the safest way to dispose of solvent-soaked rags?
Solvent-soaked rags can spontaneously combust if left in a pile. Always lay them out flat to dry in a well-ventilated area away from heat sources, or store them in a UL-listed oily waste can filled with water.
(This article was written by one of our staff writers, James Harlan. Visit our Meet the Team page to learn more about the author and their expertise.)