Valuable Shop Upgrades to Improve Your Garage Workshop (Tips)
I have spent nearly two decades taking apart machines that were supposed to be “heavy-duty” only to find plastic gears and hollow castings. In my 17 years as a maintenance specialist, I have learned that a shiny coat of paint often hides a lot of manufacturing shortcuts. When you are looking to improve your metalworking setup, the marketing brochures will tell you everything is “precision-engineered,” but your dial indicator might tell a different story.
Choosing the right equipment for a residential shop is a balancing act between cost and mechanical reality. You do not need an industrial-sized vertical machining center, but you do need a machine that can hold a tolerance without chattering your teeth out. In this guide, I will show you how to look past the brand stickers and evaluate the actual iron, copper, and steel that determine if a tool is a lifelong asset or a frustrating project.
Evaluating Base Materials and Frame Rigidity
The foundation of any metalworking tool is its frame, which provides the necessary stiffness to resist cutting forces. In a garage setting, where space is limited, manufacturers often try to reduce weight, but losing mass can lead to vibrations that ruin surface finishes.
Why Mass Matters for Vibration Dampening
Vibration dampening is the ability of a material to absorb energy from the cutting process rather than reflecting it back into the workpiece. For home-scale lathes and mills, high-quality gray cast iron is the standard because its internal structure naturally absorbs these harmonics.
When you are comparing two machines of similar size, look at the shipping weight. A 300-pound lathe will almost always outperform a 150-pound lathe of the same length because the extra mass prevents the tool bit from “bouncing” during a heavy cut. This mass is what allows you to take deeper cuts and achieve a smoother, mirror-like finish on steel parts.
Comparing Frame Construction Types
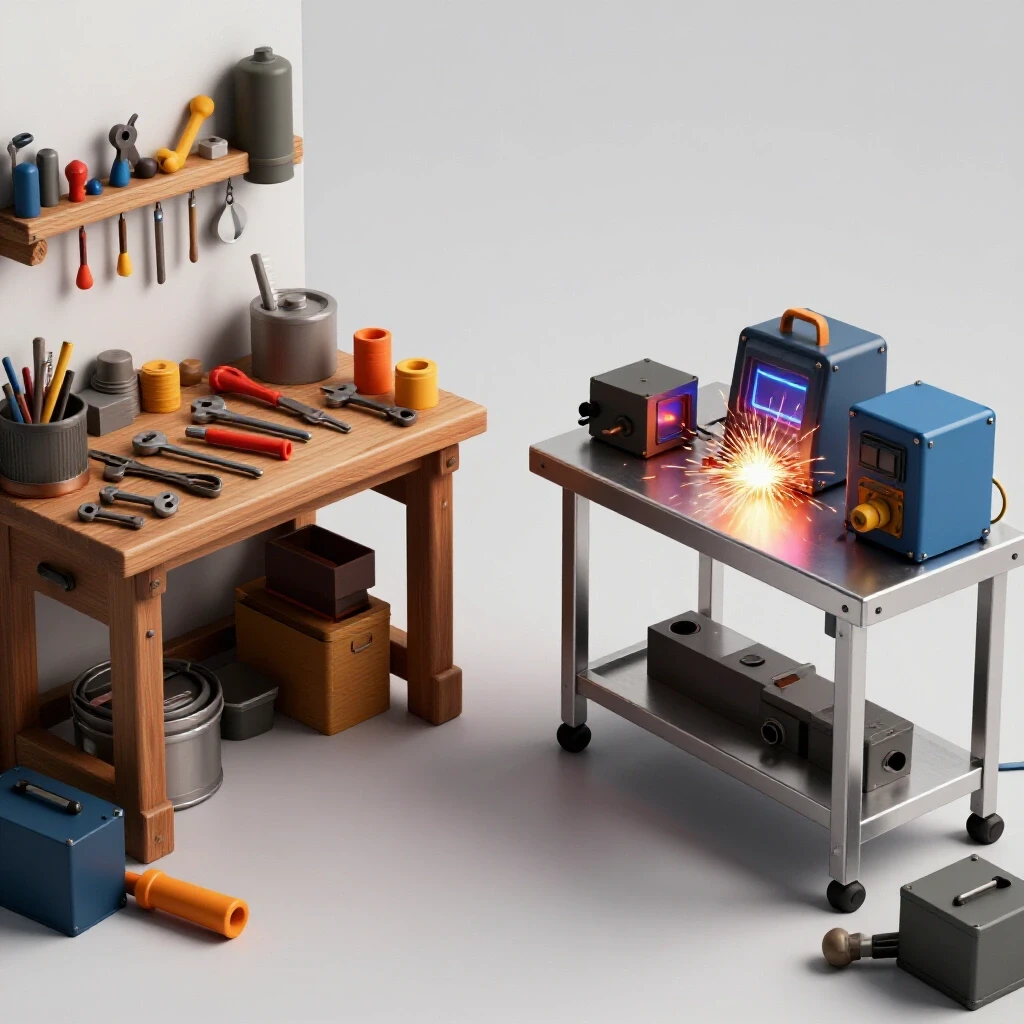
| Feature | Cast Iron (Class 25/30) | Fabricated Sheet Steel |
|---|---|---|
| Vibration Absorption | Excellent (High Carbon Content) | Poor (Tends to Ring) |
| Rigidity | High (Resists Flexing) | Moderate (Depends on Bracing) |
| Thermal Stability | Good (Slow to Expand) | Moderate (Fast to React) |
| Common Use | Lathe Beds, Mill Columns | Bench Grinder Stands, Light Cabinets |
Assessing Motor Design and Power Delivery
The motor is the heart of your machine, but not all horsepower ratings are created equal. In the world of garage-scale machinery, “peak horsepower” is often a marketing trick used to hide a motor that stalls as soon as the tool hits the metal.
Understanding Continuous vs. Peak Horsepower
Continuous horsepower is the amount of power a motor can provide indefinitely without overheating, while peak horsepower is a burst it can only sustain for a few seconds. For a reliable metalworking setup, you should always look for the continuous rating on the motor nameplate.
A 1-HP motor with a continuous rating is significantly more powerful than a “2-HP Peak” motor found on budget equipment. If a manufacturer does not list the continuous rating, look at the amperage draw. At 110V, a true 1-HP motor should draw around 12 to 14 amps; if the sticker says 5 amps but claims 2 HP, the numbers are being inflated.
The Rise of Brushless DC and Vector Drives
Modern electronics have changed how we control tool speed in smaller shops. Brushless DC (BLDC) motors and Variable Frequency Drives (VFDs) allow you to change the RPM of your spindle without swapping belts or shifting gears manually.
- Brushless DC Motors: These are compact and provide high torque even at low speeds. This is critical for threading on a lathe or using large-diameter cutters on a mill.
- VFD (Variable Frequency Drive): This device takes standard wall power and changes the frequency to control a 3-phase AC motor. It provides the smoothest power delivery and allows for features like soft-starts and emergency braking.
Measuring Precision: Spindle Runout and Bearings
Spindle runout is the most critical metric for any rotating tool, representing how much the center of rotation wobbles. Even the most powerful motor cannot compensate for a spindle that does not spin true, as it will cause uneven wear and poor accuracy.
What is Total Indicated Runout (TIR)?
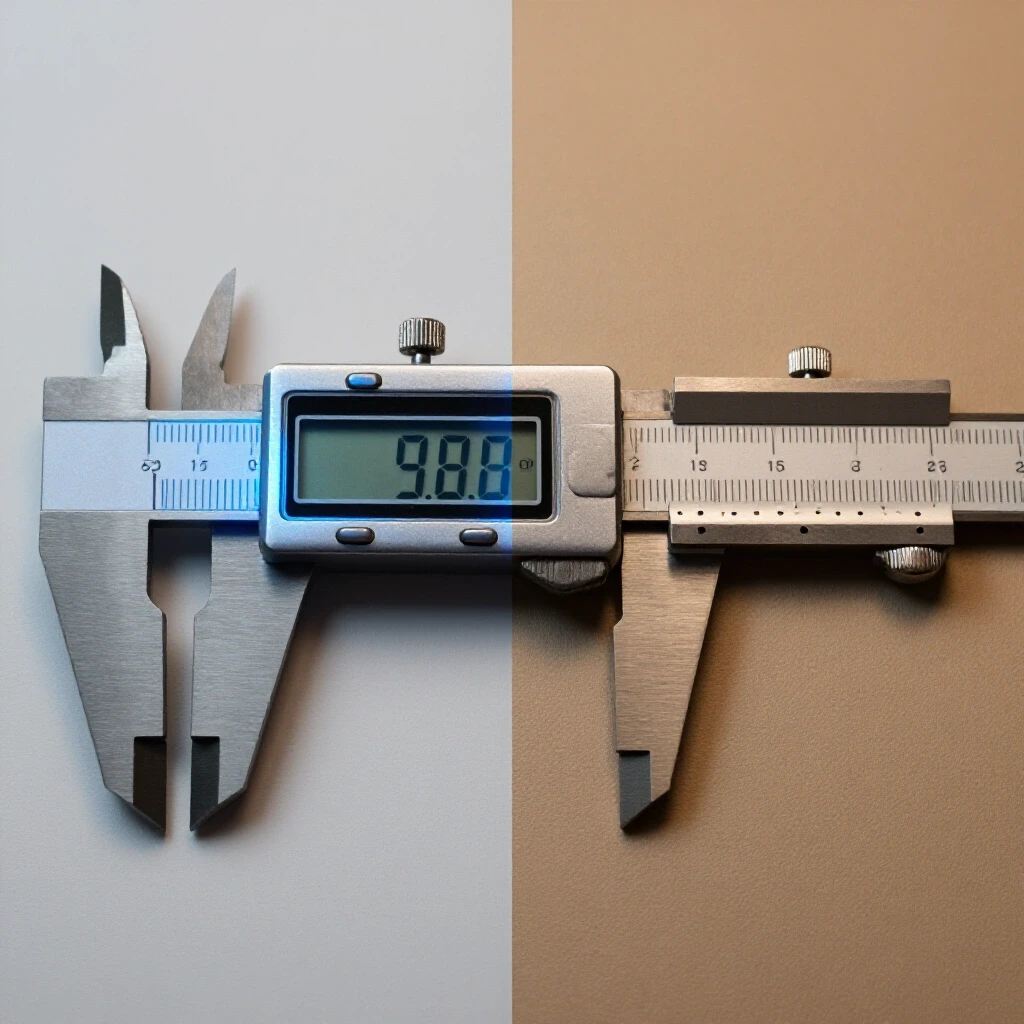
Total Indicated Runout (TIR) is the difference between the maximum and minimum measurements on a dial indicator as you rotate a spindle by hand. In a high-quality garage mill or lathe, you want to see a TIR of less than 0.0005 inches at the spindle nose.
If a machine has a runout of 0.002 inches or more, you will struggle to drill precise holes or turn parts that are perfectly round. I always recommend bringing a dial test indicator when inspecting a used machine; if the owner won’t let you check the runout, walk away from the deal.
Evaluating Bearing Types and Preload
Bearings support the spindle and allow it to spin under load. Most hobby-grade machines use deep-groove ball bearings, which are cheap but not ideal for the side-loads found in milling or heavy turning.
- Tapered Roller Bearings: These are the gold standard for lathes. They can handle both radial (spinning) and axial (pushing) loads, and they are adjustable.
- Angular Contact Bearings: Often found in high-speed mills, these provide excellent precision and can be “preloaded” to remove all internal play.
- Bearing Preload: This is the process of tightening the bearings against each other to ensure there is zero “slop” in the system. A machine with adjustable preload will stay accurate much longer than one with fixed bearings.
Improving Accuracy with Digital Readouts and Controls
Precision in a small shop often depends on the user’s ability to read tiny lines on a chrome dial. Upgrading to digital systems can eliminate human error and significantly speed up your fabrication process.
The Value of Digital Readouts (DRO)
A Digital Readout (DRO) uses glass or magnetic scales to track the actual movement of the machine’s table or carriage. Unlike the manual dials on your handles, a DRO is not affected by “backlash”—the tiny amount of play in the lead screws that occurs when you change directions.
Installing a 2-axis or 3-axis DRO on a mill is perhaps the single most effective way to improve your output. It allows you to move to specific coordinates with a resolution of 0.0002 inches, making it much easier to layout hole patterns or mill blocks to an exact size without constant stopping to use calipers.
Implementing Variable Speed Control
Being able to dial in the exact RPM for a specific drill bit or material is vital. If you are drilling stainless steel, you need a slow speed to prevent work-hardening; if you are polishing aluminum, you need high speed.
- Check the existing drive system: Does it use a plastic stepped pulley or a electronic controller?
- Evaluate low-end torque: Turn the machine to its lowest speed and try to stall the spindle by hand (carefully). A good controller will compensate and maintain torque.
- Noise levels: Electronic speed controllers are generally much quieter than mechanical gearboxes, which is a major benefit in a residential garage.
Selecting Workholding and Tooling Systems
The way you hold your workpiece and your cutting tools is just as important as the machine itself. Cheap workholding can flex under pressure, leading to “chatter” or even parts flying out of the machine.
Quick-Change Tool Posts (QCTP) for Lathes
If your lathe still uses a traditional “lantern” style tool post, upgrading to a wedge-type Quick-Change Tool Post is a necessity. This allows you to swap between different cutting tools in seconds while maintaining the exact center height.
- Piston Type: Cheaper, but can shift slightly under heavy loads.
- Wedge Type: Uses a mechanical wedge to lock the tool holder in place. It is much more rigid and repeatable for precision work.
Precision Vises and Clamping Kits
For a milling machine, the vise is your primary interface with the work. A “standard” 4-inch or 6-inch milling vise should have ground surfaces and a “pull-down” mechanism that prevents the jaw from lifting when you tighten it. Avoid the cheap drill press vises for milling; they do not have the clamping force or the squareness required for metal fabrication.
Planning for Maintenance and Parts Availability
Every machine will eventually need a replacement belt, a new capacitor, or a replacement gear. Before you buy a specialized piece of equipment, you must investigate how easy it is to get those parts.
The “Generic” vs. Proprietary Trade-off
Many garage-sized machines are clones of older designs (like the Rong-Fu 30 mill or the 9×20 lathe). These are often better choices than “unique” proprietary designs because parts are interchangeable across multiple brands.
- Standardized Belts: Look for machines that use standard 3L or A-section V-belts.
- Common Bearings: Ensure the spindle bearings are standard ISO sizes (like 30206 or 6205) that you can buy from any industrial supplier.
- Documentation: A good machine should come with a full exploded-view parts diagram. If the manual is only three pages long, you will have a hard time fixing it three years from now.
Inspection Checklist for New Machinery
- Check for “Sand” in the Castings: Some budget manufacturers do not clean the casting sand out of the internal cavities. This sand can get into the oil and destroy your bearings.
- Test the Gib Adjustment: The “gibs” are the metal strips that take up the play in the sliding ways. They should be smooth and adjustable without binding.
- Inspect the Lead Screws: Look for consistent thread engagement. If the handle feels tight in one spot and loose in another, the screw or the ways are not straight.
- Listen to the Bearings: Run the machine at full speed. A high-pitched whine or a rhythmic “thump” indicates a bearing that was damaged during assembly.
Summary of Technical Benchmarks
When you are narrowing down your choices for a shop upgrade, keep these objective metrics in mind to ensure you are getting a machine that can actually perform.
- Maximum Allowable Spindle Runout: 0.001 inches (Goal: 0.0005 inches).
- Minimum Cast Iron Grade: Class 25 Gray Iron for dampening.
- Electrical Requirement: Dedicated 20-amp circuit for 110V machines to prevent voltage sag.
- Way Construction: Hand-scraped or precision-ground dovetails for stability.
- Backlash Limit: Less than 0.005 inches on new lead screws (adjustable via nuts).
Choosing the right equipment is not about finding the most expensive brand; it is about finding the most metal for your money and the highest quality of internal components. By focusing on the rigidity of the frame, the precision of the spindle, and the reliability of the motor, you can build a workshop that handles any fabrication challenge you throw at it.
Frequently Asked Questions
What is the most important feature to look for in a benchtop lathe?
The most important feature is the rigidity of the bed and the quality of the spindle bearings. A lathe with a wide, heavy bed will resist twisting under load, which is essential for turning long parts accurately. Always check the spindle runout (TIR) to ensure the machine can produce round parts.
Is a brushless motor worth the extra cost for a small mill?
Yes, in most cases. Brushless DC motors provide much better torque at low RPMs compared to traditional brushed motors. This is vital when you are using larger cutters or drilling large holes, as it prevents the motor from stalling during the cut.
How do I know if a machine’s cast iron is of good quality?
While you can’t easily test the grade without a lab, you can look for “Meehanite” certification or check the finish of the unpainted surfaces. High-quality cast iron will have a consistent, fine-grained appearance and will not have visible pits, blowholes, or “filler” (bondo) used to hide casting defects.
Should I prioritize a DRO or a power feed first?
Prioritize the Digital Readout (DRO). While a power feed makes the work easier and improves surface finish on long cuts, a DRO fundamentally changes your ability to work accurately. It eliminates the need to track rotations on manual dials and compensates for lead screw backlash.
What is “backlash” and why does it matter?
Backlash is the “dead space” or play between the threads of a lead screw and the nut it moves. When you change directions, the handle moves slightly before the table actually starts to travel. Understanding and managing backlash is critical for accuracy, though a DRO can help you bypass this issue.
Can I run a 3-phase industrial motor in my home garage?
Yes, by using a Variable Frequency Drive (VFD). A VFD can take 220V single-phase power from your home and convert it into 3-phase power for the motor. This is often a better solution than using a static phase converter because it also provides variable speed control.
Why is shipping weight a good indicator of machine quality?
In metalworking, mass equals stability. A heavier machine has more cast iron to absorb vibrations and resist the forces of the cutting tool. If two machines have the same “swing” or “travel” specs, the heavier one is almost always the more capable tool for precision work.
How often should I check the alignment of my machines?
In a residential shop, you should check the basic alignment (leveling the bed and tramming the mill head) every six months or whenever you move the machine. If you crash a tool or take an exceptionally heavy cut, you should re-verify the alignment immediately to ensure nothing has shifted.
What is the difference between a gear-head and a belt-drive machine?
Gear-head machines use internal gears to change speeds, providing high torque but more noise and potential vibration. Belt-drive machines use pulleys and are much quieter and smoother, but they may slip under extreme loads. For most garage shops, a belt-drive with a VFD or brushless motor is the ideal setup.
How do I measure spindle runout?
You need a dial test indicator with a magnetic base. Place the base on the machine bed and the indicator tip against the inside or outside of the spindle nose. Rotate the spindle slowly by hand and note the total movement of the needle. This total movement is your Total Indicated Runout (TIR).
(This article was written by one of our staff writers, Steven Brooks. Visit our Meet the Team page to learn more about the author and their expertise.)