Essential Shop Layout Tips for New Metalworkers (Checklist)
Setting up your first fabrication space often feels like trying to solve a puzzle where the pieces keep changing size. In 2013, I stood in a drafty two-car garage with exactly $1,850 in my pocket and a goal to build a functional metal shop. I spent weeks staring at the concrete floor, paralyzed by the fear of buying the wrong welder or tripping every breaker in the house. I learned quickly that a successful starter metal workshop layout depends less on having the most expensive gear and more on how you organize the space you have.
The anxiety of overspending is real, especially when you see professional shops on social media with six-figure equipment lists. My background as an industrial maintenance technician taught me that efficiency comes from logic, not luxury. You don’t need a massive facility to produce high-quality work; you need a plan that respects your physical limits and your bank account. By focusing on workflow and safety from day one, you can avoid the “re-do” costs that plague most beginners.
Mapping a Functional Workflow and Spatial Logic
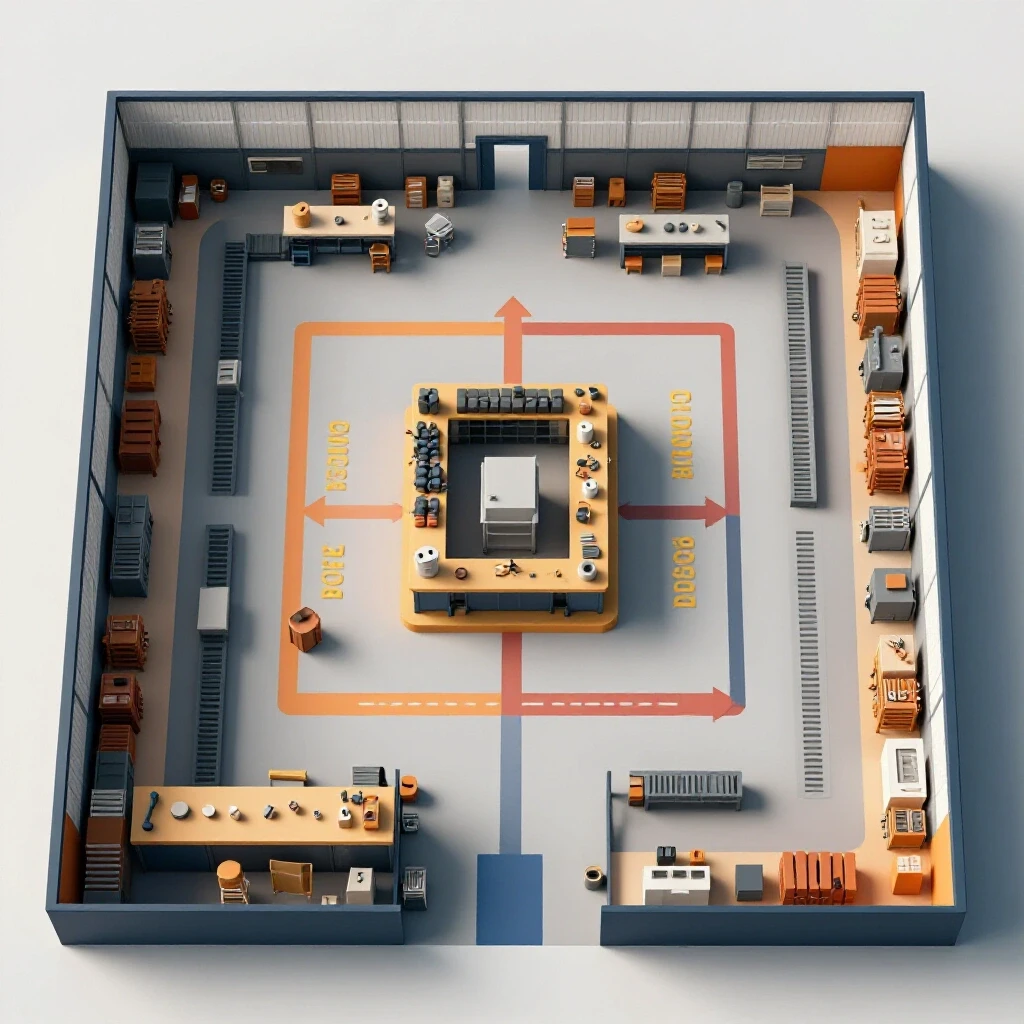
Planning how metal moves from raw stock to finished product prevents wasted steps and physical strain. A logical flow starts with material storage, moves to cutting and prep, and ends with assembly and finishing. This sequence ensures that heavy materials are handled as little as possible throughout the build process.
Why the “Dirty Zone” Concept Protects Your Equipment
A dedicated dirty zone isolates grinding dust, sparks, and metal shavings from sensitive tools and clean assembly areas. By grouping your angle grinders, chop saws, and sanders in one corner, you contain the most invasive debris. This prevents abrasive grit from settling on your welding table or getting inside your precision measuring tools.
In my first shop, I ignored this and ended up with grinding dust in the cooling fans of my welder. It was an expensive mistake that taught me the value of spatial separation. Interestingly, even a heavy-duty welding curtain or a simple plywood partition can act as a physical barrier to keep sparks from reaching flammable materials or clean surfaces.
Creating a Linear Material Path
A linear path ensures that long pieces of steel can be moved from the rack to the saw without hitting walls or other machinery. You should aim for at least eight to ten feet of clearance on either side of your primary cutting station. This allows you to handle standard lengths of tubing or angle iron without performing a dangerous balancing act.
| Shop Zone | Primary Activities | Space Requirement |
|---|---|---|
| Material Storage | Receiving, sorting, and rack storage | 4ft x 10ft wall space |
| Processing | Cutting, deburring, and initial prep | 6ft x 8ft around saw |
| Fabrication | Welding, clamping, and tacking | 5ft x 5ft around table |
| Finishing | Cleaning, painting, or coating | 4ft x 6ft (well-ventilated) |
Managing Electrical Capacity for Starter Equipment
Understanding how much power your tools draw is vital for preventing tripped breakers and ensuring equipment longevity. Most home shops rely on standard circuits that require careful management of simultaneous tool use. Knowing your amperage limits helps you plan where to plug in high-draw machines safely without risking an electrical fire.
Calculating Your Beginner Welder Power Requirements
Most entry-level welders are designed to run on a 115V or 230V circuit, but their “duty cycle” determines how long they can run before needing a break. A duty cycle is the percentage of a ten-minute period a machine can operate at a specific amperage. If your welder has a 20% duty cycle at 90 amps, it can weld for two minutes but needs eight minutes to cool down.
When planning your workshop electrical setup checklists, always identify which outlets are on which breakers. I once tried to run a vacuum and a grinder on the same 15A circuit, which resulted in a dark shop and a ruined cut. It is safer to assume that any tool with a motor or a heating element needs its own dedicated circuit during operation.
Balancing Lighting and Power Tool Loads
Lighting is often an afterthought, but it is one of the most critical safety features in a fabrication space. I recommend using LED shop lights that draw very little power, leaving more “room” on your breakers for your tools. A well-lit space allows you to see the fine lines of a layout and the subtle changes in a weld puddle, which reduces errors and scrap.
- 15A Circuit: Suitable for LED lighting, small drills, and chargers.
- 20A Circuit: Minimum requirement for most small welders and grinders.
- Dedicated Line: Essential for large compressors or heavy-duty welders.
- Voltage Drop: Keep extension cords short and heavy-gauge (12AWG or better).
Strategic Tool Acquisition and Budgeting
Allocating funds toward versatile, high-quality basics ensures your money isn’t wasted on single-use gadgets. A balanced budget prioritizes safety gear and measurement tools alongside power equipment. I suggest spending about 30% of your initial budget on high-quality protective gear and precision measuring instruments to ensure long-term success.
Why Affordable Fabrication Tools Require Better Measuring Gear
You can get away with a budget-friendly welder, but you cannot get away with a cheap square or a low-quality tape measure. If your initial measurements are off, even the most expensive welder in the world won’t make the project look professional. Investing in a solid set of calipers and a machinist’s square will save you more money in wasted material than any discount power tool.
| Tool Category | Budget Allocation | Expected Lifespan | Priority |
|---|---|---|---|
| Safety Gear (PPE) | 15% | 2-5 Years | High |
| Measuring/Layout | 15% | 10+ Years | High |
| Primary Welder | 40% | 5-8 Years | High |
| Abrasives/Cutting | 20% | Consumable | Medium |
| Storage/Benches | 10% | Lifetime | Medium |
The Real Cost of Budget Metalworking Tools
Buying the cheapest possible abrasives is a common rookie mistake that actually increases your long-term costs. Low-quality grinding wheels and flap discs wear down faster, meaning you spend more time changing them and more money replacing them. Building on this, high-quality abrasives cut cooler and faster, which prevents the metal from warping due to excess heat.
I track my “cost per cut” to see where my money goes. A $2 cutting disc that lasts for 20 cuts is far more expensive than a $5 disc that lasts for 100. When you are working within a strict budget, these small consumables can quietly drain your funds if you aren’t paying attention to their performance.
Designing for Air Quality and Fire Safety
Metalworking generates fine dust and hazardous fumes that must be removed from the breathing zone immediately. Proper ventilation and fire suppression are non-negotiable elements of any safe residential workspace. Without a plan for air exchange, you risk long-term respiratory issues and immediate fire hazards from stray sparks.
Establishing Garage Workshop Ventilation Standards
Effective ventilation requires moving a specific volume of air, measured in Cubic Feet per Minute (CFM). For a standard one-car garage, you should aim for a complete air exchange every three to five minutes. This can often be achieved with a high-velocity floor fan positioned to pull fumes away from your face and toward an open door.
- Welding Fumes: Contain hexavalent chromium and manganese; must be exhausted.
- Grinding Dust: Heavy particles that settle quickly; require localized collection.
- CFM Calculation: (Room Volume / 5) = Required Fan CFM.
- Cross-Breeze: Use two points of entry/exit to create a steady air stream.
Fire Safety and Spark Management
A single spark from a grinder can travel up to 20 feet and smolder in a pile of sawdust for hours before igniting. Your layout must include a “clear zone” around any tool that generates sparks. I keep a 10lb ABC-rated fire extinguisher within arm’s reach of my welding table and another by the exit.
Interestingly, the American Welding Society (AWS) suggests keeping all flammable materials at least 35 feet away from welding operations. In a small garage, this is rarely possible, so you must use welding blankets to shield wood, chemicals, or vehicles. Always perform a “fire watch” for 30 minutes after you finish working to ensure nothing is smoldering.
Optimizing Storage and Work Surfaces
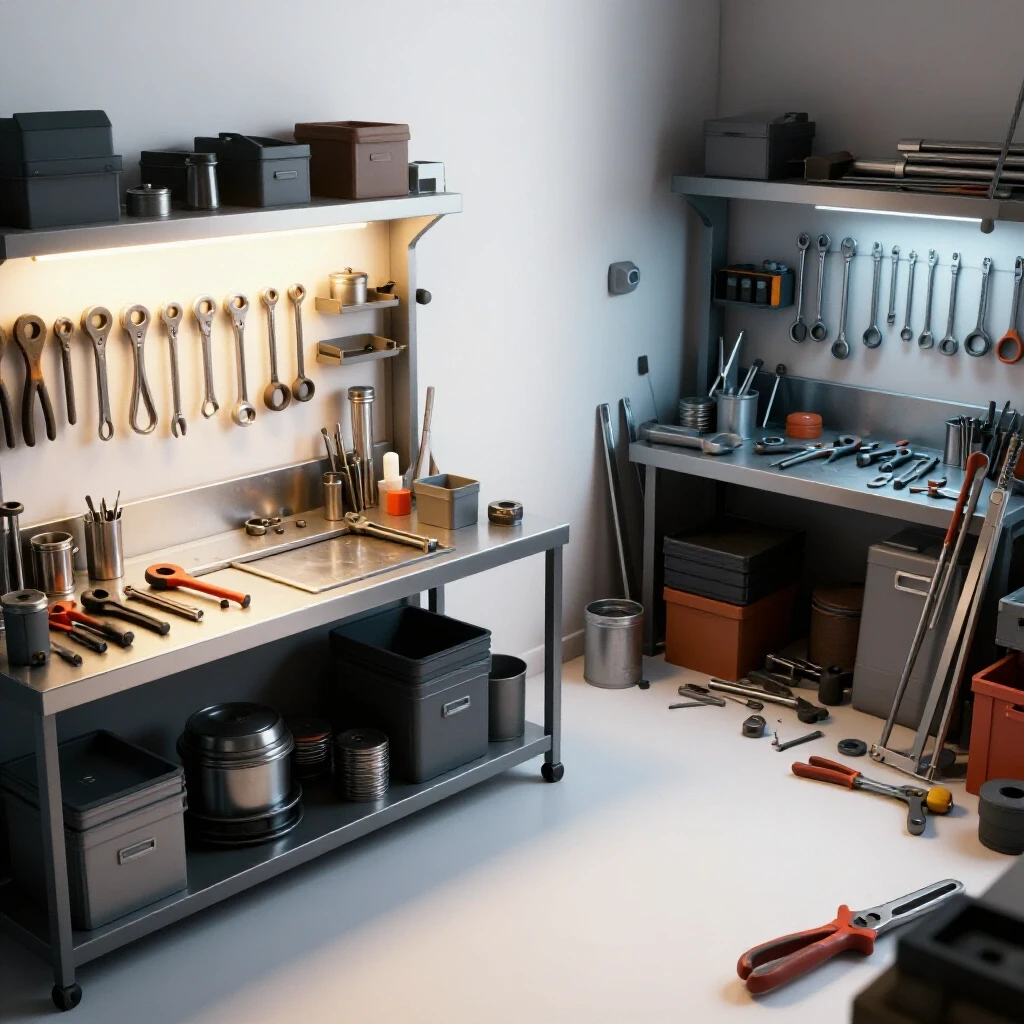
Durable workbenches and organized metal storage keep the floor clear and the workflow efficient. Vertical storage and mobile bases help maximize utility in small garage environments. A cluttered floor is not just an annoyance; it is a significant tripping hazard when you are carrying heavy steel or wearing a darkened welding helmet.
Building a Foundation with a Heavy-Duty Workbench
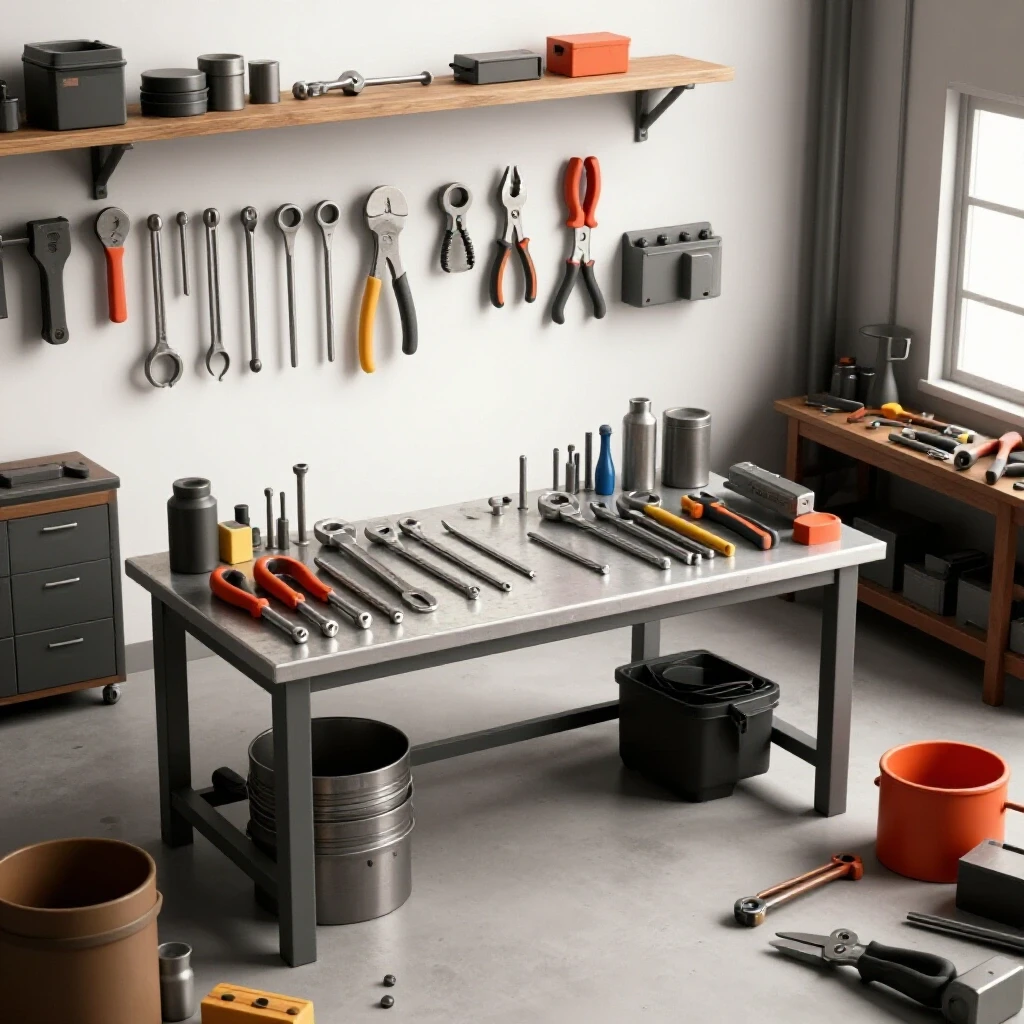
Your workbench is the heart of your shop. For metalworking, a wooden bench is a fire hazard and lacks the conductivity needed for easy welding. I recommend a steel-topped table with a thickness of at least 3/16 of an inch. This provides a flat surface for layout and a solid ground for your welder.
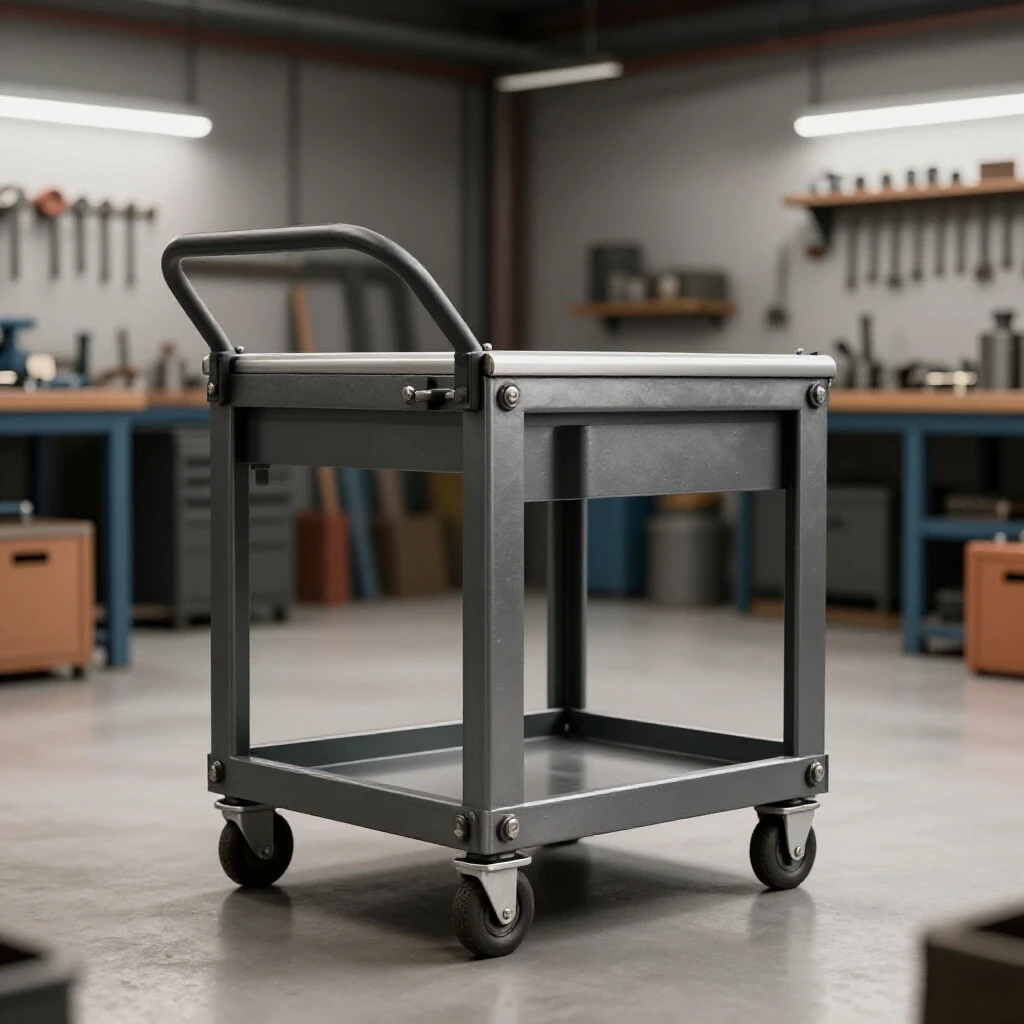
I found that a height of 36 to 38 inches works best for most people, as it reduces back strain during long periods of fabrication. If your space is tight, putting your main table on heavy-duty locking casters allows you to move it to the center of the room for large projects and tuck it against a wall when you’re done.
Organizing Stock and Scrap Efficiently
Steel is heavy and awkward to store. Vertical racks save floor space but require secure wall anchoring to prevent tipping. I use a “first-in, last-out” system for my scrap bin, keeping small offcuts in labeled buckets based on material type. This prevents you from cutting into a fresh 20-foot stick of steel when a 6-inch scrap would have done the job.
- Long Stock: Vertical wall racks or overhead loft storage.
- Sheet Goods: Flat against a wall or in a dedicated floor bin.
- Short Scraps: Labeled buckets (Tube, Angle, Flat Bar).
- Hardware: Clear bins for nuts, bolts, and washers.
A Practical Implementation Framework
Setting up your space in the right order prevents you from having to move heavy machinery twice. I follow a specific sequence that prioritizes safety and infrastructure before the first piece of metal is ever cut. This methodical approach ensures that your shop is ready for work the moment your tools arrive.
The Shop Setup Sequence
- Step 1: Clear the space and map out your power outlets and lighting.
- Step 2: Install your primary ventilation (fans or exhaust systems).
- Step 3: Build or install your main welding table and grounding point.
- Step 4: Set up material storage and the “dirty zone” for cutting.
- Step 5: Place your welder and organize your leads to prevent tripping.
- Step 6: Conduct a “dry run” of a project to check for workflow bottlenecks.
During my first setup, I put my workbench in the corner, only to realize I couldn’t weld a long frame because the wall was in the way. Now, I always leave at least three feet of clearance around all sides of my fabrication table. This simple adjustment makes a massive difference in the types of projects you can realistically take on.
Initial Testing and Safety Logs
Before you start your first project, test every tool and circuit. I keep a simple logbook where I record the date of my last fire extinguisher check and any maintenance performed on my machines. This habit, carried over from my industrial days, ensures that my equipment is always in top condition and that I’m not surprised by a broken tool in the middle of a build.
- Check 1: Test the “kill switch” or unplugging accessibility for every tool.
- Check 2: Verify that your welding helmet lens is clean and the batteries are fresh.
- Check 3: Ensure all grinder guards are securely in place and oriented correctly.
- Check 4: Confirm that your first aid kit is stocked with burn cream and eye wash.
Final Steps Toward Your First Project
The journey from an empty garage to a functional fabrication space is a series of small, calculated decisions. By focusing on a logical layout, respecting your electrical limits, and prioritizing safety, you create an environment where you can focus on learning the craft rather than fighting your workspace.
Start small, keep your shop clean, and track your expenses meticulously. The most important tool in your shop isn’t the welder or the saw; it’s the plan that keeps you safe and productive. As you gain experience, your layout will evolve, but these foundational principles will keep your shop a functional and enjoyable place to work for years to come.
Frequently Asked Questions
How much amperage do I really need for a starter welder? For most hobbyist projects like furniture or light automotive repair, a 20-amp circuit is the bare minimum. If you plan to weld thicker material (1/4 inch or more) frequently, you will likely need a 230V outlet and a 30-amp to 50-amp breaker to avoid constant tripping and to allow the machine to operate at its full potential.
Can I weld in a garage with a wooden floor? It is highly discouraged. Sparks and molten “slag” can easily fall into cracks in the wood and smolder. If you must work on a flammable floor, you must cover the entire work area with heavy-gauge sheet metal or specialized welding mats and keep a fire extinguisher and a bucket of water immediately available.
What is the best way to handle grinding dust in a small space? The most effective budget solution is a combination of localized suction and a high-volume exhaust fan. Use a shop vacuum with a HEPA filter positioned near the grinder’s spark path, and keep a large fan in an open doorway to pull the remaining fine dust out of the room.
How do I know if my shop lighting is sufficient? A good rule of thumb is to have enough light that you don’t see a shadow when you are leaning over your work. For a standard garage, four to six 4-foot LED shop lights (5000 lumens each) usually provide enough coverage to see layout lines and weld puddles clearly.
What safety gear is non-negotiable for a beginner? You must have an auto-darkening welding helmet (rated for the process you are using), fire-resistant gloves, a leather welding apron or jacket, and safety glasses that meet ANSI Z87.1 standards. Never weld in synthetic clothing like polyester, as it can melt to your skin if hit by a spark.
How do I prevent my metal stock from rusting in a garage? Steel will rust quickly in humid environments. Keep your material off the concrete floor by using a rack. For long-term storage, a light coat of WD-40 or a specialized metal protectant will prevent surface oxidation. Always clean this oil off thoroughly before you begin welding.
Is a dedicated welding table worth the cost? Yes. A flat, conductive, and non-flammable surface is essential for accurate fabrication. While you can build your own, ensuring it is perfectly flat is the most important factor. A warped table will result in warped projects, which is one of the most frustrating issues for beginners to troubleshoot.
How often should I check my shop for fire hazards? You should do a quick sweep every time you finish working. However, the “30-minute fire watch” is the industry standard. After you turn off the last tool, stay in the shop for 30 minutes to clean up and ensure no smells of smoke or hidden sparks are present before you lock up.
What is the most common layout mistake for new shops? The most common error is placing large stationary tools too close to walls or each other. Beginners often forget that the metal they are working with is often much longer than the tool itself. Always account for “in-feed” and “out-feed” space for your saws and drills.
How do I manage the noise of a metal shop in a residential area? Metalworking is inherently loud. To be a good neighbor, use rubber vibration-dampening mats under stationary tools and avoid heavy grinding or hammering early in the morning or late at night. Insulating your garage door can also significantly reduce the amount of noise that escapes to the street.
(This article was written by one of our staff writers, Michael Thompson. Visit our Meet the Team page to learn more about the author and their expertise.)