The Most Precise Metalworking Measuring Tools (Buying Tips)
When I built my first workshop in a cramped one-car garage back in 2013, I had exactly $2,000 to my name and a lot of ambition. Like many of you, I spent hours scrolling through forums, paralyzed by the fear of buying the wrong equipment. I quickly learned that in metalworking, a “close enough” measurement often leads to wasted material and deep frustration. My background as an industrial maintenance technician taught me that precision isn’t just for aerospace engineers; it is the foundation of every successful project. If your initial measurements are off by even a few thousandths of an inch, those errors stack up until your final assembly simply won’t fit together.
Setting up a functional fabrication space on a budget requires a strategic approach to acquiring high-accuracy instruments. You do not need every tool in the catalog on day one. Instead, you need a core set of reliable devices that offer repeatable results. In this guide, I will share the methodical system I used to prioritize my tool purchases, ensuring that every dollar spent contributed to a more capable and professional workshop environment. We will focus on tools that achieve tolerances of 0.001 inch (0.02 mm) or better, which is the standard for most serious metal fabrication tasks.
Establishing a High-Accuracy Baseline for the Home Shop
Accuracy in metalworking refers to how close a measurement is to the true value, while precision refers to the consistency of those measurements over time. In a professional setting, we aim for both to ensure parts are interchangeable and function as intended.
When you are starting out, the goal is to establish a baseline where you can trust your tools. For most DIY metalworkers, this means working toward a tolerance of 0.001 inch. While a standard tape measure is fine for cutting raw stock to length, it lacks the resolution needed for fitting bearings, turning shafts, or milling mating surfaces. By investing in tools that can resolve these small increments, you eliminate the guesswork that often plagues beginner projects.
Understanding Resolution versus Repeatability
Resolution is the smallest increment a tool can display, such as 0.001 inch on a dial, whereas repeatability is the tool’s ability to provide the same reading every time you measure the same part.
I often see beginners buy a tool because it has a digital display that reads to four decimal places. However, if the tool’s frame flexes or the mechanism is gritty, that fourth decimal place is meaningless. Repeatability is far more important for a budget-conscious shop. You want a tool that gives you the same number three times in a row. This consistency allows you to make predictable adjustments to your workpieces, even if you are working on a modest machine setup.
The Significance of NIST Traceability in Small Workshops
Traceability means that a tool’s accuracy can be linked back to national standards, such as those maintained by the National Institute of Standards and Technology (NIST).
While you might not need a formal certificate for every tool in a home shop, understanding the concept is vital. When you buy higher-tier inspection equipment, it has often been tested against master gauges. For a beginner, this means your “one inch” is the same as the “one inch” used by the supplier providing your raw materials. This alignment prevents “tolerance stack-up,” a common issue where multiple small errors combine to create a significant problem in the final assembly.
Prioritizing Your Initial Inspection Tool Kit
Building a shop is a marathon, not a sprint, and your budget should reflect that reality. I recommend allocating roughly 30% of your initial startup funds to high-quality safety gear and foundational inspection tools.
In my early days, I made the mistake of buying a cheap set of everything. Within six months, I had replaced half of it because the tools couldn’t hold a zero setting or the markings wore off. A better strategy is to buy the most essential tools first, choosing professional-grade options that will last a decade or more. This prevents the “buy it twice” syndrome that drains so many hobbyist budgets.
Calipers: The Multi-Purpose Workhorse
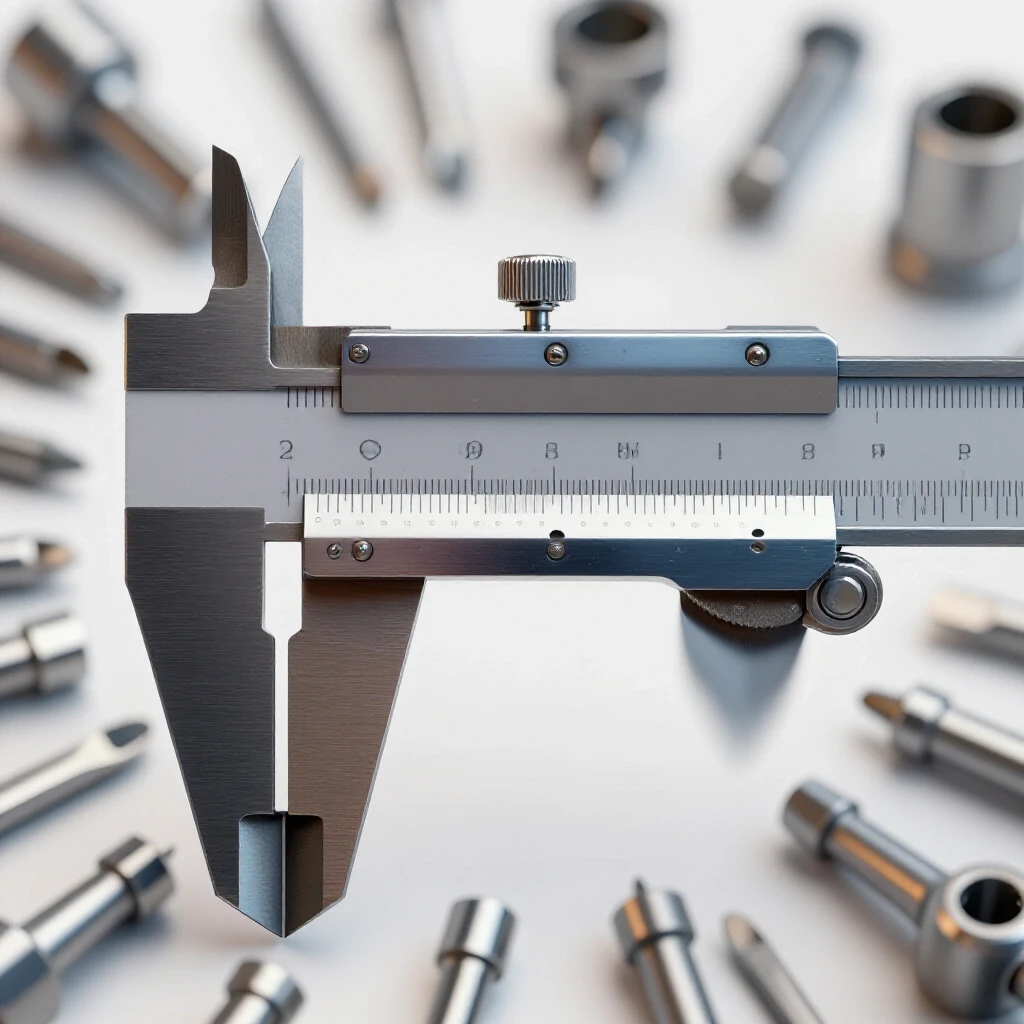
Calipers are sliding measuring instruments used to find outside diameters, inside diameters, depths, and step heights with a typical resolution of 0.001 inch.
Every shop needs a reliable 6-inch caliper. You have three main choices: vernier, dial, or digital. Vernier calipers are nearly indestructible and require no batteries, but they have a steep learning curve for the eyes. Dial calipers are easy to read and very reliable, though they can be sensitive to metal chips getting into the gear rack. Digital calipers offer the convenience of switching between inches and millimeters at the touch of a button. For a first shop, a high-quality dial or digital version is usually the best investment for speed and clarity.
Micrometers: The Standard for Thickness and Diameter
Micrometers use a calibrated screw thread to measure small distances, providing much higher precision and pressure consistency than calipers.
While a caliper is a “jack of all trades,” a micrometer is the specialist. Because it uses a thimble with a ratcheting mechanism, it applies the same amount of pressure to every measurement. This eliminates the “human factor” where one person presses harder than another, changing the reading. I recommend starting with a 0-1 inch outside micrometer. This single tool will handle the majority of your precision fitting tasks, such as checking the diameter of a bolt or the thickness of a shim.
Dial Indicators and Test Indicators for Machine Alignment
Indicators are instruments that sense small displacements of a probe, used primarily to check if a surface is flat or if a rotating part is centered.
A dial indicator typically has a long travel (often 1 inch) and is used for checking the “squareness” of your workshop equipment. A test indicator has a much smaller range but is more sensitive, making it ideal for centering work in a four-jaw chuck or “tramming” a mill head. These tools are essential for ensuring your machines are actually cutting straight. Without them, even the most expensive lathe or mill will produce inaccurate parts.
| Tool Type | Primary Use | Targeted Resolution | Priority Level |
|---|---|---|---|
| 6-inch Caliper | General dimensions, depth | 0.001″ | 1 (Essential) |
| 0-1″ Micrometer | Precise diameters, thickness | 0.0001″ | 2 (High) |
| Dial Indicator | Machine setup, flatness | 0.001″ | 2 (High) |
| 1-2″ Micrometer | Larger precise diameters | 0.0001″ | 3 (As Needed) |
| Test Indicator | Fine alignment, runout | 0.0005″ | 3 (As Needed) |
Creating a Dedicated Inspection Zone in a Compact Shop
One of the biggest lessons I learned in my industrial maintenance days was that precision tools do not belong next to an angle grinder. Dust, heat, and vibration are the enemies of accuracy.
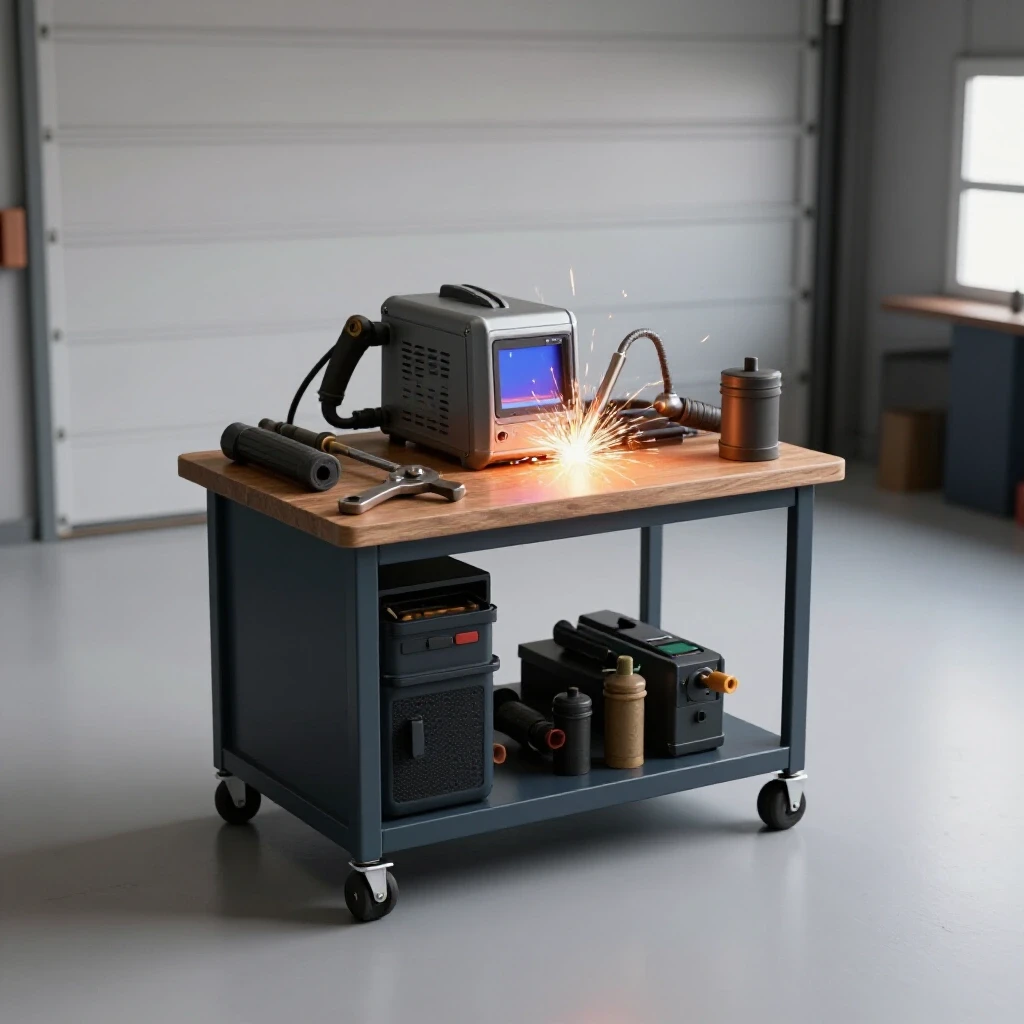
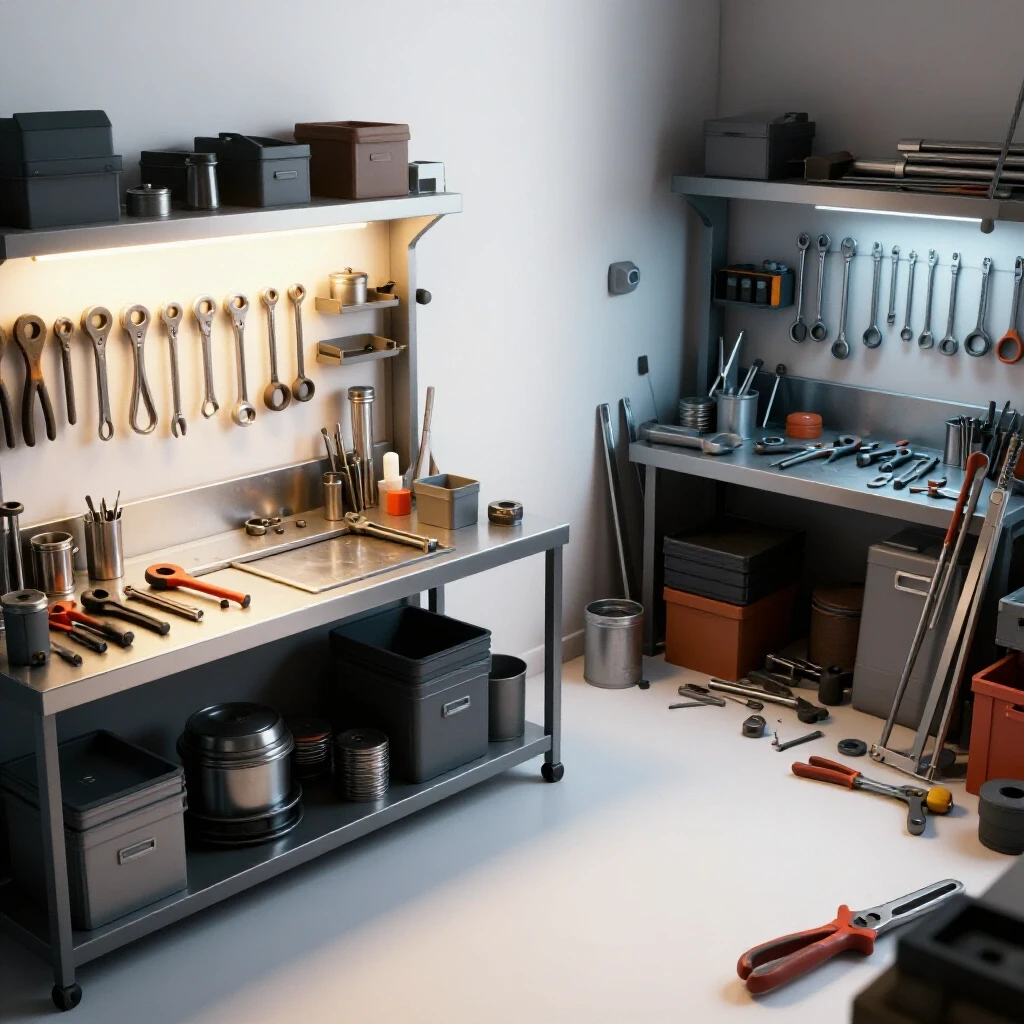
In a small garage shop, space is at a premium, but you must carve out a “clean zone.” This is a dedicated area, ideally a separate workbench or a sturdy cabinet, where your measuring instruments live. Keeping these tools away from the heavy fabrication area prevents abrasive dust from getting into the delicate movements of your calipers and indicators. It also provides a stable environment for taking measurements, which is critical for consistency.
The Role of the Surface Plate
A surface plate is a flat, heavy slab, usually made of granite, that serves as the primary reference plane for all precision layout and inspection work.
You might think a granite plate is overkill for a beginner, but a small 12×18 inch plate is surprisingly affordable and serves as the “ground truth” for your shop. When you place a part on a surface plate, you know it is sitting on a plane that is flat within a few ten-thousandths of an inch. This allows you to use height gauges and indicators to map out your workpieces with absolute confidence. It is the most reliable way to check if a part has warped during a fabrication process.
Managing Environmental Factors and Thermal Expansion
Metal expands when it gets warm and contracts when it cools. This physical reality can wreak havoc on your measurements if you aren’t careful.
I remember working on a project during a humid July afternoon in my garage. I measured a steel shaft at 1.000 inch. The next morning, when the shop had cooled down by twenty degrees, that same shaft measured 0.999 inch. To combat this, try to take your final, most critical measurements at a consistent temperature. Also, avoid holding your micrometers by the frame for too long; the heat from your hand can actually expand the tool enough to change the reading. Many high-end micrometers include insulated grips specifically for this reason.
Maintaining and Calibrating Your Measurement Inventory
A precision tool that is out of calibration is worse than no tool at all because it gives you a false sense of security. I maintain a simple logbook for my shop, tracking when each tool was last checked against a known standard.
For a home shop, you can perform “field calibrations” using gauge blocks or standard setting rods that often come with micrometers. This doesn’t take much time, but it ensures that your equipment hasn’t shifted due to a drop or a change in shop conditions. Establishing this habit early will save you from the “mystery errors” that often discourage beginners.
Using Gauge Blocks for Verification
Gauge blocks are precision-ground blocks of metal or ceramic used as standards for verifying the accuracy of other measuring tools.
You don’t need a full “Grade 0” set of 81 blocks to start. A small, affordable “Shop Grade” set of 10 to 15 blocks is plenty for a beginner. These blocks allow you to “check the checker.” If your micrometer says a one-inch block is 1.002 inches, you know your tool needs adjustment. This level of self-reliance is what separates a hobbyist who “guesses” from a fabricator who “knows.”
Tool Storage and Protection Strategies
Metalworking environments are inherently harsh. Humidity leads to rust, and dropped tools lead to permanent damage.
- Keep your tools in their original fitted cases whenever they are not in use.
- Apply a very light coat of high-quality instrument oil to non-carbide surfaces to prevent oxidation.
- Never store calipers with the jaws closed tightly; leave a small gap to allow for thermal expansion.
- Store your granite surface plate covered to prevent dust from becoming embedded in the surface.
Budget Allocation and the 30% Rule
When planning your first $2,000 to $3,000 shop, it is tempting to spend it all on a welder or a lathe. However, I have found that a 70/30 split between machinery and support tooling (including measurement and safety) leads to much better outcomes.
If you spend $2,000 on a machine but have no way to verify if the parts it produces are accurate, you haven’t built a workshop; you’ve bought an expensive paperweight. By allocating 30% of your budget to high-accuracy instruments, you ensure that you can actually use your machines to their full potential. This investment pays for itself in the form of fewer ruined workpieces and a much faster learning curve.
Shop Layout Checklist for Precision Work
- Identify the Clean Zone: Locate a bench at least 6 feet away from grinders and welders.
- Ensure Proper Lighting: Use high-CRI LED lighting (5000K) to make graduations on dials easy to read.
- Level the Surface Plate: Use a machinist’s level to ensure your reference plane is stable.
- Install Tool Storage: Use a drawer-style cabinet with foam inserts to prevent tools from clanking together.
- Set Up a Record-Keeping Station: Keep a notebook or tablet nearby to log dimensions and calibration dates.
Common Pitfalls for Beginners to Avoid
The most common mistake I see is “feature creep.” Beginners often buy digital tools with wireless data output or complex software integrations that they will never use.
In a home shop, simplicity is your friend. A mechanical dial caliper or a standard thimble micrometer is often more reliable and easier to troubleshoot than a cheap digital version with a flickering screen. Another mistake is ignoring the material of the tool. Whenever possible, look for tools with carbide-tipped measuring faces. Carbide is much harder than steel and will resist wear, ensuring that your tool stays accurate even after measuring thousands of parts.
Why Cheap Abrasives and Dust Affect Your Measurements
In a small shop, dust management is a measurement issue. If you are grinding steel, that fine metallic dust travels through the air and lands on your precision tools.
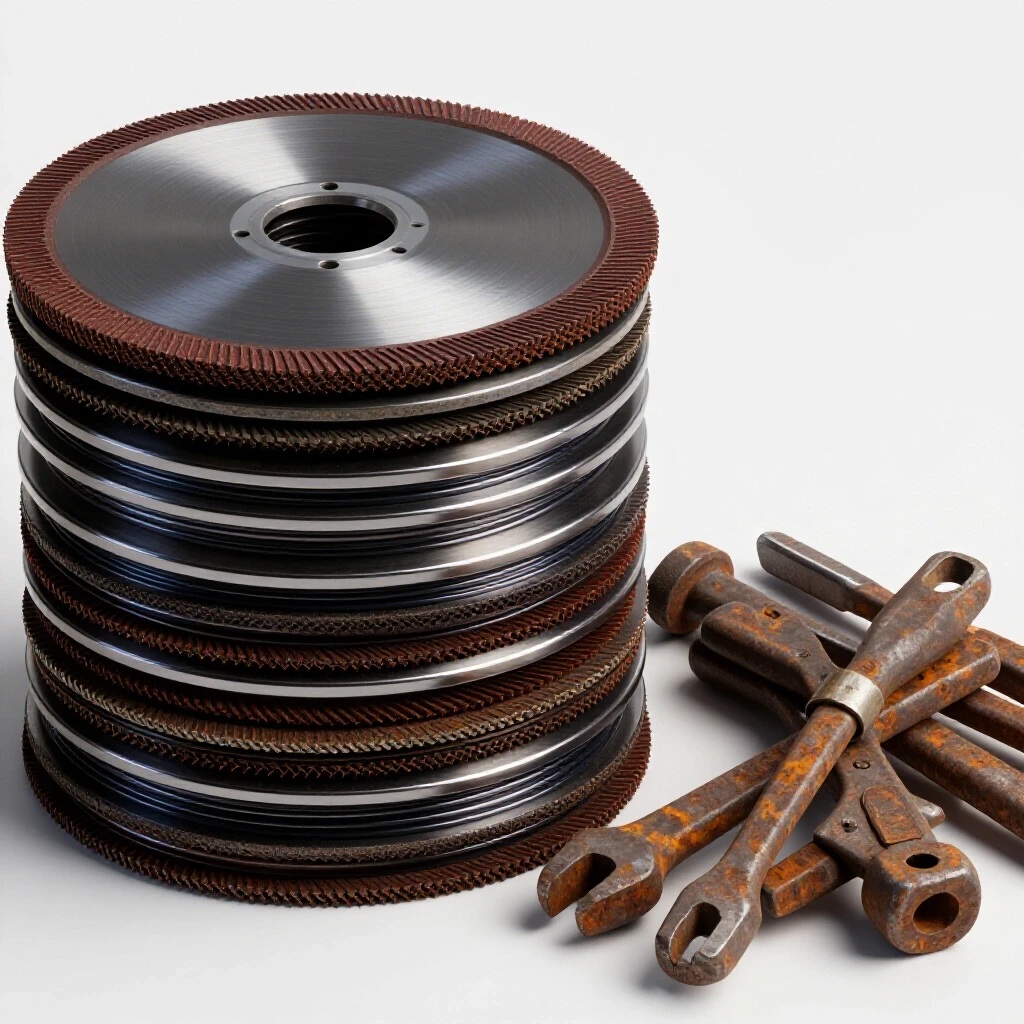
This dust acts like sandpaper inside the delicate mechanisms of a caliper or indicator. I once had a dial indicator become “sticky” because I left it on the bench while using a flap disc nearby. Now, I use a simple shop vacuum with a HEPA filter at the source of the dust and keep my measurement tools behind closed doors or in cases. Protecting your investment is just as important as choosing the right tool in the first place.
Summary of Best Practices for the Aspiring Fabricator
Building a capable shop is about making informed choices that balance cost with performance. By focusing on the fundamentals—repeatability, clean zones, and thermal stability—you can produce work that rivals professional shops. Remember that your tools are an extension of your skills. Taking the time to learn how to read a vernier scale or how to properly “feel” a micrometer measurement will serve you better than any expensive gadget.
Start with a high-quality 6-inch caliper and a 0-1 inch micrometer. Add a dial indicator for machine setup. Build a clean, stable area for these tools to live. As your skills grow and your projects become more complex, you can expand your kit, but these foundational items will always remain the most used tools in your drawer.
Frequently Asked Questions
Should I choose digital or analog measuring tools for my first shop?
For beginners, digital tools are often easier to read and allow for quick switching between metric and imperial units. However, high-quality analog (dial or vernier) tools are often more durable and don’t require batteries. If you choose digital, ensure the tool has a “hard” zero that doesn’t drift when the tool is moved quickly.
How often do I need to calibrate my home shop tools?
In a typical hobbyist environment, a formal calibration every six months is usually sufficient. However, you should perform a “quick check” against a gauge block or a known standard every time you start a new, high-precision project to ensure nothing has shifted.
Is a granite surface plate really necessary for a beginner?
While not strictly necessary for basic welding or rough fabrication, a surface plate is essential if you plan to do any machining or precision layout. It provides the only truly flat reference in your shop, which is vital for checking part squareness and flatness.
What is the “0.001-inch standard” and why does it matter?
The 0.001-inch (one-thousandth of an inch) standard is the baseline for most mechanical work. It is approximately the thickness of a human hair. Achieving this level of precision ensures that parts like bearings, bushings, and sliding fits function correctly without excessive play or binding.
How do I protect my precision tools from rust in a damp garage?
Keep your tools in their cases with a small desiccant pack to absorb moisture. Wipe down the metal surfaces with a light instrument oil or a dedicated rust preventative after every use. Avoid touching the measuring faces with bare fingers, as the oils from your skin can cause localized corrosion.
Can I use woodworking calipers for metalworking?
Most woodworking calipers are only accurate to 1/64th of an inch or 0.01 inch, which is not precise enough for metal fabrication. Metalworking requires tools that can resolve at least 0.001 inch to ensure proper fitment of mechanical components.
What is “parallax error” and how can I avoid it?
Parallax error occurs when you read a scale from an angle, causing the needle or mark to appear in the wrong position. To avoid this, always look directly at the dial or scale from a 90-degree angle. This is one reason why digital displays are popular—they eliminate parallax error entirely.
Why are some micrometers much more expensive than others if they both read to 0.0001″?
The price difference usually reflects the quality of the internal screw thread, the rigidity of the frame, and the durability of the measuring faces. Higher-end micrometers have ground threads that are much more consistent over the entire range of the tool, leading to better repeatability.
How do I know if my workbench is stable enough for precision measurement?
A workbench for measurement should not flex when you lean on it and should be heavy enough to dampen vibrations from the floor. If you can see a dial indicator needle jump when you walk past the bench, you may need to bolt the bench to the wall or add more mass to the structure.
What is a “standard” or “setting rod” included with micrometers?
A setting rod is a precision-ground cylinder of a specific length (like exactly 1.000 inch) used to check the zero point of a micrometer. It allows you to verify that the tool is accurate at its maximum or minimum range before you begin measuring your actual workpiece.
(This article was written by one of our staff writers, Michael Thompson. Visit our Meet the Team page to learn more about the author and their expertise.)