How to Build a Heavy Steel Workbench for Welding (DIY Plan)
When I started my first garage shop in 2013, I had exactly $1,950 in my pocket and a lot of ambition. My background as an industrial maintenance technician taught me that a shop is only as good as its foundation. In the world of metalworking, that foundation is the surface where you cut, grind, and fuse metal. I spent weeks researching how to create a stable, fireproof, and perfectly flat area for my projects. I quickly realized that many beginners fall into the trap of overspending on fancy gadgets while neglecting the core structure of their workspace. My goal is to help you navigate these early decisions by sharing the data-driven methods I used to build a professional-grade steel work surface without draining my savings.
Setting up a starter metal workshop layout requires a balance between cost and capability. I remember the frustration of trying to weld on a flimsy, repurposed table that shook every time I struck an arc. It wasn’t just annoying; it was a safety hazard. By applying industrial standards to a home setting, you can avoid the “buy it twice” syndrome. We will look at how to select the right steel stock, how to sequence your tool purchases, and how to execute a build that will last for decades. This is about making smart compromises where they don’t hurt and investing where it counts the most.
Establishing the Framework for a Rigid Fabrication Surface
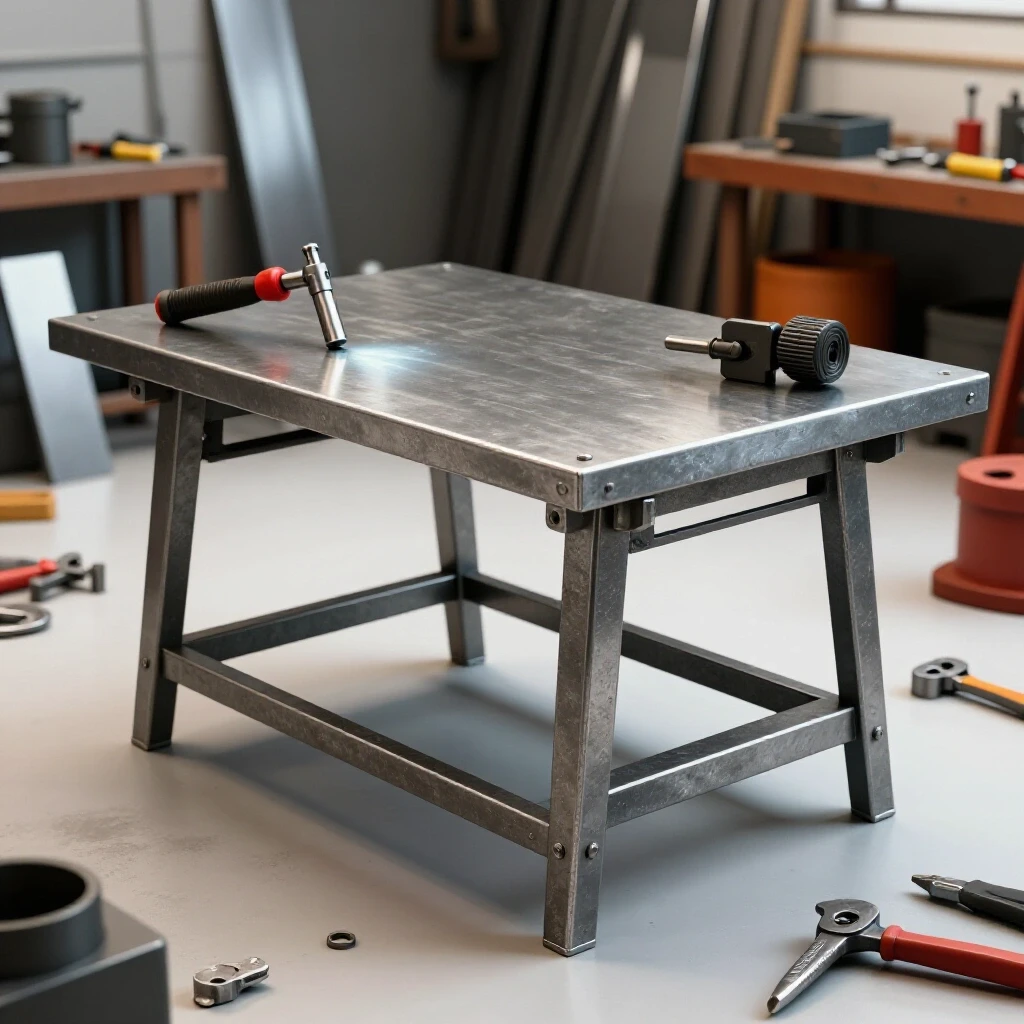
A rigid fabrication surface is the most important asset in a metalworking shop because it provides a true plane for assembly. Without a flat surface, every frame you build will be twisted, leading to wasted material and structural failures. For a beginner, the goal is to create a heavy-duty steel base that can handle the heat of a welder and the impact of a sledgehammer.
When I planned my first build, I focused on a 2×4 foot footprint. This size is ideal for a one-car garage because it offers enough space for most projects while remaining mobile if you add heavy-duty casters. I tracked every penny spent on steel, and I found that using square tubing for the frame offered the best strength-to-weight ratio for the price.
- Frame Material: 2-inch by 2-inch square steel tubing with a 1/8-inch wall thickness.
- Top Plate: 3/8-inch thick hot-rolled A36 steel plate.
- Height: 34 to 36 inches, depending on your physical height, to prevent back strain.
- Weight: A completed 2×4 foot bench will weigh approximately 220 to 250 pounds, providing the necessary inertia for heavy work.
Selecting Structural Materials Based on Load and Heat Requirements
Choosing the right steel involves understanding how different thicknesses react to heat and physical stress. In a fabrication environment, the top plate must be thick enough to resist warping when you lay down a hot weld bead. Thinner sheets, like 1/8-inch or 3/16-inch, will eventually “potato chip” or bow, making it impossible to build square projects.
I recommend 3/8-inch plate as the “sweet spot” for budget-conscious builders. It is heavy enough to stay flat under heat but light enough that two people can still lift it onto the frame. If your budget allows, a 1/2-inch plate is even better, but the cost and weight increase significantly. For the legs and bracing, 11-gauge (1/8-inch) tubing is easy to weld with entry-level MIG machines and provides plenty of support for several hundred pounds of equipment.
| Material Component | Recommended Size | Benefit for Beginners |
|---|---|---|
| Main Leg Posts | 2″ x 2″ x 1/8″ Square Tube | High vertical load capacity; easy to square up. |
| Horizontal Bracing | 2″ x 2″ x 1/8″ Square Tube | Provides a shelf area for tool storage. |
| Work Surface Plate | 3/8″ A36 Carbon Steel | Resists warping; allows for solid ground clamping. |
| Leveling Feet | 1/2″ Threaded Rod/Nuts | Compensates for uneven garage floors. |
Prioritizing Affordable Fabrication Tools for the Build
The success of your steel assembly depends on having a few reliable tools rather than a mountain of cheap ones. I often see beginners spend their entire budget on a high-end welder only to realize they have no way to cut the steel accurately. You need to allocate your funds across the “Big Three”: cutting, grinding, and joining.
For cutting, a basic abrasive chop saw or a portable band saw is essential. For grinding, a 4.5-inch angle grinder is the workhorse of the shop. In my experience, allocating 30% of your initial budget to high-quality safety gear and measuring tools is a rule that pays off in both safety and precision.
- MIG Welder: Look for a unit with a 20% to 30% duty cycle at its highest setting.
- Angle Grinder: Choose a model with at least 6 to 7 amps of power to prevent stalling.
- Speed Square and Tape Measure: Use high-contrast markings for better visibility under a welding hood.
- C-Clamps and Magnets: You will need at least four 6-inch C-clamps to hold the frame during tacking.
Understanding Beginner Welder Power Requirements and Safety
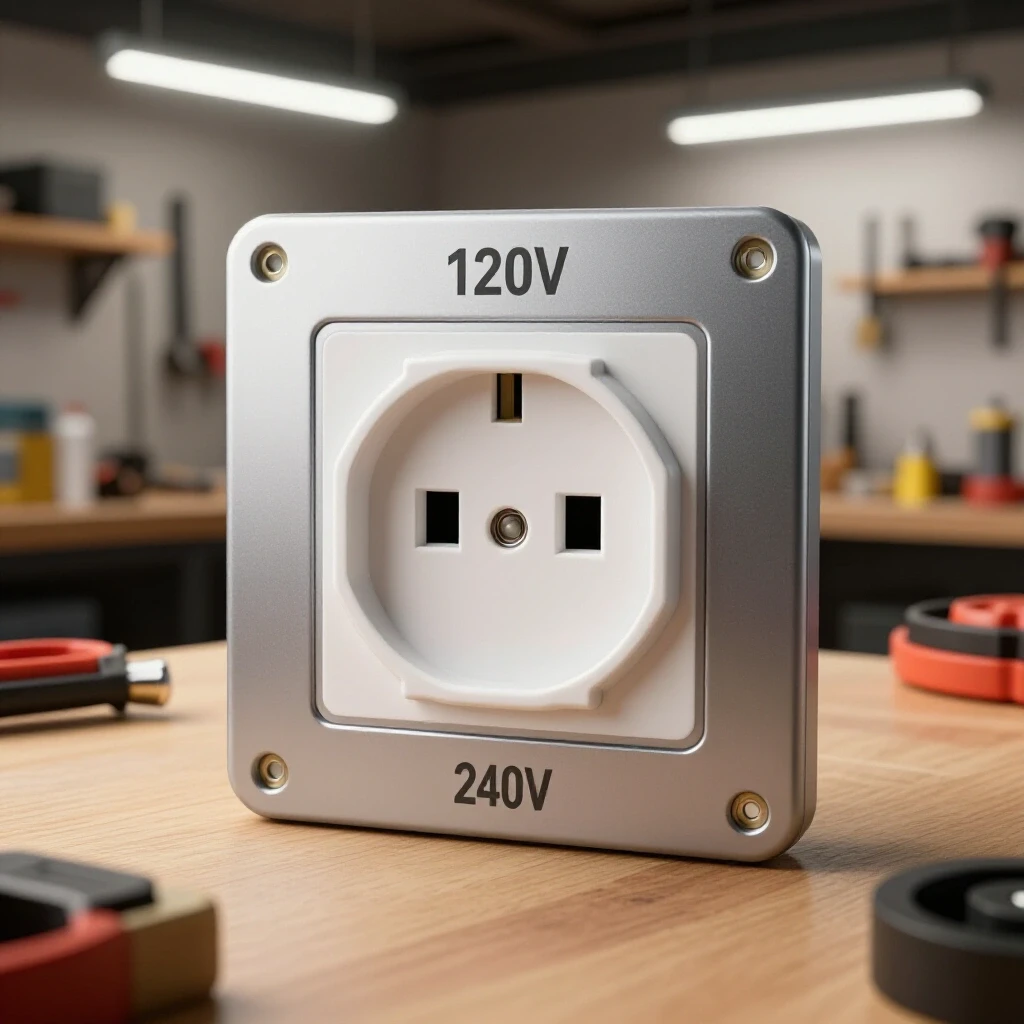
Before you strike your first arc on the frame, you must understand the electrical limits of your workspace. Most standard garage outlets are on a 15A or 20A circuit. A small MIG welder running on 120V can easily trip a 15A breaker if you are welding 1/8-inch steel at high settings. This is a common point of frustration that causes many to quit before they finish their first project.
I always suggest a dedicated 20A circuit for your welding area. If you are working in a confined space, you also need to manage the sparks and UV light. Ensure your workshop electrical setup checklists include a dedicated ground and that you have cleared all flammable materials within a 35-foot radius, as per basic fire safety standards. This preparation ensures that your focus remains on the quality of your weld joints rather than worrying about a tripped breaker or a fire.
Executing the Cut List and Preparing the Steel
Precision in the cutting phase saves hours of grinding and “gap filling” during the welding phase. When I built my current bench, I used a simple spreadsheet to track my cuts and minimize waste. For a standard 2×4 foot bench, you will need four legs, two long side rails, and three or four cross-members for the top and bottom frames.
Before assembly, every piece of steel must be cleaned. New steel comes with a layer of “mill scale,” a dark grey coating that inhibits weld penetration and causes arc instability. Use your angle grinder with a flap disc (60 or 80 grit) to clean the ends of the tubes where the welds will be placed. This “clean zone” should extend about an inch back from the cut.
- Legs: 4 pieces at 32 inches (assuming a 3/8″ top and 2″ casters/feet).
- Long Rails: 4 pieces at 44 inches (to allow for a 2-inch overhang on each side).
- Short Rails: 6 pieces at 20 inches (for the ends and center supports).
- Total Tubing: Approximately 38 to 40 feet of 2×2 square tube.
Mastering the Squaring and Tacking Process
The most common mistake I see is a beginner welding a joint completely before checking if the frame is square. Heat causes metal to expand and contract; if you weld one side fully, the cooling metal will pull the entire frame out of alignment. The “tack and check” method is the industrial standard for a reason.
Start by laying out the top rectangle on a flat section of the floor. Use a framing square to align the corners, then place a small 1/4-inch tack weld on the top of each joint. Measure the diagonals of the rectangle; if the measurements are equal, the frame is square. Only after confirming the dimensions should you proceed to tack the legs and lower bracing. This methodical approach prevents the “wobbly table” syndrome that plagues many first-time builds.
Applying Structural Weld Joints for Maximum Durability
For a heavy steel table, you will primarily use fillet welds and butt welds. A fillet weld joins two pieces of metal at an angle, such as where a leg meets the frame. According to American Welding Society (AWS) guidelines, the “leg” of the weld should be roughly equal to the thickness of the thinnest piece of metal being joined. In our case, that is 1/8-inch.
When welding the frame, I prefer to weld in short sections, alternating corners to distribute the heat evenly. This prevents the frame from warping. If you are using a MIG welder, ensure your wire speed and voltage are dialed in by practicing on scrap pieces of the same 1/8-inch tubing. A good weld should look like a consistent bead of “stacked dimes” and have a dull metallic luster after the silica slag is brushed away.
Finalizing the Work Surface and Leveling the Base
Once the frame is fully welded and cooled, it is time to mount the top plate. I do not recommend welding the plate solidly to the frame. Instead, use a series of 1-inch “stitch welds” every 6 to 8 inches around the perimeter. This allows the plate to expand slightly when it gets hot without buckling.
If your garage floor is like mine, it likely has a slope for drainage. To keep your work surface level, you can weld a large 1/2-inch nut into the bottom of each leg. Threading a 1/2-inch bolt into these nuts creates an adjustable leveling foot. This simple addition ensures that your table won’t rock while you are trying to perform precise measurements or heavy grinding.
Budget Metalworking Tools: Why Quality Abrasives Matter
In my 12 years of tracking shop costs, I discovered that cheap abrasives are a false economy. A $1.00 grinding wheel might seem like a bargain compared to a $4.00 professional-grade wheel, but the cheap one will wear down five times faster and produce more dust. This increases your long-term costs and exposes you to more airborne particles.
When finishing your bench, use a high-quality flap disc to smooth out any sharp edges or proud welds on the frame. This makes the bench safer to handle and gives it a professional appearance. For the top plate, I prefer to leave it as raw steel, occasionally wiping it down with a light coat of WD-40 or paste wax to prevent rust. Avoid painting the top surface, as paint is flammable and will interfere with your welder’s ground connection.
Organizing the Workspace for Efficiency and Safety
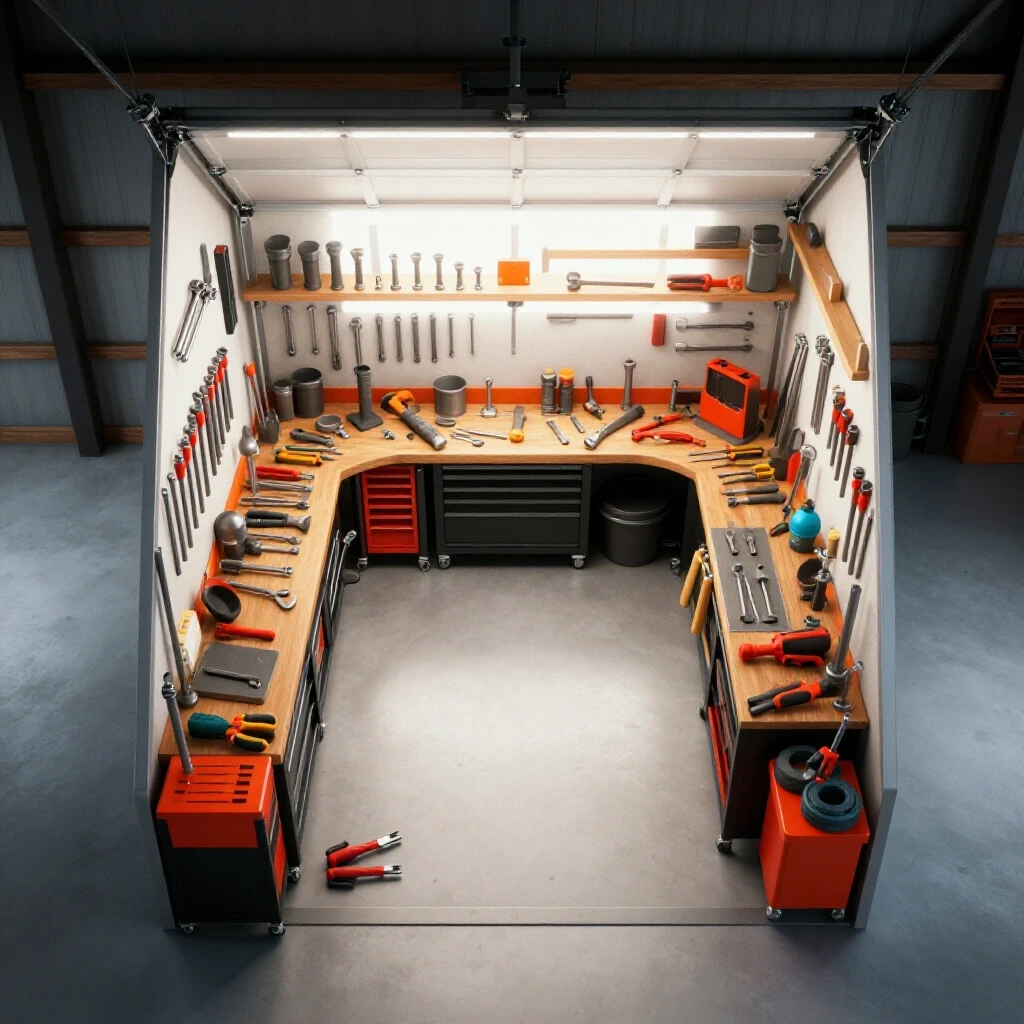
A functional starter metal workshop layout is about more than just the bench; it is about the “flow” of work. Place your bench in an area where you have at least three feet of clearance on all sides. This allows you to work on larger projects that might overhang the edges. I also recommend keeping your grinder and welding lead hangers on the side of the bench for easy access.
In a garage, dust and sparks are your primary enemies. By positioning your bench near a door or utilizing a simple fan setup, you can manage the debris. I’ve found that keeping a dedicated “clean zone” for measuring tools—away from the grinding sparks—extends the life of your calipers and squares significantly. This type of organization is what separates a frustrating hobby from a productive craft.
Long-Term Maintenance and Shop Evolution
Your first heavy steel bench is a living tool. Over time, you might find you need to add a vise, a tool rack, or even a hole pattern for clamping. Because it is made of steel, you can simply weld on new features as your skills grow. I have modified my original bench four times in the last decade, adding a receiver hitch for a removable vise and a lower shelf for my welder.
Keep a log of your build costs and any issues you encounter. This record-keeping was vital for me when I upgraded my shop. It helped me identify which tools were underperforming and where I could have saved money. Building your own equipment isn’t just about saving cash; it is about gaining the deep understanding of structural integrity that you will use in every future project.
Frequently Asked Questions
What is the best thickness for a welding table top on a budget? For most hobbyists, 3/8-inch (approx. 9.5mm) is the ideal balance. It is thick enough to resist warping from the heat of a standard MIG welder and provides enough mass to stay stable during heavy hammering. While 1/4-inch is cheaper, it often bows over time, and 1/2-inch can be too heavy and expensive for a first-time garage setup.
Can I use a 120V welder to build a heavy steel bench? Yes, a 120V MIG welder can handle 1/8-inch wall tubing and 3/8-inch plate if you use the right techniques. You may need to pre-heat the thicker top plate with a propane torch and use a multi-pass weld strategy to ensure deep penetration. Always check your welder’s manual for its maximum rated capacity.
How do I make sure the table top is perfectly flat? Start by ensuring your frame is square and level. When you place the plate on top, check for gaps with a straightedge. If the plate has a slight crown, place the “hump” side up so that the weight of your projects helps flatten it. Use stitch welds to secure it, which minimizes heat distortion compared to a continuous bead.
Why shouldn’t I paint the top of my welding bench? Paint is an insulator, meaning it will block the electrical flow required for welding. It also produces toxic fumes when it burns under the heat of an arc. To prevent rust, use a thin layer of weld-through primer or simply wipe the bare steel with a light oil or specialized anti-spatter spray.
What size tubing should I use for the legs? Standard 2-inch by 2-inch square tubing with a 1/8-inch (11-gauge) wall thickness is the industry standard for home shops. It is widely available, fits standard casters, and provides a large enough surface area for strong fillet welds at the joints.
How high should a metalworking bench be? The standard height is between 34 and 36 inches. However, a good rule of thumb is to measure from the floor to your wrist bone while standing comfortably. This height allows you to work without bending over excessively, which is crucial for long fabrication sessions.
Do I need to add wheels to my bench? If you have a small garage or a multi-purpose workspace, heavy-duty locking casters are highly recommended. Look for casters rated for at least 300 lbs each to account for the weight of the bench plus any projects you place on top. Ensure they have a total-lock mechanism that stops both the wheel and the swivel.
How do I clean the steel before welding? Use an angle grinder with a 60-grit flap disc or a wire wheel to remove the dark mill scale until you see shiny “white” metal. Welding over mill scale leads to “porosity” (tiny holes in the weld) and poor fusion. Clean at least one inch away from every joint area for the best results.
What are the most essential safety items for this build? At a minimum, you need an auto-darkening welding helmet (rated ANSI Z87.1), leather welding gloves, a flame-resistant jacket or apron, and safety glasses for grinding. Since you are working with heavy steel, steel-toed boots are also a vital investment to protect against dropped off-cuts.
How much should I expect to spend on materials for a 2×4 foot bench? Depending on local steel prices, you can expect to spend between $250 and $450 for the steel tubing and plate. This is significantly less than a pre-fabricated industrial bench of the same weight, and you gain the experience of building your own shop equipment.
(This article was written by one of our staff writers, Michael Thompson. Visit our Meet the Team page to learn more about the author and their expertise.)