Preventative Maintenance Checklist for Shop Machines (Guide)
When I moved into my first rental with a two-car garage in 2013, I had exactly $2,000 to my name for tools and a burning desire to build metal furniture. I quickly learned that buying a used drill press or a budget-friendly band saw is only the first half of the investment. The real cost of a workshop shows up six months later when a machine starts vibrating, losing accuracy, or smelling like burnt electrical insulation. Because I was working on a razor-thin margin, I couldn’t afford to replace tools. I had to learn how to keep them running in factory-new condition using industrial maintenance principles I’d picked up as a technician.

Establishing a routine for equipment care is the single most effective way to protect your startup capital. In a small home shop, your machines often work harder than their industrial counterparts because they lack the heavy castings and oversized motors of professional gear. By treating your entry-level tools with a structured inspection and cleaning regimen, you can bridge the gap between “hobbyist grade” and “professional reliability.” This guide focuses on the specific steps needed to keep your manual metalworking tools accurate, safe, and operational for years to come.
The Foundation of Machine Longevity in Small Spaces
Operational health begins with how you set up your workspace and manage the physical environment. A tool that is leveled correctly and powered by a stable electrical circuit will experience less internal stress than one struggling with vibration or voltage drops. Before turning a single bolt, you must ensure the machine is positioned to succeed.
Assessing Your Starter Metal Workshop Layout for Maintenance Access
A functional layout requires more than just fitting tools against a wall; it demands enough clearance to perform routine service and cleaning tasks. You need to account for “service zones” where you can reach oil ports, adjust belts, and clear out metal chips without moving the entire machine.
In my early 120-square-foot shop, I made the mistake of pushing my lathe flush against a wall. When I needed to check the headstock oil or adjust the drive belt, I had to spend an hour unbolting it from the bench. Now, I recommend a minimum of 6 inches of “air gap” behind bench-top tools and 18 inches of clearance for larger floor models. This allows for proper airflow and makes it easier to spot leaks or loose hardware before they cause a breakdown.
Understanding Beginner Welder Power Requirements and Circuit Health
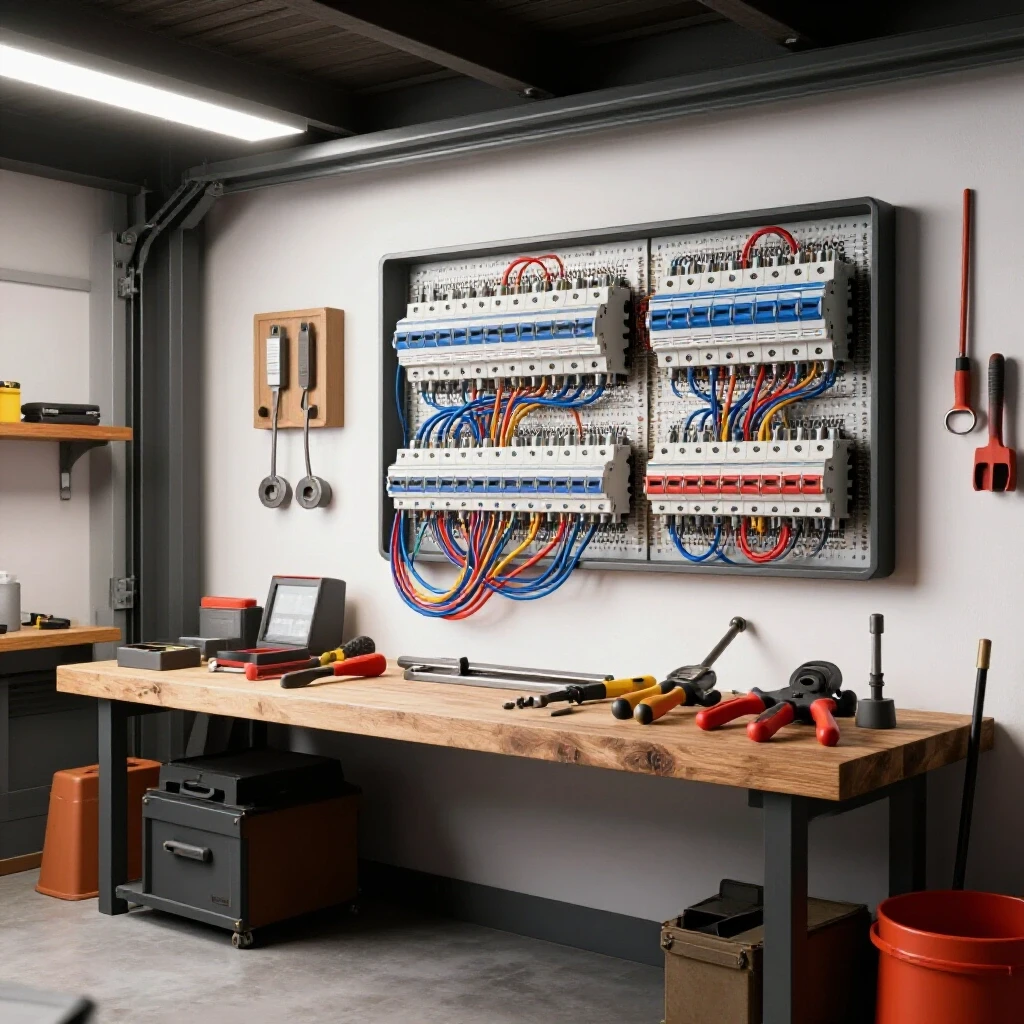
Electrical stability is a silent factor in tool wear. When a motor is starved of voltage because it is sharing a circuit with a space heater or a compressor, it runs hotter, which degrades the internal winding insulation over time.
I suggest mapping your garage circuits before installing any heavy equipment. A standard 15A breaker is often insufficient for a welder or a large compressor. For a dedicated metalworking space, aim for at least two 20A circuits. Use a digital multimeter to check for voltage drops when your largest tool starts up. If the voltage at the outlet drops significantly, you are putting unnecessary strain on your motors. Keeping your electrical connections tight and dust-free is a fundamental part of keeping your shop running smoothly.
| Tool Class | Typical Amp Draw (Start/Run) | Recommended Circuit | Maintenance Focus |
|---|---|---|---|
| Bench Grinder | 4A / 2A | 15A | Wheel Balance |
| 14-inch Band Saw | 12A / 7A | 20A | Belt Tension |
| Entry-Level Lathe | 10A / 6A | 15A | Brush Inspection |
| Small MIG Welder | 20A+ / 15A | 20A Dedicated | Ground Clamp Integrity |
Systematizing Lubrication and Fluid Management
Lubrication is the most critical task for any manual machine owner. Metalworking involves high friction and heat, and without a consistent film of oil, precision surfaces like lathe ways or mill tables will “gall,” which is when metal effectively welds itself to other metal during movement.
The Role of Way Oil and Spindle Lubricants
Different parts of a machine require different types of protection based on how they move and the loads they carry. Using the wrong lubricant can be just as damaging as using none at all because some oils can actually attract grit or degrade plastic components.
“Ways” are the flat or V-shaped precision tracks that machine parts slide along. You should use a dedicated Way Oil (usually ISO 68) because it contains “tackifiers” that help the oil stick to vertical surfaces. For high-speed parts like spindles, a thinner spindle oil is required to dissipate heat. Never use WD-40 as a long-term lubricant; it is a solvent and water displacer that leaves behind a very thin film that won’t hold up under machining pressures.
Establishing a Consistent Oiling Schedule
A common rookie mistake is oiling a machine only when it starts to squeak. By that point, damage has already occurred. Instead, you should develop a “pre-flight” routine where you apply lubrication before every work session.
- Daily/Per Use: Wipe down sliding ways and apply a fresh coat of way oil. Check oil sight glasses on gearboxes.
- Weekly: Use a grease gun on any Zerk fittings (small metal nipples) found on lead screws or pivot points.
- Monthly: Check the condition of gearbox oils. If the oil looks milky, water has contaminated it; if it looks metallic, internal wear is occurring.
Precision Alignment and Calibration Workflows
A metalworking tool is only as good as its ability to hold a dimension. Over time, the vibrations of cutting metal and the natural settling of your shop floor can knock your machines out of “square,” leading to tapered cuts or broken drill bits.
Verifying Squareness on Band Saws and Drill Presses
Alignment starts with the relationship between the cutting tool and the worktable. If your drill press table isn’t exactly 90 degrees to the spindle, every hole you drill will be slightly crooked, which ruins assemblies later on.
To check this, I use a simple “tramming” method. You can bend a piece of stiff wire into a “Z” shape, chuck it into the drill press, and rotate it by hand to see if the tip touches the table evenly at all points of the circle. For a band saw, use a machinist’s square to check the blade’s relationship to the table. Adjusting the guide blocks and blade tension is a monthly necessity to ensure your cuts remain straight and your blades don’t snap prematurely.
Managing Backlash and Gib Adjustments
In manual machines, “backlash” is the play or “slop” found in the lead screws that move the tables or tool posts. While some backlash is normal, excessive play makes it impossible to hit precise measurements.
Gibs are small strips of metal that act as adjustable shims between sliding parts. As you use your machine, these wear down. Most budget-friendly tools have small adjustment screws along the sides of the carriages. Tightening these screws slightly can remove “chatter” (vibration during a cut) and restore the feel of a new machine. I usually check my gib settings every 50 hours of machine run-time or whenever I notice the finish on my metal parts looking rough.
Mechanical Inspection of Wear Components
Every machine has “consumable” parts that are designed to wear out so that the more expensive components don’t have to. Identifying these wear items before they fail is a hallmark of a well-run shop.
Inspecting V-Belts and Drive Systems
Most entry-level lathes, mills, and drill presses use rubber V-belts to transfer power from the motor to the spindle. These belts can dry out, crack, or develop “sets” if left sitting in one position for too long.
Once a month, unplug your machine and open the belt guard. Look for fraying or “glazing” (a shiny appearance on the sides of the belt). A glazed belt will slip under load, causing the motor to overheat. Also, check the tension; a belt should generally have about half an inch of “give” when pressed with a finger. If it’s too tight, you’ll burn out the motor bearings; if it’s too loose, you’ll lose cutting power.
Monitoring Motor Brushes and Bearings
Many affordable fabrication tools use “universal motors” that contain carbon brushes. These brushes conduct electricity to the spinning part of the motor and naturally grind down over time.
If you notice your tool sparking excessively or losing power intermittently, the brushes likely need replacing. This is a five-minute job that costs less than ten dollars but can save a two-hundred-dollar motor. Similarly, listen for new noises. A high-pitched whine or a growling sound usually indicates a bearing is starting to fail. Catching a bad bearing early prevents it from seizing and potentially damaging the motor shaft.
| Component | Inspection Interval | Warning Signs | Action Step |
|---|---|---|---|
| V-Belts | Monthly | Cracking, Squealing | Adjust Tension or Replace |
| Carbon Brushes | 100 Run-Hours | Sparking, Power Loss | Replace Brushes |
| Lead Screws | Weekly | Visible Grit, Dryness | Clean and Apply Grease |
| Spindle Bearings | Every Use | Heat, Growling Noise | Check Lubrication/Load |
Safety Systems and Electrical Integrity Checks
A safe shop is a productive shop. Maintenance isn’t just about making sure the machine runs; it’s about making sure it stops when you need it to and doesn’t become a fire hazard in your home.
Testing Emergency Stops and Shielding
Every time I start a project, I perform a quick safety check. I turn the machine on and immediately hit the E-stop (Emergency Stop) button to ensure it functions correctly. Dust and metal chips can sometimes migrate into these switches, causing them to stick.
Additionally, inspect your eye shields and blade guards. In a garage environment, plastic shields can become pitted from sparks or yellowed from UV exposure, reducing visibility. Keeping these clean and clear is vital. If a guard is loose or vibrating, it’s not just a nuisance—it’s a sign that a fastener is backing out, which could lead to the guard falling into a moving part.
Workshop Electrical Setup Checklists for Fire Prevention
Metalworking creates two things that electricity hates: heat and conductive dust. Fine steel dust from grinding can settle inside electrical boxes and create “bridges” that lead to short circuits.
- Vacuum, Don’t Blow: Use a vacuum with a HEPA filter to clean out motor housings and electrical boxes. Using compressed air often pushes the dust deeper into sensitive components.
- Cord Inspection: Check power cords for nicks or melted spots. In a small shop, it’s easy to accidentally touch a hot piece of metal to a cord.
- Plug Temperature: After running a tool for 15 minutes, feel the plug. If it’s hot to the touch, you have a loose connection in the outlet or the wire gauge is too thin for the load.
Environmental Control and Rust Mitigation
In a garage or basement shop, humidity is your constant enemy. Precision ground steel surfaces can develop “flash rust” overnight if the conditions are right, which destroys the accuracy of your tools.
Managing Garage Workshop Ventilation and Humidity
Good ventilation serves two purposes: it carries away hazardous fumes from welding or cutting oils and helps regulate moisture levels. I recommend installing a hygrometer (a cheap tool that measures humidity) in your shop. If the humidity stays above 50%, you are at high risk for rust.
Using a dehumidifier is a smart investment for a budget metalworking space. While it adds to your monthly power bill, it saves hundreds of dollars in “elbow grease” and Scotch-Brite pads used to scrub rust off your machines. If you can’t run a dehumidifier, you must be diligent about applying a rust preventative (like a wax-based spray or a light coat of oil) to every bare metal surface before you close up the shop for the night.
Why Cheap Abrasives Cost More in the Long Run
While not a “machine” in the traditional sense, your grinding wheels and sanding belts are part of your tool system. Using worn-out abrasives forces you to put more pressure on the machine, which strains the bearings and creates excessive heat.
I track the lifespan of my grinding wheels. If a wheel is “loaded” (clogged with metal) or out of round, it causes vibration that can damage the grinder’s motor. Using a diamond dresser to “face” the wheel regularly keeps it cutting cool and straight. This reduces the load on your electrical circuit and ensures a safer work environment.
Implementing a Data-Driven Maintenance Log
The difference between a hobbyist and a craftsman often comes down to record-keeping. When you are managing a budget, you need to know exactly when a tool was last serviced so you don’t over-maintain or, worse, forget a critical task.
Creating Your Workshop Service Ledger
I keep a simple spiral notebook at the end of my workbench. Every time I perform a significant task—changing oil, replacing a belt, or calibrating a table—I write down the date and what was done. This “safety log” is invaluable for spotting patterns. If you find you are replacing the same belt every three months, you know you have an alignment problem with your pulleys.
- Tool Inventory: List every major tool and its serial number.
- Lubrication Points: Map out where every oil hole and grease zerk is located.
- Part Numbers: Record the sizes for belts, brushes, and fuses so you don’t have to take the tool apart just to find out what to buy.
- Date of Last Calibration: Track when you last “trammed” your mill or squared your saw.
Allocating a Maintenance Budget
I suggest setting aside 10% of your initial tool cost for ongoing maintenance and consumables in the first year. If you spent $1,000 on a used lathe, have $100 ready for way oil, a new belt, and perhaps a set of fresh leveling feet. This prevents “financial paralysis” when a small part inevitably needs replacing. By planning for these costs, you ensure that a $20 belt failure doesn’t stop your progress for three weeks while you wait for a paycheck.
Common Pitfalls for the First-Time Shop Owner
Analysis paralysis often strikes when a machine starts making a new sound. Beginners often worry they need to tear the whole tool apart. Most of the time, the solution is much simpler and involves basic cleaning or tightening.
- Over-Tightening Fasteners: In an attempt to stop vibrations, many beginners crank down on bolts until they strip. Use a torque wrench if possible, or learn the “snug plus a quarter turn” rule.
- Ignoring the “Swarf”: Metal chips (swarf) are abrasive. If they get under a sliding surface, they act like sandpaper. Always clean your machine thoroughly at the end of the day.
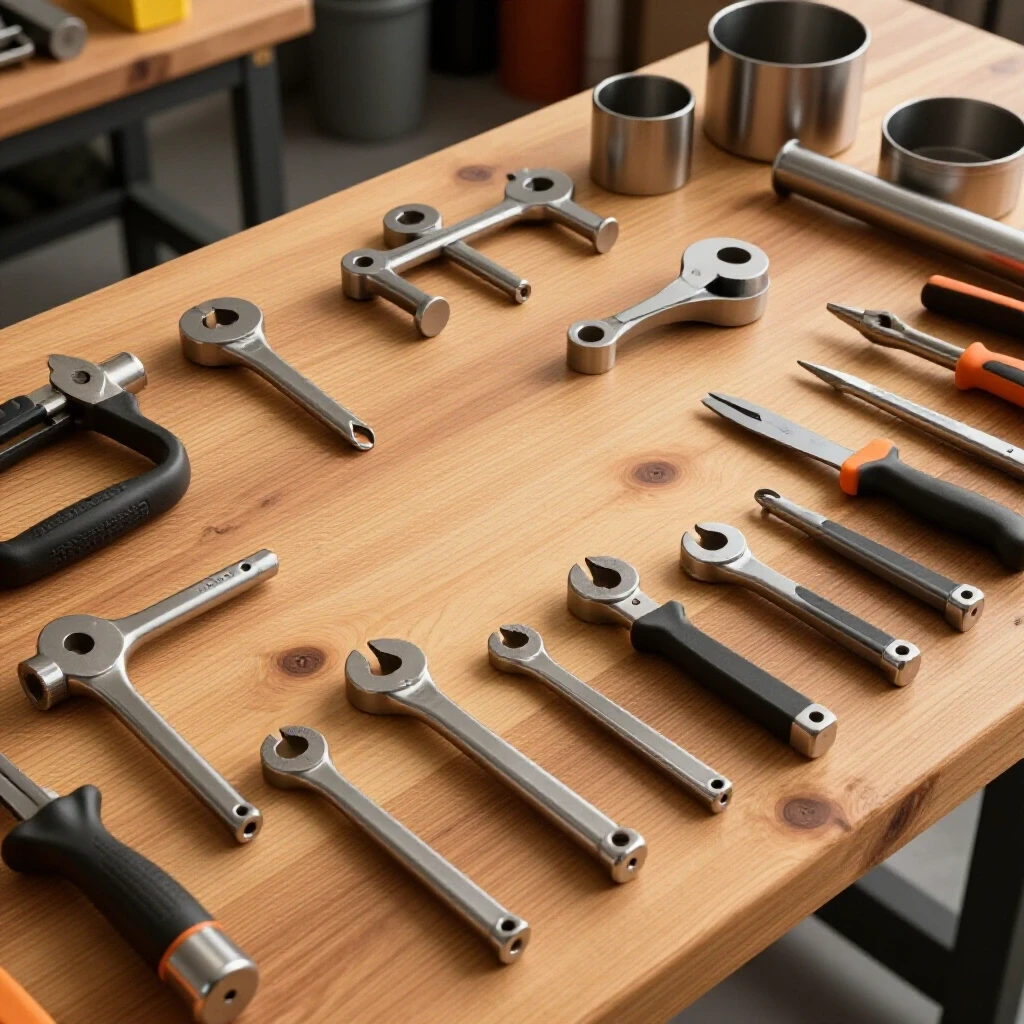
- Using the Wrong Tools for Adjustments: Using a pair of pliers on a hex-head bolt will round it off, making future maintenance impossible. Invest in a decent set of metric and SAE wrenches.
Initial Testing Workflows for New Equipment
When you bring a new (or new-to-you) tool into your shop, don’t just plug it in and start a project. Perform a “break-in” and inspection. Run the machine at its lowest speed for 20 minutes and check for heat build-up in the bearings. Change the factory oil immediately; many budget machines come with “shipping oil” that is full of casting sand and metal shavings from the factory. Starting with clean, high-quality oil is the best way to ensure the machine lasts through its first year of service.
Summary of Proactive Tool Care
By following these structured steps, you turn a collection of budget tools into a professional-grade fabrication space. Maintenance isn’t a chore; it’s an insurance policy on your hard-earned money.
- Establish a “pre-flight” lubrication routine for every work session.
- Maintain a 20A circuit for high-draw tools to prevent motor fatigue.
- Check mechanical alignments monthly to ensure accuracy and prevent tool breakage.
- Keep a written log of all service tasks to identify recurring issues.
- Control your shop’s environment to prevent the “silent killer” of precision: rust.
Building a shop on a budget requires discipline. While you might not have the most expensive gear, a well-maintained entry-level machine will outperform a neglected professional machine every time. Take the time to learn the “language” of your tools—the sounds they make, the heat they produce, and the way they feel when they are cutting correctly. This sensory feedback, combined with a rigorous inspection schedule, is what separates a cluttered garage from a functional fabrication shop.
Frequently Asked Questions
What is the most important lubricant for a beginner’s metal shop? For most manual machines, a high-quality Way Oil (ISO 68) is the most critical. It is specifically designed to stay on sliding surfaces and prevent the “stick-slip” motion that ruins accuracy. It also contains rust inhibitors that protect the most expensive parts of your lathe or mill.
How often should I really be checking the alignment of my machines? If you are a hobbyist working on weekends, a monthly check is usually sufficient. However, you should always verify alignment after a “crash” (when a tool digs in or stalls) or if you have moved the machine to a different part of the shop.
Can I use an extension cord for my welder or large drill press? It is highly discouraged. Most household extension cords are 14 or 16 gauge, which causes a significant voltage drop. This makes the motor run hot and reduces the welder’s penetration. If you must use one, it should be a 10-gauge “heavy-duty” cord and kept as short as possible.
Why does my machine vibrate more than it did when it was new? Vibration is usually caused by three things: a belt that has developed a flat spot, a pulley that has come loose on its shaft, or a machine that is no longer level on the floor. Check the “feet” of the machine first, then inspect the drive belt.
What is the best way to remove rust from a machine table without damaging it? Never use a coarse grinding disk. Instead, use a light penetrant like WD-40 Specialist or kerosene and a fine abrasive pad (like a gray or maroon Scotch-Brite). For stubborn rust, a razor blade scraper held at a low angle can “shave” the rust off without removing the underlying steel.
How do I know if a bearing is going bad before it fails? Use a “mechanic’s stethoscope” (or even a long screwdriver held against your ear and the bearing housing). A good bearing makes a smooth whirring sound. A failing bearing will sound “crunchy,” intermittent, or produce a high-pitched metallic scream.
Do I need to change the oil in my manual gearbox if the machine is rarely used? Yes. Oil oxidizes over time, and temperature swings in a garage can cause condensation to form inside the gearbox. Changing the oil once a year, regardless of use, ensures that moisture doesn’t sit against your gears and cause pitting.
What is the “duty cycle” and why does it matter for maintenance? Duty cycle is the amount of time a machine can run in a 10-minute period without overheating. A 20% duty cycle means 2 minutes of work followed by 8 minutes of cooling. Exceeding this consistently will bake the motor’s insulation and lead to an early electrical failure.
(This article was written by one of our staff writers, Michael Thompson. Visit our Meet the Team page to learn more about the author and their expertise.)