How to Soundproof a Garage Shop for Metalworking (Methods)
When I set up my first garage workshop in 2013, I had exactly $2,000 and a very skeptical set of neighbors. I knew that the high-pitched whine of an angle grinder and the rhythmic thud of a hammer on an anvil would not sit well in a quiet residential cul-de-sac. As a former industrial maintenance technician, I was used to loud environments, but I also knew that residential walls are thin. If I wanted to keep my shop running without friction, I had to treat noise management as a foundational part of my shop layout, right alongside power requirements and tool selection.
The anxiety of spending your limited startup budget on “invisible” upgrades like wall treatments is real. It feels much more rewarding to buy a new welder or a high-end bandsaw. However, if your workspace is so loud that you can only use it for twenty minutes a day, that expensive machinery is just taking up floor space. I have spent years refining how to contain the sounds of metal fabrication using methodical, budget-friendly techniques that prioritize density and isolation.
Analyzing Noise Types in a Fabrication Space
Before spending a dime on materials, you must understand what you are trying to stop. In a metalworking context, we deal with two distinct types of sound: airborne and structural. Airborne noise is the scream of a cutoff wheel or the hum of a welder, while structural noise is the vibration from a bench grinder or a hammer blow that travels through the floor and into the frame of the house.
Identifying these sources allows you to target your spending. If you spend all your money on wall foam but your anvil is bolted directly to a concrete slab connected to the main house, your neighbors will still hear every strike. I recommend walking through your empty garage and clapping your hands or shouting to see where the echoes are loudest. This simple test reveals how sound bounces off hard surfaces, which is the first problem we need to solve.
Comparing Common Shop Noise Sources
| Tool Type | Noise Category | Typical Decibel Range | Primary Transmission Path |
|---|---|---|---|
| Angle Grinder | Airborne | 100 – 105 dB | Air/Vents/Windows |
| Bench Grinder | Structural | 85 – 90 dB | Workbench/Floor |
| Chop Saw | Airborne | 105 – 110 dB | Air/Unsealed Doors |
| Hammering/Forging | Impact/Structural | 110 – 120+ dB | Floor/Walls |
| Air Compressor | Structural/Airborne | 80 – 90 dB | Floor/Air |
Increasing Wall Density with Mass-Loaded Vinyl
Mass-loaded vinyl (MLV) is a heavy, flexible material designed to add “limp mass” to a structure. In the world of acoustic isolation, mass is your best friend because it is much harder for sound waves to move a heavy object than a light one. Standard garage drywall is relatively thin and acts like a drumhead, vibrating and passing sound right through to the outside.
Adding a layer of MLV is one of the most effective ways to dampen the high-frequency noise of metal cutting. When I built my second shop, I tracked the costs carefully and found that while MLV is an upfront investment, it lasts for decades and doesn’t require the maintenance that soft foam panels do. It is essentially a thick, rubber-like sheet that you staple or screw directly to the studs before hanging your final wall surface.
The Role of High-Density Insulation
Standard fiberglass batts are great for temperature, but they do very little for the frequencies generated by metalwork. I prefer mineral wool insulation, often sold under brands like Rockwool. It is much denser than fiberglass and has excellent fire resistance, which is a critical safety factor in any shop involving sparks and molten metal.
Mineral wool fits snugly between studs and absorbs sound energy rather than letting it bounce around the wall cavity. In my experience, the combination of mineral wool in the walls and a layer of heavy vinyl over the studs creates a barrier that can significantly drop the noise levels reaching your driveway.
Sealing the Garage Envelope to Prevent Leaks
Sound behaves remarkably like water; if there is a tiny gap, it will pour through. The largest “leaks” in a garage are usually the big overhead door, the entry door, and the windows. You can have the thickest walls in the world, but if your garage door has a half-inch gap at the bottom, the scream of your grinder will travel down the street unimpeded.
I focus on “sealing the envelope” as a low-cost priority. This involves using heavy-duty weatherstripping and door sweeps. For a metalworking space, you need materials that can handle dust and temperature swings. I suggest using EPDM rubber seals rather than cheap foam tapes, as the foam will degrade quickly in a workshop environment.
Managing Windows and Vents
Windows are often the weakest link in a residential shop. If you don’t need the light, covering them with a removable “plug” made of rigid foam and plywood can make a massive difference. If you do want the light, consider adding a second pane of acrylic or glass with a dead-air space in between.
Vents are a paradox for the metalworker. You need high-volume airflow to remove welding fumes and grinding dust, but a hole for air is also a hole for sound. The solution is an acoustic baffle or a “sound trap.” This is essentially a zig-zag box lined with sound-absorbing material that allows air to pass through while forcing sound waves to bounce off absorbent surfaces until they lose energy.
Decoupling Equipment to Stop Vibration Transfer
Decoupling is the process of breaking the physical connection between a noise source and the building’s structure. When you bolt a bench grinder to a wooden workbench that is screwed into the wall studs, the workbench and the wall become a giant speaker. The vibration of the motor travels through the wood, into the studs, and vibrates the exterior siding of your house.
To fix this, I use vibration isolation pads. These are small, inexpensive squares made of cork and rubber or specialized ribbed neoprene. Placing these under your heavy machinery or even under the legs of your workbench can decouple the tool from the floor. For my air compressor, I moved it onto a dedicated thick rubber mat, which immediately stopped the “rumble” that my family could feel in the living room.
Floating Floors and Workstation Isolation
In a more advanced setup, or if you do a lot of heavy anvil work, you might consider a “floating” section of the floor. This doesn’t mean the whole floor moves, but rather that you create a platform for your loudest tools that sits on top of a dampening layer. For a budget-conscious beginner, 3/4-inch horse stall mats from a farm supply store are an excellent, high-density solution. They are cheap, nearly indestructible, and do a fantastic job of absorbing the impact of dropped metal or heavy hammering.
Strategic Layout for Noise Containment
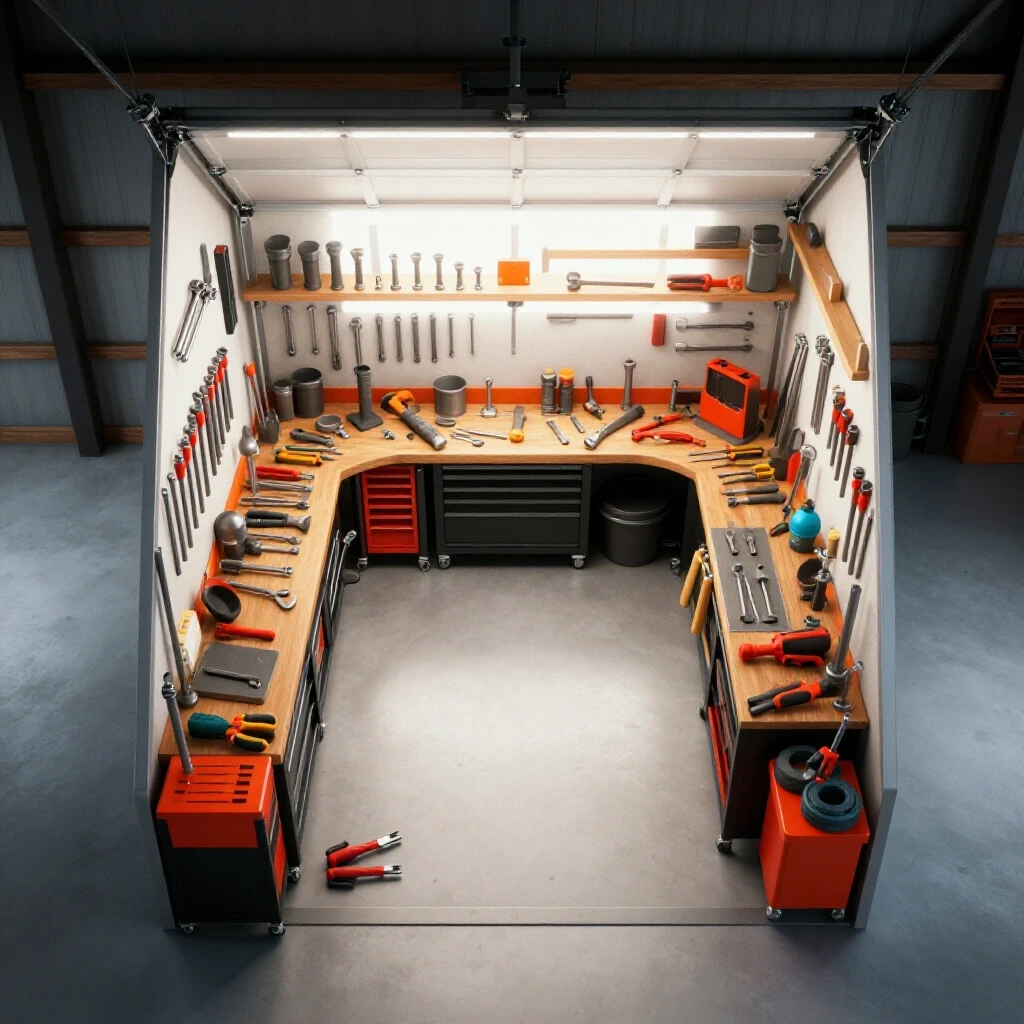
Where you place your tools matters just as much as what you put on the walls. I always suggest a “zoning” approach to workshop layout. Place your loudest equipment—like the chop saw and the air compressor—against the wall that faces away from your neighbors or the main house. If your garage is attached, keep the heavy fabrication area on the far side, using the rest of the shop as a “buffer zone.”
Internal partitions can also help. Even a heavy welding curtain can act as a minor sound break for high-frequency noise. While it won’t stop the bass of a hammer, it can help contain the “zip” of a grinder within a specific corner of the shop, making it easier to manage with localized wall treatments.
Tooling-to-Machine Cost Ratios for Soundproofing
When planning your budget, I recommend allocating about 10% to 15% of your initial setup funds toward environmental controls, which includes sound and ventilation. It is a mistake to spend $1,000 on a welder and $0 on the room it sits in.
| Project Component | Budget Allocation | Expected Outcome |
|---|---|---|
| Acoustic Sealants/Gaskets | 2% | Stops high-frequency leaks |
| Vibration Dampening Mats | 3% | Reduces structural floor rumble |
| Mineral Wool Insulation | 5% | Absorbs internal echoes/wall noise |
| Mass-Loaded Vinyl | 5% | Blocks sound transmission through walls |
Ventilation Requirements vs. Noise Control
Metalworking generates hazardous fumes that must be exhausted. An industrial fan can move 1,000 CFM (cubic feet per minute) of air, but it also creates a direct path for noise to escape. As an industrial tech, I’ve seen many shops fail because they didn’t account for the “make-up air” needed when the exhaust fan is running.
To keep the shop quiet while staying safe, you should build a baffle box for both your intake and your exhaust. A baffle box is essentially a “muffler” for your shop. You can build these out of scrap plywood. By lining the interior with fire-rated acoustic foam and creating at least two 90-degree turns for the air to follow, you can drop the noise of your exhaust fan by 10 to 15 decibels without significantly restricting airflow.
Calculating Air Exchange
For a standard two-car garage (approx. 400 square feet with 8-foot ceilings), you have about 3,200 cubic feet of air. To keep the air clean during welding or grinding, you want to exchange that air every 5 to 10 minutes. This means you need a fan rated for 320 to 640 CFM. When you add a baffle box, the “static pressure” or resistance increases, so I usually recommend a fan with a slightly higher rating to compensate for the soundproofing turns.
Practical Steps for a Phased Soundproofing Build
You don’t have to do everything at once. If you are starting with a strict budget, I suggest a phased approach. This allows you to test the shop’s noise levels as you go and stop when you reach a level that is acceptable for your specific neighborhood.
- Seal the Gaps: Start with the garage door and entry door seals. This is the cheapest step and often provides the most noticeable improvement.
- Isolate the Tools: Buy or make vibration pads for your bench tools and compressor. Use rubber mats in your main work area.
- Insulate the Walls: If your garage is unfinished, install mineral wool insulation. If it is already drywalled, you might consider adding a second layer of “quiet” drywall with a dampening compound in between.
- Baffle the Vents: Build your intake and exhaust mufflers once your ventilation system is in place.
- Treat the Ceiling: If there is a living space above the garage, the ceiling becomes your most important wall. Using resilient channels to “float” the ceiling drywall away from the joists is a highly effective, though more labor-intensive, method.
Tracking Your Sound Management Progress
I am a firm believer in meticulous record-keeping. When you are modifying your shop, keep a log of what you installed and the perceived difference it made. You don’t need professional equipment; even a basic decibel meter app on your smartphone can give you a “before and after” reading from the sidewalk.
Record the decibel levels of your loudest tool running while you stand 20 feet outside the garage. After you seal the doors, check again. After you add insulation, check again. This data-backed approach prevents you from overspending on materials that aren’t providing a measurable benefit. It also gives you peace of mind, knowing exactly how much noise you are actually making.
Common Pitfalls for Beginners
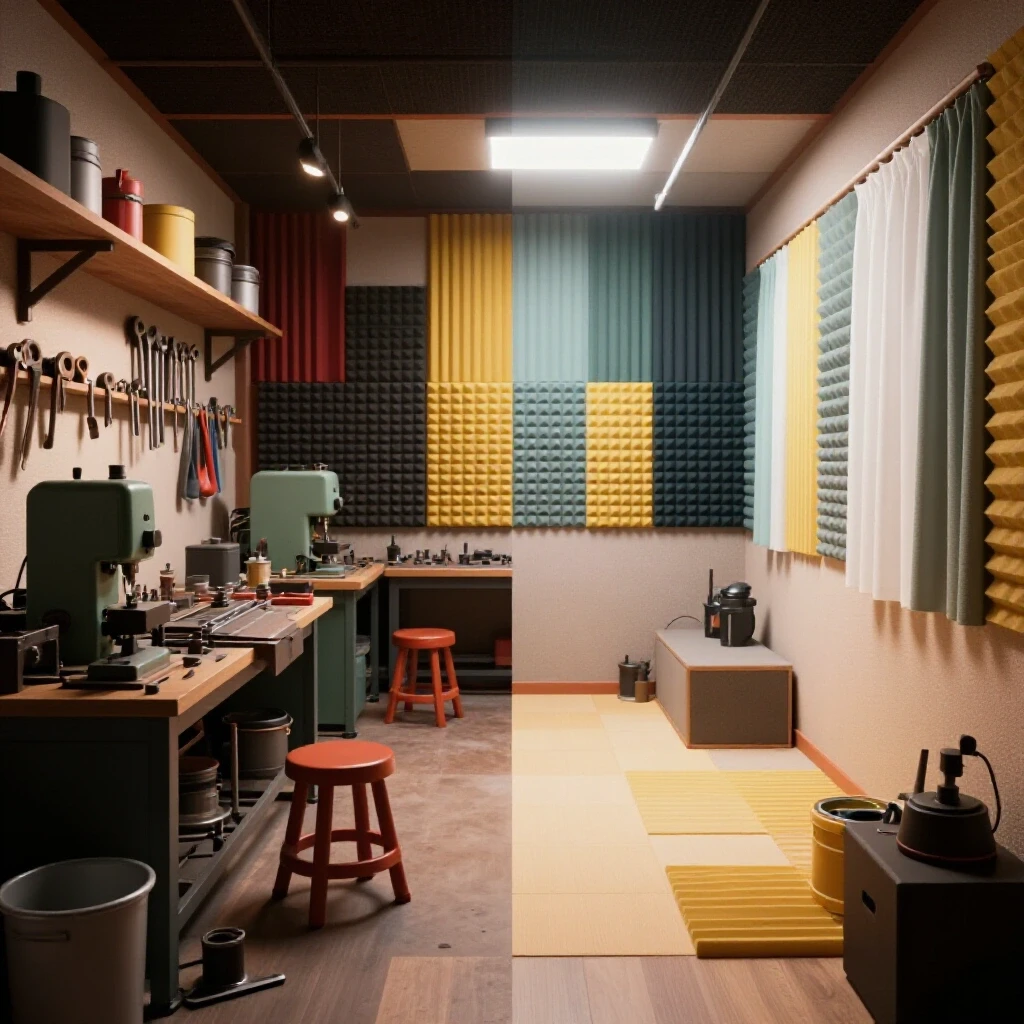
One of the biggest mistakes I see is the use of “egg carton” foam or thin acoustic foam panels. These are designed to stop echoes inside a room so a microphone can pick up clear audio; they do almost nothing to stop sound from leaving the room. They lack the mass required to block the energy of metalworking tools.
Another mistake is neglecting the “flanking paths.” Sound can travel through electrical outlets, light fixtures, and even shared plumbing. If you have a row of outlets on a shared wall, the sound will go right through the plastic boxes. Using “putty pads”—which are heavy, fire-rated acoustic wraps for electrical boxes—can plug these tiny but significant holes.
Maintaining a Safe and Functional Workflow
While soundproofing is important, it should never compromise shop safety. Never use flammable materials like standard upholstery foam or recycled carpet scraps for sound dampening in a metal shop. Sparks from a grinder can travel 20 feet and smolder in porous materials. Always ensure that your acoustic treatments are fire-rated and that your ventilation remains unobstructed.
Your shop layout should still prioritize a “clean zone” for electronics and a “hot zone” for welding and grinding. Soundproofing materials in the hot zone should be shielded or made of non-combustible mineral wool. By balancing the need for a quiet environment with the realities of fire safety and airflow, you create a sustainable workspace where you can focus on building your skills rather than worrying about the neighbors.
Frequently Asked Questions
Does “Soundproof Paint” actually work for a metal shop? In my experience, no. Soundproofing requires mass and thickness. A layer of paint, no matter how specialized, is too thin to provide any measurable reduction in the high-decibel noise produced by metal fabrication tools like chop saws or grinders. It might slightly reduce very high-frequency “flutter,” but for a workshop, it is not a viable solution.
Can I use old blankets or carpets to quiet my garage? I strongly advise against this in a metalworking environment. While heavy fabrics can absorb some sound, they are a major fire hazard. Sparks from grinding or welding can easily land in the fibers and start a fire that you might not notice until you’ve left the shop. Stick to fire-rated materials like mineral wool or mass-loaded vinyl.
What is the “STC Rating” and why does it matter? STC stands for Sound Transmission Class. It is a numerical rating of how well a building partition (like a wall or door) attenuates airborne sound. For a metal shop, you are looking to increase your wall’s STC from a standard 30-35 (typical garage wall) to something closer to 50 or 60.
Is it better to soundproof the inside or the outside of the garage? You should always focus on the interior. Stopping the sound at the source is much more efficient than trying to treat the exterior. Once the sound energy has vibrated the garage’s outer shell, it has already begun to move through the neighborhood.
How do I quiet a loud air compressor on a budget? The most effective way is a combination of decoupling and a small enclosure. Place the compressor on a thick rubber mat. Then, build a simple wooden box to go over it, lined with mineral wool. Just ensure the box has enough ventilation so the compressor motor doesn’t overheat during long duty cycles.
Will double-pane windows stop the sound of my angle grinder? They will help significantly compared to single-pane glass, but the “air gap” is the key. A larger gap between the panes provides better low-frequency isolation. For the best results, an “acoustic window” uses two different thicknesses of glass to break up different sound frequencies.
What is Green Glue, and should I use it? Green Glue is a constrained-layer dampening compound. You apply it between two layers of drywall. It works by converting sound energy into heat. It is a very effective, budget-friendly way to upgrade existing walls without tearing them down, though it does require adding that second layer of drywall.
How much noise does a garage door actually leak? A standard uninsulated metal garage door provides almost zero sound protection. It acts like a giant diaphragm. Adding an insulation kit and, more importantly, heavy-duty rubber seals around the entire perimeter can reduce the noise leakage by as much as 10 to 15 decibels.
Do I need to treat the floor of my garage? Unless you are doing heavy forging or have a very loud compressor, you usually don’t need to treat the entire floor. Concrete is actually quite good at blocking airborne sound because it is so dense. Focus on “spot treatments” like rubber mats under your most vibration-prone tools.
What is the cheapest way to start soundproofing today? The absolute cheapest step is a tube of acoustic sealant (caulk). Go around your shop and fill every gap where wires or pipes go through the walls, and seal the baseplates of your walls. Stopping the air leaks is the most cost-effective “first mile” of noise management.
(This article was written by one of our staff writers, Michael Thompson. Visit our Meet the Team page to learn more about the author and their expertise.)