How to Organize Contact Tips and Nozzles in your Shop (Fix)
After two decades of running a fabrication shop, I have learned that the difference between a hobbyist and a professional is rarely found in the size of the welder. Instead, it is found in the seconds lost between tasks. When I first transitioned from a basic garage setup to a high-output manufacturing environment, my biggest bottleneck was not the machine speed. It was the frantic search for a 0.035-inch contact tip hidden somewhere in a cluttered workbench drawer.
As you scale your operations and integrate advanced machinery, the small components of your welding system become the gears that either drive or stall your production. Managing these small parts is a foundational step in lean manufacturing. If your shop layout requires you to walk across a 40-foot floor to find a fresh gas nozzle, you are leaking profit through your boots. This guide focuses on turning that chaos into a streamlined system that supports high-volume fabrication.
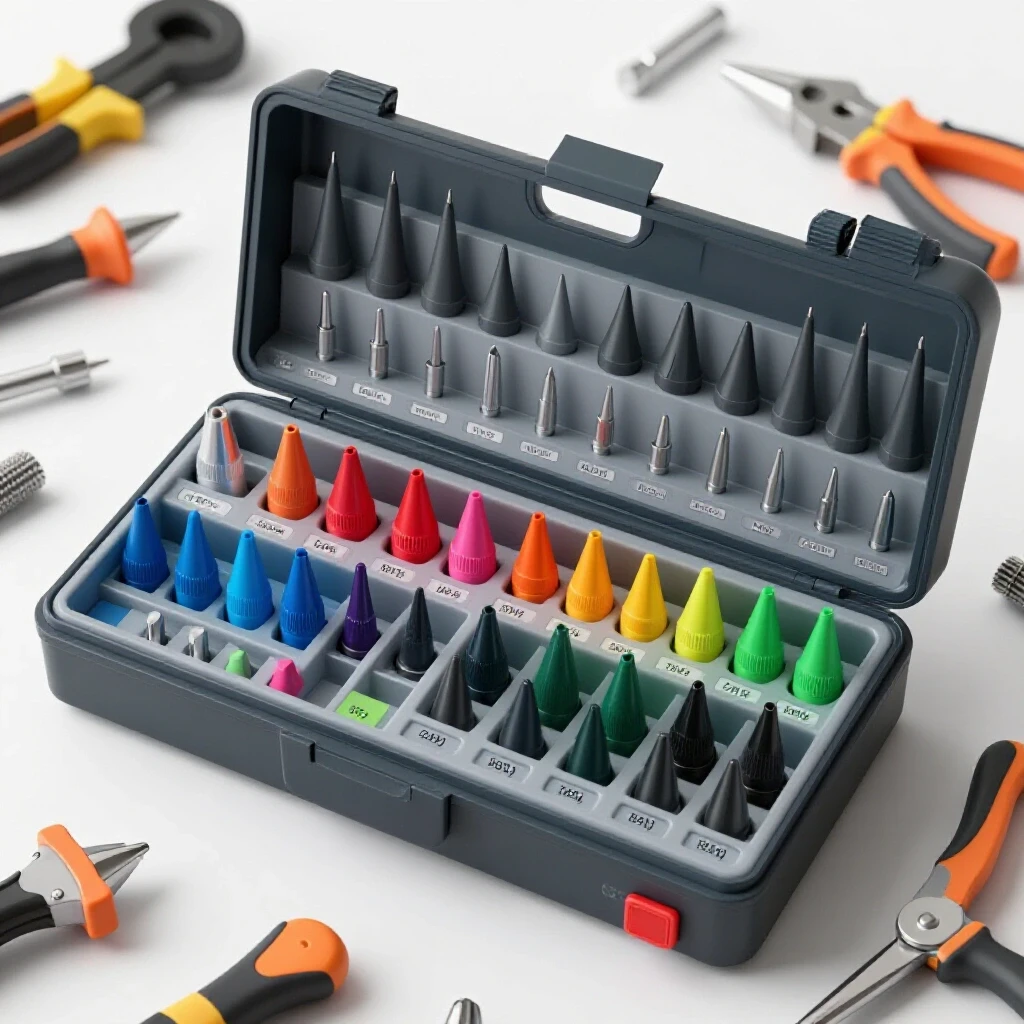
Mapping Material-Flow Loops for Consumable Access
Efficiency in a professional shop is measured by how little a technician has to move to complete a task. In a lean workflow, we look at the “spaghetti diagram” of a worker’s path. If the path to find a replacement tip looks like a tangled mess, the layout is failing.
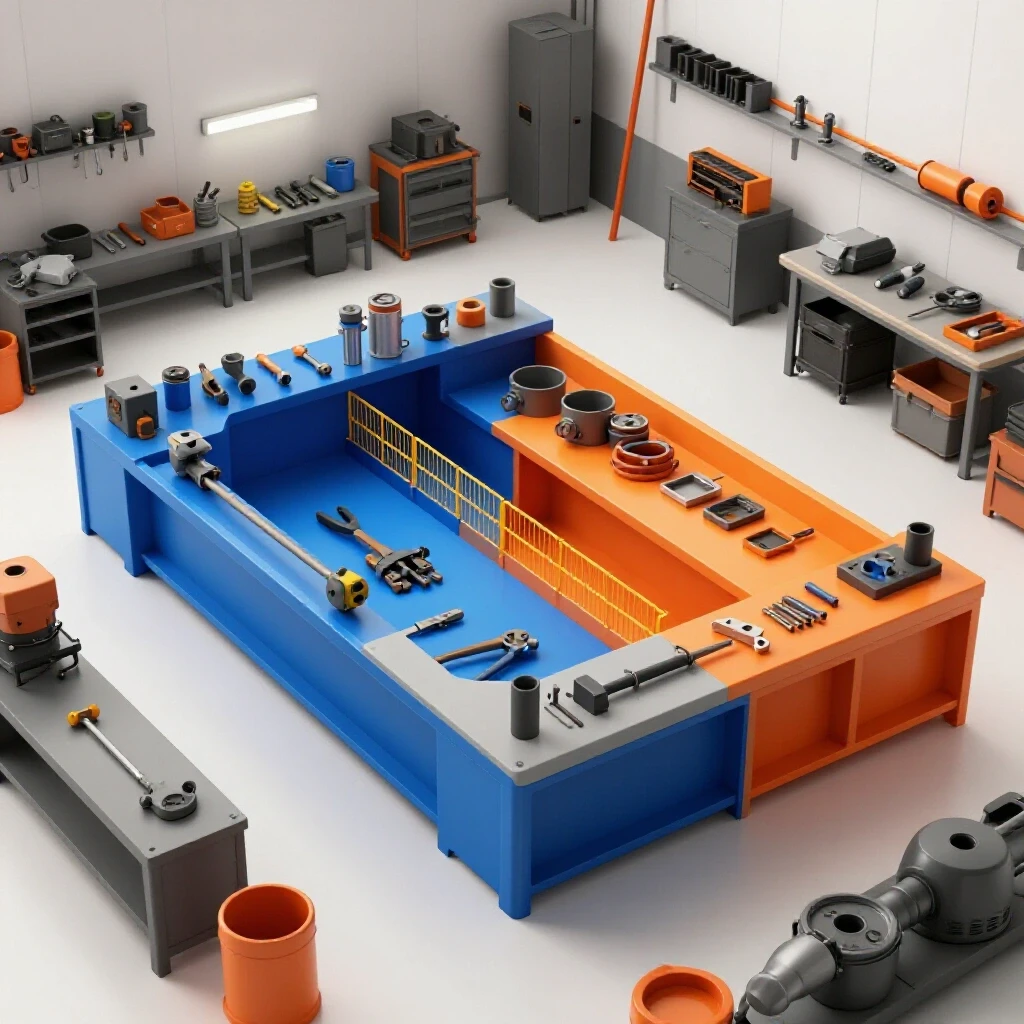
By placing your storage systems directly within the welding cell, you eliminate “travel waste.” This means your contact tips, diffusers, and nozzles should be within arm’s reach of the power source. In my shop, I utilize a “point-of-use” strategy. Every welding station has its own dedicated, small-scale storage for the specific wire sizes used at that bench. This prevents the cross-shop trek to a central tool crib which often leads to distractions and lost time.
Why Back-and-Forth Foot Traffic Kills Shop Throughput
Every step taken away from the workpiece is a step away from finishing the job. In a high-output environment, walking 20 feet for a part twice an hour adds up to miles of wasted movement over a year.
I once tracked my own movements during a week-long production run of heavy brackets. I realized I was spending nearly 45 minutes a day just looking for or walking to get consumables. By moving my storage to a 3-foot radius around the welder, I reclaimed that time. This shift allowed me to increase my daily output without working a single extra minute.
| Layout Type | Average Travel Distance | Tool Retrieval Time | Impact on Production |
|---|---|---|---|
| Centralized Tool Crib | 50 – 100 feet | 3 – 5 minutes | High Bottleneck |
| Zoned Storage | 10 – 20 feet | 1 – 2 minutes | Moderate Flow |
| Point-of-Use (Lean) | 0 – 3 feet | < 30 seconds | Optimized Throughput |
Designing Modular Storage Systems for MIG Components
A professional shop cannot rely on the original cardboard boxes these parts come in. Cardboard absorbs moisture, gets crushed, and makes it impossible to see your inventory levels at a glance.
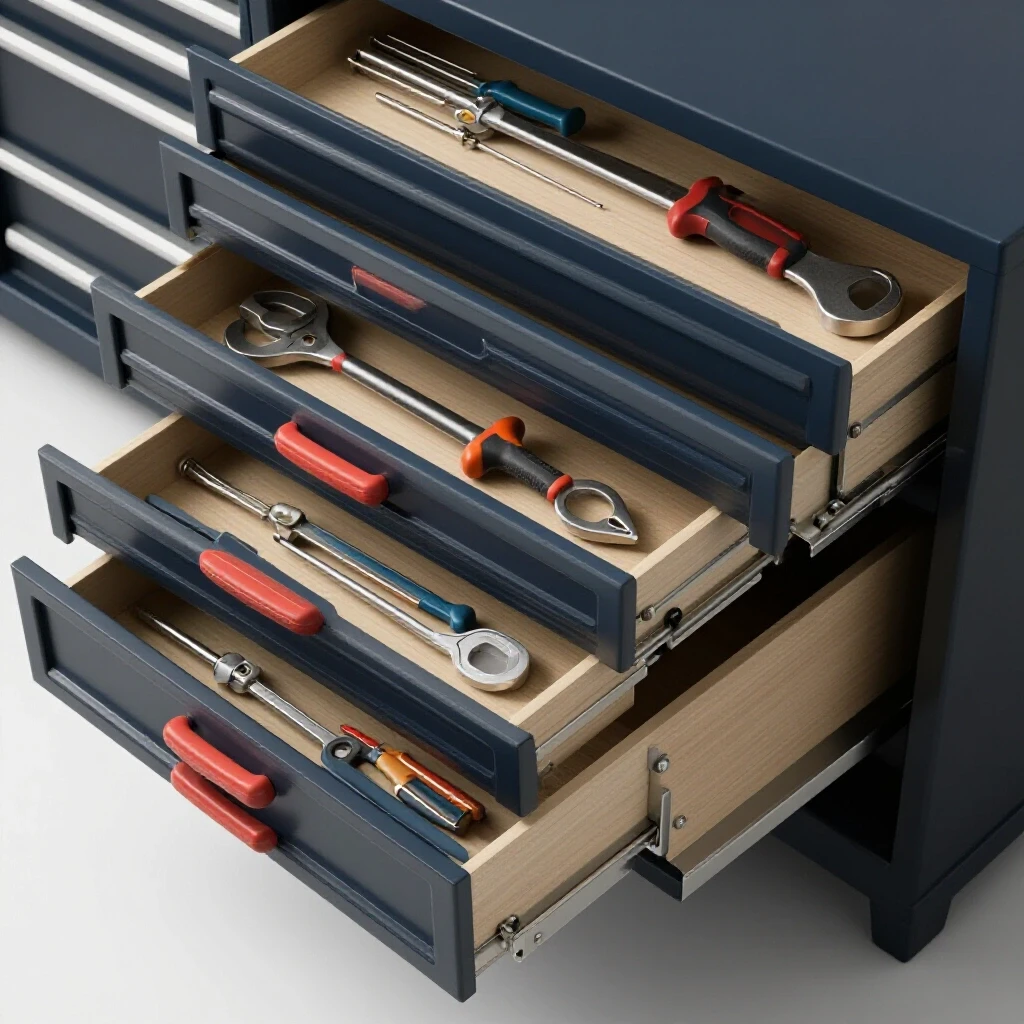
Modular bins and clear-front drawers are the standard for a reason. They allow for a “visual factory” where anyone can see exactly how many parts are left. I prefer using wall-mounted louvered panels or heavy-duty plastic tilting bins. These systems allow you to expand as you add more wire sizes or specialized nozzles for different shielding gases.
Categorizing Parts by Wire Diameter and Torch Type
Mixing 0.030-inch and 0.035-inch tips is a recipe for a mid-weld disaster. Using a clear, color-coded labeling system on your bins ensures that even a new helper can find the right part instantly.
- Use red labels for 0.030-inch components.
- Use blue labels for 0.035-inch components.
- Use green labels for 0.045-inch components.
- Store heavy-duty nozzles separately from tapered spot-welding nozzles.
This categorization prevents the “trial and error” method of fitting a tip onto a wire, which often leads to micro-scratches on the wire or debris entering the liner.
Inventory Tracking and Visual Management Strategies
Running out of a 50-cent part can stop a five-figure project in its tracks. A professional shop uses visual cues to trigger a reorder before the last part is pulled from the bin.
I use a simple Kanban card system. A red card is placed near the bottom of the stack of contact tips. When the welder reaches that card, they drop it into a “to-order” box. This removes the need for weekly manual counts and ensures that the supply chain remains unbroken. It is a low-tech solution that outperforms digital spreadsheets because it happens at the moment of use.
Implementing a Two-Bin System for High-Volume Shops
The two-bin system is a classic lean manufacturing tool that works perfectly for small welding spares. You have two identical bins for each part type.
- The welder uses parts only from the front bin.
- When the front bin is empty, it is moved to the “refill” area.
- The back bin is moved forward to become the primary supply.
- The empty bin is refilled and placed in the back.
This ensures you always have a “buffer” of parts. It also enforces a “First-In, First-Out” (FIFO) flow, which is important if you live in a humid climate where copper parts might oxidize over long periods of time.
Integrating Consumable Stations into Advanced Shop Layouts
When you move to 3-phase power and high-duty cycle machines, your consumption of parts increases. Your storage must be as robust as your electrical infrastructure.
High-output 3-phase welders allow for longer arc-on times, which generates more heat at the torch. This heat wears down tips and nozzles faster than hobby-grade equipment. Therefore, your storage should be integrated into the machine’s footprint. Many advanced fabricators build custom carts that house the 3-phase power source, the gas cylinders, and a dedicated “consumable dashboard” on the side.
Positioning Storage Near High-Output Work Zones
If you are running a CNC plasma table alongside your welding stations, your layout must account for the different needs of each machine. Do not mix your welding tips with your plasma electrodes.
- Keep welding spares on the right side of the welding bench.
- Keep plasma consumables in a dedicated drawer on the CNC control pedestal.
- Ensure all storage is at least 36 inches above the floor to avoid floor-level dust and metal shavings.
- Maintain a 3-foot clear access zone around all storage to prevent “traffic jams” when multiple people are working.
Environmental Protection for Welding Spares
Workshop air is full of metallic dust, grinding grit, and humidity. These elements are the enemies of clean electrical contact between your wire and the tip.
Copper contact tips and brass nozzles perform best when they are pristine. Storing them in open trays allows dust to settle inside the nozzle or on the threads of the tip. I recommend using sealed drawer units or bins with lids. If your shop uses a high-volume dust collection system, ensure your consumable storage is located “upstream” of your heavy grinding areas to minimize exposure to airborne particles.
The Impact of Air Quality on Small Part Longevity
High-volume clean air filtration is not just for your lungs; it is for your equipment. In my shop, I noticed that my contact tips stayed cleaner and lasted longer once I installed a multi-stage cyclone dust collector.
When grinding dust settles on a nozzle, it can create a bridge for spatter to stick to. This “bridging” leads to premature nozzle failure. By keeping your spares in a dust-controlled cabinet, you ensure that every part you pull is ready for a high-quality weld. This is especially critical when working with sensitive materials like aluminum, where any contamination can lead to porosity.
| Contaminant | Source | Effect on Consumables | Prevention Method |
|---|---|---|---|
| Grinding Dust | Hand grinders / Sanders | Increases spatter buildup | Sealed bins / Lidded drawers |
| Humidity | Ambient air | Oxidation of copper tips | Desiccant packs in storage |
| Oil/Grease | Handling with dirty gloves | Poor electrical contact | “Clean Hands” zone for parts |
| Metal Shavings | Drill press / Saw | Thread damage | Elevation (36″+ off floor) |
Actionable Framework for Optimizing Your Setup
To move from a disorganized heap to a professional system, follow these steps. This process should take a weekend but will save you hours every month.
- Purge the Junk: Throw away any bent, heavily spattered, or “mystery” tips that you have been saving “just in case.”
- Audit Your Machines: List every wire size and torch model currently in use in your shop.
- Procure Uniform Storage: Buy a set of identical bins. Consistency makes the brain recognize patterns faster, which speeds up retrieval.
- Label with Precision: Use a label maker. Do not rely on handwritten masking tape. Include the part number and the wire size.
- Set Reorder Points: Determine the minimum number of parts you need to finish a standard week of work and mark that as your “red line.”
- Assign Ownership: In a shop with employees, assign one person to be responsible for the “refill” station.
Conclusion
Transitioning to a professional-grade shop is about more than just buying faster machines. It is about creating a system where those machines never have to stop. By organizing your welding spares with the same precision you use for your floor layout and electrical runs, you remove a major source of frustration and hidden costs.
Start small by picking one welding cell. Apply the point-of-use principle and a simple labeling system. Once you see the reduction in “searching time,” you can roll the system out across your entire facility. A clean, organized shop is a productive shop, and productivity is the only way to successfully scale your fabrication business.
Frequently Asked Questions
How many contact tips should I keep in stock at once?
For a high-output shop, I recommend keeping a two-week supply of your primary wire size (usually 25–50 tips) and a one-week supply of secondary sizes. This provides a buffer for unexpected surges in work without tying up too much capital in inventory.
Is it better to use magnetic holders or fixed bins?
Magnetic holders are excellent for parts currently in use at the bench, but for long-term storage, fixed bins are superior. Magnets can attract metallic grinding dust, which can then be transferred into your torch assembly.
Should I store my diffusers and insulators with my tips?
Yes, but they should be in their own sub-bins. Grouping all components for a specific torch model together in one drawer unit—but separated by small dividers—is the most efficient way to manage a complete torch rebuild.
How do I prevent my staff from “hoarding” tips at their personal benches?
Hoarding usually happens because the central supply is unreliable. If you implement a consistent Kanban or two-bin system that never runs dry, the “scarcity mindset” disappears, and workers will stop hiding parts in their personal toolboxes.
Can I use a digital inventory app for these small parts?
While digital tools are great for large assets, they are often too slow for 50-cent items. A visual system like a red Kanban card is faster and more reliable on a busy shop floor.
What is the best height for a consumable storage rack?
The “strike zone” between waist and chest height (roughly 36 to 54 inches) is ideal. This prevents the need for bending or reaching, which reduces fatigue and makes it more likely that parts will be returned to their correct spots.
How often should I clean the storage bins?
In a shop with active grinding, you should wipe down the exterior of your bins weekly and vacuum out the interiors once a month. This prevents the accumulation of conductive dust that can interfere with part performance.
Should I separate new parts from “cleaned” or reconditioned ones?
I do not recommend reconditioning contact tips. The internal bore wears out and loses its tolerances. However, if you clean nozzles, keep them in a separate “reconditioned” bin to ensure they aren’t confused with brand-new factory parts.
Does color-coding really make a difference?
Yes. The human brain processes color much faster than text. In a high-stress production environment, seeing a “red” bin and knowing it contains 0.035-inch parts reduces cognitive load and prevents errors.
What should I do with obsolete parts for machines I no longer own?
Remove them from the shop floor immediately. They take up valuable “prime real estate” and lead to mistakes. Sell them, scrap them, or move them to a deep-storage area away from your active work zones.
(This article was written by one of our staff writers, Edward Sinclair. Visit our Meet the Team page to learn more about the author and their expertise.)