How to Reinforce High-Stress Load Bearing Welds (DIY Guide)
In my fourteen years on the shop floor, I have seen exactly what happens when metal reaches its breaking point. I started as a junior fabricator, often overconfident in the strength of a simple bead of weld. It took one specific incident—a heavy storage rack I built that slowly began to sag and eventually buckled under a load I thought was “light enough”—to change my perspective. Since then, I have approached every project with a healthy respect for the physics of metal.
Working in a home workshop or a small fabrication space brings unique challenges. You do not have the massive industrial presses or robotic welders found in large plants. You rely on your eyes, your hands, and your ability to prepare a joint correctly. My goal is to help you navigate the uncertainty of building structures that need to hold significant weight. We will focus on how to add mechanical support to your projects so they remain stable and safe for years to come.
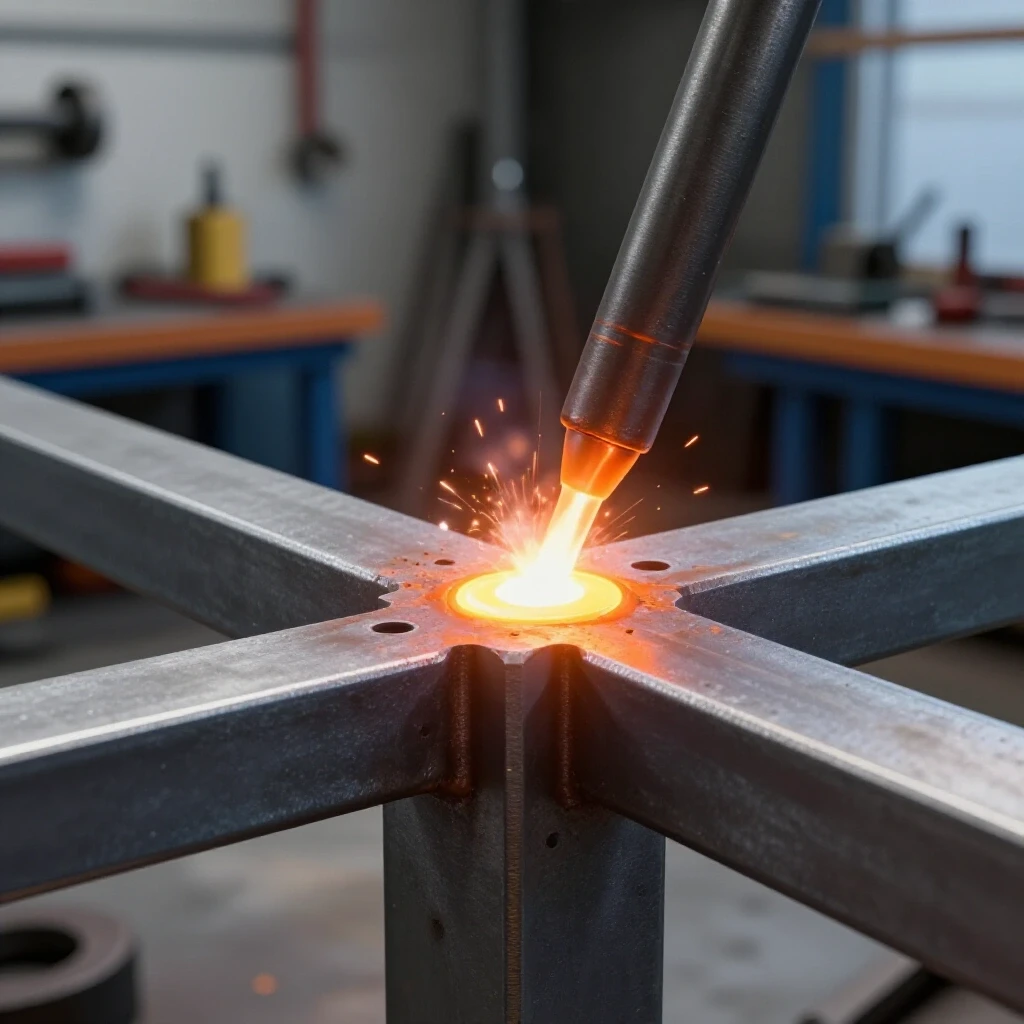
Understanding Structural Metal Load Capacity
Structural metal load capacity refers to the maximum amount of force or weight a specific piece of steel can support before it deforms or breaks. Knowing these limits helps you choose the right material thickness and shape for your project.
When you select a piece of metal, you are looking at its yield strength. For common A36 structural steel, the yield strength is roughly 36,000 PSI. This means if you apply more than 36,000 pounds of force per square inch, the steel will stretch and will not snap back to its original shape. In a workshop setting, we never want to get close to that number. I always recommend a safety factor of at least 2:1 for static loads and 4:1 if the item will be moved or bumped.
The shape of the metal also dictates how it handles weight. A flat bar is weak when pushed on its wide face but very strong when pushed on its edge. This is why I prefer using square tubing or C-channel for frames. These shapes distribute the force across multiple planes, making the entire assembly more rigid.
| Material Type | Common Grade | Yield Strength (PSI) | Best Use Case |
|---|---|---|---|
| Mild Steel | A36 | 36,000 | General frames and brackets |
| Cold Rolled Steel | 1018 | 53,700 | Precision parts and shafts |
| Aluminum | 6061-T6 | 35,000 | Lightweight bracing |
| Stainless Steel | 304 | 30,000 | Corrosion-resistant supports |
Managing the Heat Affected Zone Weakness
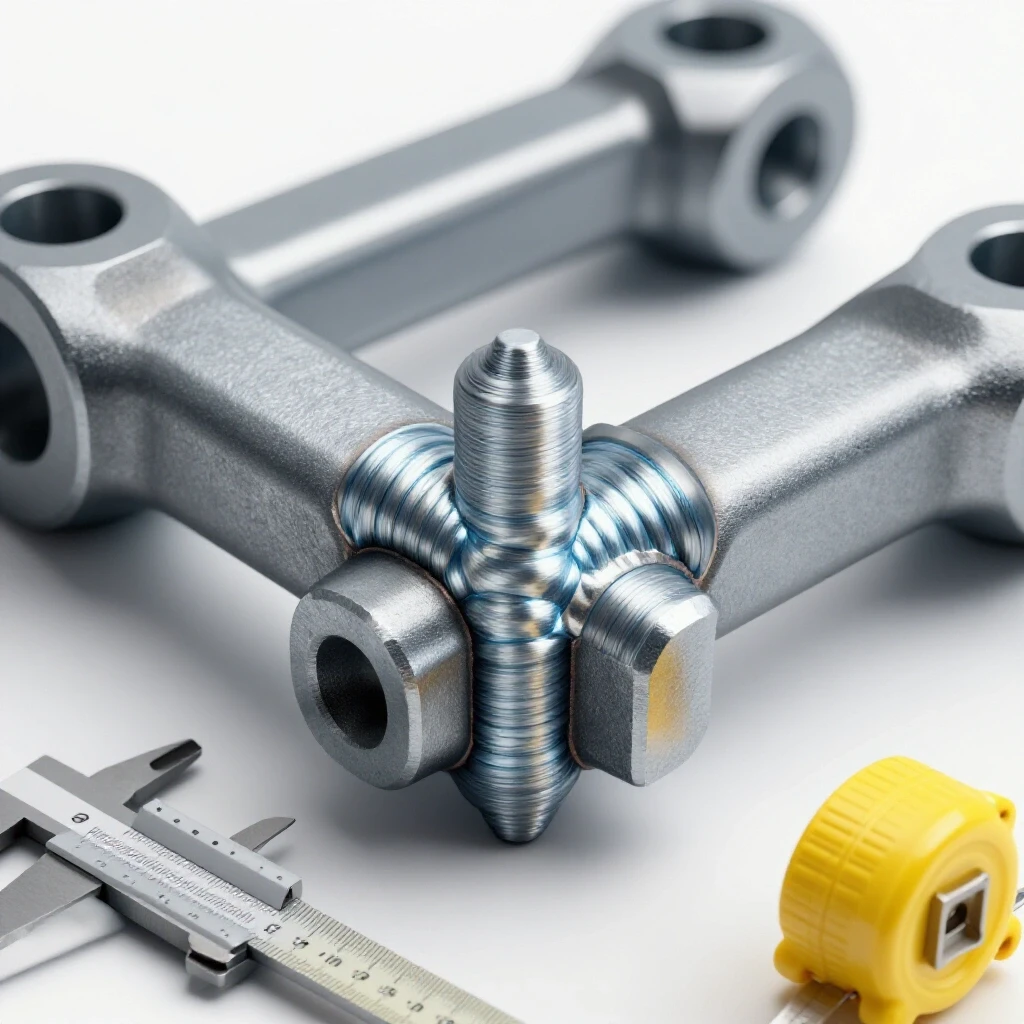
The Heat Affected Zone, or HAZ, is the area of the base metal immediately surrounding the weld bead. While this area did not melt, the intense heat of the welding arc changed its internal structure, often making it more brittle or softer than the rest of the piece.
I often tell people that the weld itself is rarely the part that fails if it was done correctly. Instead, the metal usually breaks right next to the weld in the HAZ. This happens because the concentrated heat acts like a localized heat treatment. To minimize this, I avoid “over-welding.” Running a massive, thick bead on thin material just creates a larger, weaker HAZ.
To protect the integrity of your joint, use a staggered welding technique. Instead of running one long continuous bead, weld a small section, move to the opposite side of the project, and weld there. This allows the heat to dissipate and prevents the metal from becoming overly brittle in one specific spot.
Essential Workshop Safety Checklist
A workshop safety checklist is a mandatory set of steps and gear verifications performed before any cutting or welding begins. It ensures that the environment is clear of hazards and that the operator is fully protected from UV light and fumes.
Safety in garage fabrication is about more than just wearing gloves. I have seen experienced smiths catch their shop on fire because they ignored a pile of oily rags ten feet away. Your workspace must be a “hot zone” where everything flammable is removed.
- Verify your fire extinguisher is charged and within arm’s reach.
- Ensure your welding helmet lens is clean and set to the correct shade (usually Shade 10-13 for MIG).
- Check that your ventilation system or fans are pulling fumes away from your face.
- Inspect all power cords for frays or exposed wires.
- Clear the floor of tripping hazards like scrap metal or extension cords.
Selecting Proper PPE for Structural Work
Personal Protective Equipment (PPE) includes the specialized clothing and gear designed to shield you from sparks, intense light, and sharp edges. For heavy fabrication, this gear must be rated for high-heat environments.
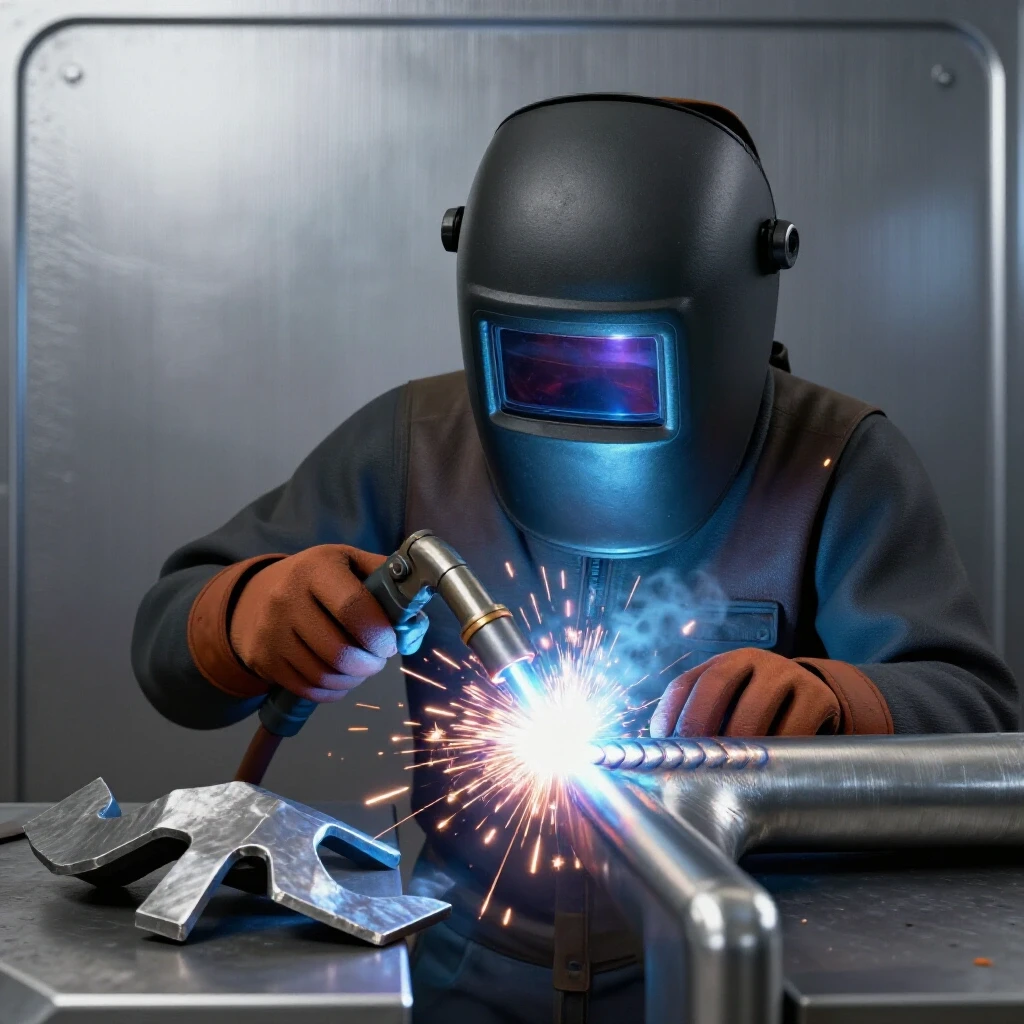
When I am working on heavy frames, I don’t settle for basic gear. I use a leather apron over my welding jacket because sparks from deep-penetration welds can burn through thin cotton quickly. Your eyes are your most important tool, so use a high-quality auto-darkening helmet.
- Welding Helmet: Use a Shade 10 for low-amp TIG and up to Shade 13 for high-amp MIG or Stick.
- Gloves: Use heavy-duty cowhide for MIG/Stick and thin goatskin for TIG to maintain dexterity.
- Respiratory Protection: A P100 pancake-style respirator fits under most helmets and filters out harmful metal fumes.
- Footwear: Steel-toed leather boots are non-negotiable; synthetic sneakers can melt if a hot glob of slag hits them.
Practical Fit-Up and Joint Preparation
Joint preparation is the process of cleaning and shaping the edges of metal pieces before they are joined. Proper fit-up ensures that the weld can penetrate deeply into the base metal rather than just sitting on the surface.
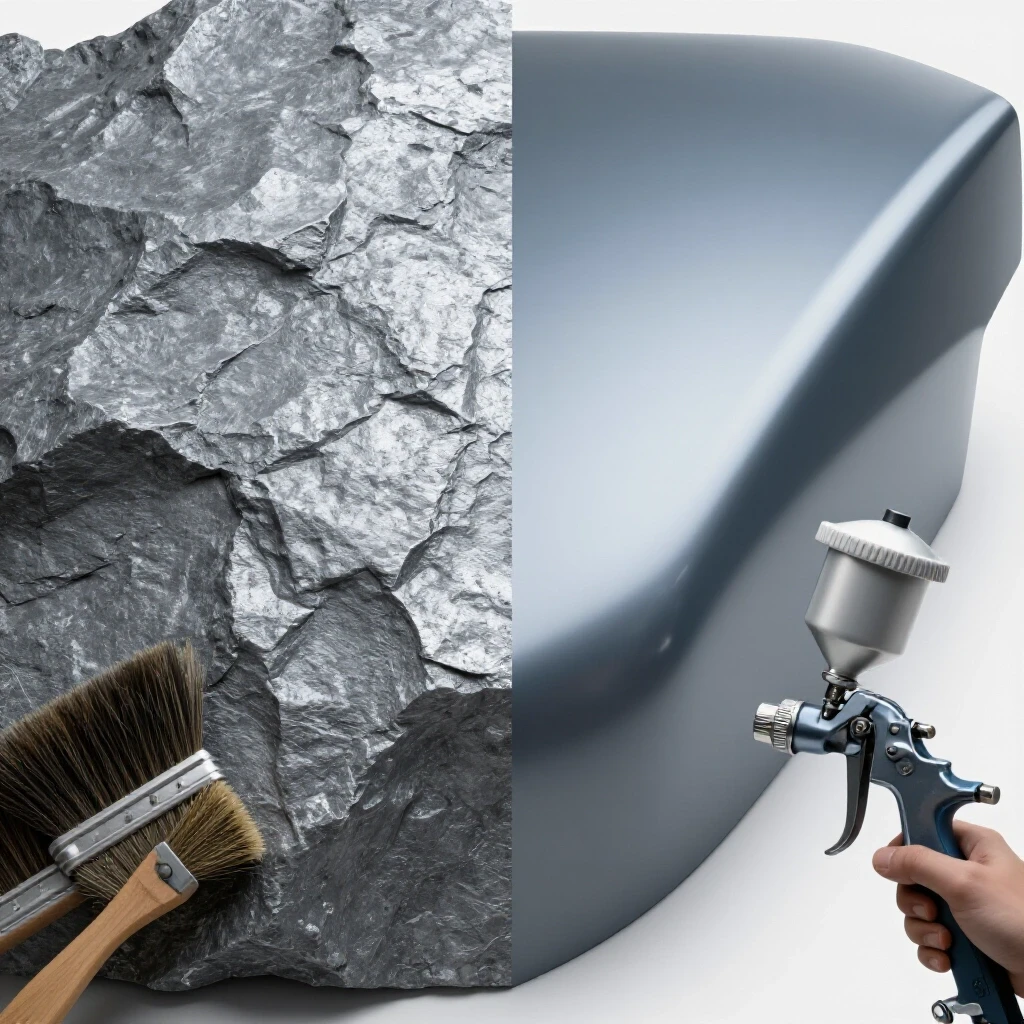
I cannot stress this enough: you cannot weld over rust, paint, or mill scale and expect a strong result. I spend 70% of my time cleaning and grinding and only 30% actually welding. If your metal is thicker than 1/8 inch, you need to grind a “V” or a bevel into the edges. This creates a valley for the molten metal to fill, ensuring the bond goes all the way through the material.
The Importance of the Root Gap
A root gap is a small space left between the two pieces of metal you are joining. This gap allows the welding arc to reach the bottom of the joint, ensuring full penetration. For 1/4 inch plate, I typically leave a 1/16 inch to 1/8 inch gap. I use a scrap piece of wire or a dedicated spacer to keep this gap consistent across the entire joint.
Cleaning for Structural Integrity
Use a flap disc or a wire wheel on an angle grinder to remove all dark gray mill scale until the steel is shiny and bright. If you are working with aluminum, use a dedicated stainless steel wire brush that has never touched carbon steel to prevent contamination.
Methods for Adding Mechanical Support to Joints
Mechanical support involves using additional steel components like plates, gussets, or sleeves to share the load with the primary weld. This reduces the stress on any single point of the assembly.
When a project needs to be exceptionally sturdy, I never rely on a single butt weld. I look for ways to “bridge” the joint. Think of it like a bandage that adds thickness and surface area to the connection. This is the most effective way to ensure a long-lasting build.
Using Gussets for Corner Reinforcement
A gusset is a triangular piece of plate steel welded into the corner of a 90-degree joint. It prevents the joint from “racking” or folding. I suggest making the gusset legs at least twice as long as the width of the tubing you are using. For example, if you are welding 2-inch square tubing, your gusset should extend 4 inches along each side.
Implementing Fish Plates on Butt Joints
A fish plate is a diamond-shaped or oval piece of steel welded over a flat joint where two pieces of metal meet end-to-end. I use a diamond shape because it avoids long vertical welds, which can create a “perforation” effect that weakens the base metal. By pointing the ends of the diamond, you distribute the stress over a wider area.
Strengthening with Sleeves and Plugs
If you are joining two pieces of round or square tubing, a sleeve (either internal or external) adds a massive amount of strength. An internal sleeve is a smaller piece of tubing that fits snugly inside both ends of the joint. I then drill holes in the outer tubing and “plug weld” them to the inner sleeve. This creates multiple mechanical connection points.
| Reinforcement Method | Material Needed | Best Application |
|---|---|---|
| Gusset | Triangular plate | 90-degree corners and T-joints |
| Fish Plate | Diamond-shaped plate | Flat butt joints and spliced beams |
| Plug Weld | Drilled holes/Internal bar | Overlapping tubes or sleeves |
| Cleat | Angle iron or flat bar | Supporting shelves or cross-members |
Welding Gas Flow Rate and Porosity Prevention
The welding gas flow rate is the speed at which shielding gas (like Argon or CO2) exits the nozzle to protect the weld pool from oxygen. Porosity refers to the tiny holes or bubbles that form in a weld when that protection fails.
If you hear a “hissing” sound that is too loud, or if your weld looks like a sponge, your gas flow is likely the culprit. In a standard indoor workshop, I set my regulator between 15 and 20 cubic feet per hour (CFH). If you turn it up too high, it can actually create turbulence that sucks air into the weld. If it is too low, the wind from a simple floor fan can blow the shield away.
Troubleshooting Porosity
- Check for drafts: Even a small breeze can ruin a structural joint.
- Clean your nozzle: Spatter buildup inside the shroud can disrupt gas flow.
- Check for leaks: Use soapy water on your hose connections to ensure gas isn’t escaping before it reaches the torch.
Diagnostic Inspection of Completed Welds
Diagnostic inspection is the visual and physical evaluation of a weld to find defects like cracks, undercut, or lack of fusion. This step is critical before any load is applied to the structure.
I use a “flashlight and pick” method. I scrape the slag off completely and shine a bright light at an angle across the bead. I am looking for “undercut,” which is a small groove melted into the base metal right at the edge of the weld. Undercut acts like a perforated line on a piece of paper; it tells the metal exactly where to break. If I see undercut deeper than 1/32 of an inch, I grind it out and weld it again.
Step-by-Step Guide to Strengthening a Joint
This process focuses on the physical steps of preparing, tacking, and reinforcing a standard T-joint for a heavy-duty shop stand.
- Cut and Square: Ensure your pieces are cut exactly to length and the ends are perfectly square.
- Bevel the Edges: Use an angle grinder to create a 45-degree bevel on the piece that will be the “stem” of the T.
- Clean to Bright Metal: Remove all mill scale 2 inches back from the joint area on all sides.
- Tack Weld: Place small “tack” welds at the corners. Check the joint with a square to ensure it hasn’t pulled out of alignment.
- Root Pass: Run your primary weld bead into the bottom of the “V” you ground earlier.
- Clean and Inspect: Remove all silica or slag. Look for holes or thin spots.
- Add the Gusset: Position a 1/4 inch thick triangular gusset in the corner. Tack it in place.
- Final Weld: Weld the gusset in place using short beads, allowing the metal to cool slightly between sides to prevent warping.
Common Errors in DIY Structural Fabrication
Rookie mistakes often stem from a desire to finish quickly rather than correctly. One of the biggest errors I see is “cold lapping.” This is when the weld metal looks beautiful but didn’t actually melt into the base metal. It just sits on top like a bead of hot glue. This usually happens because the welder’s voltage was too low or the travel speed was too fast.
Another common mistake is ignoring the “crater” at the end of a weld. When you stop welding, the metal shrinks as it cools, often leaving a tiny crack in the center of the stopping point. I always “back-step” or circle back into the weld pool for a second before letting go of the trigger to fill that crater.
- Error: Welding over paint or grease. Result: Porosity and brittle joints.
- Error: Using too much heat on thin tubing. Result: Burn-through and warping.
- Error: Not using clamps. Result: The joint pulls out of square as it cools.
- Error: Making a single pass on thick plate. Result: Lack of penetration.
Practical Shop Safety Audit
A safety audit is a periodic review of your tools and environment to ensure everything is functioning correctly. I perform this once a month in my own shop.
- Check Gas Hoses: Look for cracks or dry rot in your Argon/CO2 lines.
- Inspect Grinder Guards: Ensure all angle grinders have their guards in place and the handles are tight.
- Test GFCIs: If you are welding in a garage, ensure your outlets are GFCI protected to prevent shocks in damp conditions.
- Verify PPE Integrity: Check your welding gloves for holes and your helmet for any cracks that might let light through.
- Clear Dust: Metal dust is conductive. Blow out your welding machine with compressed air to prevent internal short circuits.
Frequently Asked Questions
How thick should my gussets be compared to my frame? As a general rule, your gusset should be the same thickness as the thickest piece of metal in the joint. If you are welding 3/16 inch wall tubing, use a 3/16 inch or 1/4 inch plate for your gusset. Using a gusset that is too thin will cause the reinforcement itself to buckle under stress.
Can I use a standard 110V welder for structural shop projects? While 110V welders are convenient, they struggle with penetration on metal thicker than 1/8 inch. For structural stands or heavy racks, I recommend a 220V machine. If you must use a 110V unit, you must use multiple passes and very careful joint beveling to ensure the weld goes all the way through.
How do I know if I have good weld penetration? On a butt joint, you should ideally see a small “heat line” or a slight bulge of metal on the backside of the joint. This indicates the molten pool traveled through the entire thickness of the steel. If the back of the metal looks untouched, you likely only have a surface bond.
What is the best welding process for heavy reinforcement? MIG (GMAW) is excellent for general shop work because it is fast and easy to control. However, Stick (SMAW) is often preferred for very thick structural steel because it can “dig” deeper into the metal and is less sensitive to slight amounts of remaining mill scale.
Why did my project warp after I finished welding? Metal expands when heated and contracts when cooled. A long weld bead will pull the metal toward it as it shrinks. To prevent this, use more tacks, weld in short increments, and use heavy-duty clamps to hold the piece to a flat table until it is completely cool to the touch.
Should I grind my welds flat for a better look? For structural joints, I advise against grinding the weld perfectly flat. The “hump” of the weld bead adds cross-sectional area and strength. If you grind it flush, you are removing the very material that holds the pieces together. Only grind welds flat if you are adding a reinforcement plate (like a fish plate) over the top.
How far apart should I place my tack welds? For most shop projects, tacks should be placed every 2 to 3 inches. On a corner joint, place a tack at each end and one in the middle. This prevents the pieces from “zippering” or opening up as the heat from the main weld pass moves along the joint.
Is it safe to weld galvanized steel for shop supports? Welding galvanized steel releases toxic zinc fumes that can cause “metal fume fever.” If you must weld it, you must grind off the galvanized coating in a 2-inch radius around the joint and wear a respirator. I personally avoid galvanized steel for any project involving high heat.
What shade should my welding helmet be for MIG welding at 150 amps? At 150 amps, a Shade 10 or 11 is generally recommended. If you find yourself seeing “spots” after a weld, increase the shade to 12. Always choose the darkest shade that still allows you to see the weld puddle clearly.
How do I prevent the end of my weld from cracking? This is known as crater cracking. To prevent it, do not just release the trigger at the end of the bead. Instead, pause for a half-second, move the torch back into the weld pool by about 1/4 inch, and then release. This ensures the crater is filled with extra metal to handle the cooling stresses.
By focusing on these mechanical reinforcement strategies and maintaining a rigorous approach to joint preparation, you can build shop projects that are both functional and incredibly durable. Respect the heat, trust your preparation, and never skip the safety checks.
(This article was written by one of our staff writers, James Harlan. Visit our Meet the Team page to learn more about the author and their expertise.)