How to Control Heat Distortion in Thin Sheet Metal (Guide)
I have spent the last 14 years in metal fabrication, moving between the high-stakes world of industrial structural inspection and the gritty reality of the shop floor. My background in mechanical engineering taught me the theory of how metals should behave, but my time under the welding hood taught me how they actually do. There is a specific kind of sinking feeling you get when you finish a long seam on a thin panel, lift your mask, and see that the once-flat sheet has buckled into a wave. It is a moment where hours of preparation and expensive materials are suddenly at risk of becoming scrap.
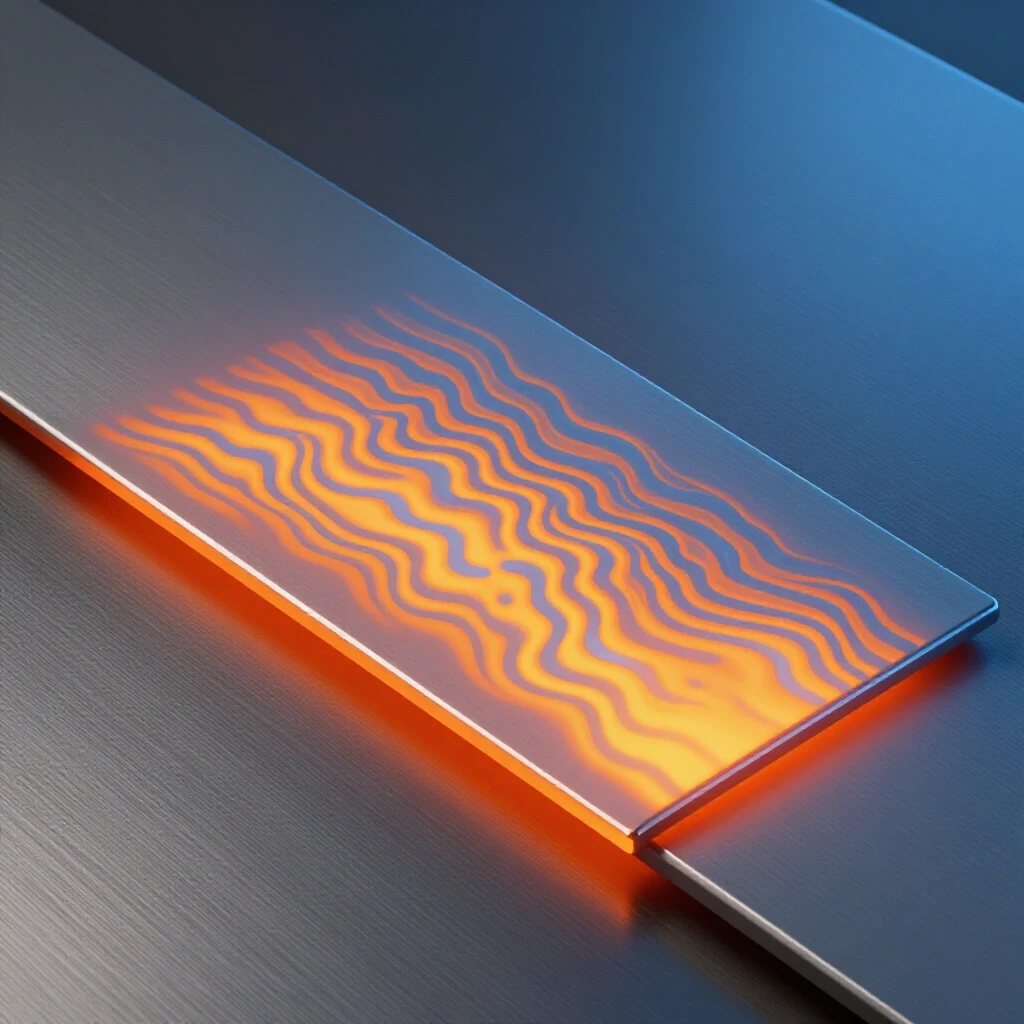
In my early years, I watched a seasoned fabricator lose a contract because a set of stainless steel cabinets warped so badly the doors wouldn’t latch. That failure stayed with me. It wasn’t a lack of skill with the torch; it was a fundamental misunderstanding of how thin gauges react to localized thermal energy. When working with materials thinner than 2 mm, the margin for error disappears. The heat doesn’t just melt the joint; it travels, expanding the surrounding metal and creating internal stresses that lead to structural instability.
This guide is designed for those of you who, like me, prefer to measure twice and weld once. We are going to look at the practical mechanics of keeping thin panels flat and structurally sound. We will cover the physical limits of these materials, how to set up your workspace for safety, and the specific techniques I use to manage thermal energy before it ruins a project.
The Physics of Thermal Expansion in Light-Gauge Materials
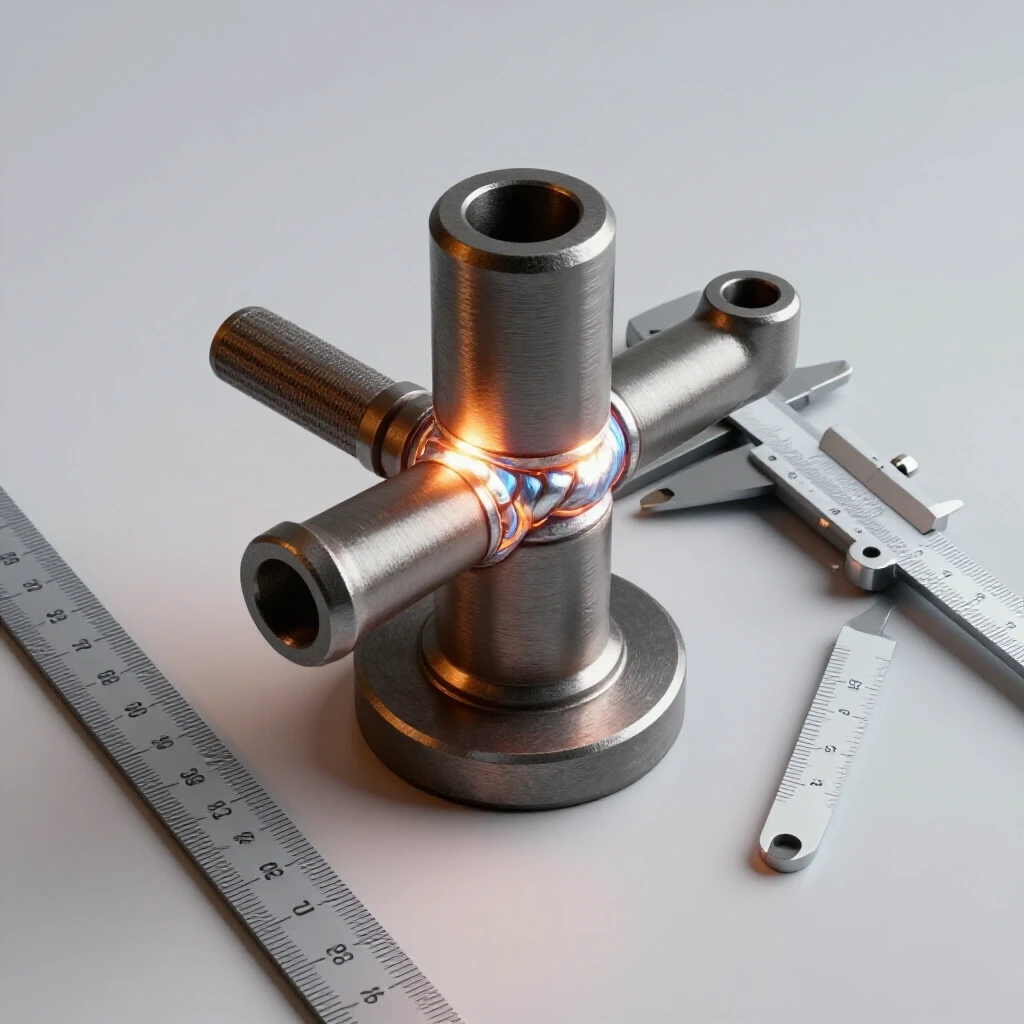
Thermal expansion is the physical tendency of metal to change in volume and shape in response to a change in temperature. When you apply a welding arc to a thin sheet, the metal directly under the arc expands rapidly, while the cooler metal surrounding it resists that movement, leading to permanent deformation or buckling.
When we talk about thin sheets, usually 1.5 mm or 16-gauge and below, we are dealing with a very small cross-section. In a heavy plate, the mass of the metal acts as its own heat sink, pulling energy away from the weld zone. In thin material, there is nowhere for that heat to go. It stays localized, raising the temperature of the entire area quickly. For example, mild steel has a linear expansion coefficient that can cause a 1-meter sheet to grow by several millimeters if heated significantly.
I remember a project involving 1.2 mm aluminum panels for a custom enclosure. Aluminum expands at roughly twice the rate of steel. Because I didn’t account for this rapid growth, the panel “oil-canned”—a term for when the metal pops back and forth between two bowed shapes—making it structurally useless. Understanding that the metal is moving while you work is the first step toward controlling it.
- Mild Steel Yield Strength: Approx. 36,000 PSI.
- 304 Stainless Steel Yield Strength: Approx. 30,000 PSI (but with higher thermal retention).
- Aluminum 6061-T6 Yield Strength: Approx. 35,000 PSI (but highly sensitive to heat).
Managing the Heat Affected Zone (HAZ) Weakness
The Heat Affected Zone, or HAZ, is the area of base metal that has not been melted but has had its microstructure and mechanical properties altered by the heat of welding. In thin materials, the HAZ can encompass a large percentage of the total surface area, leading to localized softening or brittleness.
In my inspection work, I’ve seen structural failures occur not in the weld itself, but precisely at the edge of the HAZ. This is where the metal has been “overcooked.” For a risk-averse builder, the goal is to keep this zone as narrow as possible. If the HAZ is too wide, the thin sheet loses its ability to handle loads, and the joint becomes a pivot point for fatigue cracking.
To visualize this, think of a piece of paper. If you wet a thin line down the middle, the paper remains strong. If you soak the entire sheet, it loses its structural integrity. Thin metal reacts similarly to thermal energy. By controlling the “soak,” you preserve the original tempered strength of the sheet.
| Material Type | Thermal Conductivity | Warping Risk | Recommended Strategy |
|---|---|---|---|
| Mild Steel | Moderate | Medium | Stitch welding with backing |
| Stainless Steel | Low | High | Copper heat sinks, very low amps |
| Aluminum | High | Very High | High speed, high heat, rapid cooling |
Essential Workshop Safety Checklist for Sheet Metal Fabrication
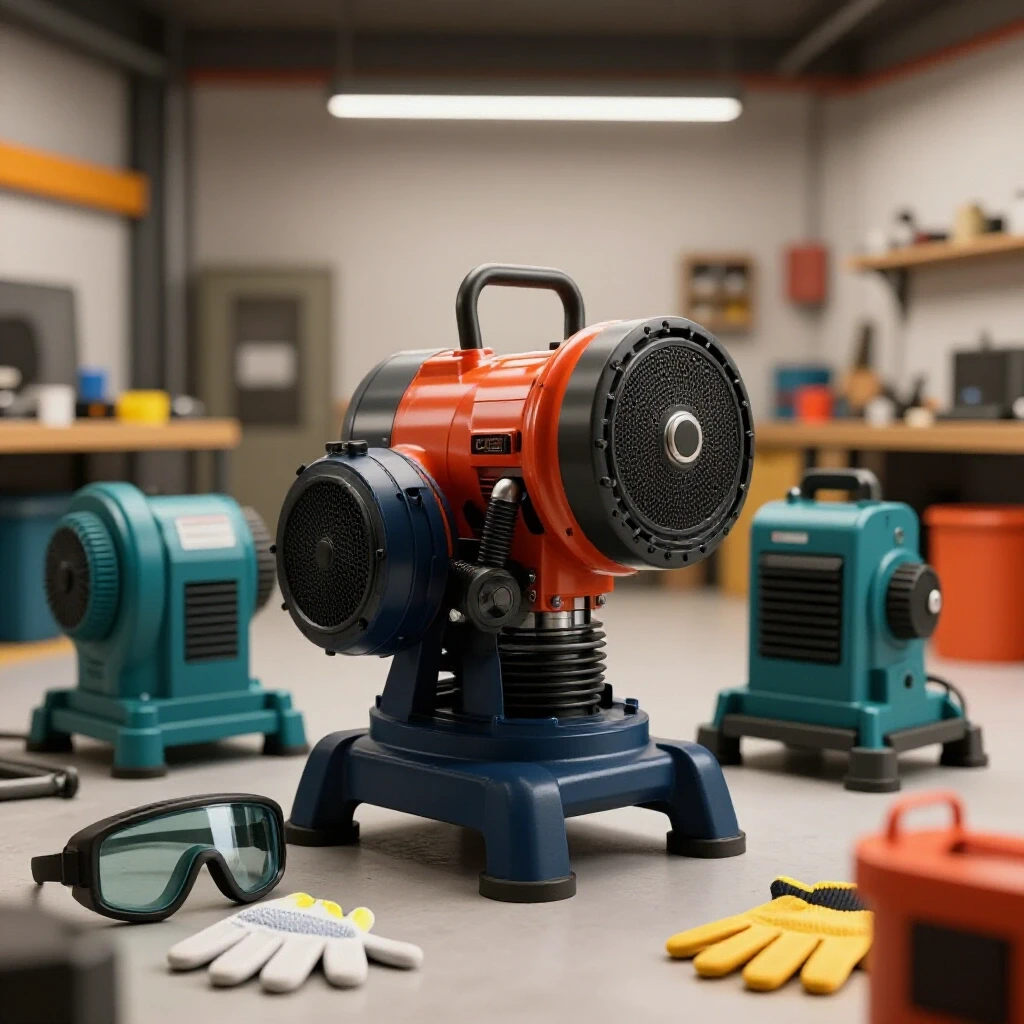
Workshop safety protocols are the standardized procedures used to prevent injury and fire when working with high-temperature tools and sharp materials. In a garage or small shop, the risks of thin-gauge work include flash fires from sparks hitting debris and respiratory issues from concentrated fumes in small spaces.
Safety isn’t just about wearing a mask; it’s about the layout of your environment. When I’m working with thin stainless, I’m often using TIG (Tungsten Inert Gas) welding. This requires a steady hand and a clear view, but it also produces intense UV radiation. I’ve seen hobbyists get “welder’s flash” (an eye burn) because they thought a Shade 9 lens was enough for low-amp work. For most thin-gauge welding, I recommend a Shade 10 to 13, depending on your sensitivity.
- Ventilation: Ensure a minimum of 200 CFM (cubic feet per minute) of airflow to move fumes away from your face.
- Fire Suppression: Keep a Class ABC fire extinguisher within three steps of the welding bench.
- PPE Check: Use thin, goat-skin gloves for dexterity, but ensure they have a Kevlar lining for heat resistance.
- Clear Zone: Maintain a 3-meter radius clear of sawdust, paper, or flammable liquids.
- Gas Stability: Secure shielding gas cylinders with double chains to a wall or heavy cart.
Strategic Fixturing and Heat Sinks to Prevent Warping
Fixturing is the use of mechanical clamps, jigs, and heavy blocks to hold metal in a precise alignment during the fabrication process. Heat sinks are materials with high thermal conductivity, like copper or brass, placed behind or beside a weld to absorb and dissipate excess heat.
I never weld a thin seam without a “chill bar.” If I am joining two pieces of 1.5 mm steel, I place a thick bar of copper directly underneath the joint. Copper absorbs heat much faster than steel. This prevents the edges of the steel from getting too hot and melting away, a common failure known as “burn-through.”
Using heavy steel weights or “platen” blocks on either side of the seam also helps. These act as physical barriers that prevent the metal from bowing upward as it expands. I once tried to weld a long seam on a thin fuel tank without fixtures. By the time I was halfway through, the gap had opened up by 3 mm because the metal was pulling away from the heat. Now, I use a clamp every 50 mm if the design allows it.
- Copper Backing: Absorbs heat and provides a surface for the weld pool to sit on.
- Aluminum Chill Blocks: Good for steel projects; they are cheaper than copper and very effective.
- C-Clamps and Locking Pliers: Apply consistent pressure to keep the sheet in contact with the heat sink.
Welding Techniques: Stitching, Skipping, and Sequencing
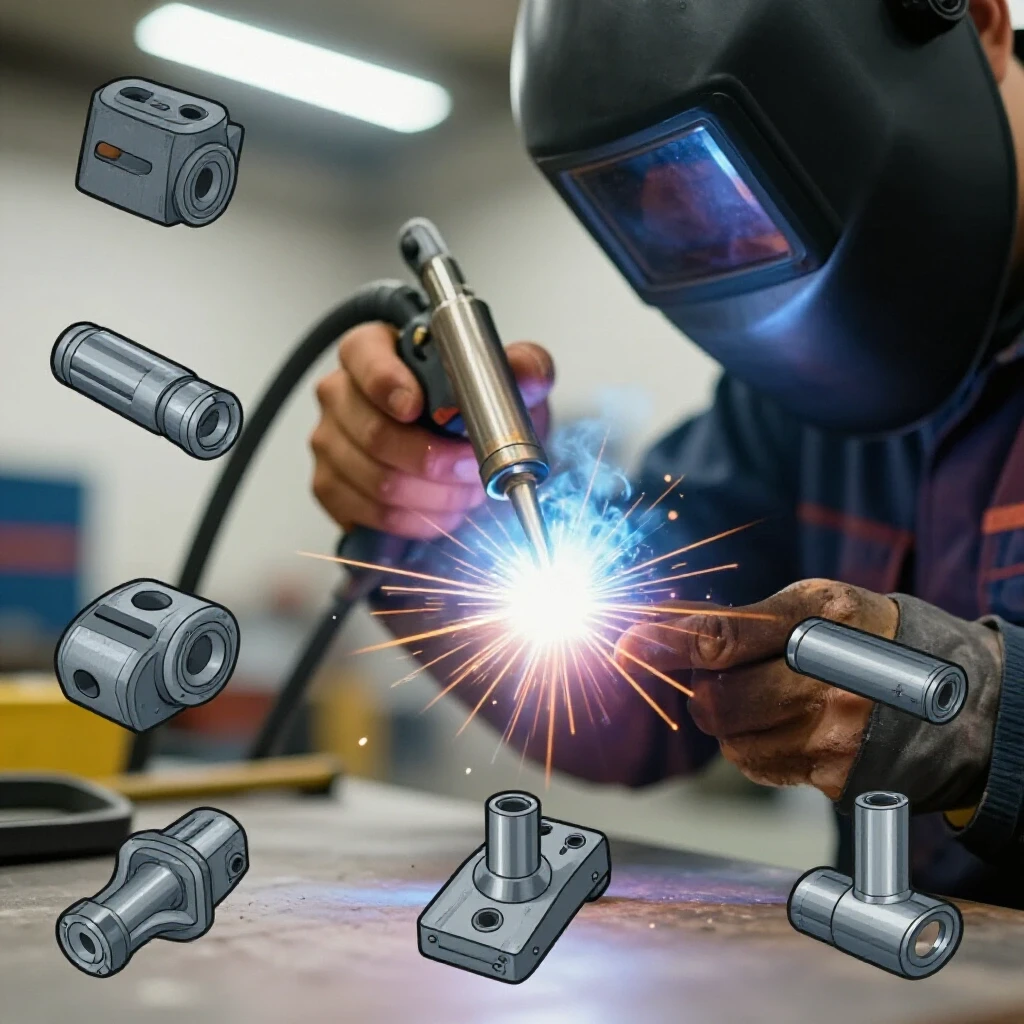
A welding sequence is the specific order and direction in which weld beads are applied to a joint to balance out the internal stresses caused by cooling metal. Instead of one long, continuous bead, we use short segments to keep the overall temperature of the workpiece low.
The most effective method I use is the “backstep” technique. Instead of welding from left to right in one go, I start 25 mm in from the edge and weld back toward the start. Then I move 50 mm in and weld back toward the previous bead. This ensures that as each small section of the weld cools and shrinks, it pulls against a section that is already solid, rather than pulling the entire sheet out of alignment.
Another critical strategy is “skipping.” If you have a square panel, weld a 10 mm segment in the top left corner, then move to the bottom right. By jumping across the workpiece, you allow one area to cool while you work on another. This prevents a “heat build-up” in any single quadrant of the project.
- Tack Welds: Place small tacks every 25 mm to 40 mm before starting the main weld.
- Stitch Length: Keep individual beads under 15 mm in length.
- Cooling Time: If the metal is too hot to touch with a gloved hand 100 mm from the weld, stop and wait.
- Directional Control: Always weld toward a tack or a finished bead to “lock” the metal in place.
Gas Flow Calibration and Shielding for Clean Joints
Shielding gas flow rate refers to the volume of inert gas (like Argon or CO2) delivered to the weld zone to protect the molten metal from atmospheric contamination. Correct calibration is essential in thin-gauge work because too much pressure can actually blow through the delicate molten pool, while too little leads to porosity.
Porosity is a series of tiny holes in the weld, like a sponge. In my experience, porosity is the leading cause of joint failure in home-fabricated structures. It happens when the shielding gas is disrupted by a draft or an incorrect flow setting. For thin-gauge TIG or MIG, I typically set my regulator between 15 and 20 CFH (cubic feet per hour).
If you are working in a garage with the door open, even a slight breeze can strip away your gas coverage. I’ve seen beautiful welds fail a pressure test because a floor fan was blowing across the bench, causing “invisible” porosity inside the bead. Always use a gas lens on your TIG torch; it creates a more stable, columnar flow of gas that provides better protection at lower flow rates.
- Recommended Flow: 15–20 CFH for indoor shops.
- Gas Lens: Use for TIG to improve coverage on thin stainless and chrome-moly.
- Pre-Flow/Post-Flow: Set your machine to provide 0.5 seconds of gas before the arc starts and 5 seconds after it stops to protect the cooling crater.
Diagnostic Inspection and Non-Destructive Testing (NDT) at Home
Non-Destructive Testing (NDT) is a group of analysis techniques used to evaluate the integrity of a weld or material without causing damage. For the home fabricator, this means using visual cues and simple chemical kits to ensure the joint isn’t going to crack under load.
After I finish a project, I perform a “dye penetrant” test if the joint is critical. You spray a red dye on the weld, wipe it off, and then apply a white developer. If there are any cracks—even ones you can’t see with your eyes—the red dye will bleed through the white powder. It’s a cheap, professional-grade way to verify your work.
Another simple check is the “flashlight test” for thin tanks. In a dark room, shine a high-lumen light inside the structure. If you see any pinpricks of light through the weld, you have a failure point. I once found a hairline crack in a motorcycle tank using this method that would have definitely leaked fuel over time.
- Visual Inspection: Look for “undercut,” which is a groove melted into the base metal next to the weld. This is a major stress riser.
- Dye Penetrant Kit: Use on any joint that will hold weight or fluid.
- Magnifying Glass: A 10x jeweler’s loupe is a standard tool in my kit for checking the edges of the HAZ.
- Straight Edge: Lay a precision ruler across the panel to check for bowing or “crowning.”
Corrective Actions for Misaligned or Warped Panels
Cold working involves the manual manipulation of metal using hammers, dollies, or heat to return a warped piece to its original flat state. While we try to prevent distortion, sometimes a small amount is inevitable, and knowing how to fix it safely is a vital skill.
If a panel has bowed, you can sometimes use “shrinkage” to your advantage. By heating a small spot (the size of a dime) with an oxy-acetylene torch and then quickly quenching it with a wet rag, you cause that spot to contract more than the surrounding area. This pulls the metal back. However, this is a high-skill move. For most intermediate builders, I recommend using a hammer and dolly.
Place a flat steel block (the dolly) on one side of the high spot and gently tap the other side with a flat-faced hammer. This “stretches” the metal slightly, relieving the internal tension that is causing the warp. Be careful; over-working the metal makes it “work-hardened,” meaning it becomes brittle and can snap.
- Hammer and Dolly: Best for minor ripples in sheet steel.
- Spot Shrinking: Use only as a last resort on mild steel; avoid on high-strength alloys.
- Planishing: Smoothing the weld bead flat can often relieve the stress that is pulling the panel.
Structural Load-Testing and Joint Verification
Structural load-testing is the process of applying a controlled amount of force to a finished build to ensure it can handle its intended weight plus a safety margin. In thin-gauge work, we often use a 2:1 or 4:1 safety factor. If a shelf is meant to hold 20 kg, we test it to 40 kg or 80 kg.
I always perform a “push test” on my fixtures. If I’ve welded a bracket to a 1.5 mm sheet, I apply leverage to see if the sheet flexes or if the weld starts to peel. Thin metal is prone to “peel failure,” where the weld stays intact but the base metal literally tears away around it.
If you are building something that involves safety—like a battery tray or a tool rack—do not trust your eyes. Apply a static load (like sandbags or weights) and leave it for 24 hours. Measure the distance from the floor to the structure before and after. If the measurement changes, your structure is yielding, and you need to add reinforcement or redesign the joint.
| Test Method | Purpose | Application |
|---|---|---|
| Static Load | Check for yielding | Shelves, brackets, mounts |
| Dye Penetrant | Find surface cracks | Critical seams, fluid tanks |
| Flashlight Test | Locate pinholes | Fuel or water containers |
| Flex Test | Check for peel risk | Thin-gauge attachments |
Summary of Best Practices for Maintaining Flatness
Controlling the movement of thin metal is a game of temperature management. Every action you take—from the way you clamp the piece to the order of your welds—is about minimizing the amount of energy stored in the material.
I have found that the most successful projects are those where the fabricator spends 80% of their time on preparation and only 20% on actual welding. If your fit-up is tight, your metal is clean, and your heat sinks are in place, the welding becomes the easy part. It’s when we rush the setup that the heat takes over and ruins the work.
Remember that thin metal is unforgiving but predictable. It follows the laws of physics every time. If you apply heat, it will expand. If you don’t provide a path for that heat to escape, it will distort the sheet. By using the techniques we’ve discussed—backstepping, chill bars, and proper gas flow—you can produce work that is both aesthetically pleasing and structurally sound.
- Preparation: Clean your metal with acetone and a dedicated stainless brush to prevent contamination.
- Fit-up: Ensure there are no gaps; gaps require more filler metal, which means more heat.
- Patience: Let the metal cool naturally. Never quench a structural weld in water, as it can cause “hydrogen embrittlement” or sudden cracking.
FAQ: Managing Thermal Distortion in Thin Metal
Why does my sheet metal warp even when I use clamps?
Clamps hold the metal in place, but they don’t stop the internal expansion. As the metal heats, it must go somewhere. If it’s clamped flat, it might “bulge” between the clamps. You need to combine clamping with heat sinks (like copper) to pull the heat out of the metal so it doesn’t expand as much in the first place.
Can I use a wet rag to cool the weld faster?
I advise against this for structural projects. Quenching (rapid cooling) can make the weld and the heat-affected zone very brittle. This increases the risk of a “brittle fracture,” where the metal snaps without warning. It is always safer to let the metal air-cool or use a large copper block to draw heat away slowly.
What is the best welding process for 1 mm steel?
TIG welding is generally the best because it allows for the most precise control over heat input. You can use a foot pedal to back off the amperage as the metal gets hot. However, a MIG welder with a thin wire (0.6 mm) and the correct gas can also work well if you use a “stitch” technique.
How do I know if I’ve “overcooked” the metal?
On stainless steel, look at the color. A straw or gold color is perfect. Blue or purple means it got a bit hot but is likely okay. If it looks dull grey and “crusty,” you have burnt the chromium out of the steel, and it will now rust and be structurally weaker. On mild steel, look for a very wide, dark Heat Affected Zone.
Why is my weld “blowing holes” through the sheet?
This is usually caused by too much amperage, moving too slowly, or a poor fit-up. If there is a gap between the sheets, the arc has nothing to “grab” onto and will simply melt the edges away. Ensure your pieces are touching perfectly before you start.
What shielding gas flow should I use for thin-gauge MIG?
For most indoor workshop applications, a flow rate of 15 to 20 CFH (Cubic Feet per Hour) is ideal. If you go higher, the turbulence of the gas can actually pull air into the weld. If you go lower, a simple draft can blow the gas away, leading to porosity.
Is stainless steel harder to keep flat than mild steel?
Yes. Stainless steel has lower thermal conductivity (it holds heat in one spot longer) and a higher rate of thermal expansion. This means it gets hotter at the joint and moves more than mild steel. You must use more heat sinks and even shorter weld segments when working with stainless.
What is “oil-canning” and how do I fix it?
Oil-canning is when a flat sheet bows and can be popped back and forth between two positions. It happens because the edges of the panel are “too tight” (contracted) compared to the center. You can sometimes fix it by gently stretching the edges with a hammer and dolly or by adding a structural rib to the panel to give it a permanent curve.
How many tack welds do I really need?
For thin sheet metal, you can almost never have too many tacks. I usually place a small tack every 25 mm to 30 mm. This keeps the gap consistent and prevents the sheets from “zippering” (pulling together or apart) as you perform the final weld.
Should I weld from the center out or the ends in?
For a long seam, it is often best to start in the middle and work toward the ends in short segments, or use the backstep method. Starting at one end and going all the way to the other is the most common way to cause a massive “bow” in the material.
What PPE is specific to thin-gauge welding?
Since you are often working very close to the workpiece, a high-quality auto-darkening helmet with a “grind mode” and a sensitive arc sensor is vital. Thin-gauge TIG can produce a very low-amp arc that some cheap helmets won’t detect, staying in “light” mode and hurting your eyes. Look for a helmet that can trigger at 5 amps or less.
(This article was written by one of our staff writers, James Harlan. Visit our Meet the Team page to learn more about the author and their expertise.)