How to Reinforce Structural Metal Tubing Frames (DIY Guide)
Thirteen years ago, I stood in my garage looking at a heavy-duty storage rack I had just finished. I was proud of the clean MIG beads and the square corners. But as soon as I loaded it with a few hundred pounds of steel stock, I heard a sickening metallic groan. The horizontal spans began to sag, and the vertical legs started to “rack” or tilt slightly to the left. I had used the right material, but I hadn’t accounted for the way forces travel through hollow sections. That afternoon taught me that building a frame is one thing, but ensuring it stays rigid under pressure is an entirely different discipline.
My background in mechanical engineering and years on the shop floor have taught me that most DIY failures don’t happen because the weld itself snaps. They happen because the design lacks the necessary stiffness or the fabricator underestimated the heat-affected zone (HAZ) around the joints. In this guide, I want to share the practical methods I use to stiffen metal skeletons and ensure that your projects handle the weight they were meant to carry without bowing or cracking.
Understanding Material Stress and Structural Metal Load Capacity
Structural metal load capacity refers to the maximum weight or force a metal component can withstand before it deforms permanently or breaks. Understanding this limit helps you choose the right wall thickness and shape for your frame’s specific requirements.
When we talk about strengthening a frame, we are usually fighting two things: deflection (bending) and torsion (twisting). Most hobbyists use A36 mild steel, which has a yield strength of about 36,000 PSI. This sounds like a lot, but in a hollow tube, that strength is concentrated in the thin walls. If those walls are too thin, they can buckle locally before the whole beam even begins to bend.
I always recommend a “safety factor” approach. For a stationary workbench or a tool stand, a 2:1 safety factor is common. This means if you expect the frame to hold 500 pounds, you design it to handle 1,000 pounds. For anything that might experience sudden impacts or movement, I prefer a 4:1 safety factor.
| Material Type | Common Wall Thickness | Typical Yield Strength | Recommended Use |
|---|---|---|---|
| Mild Steel (A36) Square | 1/8″ (0.125) | 36,000 PSI | General furniture, light racks |
| Mild Steel (A36) Square | 3/16″ (0.188) | 36,000 PSI | Heavy workbenches, equipment stands |
| 6061-T6 Aluminum Square | 1/8″ (0.125) | 35,000 PSI | Lightweight frames, non-structural |
| 6061-T6 Aluminum Square | 1/4″ (0.250) | 35,000 PSI | Heavy duty aluminum carts |
Identifying and Managing the Heat Affected Zone Weakness
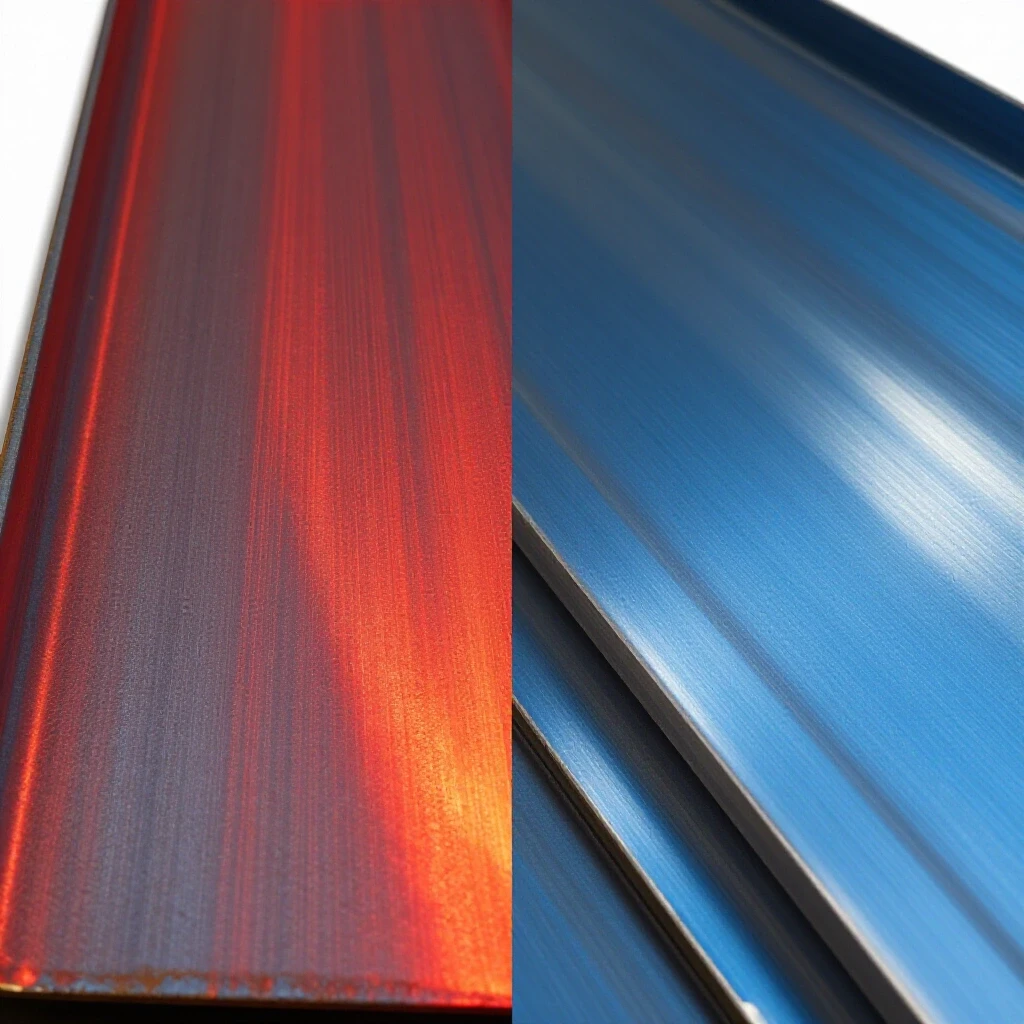
The Heat Affected Zone (HAZ) is the area of base metal surrounding a weld that has not been melted but has had its microstructure altered by the intense heat. This region is often the weakest point in a reinforced frame because the heat can make the metal more brittle.
In my early days, I used to think more heat meant a stronger weld. I was wrong. Excessive heat during the welding process can “cook” the carbon out of the steel or enlarge the grain structure, making the metal right next to your weld bead prone to cracking. This is especially true in thin-walled tubing.
To minimize HAZ weakness, I focus on heat management. This means using the correct travel speed and not lingering in one spot. If you are adding a reinforcement plate, don’t weld a continuous bead all the way around it in one go. Instead, use “stitch welding”—welding two inches, skipping two inches, and then coming back once the metal has cooled. This keeps the overall temperature of the tubing lower and preserves the original strength of the steel.
Strengthening Corners with Welded Gussets
Welded gussets are triangular or rectangular plates added to the corners of a frame to increase its resistance to bending and racking. They work by spreading the load over a larger surface area of the tubing rather than concentrating it entirely on the weld joint.
When I see a frame that feels “wobbly,” the first thing I look at are the 90-degree joints. A simple butt joint or miter joint has very little surface area to resist leverage. By adding a 1/4-inch thick steel gusset into the corner, you create a bridge that transfers the stress further down the tube.
- Size Matters: A good rule of thumb is that the gusset should extend along each tube at least twice the width of the tube itself. If you are using 2-inch tubing, your gusset should be at least 4 inches long on each side.
- Avoid Point Loading: Don’t weld the very tip of the gusset’s sharp corner. Leave about 1/4 inch of space from the edge to prevent a stress riser, which is a point where a crack is likely to start.
- Symmetry: If the frame will be under heavy load, place gussets on both sides of the joint to prevent the tube from twisting.
Internal Sleeving for Maximum Rigidity
Internal sleeving involves sliding a smaller, tight-fitting piece of tubing inside the main structural member to double the wall thickness at critical points. This technique is excellent for extending tubes or reinforcing areas where high shear forces are expected.
I often use this method when I need to join two pieces of tubing end-to-end. A simple butt weld is risky for structural loads. Instead, I find a piece of tubing with an outside diameter that matches the inside diameter of my main frame. I slide about six inches of this “sleeve” into both sides of the joint.
To secure the sleeve, I use plug welds. I drill 1/2-inch holes through the outer tube, about two inches back from the joint, and weld through those holes into the inner sleeve. This locks the two pieces together mechanically, even if the main butt weld were to fail. It’s a “belt and suspenders” approach that provides a massive boost to the structural metal load capacity.
Implementing Triangulation and Cross-Bracing
Triangulation is the practice of adding diagonal members to a rectangular frame to create triangles, which are inherently more stable shapes. This prevents the frame from “parallelogramming” or collapsing sideways under a lateral load.
If you look at a bridge or a crane, you won’t see many squares; you’ll see triangles. In a garage fabrication setting, adding a simple diagonal brace can turn a flimsy table into a rock-solid workstation.
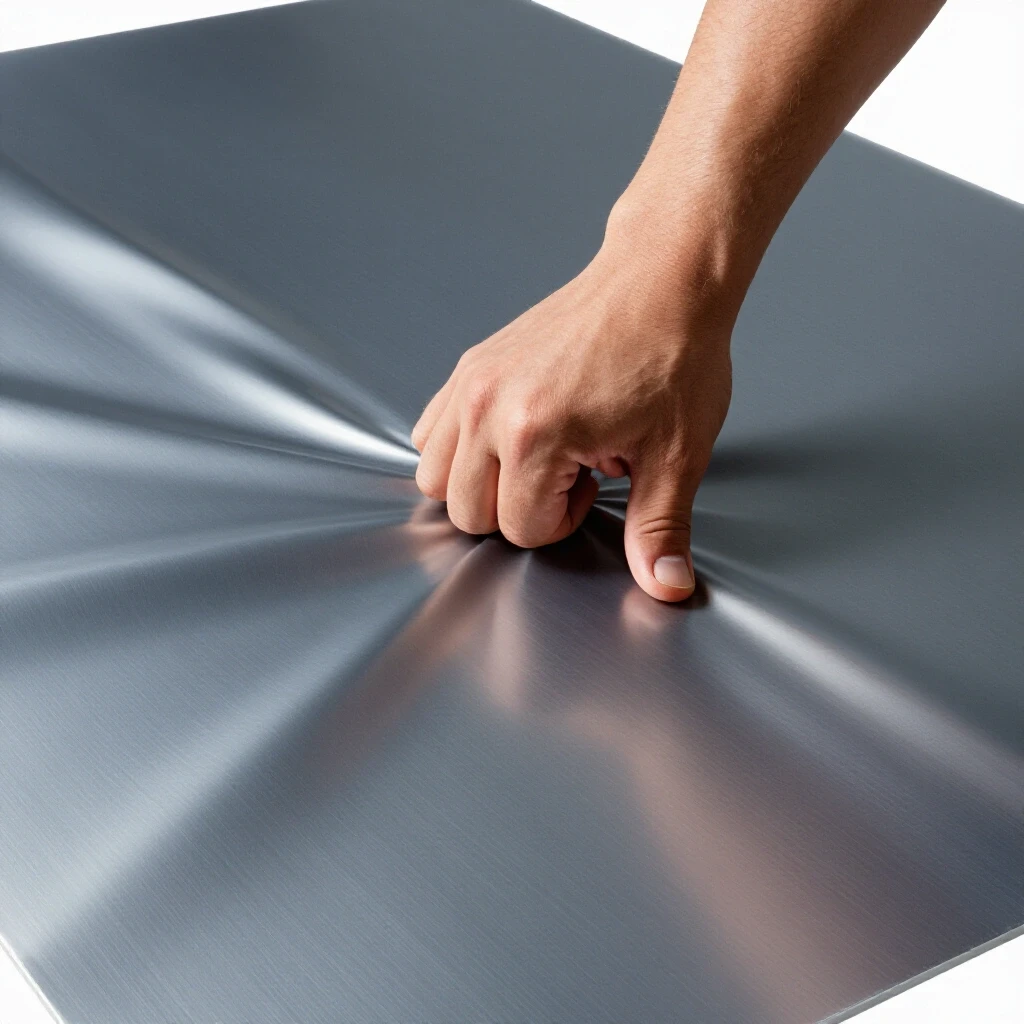
- Identify the Sway: Push on your frame from the side. If it moves, you need a diagonal brace.
- Angle of Attack: Ideally, your brace should be at a 45-degree angle. This distributes the tension and compression forces equally.
- Material Choice: You don’t always need heavy tubing for braces. Often, a piece of flat bar or even a smaller diameter round tube is enough because it is working in tension (pulling) or compression (pushing) rather than bending.
Why Weld Porosity Destroys Structural Integrity
Welding porosity consists of small gas bubbles trapped inside the weld metal, often caused by improper shielding gas coverage or contaminated metal. These tiny holes act like a “perforated line” on a piece of paper, making it easy for the joint to snap under stress.
In a reinforced frame, porosity is a silent killer. You might think your gusset is secure, but if the weld is full of holes, it won’t hold. This is why welding gas flow rate is so critical. For most indoor MIG welding on tubing, I set my regulator between 15 and 20 CFH (Cubic Feet per Hour).
If you are working in a drafty garage, that gas can blow away, leading to porosity. I always check my nozzle for “spatter” buildup before I start. If the gas can’t flow smoothly around the wire, you’ll get a porous, weak weld.
| Weld Defect | Common Cause | DIY Solution |
|---|---|---|
| Porosity | Wind, low gas flow, or dirty metal | Set gas to 15-20 CFH; clean metal with a flap disc |
| Lack of Fusion | Too little heat or wrong torch angle | Increase voltage; aim wire at the root of the joint |
| Undercut | Too much heat or slow travel speed | Lower wire feed speed; move the torch faster |
| Cracking | High carbon steel or rapid cooling | Use mild steel; don’t quench welds with water |
Essential Workshop Safety Checklist for Frame Fabrication
A garage fabrication safety plan is a set of protocols designed to prevent fires, eye injuries, and respiratory issues during the cutting and welding process. Working with structural metal involves high heat, flying sparks, and heavy lifting.
Before I even strike an arc, I go through a mental checklist. I’ve seen enough “close calls” to know that safety isn’t about being afraid; it’s about being prepared.
- PPE Integration: Ensure your welding helmet is set to the correct shade. For MIG welding at 100-200 amps, a Shade 10 to 13 filter is necessary to prevent “arc eye.”
- Fire Prevention: Clear all sawdust, cardboard, and flammable liquids at least 35 feet away from your welding area. I keep a 10-pound ABC fire extinguisher within arm’s reach.
- Ventilation: Welding on galvanized steel or even painted tubing releases toxic fumes. I use a high-volume fan to pull smoke away from my face, ensuring I’m not breathing in zinc or lead vapors.
- Lifting Safety: Tube frames can become heavy quickly. I use jack stands or adjustable sawhorses to keep the frame at a comfortable working height, preventing back strain and ensuring I can reach all sides of a joint for a proper weld.
Diagnostic Inspection: How to Spot a Failing Joint
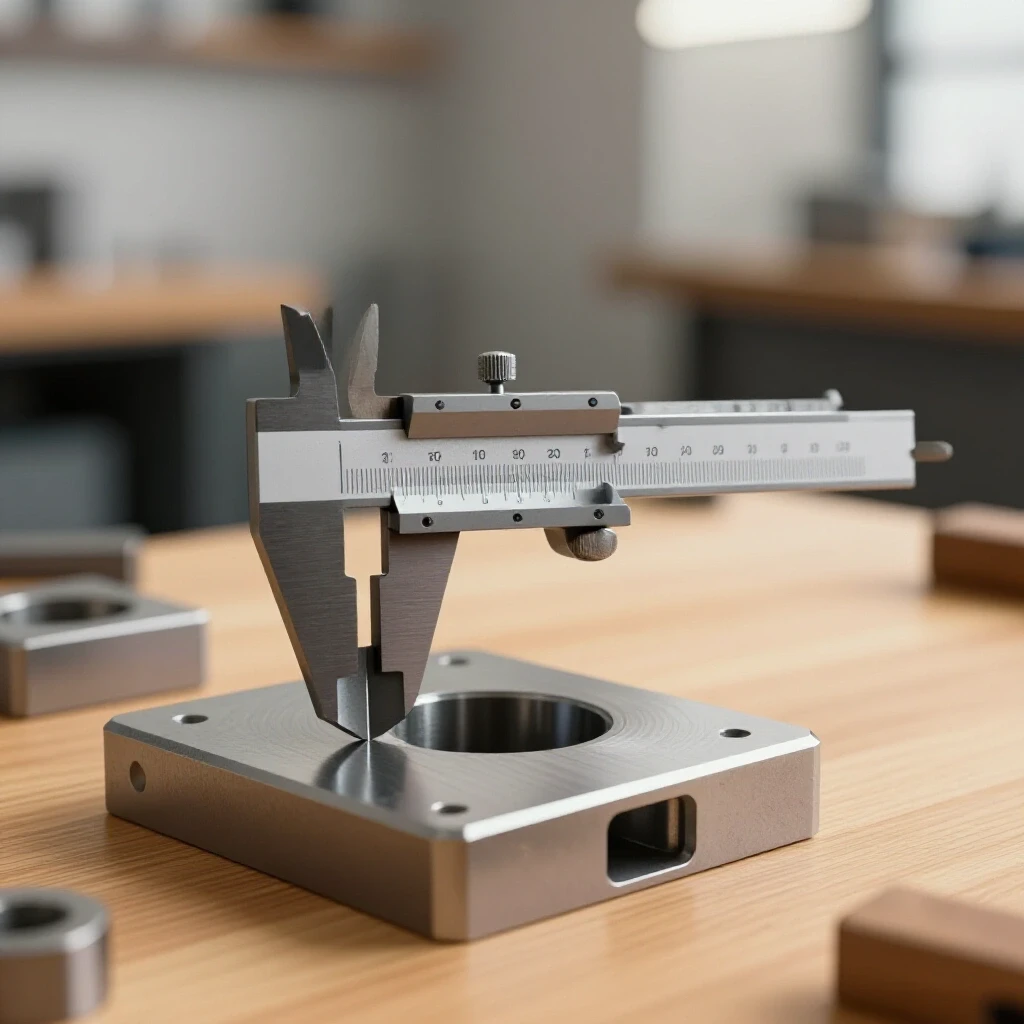
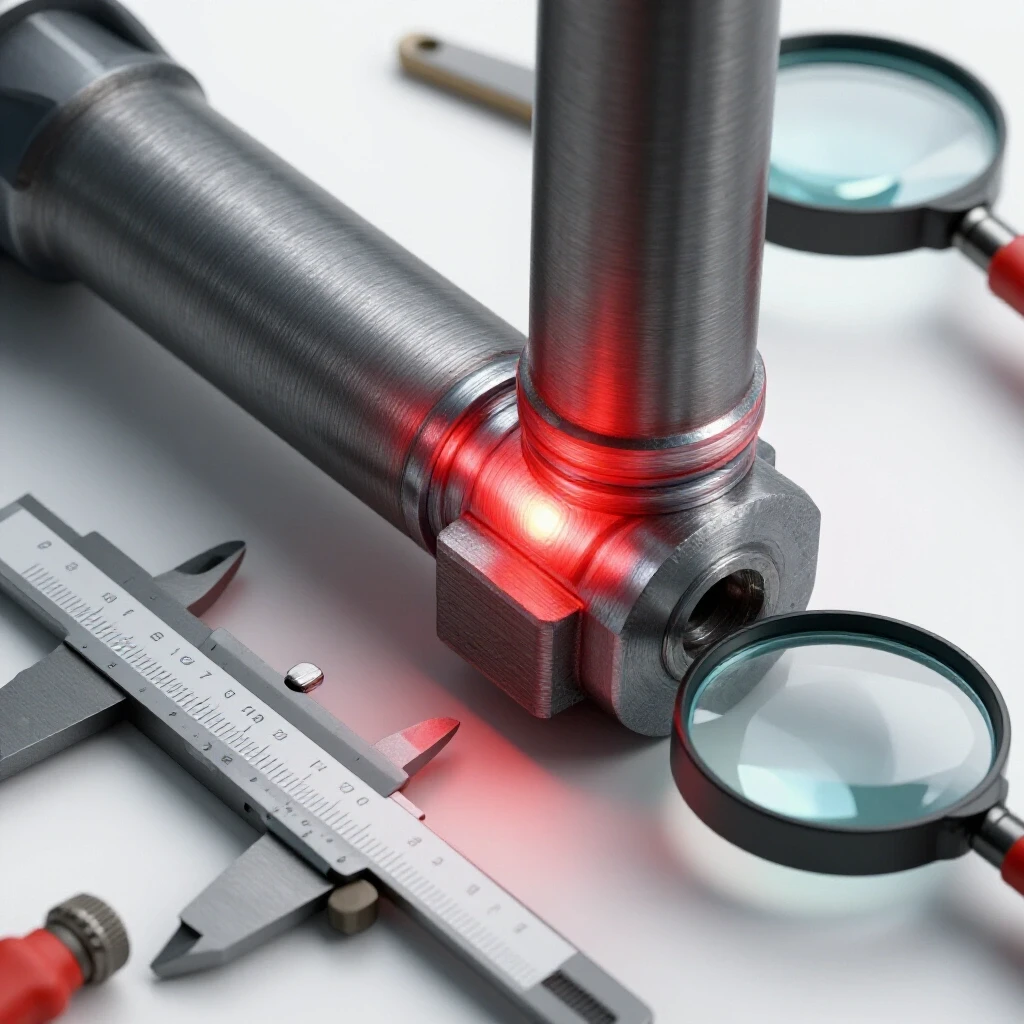
Structural checking tools are simple instruments like magnifying glasses, flashlights, and dye penetrant kits used to find cracks or defects that aren’t visible to the naked eye. After I finish reinforcing a frame, I perform a “post-op” inspection.
You don’t need an X-ray machine to check your work. I use a technique called Visual Inspection (VT). I look for “undercut,” which is a groove melted into the base metal right next to the weld. This groove acts as a notch where a crack can start. If I see undercut deeper than 1/32 of an inch, I grind it out and re-weld it.
For critical joints, I use a Dye Penetrant Kit. You spray a red dye on the weld, wipe it off, and then apply a white developer. If there is a tiny crack, the red dye will bleed through the white powder. It’s a cheap and effective way to ensure your structural metal tubing is truly solid before you put it into service.
Calculating Practical Safety Margins
While we aren’t doing complex calculus, we do need to use basic math to ensure our reinforcements are adequate. A safety margin is the ratio between the strength of the structure and the load it is intended to carry.
If I am building a stand for a 400-pound lathe, I don’t just aim for 400 pounds of capacity. I assume that one day, I might drop a heavy part on it or lean against it while it’s running. This adds “dynamic load.”
- Static Load: 400 lbs (the weight of the machine).
- Dynamic Factor: Multiply by 2 for safety (800 lbs).
- Material Limit: Check the wall thickness. For a 2×2 inch square tube with a 1/8″ wall, the vertical crush strength is massive, but the bending strength over a 4-foot span is the weak link.
- The “Bounce” Test: Once the frame is tacked together, I carefully apply weight. If I see more than a 1/16th-inch deflection over a 4-foot span, I know I need to add a center support or a larger reinforcement plate.
Step-by-Step Joint Verification Checklist
When you are ready to weld your reinforcements, follow this sequence to ensure the highest quality results in your home shop.
- Clean the Metal: Use a flap disc to remove all mill scale (the dark grey coating) until the steel is shiny. Weld won’t stick to scale.
- Bevel the Edges: If your reinforcement plate is thicker than 1/8″, grind a 45-degree bevel on the edges. This allows the weld to penetrate deep into the metal.
- Check Fit-Up: Ensure there are no gaps larger than 1/16″. Large gaps lead to “burn through” and weaken the joint.
- Tack Weld: Place small tacks at all four corners. This prevents the heat from pulling the frame out of square.
- Calibrate Gas: Set your welding gas flow rate to 18 CFH and do a test bead on a scrap piece.
- Weld in Sequence: Move around the frame to distribute heat. Don’t weld everything on one side at once.
- Final Cool-Down: Let the frame air cool. Never spray it with water to speed it up, as this can make the steel brittle.
Building a durable frame is a process of managing forces and heat. By using gussets, triangulation, and internal sleeves, you can take a basic design and turn it into something that will last for decades. The key is to be honest about your material’s limits and rigorous with your safety and inspection protocols. Every project is a data point; learn from the flex and the sag, and your next build will be that much stronger.
Frequently Asked Questions
What is the best way to prevent a square tube frame from twisting? To stop torsion (twisting), the most effective method is adding “X-bracing” or cross-bracing. By connecting opposite corners with diagonal members, you force the frame to compress or stretch the braces rather than allowing the tubes to twist. Using thicker wall tubing also increases torsional rigidity significantly.
Can I use a smaller welder for structural tubing projects? A standard 120V MIG welder can handle up to 1/8″ or 3/16″ steel if you use the right technique. However, for structural reinforcements on 1/4″ material, you usually need a 240V machine to ensure “deep penetration.” If you are limited to a smaller welder, you must bevel your joints deeply and use multiple weld passes to build up the necessary strength.
How do I know if my weld has enough penetration? On a butt joint, you should see a slight “heat tint” or a small bead of metal on the backside of the tube. If the back of the metal looks untouched, your weld is likely just sitting on the surface. For reinforced plates, ensure the weld bead is “wetted in” to both the plate and the tube, with no sharp “cliffs” or edges between the weld and the base metal.
Is aluminum tubing reinforced the same way as steel? The geometric principles—like gussets and triangulation—are the same. However, aluminum loses much more of its strength in the heat-affected zone than steel does. For aluminum frames, you often need to use thicker material than you think to compensate for the softening that happens during welding.
What is the “fishmouth” cut and why is it used? A fishmouth or “tube notch” is a curved cut made at the end of a round tube so it fits perfectly against the side of another tube. This is vital for reinforcements because it maximizes the contact area for the weld. A poor fit-up with large gaps creates a weak joint that is prone to cracking.
Should I use square or round tubing for a heavy-duty frame? Square tubing is generally easier for DIYers because it is simpler to cut, square up, and weld. However, round tubing has a better strength-to-weight ratio and handles twisting forces better. For most shop projects like workbenches, square tubing is the practical choice due to the ease of attaching flat reinforcement plates and gussets.
How often should I replace my welding helmet lens? You should replace the clear “cover lens” as soon as it becomes pitted or cloudy from sparks. If you can’t see the weld pool clearly, you are likely to make mistakes like missing the joint or moving too slowly, which creates excessive heat. A crisp view is essential for structural integrity.
What does “mill scale” do to a weld? Mill scale is a layer of iron oxide that forms during the hot-rolling process. It has a higher melting point than the steel underneath. If you don’t grind it off, the weld will often “float” on top of the scale rather than fusing with the base metal, leading to immediate structural failure under load.
How do I prevent my frame from warping while I weld it? Heat causes metal to expand and contract. To minimize warping, use plenty of tack welds first. Then, use a “backstepping” technique or skip around the frame to different joints. This keeps the heat localized and prevents one side of the frame from pulling the rest out of alignment.
What is the difference between a butt joint and a lap joint in tubing? A butt joint is where two ends meet flush. A lap joint is where one piece of metal overlaps another. In reinforcement, lap joints (like adding a plate over a joint) are generally stronger because they provide more surface area for the weld and create a “double wall” thickness at the point of highest stress.
(This article was written by one of our staff writers, James Harlan. Visit our Meet the Team page to learn more about the author and their expertise.)