How to Weld Contaminated or Dirty Steel Successfully (Fix)
In my fourteen years of inspecting structural steel and managing shop floor fabrication, I have learned that the most dangerous weld is the one that looks perfect on the outside but hides a hollow core. Early in my career, I assisted on a project involving a heavy equipment trailer frame. The welder was experienced, the beads looked like a “stack of dimes,” and the project moved to the paint booth without a second thought. Two weeks later, under a standard load of about 5,000 pounds, a critical cross-member joint snapped cleanly. When I examined the failure under a magnifying glass, the culprit was clear: mill scale. The weld had fused to the brittle oxide layer on the surface of the steel rather than the base metal itself.
This experience shaped my approach to every project I undertake today. Whether you are building a workbench or a structural bracket for a vehicle, the integrity of your work depends on the molecular bond between two pieces of metal. When you attempt to join steel that is covered in rust, oil, or factory coatings, you are essentially trying to glue a house to its wallpaper instead of the studs. In this guide, I will break down the physics of surface impurities and provide a systematic approach to ensuring your fabrications are structurally sound and safe.
The Physics of Surface Impurities in Steel Fabrication
Surface impurities are non-metallic substances like iron oxide, hydrocarbons, or zinc coatings that sit between your welding electrode and the base metal. These materials have different melting points and electrical conductivity than the mild steel you are trying to join, which disrupts the stability of the welding arc.
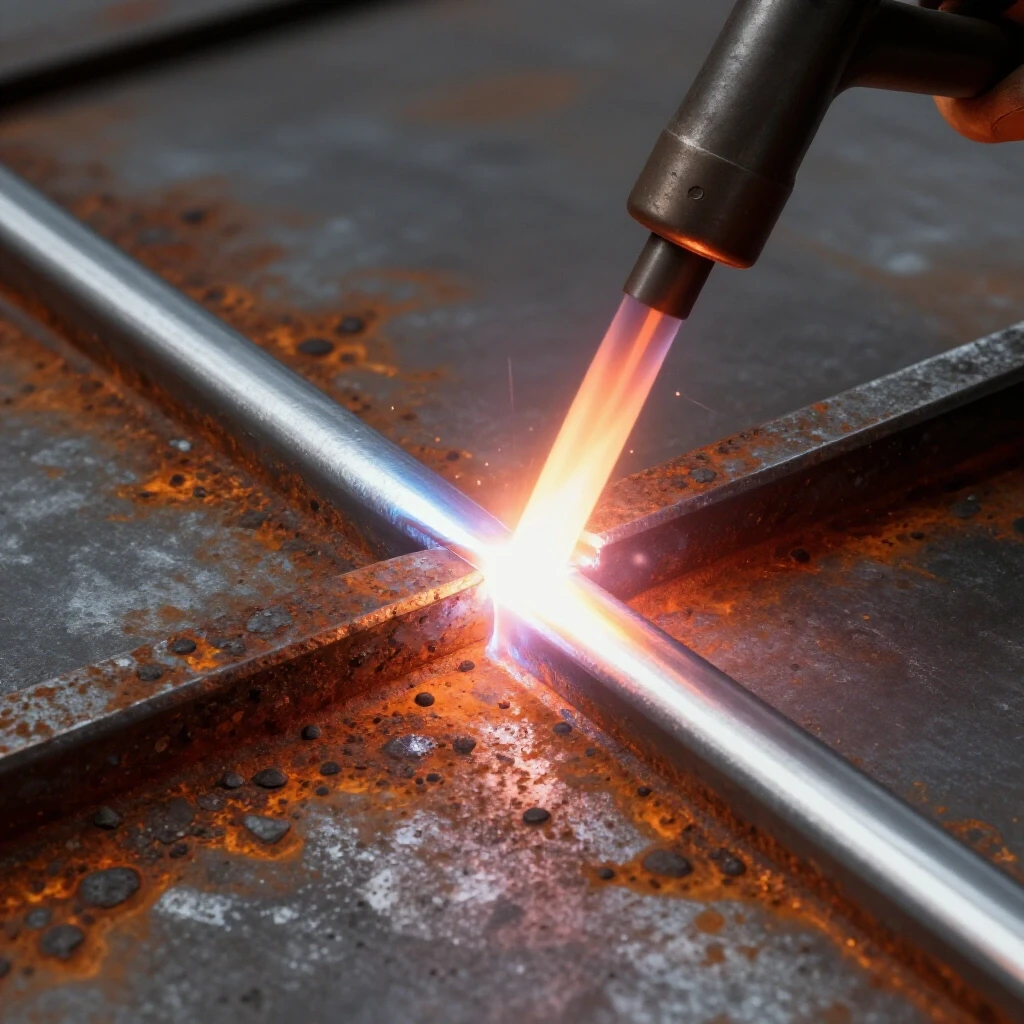
When you strike an arc on dirty steel, the intense heat—often exceeding 6,000 degrees Fahrenheit—vaporizes these contaminants instantly. This rapid vaporization creates gas pockets. If these gases are trapped as the molten puddle solidifies, they form internal voids known as porosity. Beyond gas, solid impurities like mill scale can become trapped in the weld metal, creating “slag inclusions.” These act as tiny stress risers, significantly reducing the structural metal load capacity of the joint.
Understanding the Heat-Affected Zone (HAZ) Weakness
The heat-affected zone is the area of base metal that does not melt but undergoes a change in its crystalline structure due to the intense heat of the welding process. When you work with contaminated surfaces, you often have to increase your voltage or slow your travel speed to “burn through” the dirt. This excess heat input expands the heat-affected zone weakness, making the surrounding metal more brittle and prone to cracking under vibration or heavy loads.
| Contaminant Type | Primary Risk | Effect on Weld Quality |
|---|---|---|
| Mill Scale | Lack of Fusion | Brittle oxide layer prevents deep penetration into base metal. |
| Red Rust | Porosity | Moisture in rust releases hydrogen, causing tiny holes. |
| Oil/Grease | Hydrogen Cracking | Hydrocarbons break down and weaken the atomic bond. |
| Zinc/Galvanized | Toxic Fumes/Cracking | Causes “zinc itch” and severe internal weld brittleness. |
| Paint/Primer | Gas Voids | Rapidly vaporizes, blowing holes in the weld puddle. |
Identifying and Categorizing Steel Contaminants
Before you pull the trigger on your MIG gun or strike a stick electrode, you must perform a visual inspection of your material. Not all “dirt” is created equal, and knowing what you are looking at determines your cleaning strategy.
Mill scale is perhaps the most common obstacle. It is a dark, bluish-grey layer of iron oxide that forms on the surface of hot-rolled steel as it cools at the mill. It looks like the metal itself, but it is actually a ceramic-like coating. Rust, on the other hand, is hydrated iron oxide. It is porous and holds moisture from the atmosphere. Even if it looks dry, the chemical structure of rust contains water molecules that will turn into steam the moment the arc hits them.
The Hidden Danger of Hydrocarbons
Oils and greases are often applied to steel at the warehouse to prevent rusting during transit. These are hydrocarbons. In my shop, I treat every piece of “new” steel as if it is coated in oil. If you don’t remove these, the carbon and hydrogen will dissolve into the molten weld pool. This leads to a phenomenon called hydrogen-induced cracking, where the weld appears fine initially but develops deep cracks hours or even days later as the internal stresses settle.
Mechanical Preparation Strategies for Structural Integrity
Mechanical cleaning is the process of physically removing the surface layer of the steel to reveal bright, shiny metal. This is the single most important step in garage fabrication safety and quality control. If you skip this, no amount of machine tuning will save your joint from potential failure.
I follow a strict “one-inch rule” in my workshop. I clean the metal to a bright finish at least one inch back from the weld path on all sides. This prevents the arc from drawing in nearby contaminants as the puddle oscillates. For structural joints, I also use an angle grinder to create a “V-groove” or bevel. This ensures that the weld can penetrate the full thickness of the material, reaching a 100% joint efficiency.
Essential Tools for Surface Preparation
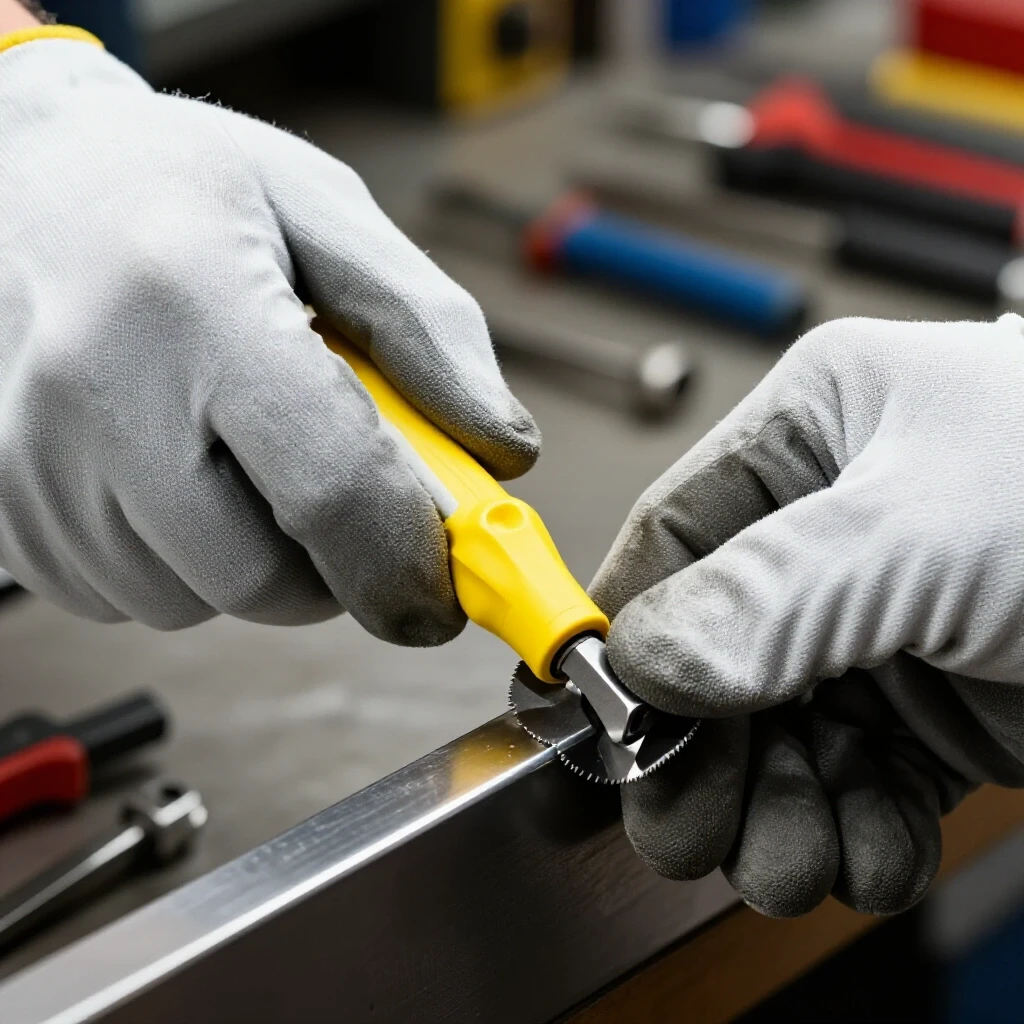
- Angle Grinder (4.5-inch): The workhorse of the shop. Use a 36-grit flapper disc for fast material removal or a hard grinding wheel for heavy mill scale.
- Wire Wheel (Knot Wire): Excellent for removing loose rust and scale from tight corners where a disc cannot reach.
- File and Sandpaper: Use these for delicate parts where you cannot afford to remove too much base metal.
- Needle Scaler: A pneumatic tool that excels at chipping away thick, flaky rust on older restoration projects.
Chemical Cleaning and Solvent Safety Protocols
Sometimes mechanical cleaning isn’t enough, especially when dealing with deep-seated oils or chemical residues. Chemical cleaning involves using solvents to dissolve contaminants. However, this is where many intermediate fabricators encounter serious workshop safety close-calls.
You must never use chlorinated solvents, such as certain types of brake cleaners, near a welding area. When chlorinated chemicals are exposed to ultraviolet light from a welding arc or high heat, they can transform into phosgene gas. Phosgene is a highly toxic chemical weapon that can cause permanent lung damage or death in extremely small concentrations. Always use a dedicated welding degreaser or 100% acetone, and ensure the solvent has completely evaporated before you begin.
Workshop Safety Checklist for Chemical Use
- Check the label for “Non-Chlorinated” status.
- Ensure the work area has active ventilation (exhaust fans).
- Store solvent-soaked rags in a fireproof metal container.
- Wait at least five minutes for the solvent to flash off from porous surfaces.
- Wear nitrile gloves to prevent skin absorption of industrial chemicals.
Selecting the Right Process for Less-than-Ideal Steel
While the goal is always to have perfectly clean metal, some projects—like repairing a farm gate or a heavy equipment bucket—make total cleanliness impossible. In these scenarios, your choice of welding process and filler metal can compensate for minor surface issues.
Shielded Metal Arc Welding (SMAW), commonly known as stick welding, is the king of dirty steel. Certain electrodes, such as the E6010 or E6011, are designed with a “digging” arc. These electrodes use a high-cellulose coating that creates a forceful arc capable of burning through light rust and paint. However, the resulting weld will have more spatter and require more cleanup. In contrast, Gas Tungsten Arc Welding (TIG) is the most sensitive; even a fingerprint on the filler rod can cause the arc to wander and the weld to fail.
Comparison of Process Tolerance
- Stick (SMAW): High tolerance. Best for field repairs and rusty structural frames. Use 6011 for “root” passes and 7018 for “cap” passes on clean metal.
- Flux-Cored Arc Welding (FCAW): Moderate tolerance. The flux inside the wire helps scavenge impurities and bring them to the surface as slag.
- MIG (GMAW): Low tolerance. Requires clean, bright metal. Mill scale will cause the arc to stutter and result in “cold lap,” where the weld sits on top of the metal without fusing.
- TIG (GTAW): Zero tolerance. Requires “surgically clean” metal. Any dirt will contaminate the non-consumable tungsten electrode.
Managing Welding Gas Flow Rate and Porosity
When using MIG or TIG, your shielding gas is your primary defense against atmospheric contamination. However, if your metal is dirty, the impurities can react with the gas or create turbulence in the flow. I typically set my welding gas flow rate between 15 and 20 cubic feet per hour (CFH) for indoor shop work.
If you notice tiny bubbles or a “sponge-like” appearance in your weld bead, you are experiencing porosity. This is often caused by the shielding gas being unable to displace the vapors coming off the dirty metal. If increasing the gas flow doesn’t help, it is a sign that your mechanical preparation was insufficient. Stop immediately, grind out the porous section, and clean the metal again. Welding over porosity only traps the weakness deeper inside the structure.
Identifying Internal Weld Defects and Structural Risks
A weld can look smooth and consistent on the outside while being riddled with internal defects. As an inspector, I look for “indicators” that suggest the base metal wasn’t prepared correctly. One major indicator is “undercut,” which is a groove melted into the base metal right next to the weld toe. This often happens when a welder tries to use excessive heat to overcome mill scale.
Another common issue is “lack of side-wall fusion.” This occurs when the weld metal fails to bond with the sides of the joint. In structural applications, this is a catastrophic failure waiting to happen. If you are building something that will hold a load—like a car rotisserie or a heavy-duty shelf—you must ensure the weld is “wetting out” or flowing smoothly into the base metal.
Structural Joint Failure Analysis
- Brittle Fracture: The weld snaps like glass. Usually caused by hydrogen embrittlement from oil or moisture.
- Shear Failure: The weld slides off the surface of the metal. Caused by welding over mill scale or heavy rust.
- Fatigue Cracking: Small cracks that grow over time. Often starts at a point of porosity or a slag inclusion.
Implementing a 4:1 Safety Factor in Structural Design
When I design a heavy frame or a lifting fixture, I never assume my welds are 100% perfect. In the engineering world, we use safety factors. A 4:1 safety factor means the structure is designed to hold four times the maximum expected load.
For a hobbyist, this means if you expect a bracket to hold 500 pounds, you should design it and weld it as if it needs to hold 2,000 pounds. This margin accounts for the subtle welding defect troubleshooting that might be missed during a visual inspection. To achieve this, focus on weld size (leg length) and ensuring the weld is at least as thick as the thinnest piece of metal you are joining.
Diagnostic Inspection and Load Testing Your Work
How do you know your weld is safe? In industrial settings, we use X-rays or ultrasound. In a home workshop, you can use more accessible diagnostic tests. The simplest is the “Visual Inspection” (VT). Look for a consistent ripple pattern, a lack of cracks, and a smooth transition into the base metal.
For critical parts, I recommend a “Dye Penetrant Test.” You apply a red dye to the weld, wipe it off, and then apply a white developer. The developer will pull any dye trapped in microscopic cracks to the surface, making them visible to the naked eye. Finally, for non-critical items, a “Sledgehammer Test” on a scrap piece welded with the same settings and preparation can give you a feel for the joint’s toughness. If the metal bends before the weld breaks, you have a good bond.
Weld Quality Checklist
- Is the metal bright and shiny within 1 inch of the joint?
- Is the weld bead free of visible holes (porosity)?
- Does the weld “flow” into the base metal without sharp edges?
- Did you remove all slag between passes on multi-pass welds?
- Is the heat-affected zone a consistent, narrow width?
PPE Integration and Garage Fabrication Safety
Welding dirty steel produces significantly more smoke and toxic fumes than welding clean material. Mill scale, rust, and especially old paint release a cocktail of particulates that can lead to long-term respiratory issues. I always wear a respirator with P100 filters under my hood, even for small jobs.
Your welding helmet should be equipped with a high-quality auto-darkening filter. For most shop work, a Shade 10 to 13 filter is necessary to protect your eyes from the intense UV radiation. Furthermore, ensure your shop layout has a “flash zone” where bystanders are protected from the light. I use fire-resistant welding blankets to shield flammable materials and prevent sparks from starting a fire in the corner of the garage.
Recommended Safety Gear Ratings
- Welding Helmet: ANSI Z87.1+ impact rating; Shade 10-13.
- Respirator: NIOSH-approved N95 or P100 (half-mask).
- Gloves: Heavy-duty cowhide for stick/MIG; goatskin for TIG.
- Clothing: 100% cotton or leather; no synthetic fibers (they melt to skin).
Practical Steps for Successful Metal Joining
If you find yourself with a piece of steel that isn’t pristine, follow this workflow to ensure a safe and successful build.
- Assess the load: Is this a structural component? If yes, cleaning is non-negotiable.
- Strip the surface: Use a grinding disc to remove all mill scale and rust until you see “white metal.”
- Degrease: Wipe the area with acetone to remove invisible oils.
- Bevel the edges: For metal thicker than 1/8 inch (3mm), grind a 45-degree angle on the edges to allow for full penetration.
- Tack weld: Place small welds at the ends to hold the structure in alignment.
- Weld with intent: Keep a tight arc and watch the “puddle,” not the spark. Ensure the molten metal is consuming both sides of the joint equally.
- Post-weld inspection: Clean off the silica or slag and look for any signs of porosity or undercut.
By treating the preparation phase with the same respect as the welding phase, you eliminate the variables that lead to structural failure. In my shop, a project is 80% preparation and 20% welding. That ratio has kept my builds standing for over a decade.
FAQ: Common Challenges with Surface Preparation and Weld Quality
Can I weld over light surface rust if I use a MIG welder? While MIG can technically push through very light “dust” rust, it is not recommended for anything structural. The rust will contaminate the weld pool, leading to internal porosity. For the best results, always grind back to shiny metal. If you cannot clean it, use a 6011 stick electrode instead.
Why does my weld look like Swiss cheese after welding on old pipe? This is a classic sign of porosity. Old pipes often have internal corrosion, oil, or moisture trapped in the metal’s pores. When you heat the pipe, these contaminants turn into gas and bubble through your weld. Deep mechanical cleaning and pre-heating the metal with a torch can help drive out moisture.
How do I tell the difference between mill scale and the actual steel? Mill scale is usually a darker, duller grey or blue-black compared to the bright, silver-colored steel underneath. If you hit it with a grinder and see sparks, the dark layer that “pops” off is the scale. You should continue grinding until the entire surface is a uniform, bright silver.
Is it safe to weld steel that has been painted? No. You should never weld directly over paint. Paint vaporizes into toxic fumes and causes severe weld defects. Always use a wire wheel or flapper disc to remove the paint at least two inches away from the weld area.
What is the “zinc itch” and how do I avoid it? Zinc itch, or metal fume fever, is caused by inhaling the white zinc oxide fumes produced when welding galvanized steel. It feels like a severe flu. To avoid it, you must grind off the galvanized coating until you reach bare steel and always wear a respirator in a well-ventilated area.
Does cleaning the metal affect the heat-affected zone? Actually, cleaning the metal helps limit the heat-affected zone. When the metal is clean, the arc is more stable and the heat transfers more efficiently. On dirty metal, you often have to use more “heat” (amperage) to get the puddle to flow, which unnecessarily enlarges the HAZ and weakens the surrounding structure.
Can I use a wire brush instead of a grinder for mill scale? A standard wire brush or even a power wire wheel is usually not aggressive enough to remove mill scale. Wire wheels tend to “polish” the scale rather than remove it. A grinding disc or a coarse flapper disc is required to physically cut through the oxide layer.
How does moisture on the steel affect the final weld? Moisture is a source of hydrogen. At welding temperatures, water (H2O) breaks down, and the hydrogen enters the molten metal. As the weld cools, the hydrogen tries to escape, causing tiny cracks or porosity. Always wipe your metal dry and, if it’s cold out, use a torch to warm the metal to about 100°F to drive off surface condensation.
What is the best way to clean oil off of new hot-rolled steel? The most effective way is to use a dedicated degreaser or acetone. Apply the solvent to a clean rag and wipe the metal until the rag comes away clean. Avoid using gasoline or other highly flammable fuels as degreasers, as they leave a residue and pose a massive fire risk.
Why is my TIG electrode turning black when I weld? Your TIG electrode is likely being contaminated by impurities on the metal surface. Even a small amount of oil or mill scale will “jump” to the tungsten electrode in the intense heat of the arc. If the electrode turns black or develops a “crust,” stop, regrind the tungsten, and clean your base metal more thoroughly.
(This article was written by one of our staff writers, James Harlan. Visit our Meet the Team page to learn more about the author and their expertise.)