How to Get Clean Dross-Free Cuts with a Plasma Cutter (Fix)
I have spent 14 years on shop floors and in industrial inspection zones, and I have seen how a single bad cut can compromise an entire project. When you are building a heavy equipment trailer or a structural frame, every edge matters. I remember a specific failure early in my career involving a suspension bracket. The cut was rough, covered in hardened slag, and the fabricator simply ground it down and welded over it. Under a heavy load test, the bracket snapped right at the edge of the weld. The problem was not the weld itself, but the brittle, overheated metal left behind by a poorly executed cut.
For those of us who prioritize structural integrity, a messy cut is more than just an eyesore. It is a sign of excessive heat and poor material handling that can lead to internal defects. In this guide, I will break down how to achieve smooth, surgical edges with your plasma torch by mastering the physics of the arc. We will look at how to control the heat-affected zone and ensure your parts align perfectly for a strong, safe build.
Understanding the Physics of Plasma Arc Cutting and Metal Stress
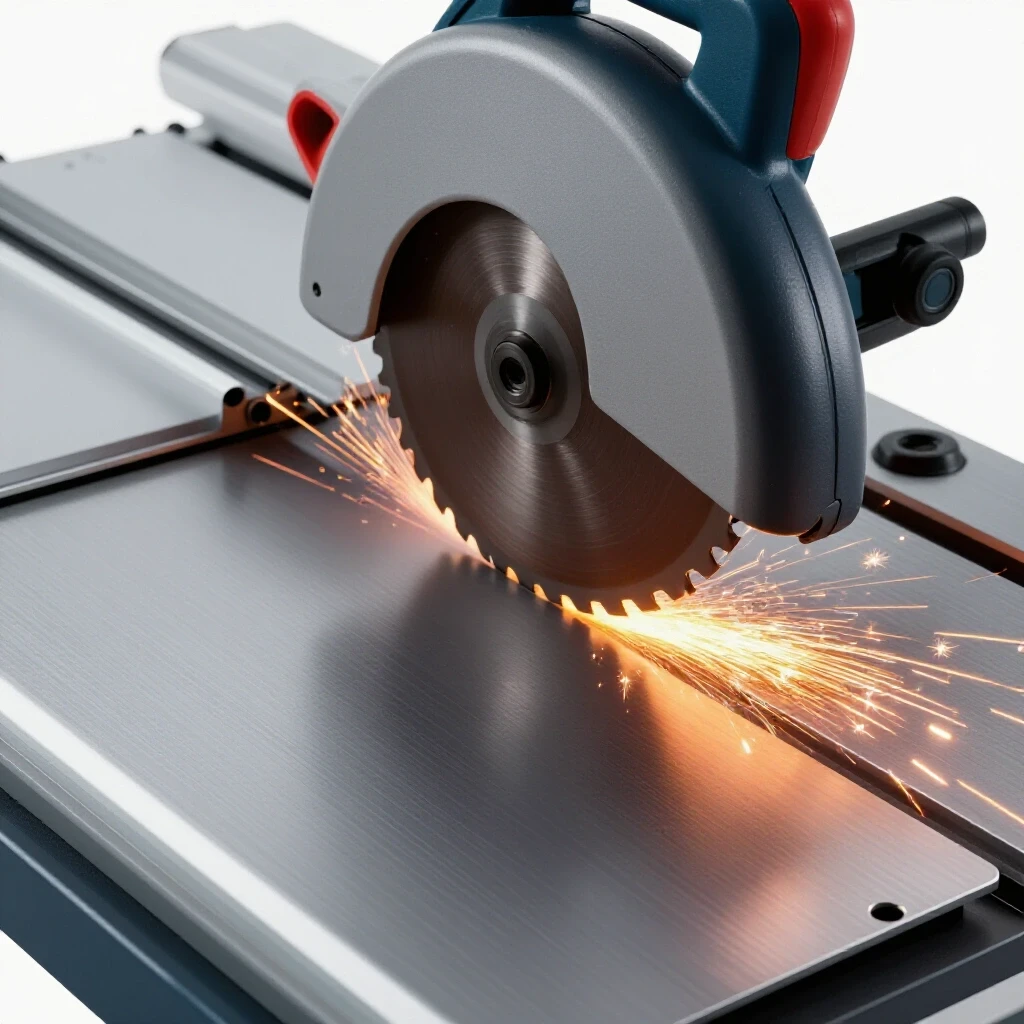
Plasma cutting uses a high-velocity jet of ionized gas to melt and blow away metal. This process creates a kerf, which is the width of the material removed during the cut. If the balance between heat and air pressure is off, the molten metal does not clear the gap and instead sticks to the bottom of the piece as dross.
Dross is essentially re-solidified metal and oxides that have fused back onto the workpiece. For a risk-averse fabricator, dross is a red flag. It indicates that the metal was exposed to high temperatures for too long, which can change the mechanical properties of the steel. This area, known as the Heat-Affected Zone (HAZ), becomes more brittle than the surrounding metal. If you do not manage your cutting parameters, you risk creating a “brittle fracture” point where the metal could crack under stress.
The Role of the Heat-Affected Zone in Structural Integrity
The Heat-Affected Zone is the area of base metal that did not melt but had its microstructure changed by the heat of the cut. In structural applications, a wide HAZ is a liability because it reduces the ductility of the steel. This makes the joint less able to bend or absorb energy without breaking.
When you achieve a clean, fast cut, you minimize the time the heat has to soak into the surrounding material. This keeps the HAZ narrow and preserves the yield strength of the steel. My goal is always to keep the heat input as low as possible while still achieving a full-depth severance. This ensures that when I move to the welding phase, I am working with stable, predictable material that meets industry standards for load capacity.
Dialing in Amperage for Thermal Control
Amperage is the measure of electrical current flowing through your plasma torch. It dictates how much “punch” the arc has to melt through a specific thickness of metal. Using too much amperage for a thin plate will result in a wide, messy kerf, while too little will fail to penetrate the material fully.
Finding the right amperage is about matching the power to the mass of the metal. If the amperage is too high, the arc becomes wider and more turbulent. This extra energy melts more metal than necessary, and the air blast cannot keep up with the volume of liquid steel. The result is a thick layer of dross on the bottom edge that is difficult to remove without heavy grinding.
Matching Current to Material Thickness
Every material thickness has an “ideal” amperage range that balances speed with edge quality. For most handheld shop tasks, you are looking for the lowest amperage that allows you to maintain a steady travel speed without the arc “lagging” behind.
- 1/8-inch (3mm) Steel: 20–30 Amps
- 1/4-inch (6mm) Steel: 40–50 Amps
- 1/2-inch (12mm) Steel: 60–80 Amps
In my experience, if you are cutting 1/4-inch plate at 80 amps, you are dumping unnecessary heat into the part. This causes warping and a larger HAZ. By dropping the amperage to 45 and adjusting your speed, you get a much cleaner edge. This precision is vital when you are building structures that must handle specific PSI yield strengths, as it prevents the metal from softening prematurely.
Managing Gas Pressure and Flow Rates for Slag-Free Edges
The gas used in plasma cutting, usually compressed air, serves two purposes. It creates the plasma arc and provides the kinetic energy to blow the molten metal out of the cut. If the air pressure is too low, the metal simply pools in the kerf. If it is too high, the arc becomes unstable and “sputters.”
Most internal regulators on plasma cutters are a good starting point, but they do not account for the pressure drop in your air hose. I always recommend using a secondary gauge at the back of the machine. For most standard units, a flow rate of 15–20 CFH (Cubic Feet per Hour) is required during the cut to ensure the molten slag is completely ejected from the bottom of the plate.
Air Quality and Moisture Control
Moisture is the silent killer of cut quality and consumable life. When water vapor enters the plasma arc, it expands rapidly and disrupts the focus of the flame. This causes a “swirling” effect in the kerf, leading to uneven edges and heavy dross.
Building a reliable air filtration system is a non-negotiable step for any serious fabricator. I use a multi-stage approach: a water trap at the compressor, a refrigerated dryer if possible, and a fine particulate filter right before the plasma unit. Clean, dry air ensures the arc remains a tight, needle-like column. This focus is what allows the air to “shear” the metal away cleanly, leaving an edge that requires almost no post-cut cleanup.
| Issue | Visual Symptom | Likely Cause |
|---|---|---|
| High-Speed Dross | Fine, hard beads on the bottom | Moving too fast; arc cannot melt through |
| Low-Speed Dross | Thick, globular slag that breaks off easily | Moving too slow; excessive heat buildup |
| Top Dross | Splatter on the top surface | Torch height too high or low air pressure |
| Beveled Edge | One side of the cut is angled | Worn nozzle or tilted torch angle |
The Physics of Travel Speed and Kerf Width
Travel speed is perhaps the most difficult variable to master because it relies on visual feedback and hand-eye coordination. The speed at which you move the torch determines how much energy is deposited into each inch of the cut. If you move too slowly, the kerf widens and the heat spreads.
Interestingly, you can “read” your speed by looking at the lag lines on the edge of the finished cut. Lag lines are the faint curves left by the arc as it moves through the metal. For a structurally sound, clean cut, these lines should have a slight trailing angle of about 15–20 degrees. If the lines are vertical, you are moving too slowly. If they are nearly horizontal or the arc is “shooting” sparks back at you, you are moving too fast.
Identifying High-Speed vs. Low-Speed Dross
Dross behaves differently depending on why it formed. “Low-speed dross” is thick and often porous. It happens because the torch stayed in one spot too long, melting a wide path that the air couldn’t clear. This type of dross usually pops off with a light tap of a chipping hammer, but the edge underneath is often wavy and heat-damaged.
“High-speed dross” is much more stubborn. It consists of tiny, hard beads that seem welded to the base metal. This happens because the arc was “skating” over the bottom of the cut, barely melting through. This requires significant grinding to remove, which can thin out your material and compromise the structural load capacity of your joint. Finding that “sweet spot” where the arc exits the bottom of the plate at a consistent angle is the key to a professional finish.
Consumable Maintenance and Orifice Integrity
The consumables—the electrode and the nozzle—are the most critical parts of the plasma system. The nozzle has a tiny, perfectly round hole that shapes the plasma arc. Over time, the heat and the “blowback” from piercing metal will erode this hole, making it oval or jagged.
Once the nozzle orifice is no longer round, the arc will wander. This leads to a “beveled” cut, where one side of the metal is square and the other is angled. In structural fabrication, a beveled edge is a major problem. It creates poor fit-up for welding, leading to gaps that can cause internal weld defects like lack of fusion. I inspect my consumables every time I start a new project. If the nozzle looks “blown out” or has a pit deeper than 1/16-inch in the electrode, I replace them immediately.
Standoff Distance and Torch Angle
The distance between the torch tip and the workpiece, known as the standoff, directly affects the voltage of the arc. For most manual cutting, a standoff of 1/16 to 1/8 of an inch is ideal. If you are too close, you risk “double-arcing” and destroying your nozzle. If you are too far, the arc loses its focus and energy, leading to massive dross formation.
I often use a “drag shield” if my machine allows it. This is a copper attachment that lets you rest the torch directly on the metal without shorting out the consumables. It provides a consistent standoff and helps maintain a 90-degree torch angle. Keeping the torch perfectly perpendicular to the plate is essential for ensuring that your structural components line up correctly during assembly. Even a 5-degree tilt can result in a part that is 1/8-inch out of alignment over a long cut.
Practical Steps for Structural Joint Verification
Before you commit to a long cut on an expensive piece of structural steel, you must perform a test. I always keep a few “coupons” or scrap pieces of the same material thickness nearby. This allows me to verify my settings and ensure the arc is behaving as expected.
- Verify Air Pressure: Trigger the torch (air only) and check the gauge at the machine to ensure it stays between 65–75 PSI during flow.
- Check Ground Clamp: Ensure the ground is on clean, shiny metal. A poor ground causes the arc to stutter, which creates dross.
- Perform a 6-inch Test Cut: Observe the spark stream. It should exit the bottom of the plate and point slightly away from the direction of travel.
- Inspect the Edge: Knock off any light dross and look at the lag lines. Adjust your speed until they show that 15-20 degree trail.
- Measure the Bevel: Use a square to check if the edge is 90 degrees. If it is tilted, check your nozzle or your hand position.
By following this checklist, you treat the cutting process as a controlled engineering task rather than a guessing game. This reduces wasted material and ensures that your final structure is built on a foundation of precision-cut components.
Advanced Material Handling and Safety
While we are focusing on the quality of the cut, we cannot ignore how the material reacts to the process. When you cut a long strip off a large plate, the internal stresses in the steel are released. This can cause the metal to “spring” or bow. To prevent this, I use heavy clamps and “stitch” my cuts, leaving small tabs of metal every 12 inches to hold the piece in place until the very end.
From a safety perspective, always ensure your work area is clear of flammables. Plasma cutting creates a shower of molten sparks that can travel 20 feet. I use a Shade 5 or Shade 8 lens in my helmet, depending on the amperage. Standard welding helmets (Shade 10-13) are often too dark for plasma cutting, making it hard to see your cut line and leading to mistakes.
Building a Success Framework for Clean Edges
To consistently produce high-quality results, you need a repeatable process. I keep a small notebook in my toolbox where I record the settings that worked for different materials. This “shop log” saves me hours of frustration when I return to a project after a few weeks away.
- Material: 3/8″ A36 Structural Steel
- Amperage: 60 Amps
- Air Pressure: 70 PSI (flowing)
- Speed: Approx 15 inches per minute
- Result: Minimal dross, 1/16″ HAZ, square edge.
This data-driven approach removes the “art” from the process and replaces it with science. For a fabricator who values safety and structural integrity, this is the only way to work. You aren’t just cutting metal; you are preparing the building blocks of a structure that must perform under load.
Conclusion
Mastering the plasma torch is a journey of understanding how heat and pressure interact with steel. By focusing on amperage control, air quality, and travel speed, you can eliminate the frustrating cleanup of dross and the risks associated with an oversized heat-affected zone. Remember that a clean cut is the first step toward a strong weld and a safe, reliable project. Take the time to dial in your settings, respect the limits of your materials, and always prioritize precision over speed. Your finished fabrications will be stronger, safer, and much more professional as a result.
FAQ: Frequently Asked Questions
Why does my plasma cutter leave a thick layer of dross even on thin metal?
This is usually caused by moving too slowly. When the torch moves slowly, it puts too much heat into the metal, melting a larger area than the air can blow away. The molten metal then pools and cools on the bottom edge. Try increasing your travel speed until the sparks exit the bottom of the plate at a 15-20 degree angle.
Can I use a standard shop compressor for plasma cutting?
Yes, but you must ensure it can maintain the required CFM (Cubic Feet per Minute) and PSI. Most plasma cutters need about 4 to 5 CFM at 90 PSI. More importantly, you must have a high-quality moisture trap. Water in the air line will ruin your consumables and cause poor cut quality.
How do I know when to change my nozzle and electrode?
Inspect the nozzle for a perfectly round center hole. If it looks oval, charred, or enlarged, replace it. For the electrode, look at the silver-colored insert in the tip (the hafnium). If there is a pit deeper than 1/16 of an inch, it is time for a new one. Worn consumables are the leading cause of angled or messy cuts.
What is the best way to remove dross if it does happen?
For low-speed dross, a light tap with a chipping hammer or a quick pass with a cold chisel usually pops it right off. For high-speed dross, you will likely need a flap disc on an angle grinder. Be careful not to grind away too much of the base metal, as this can weaken the structural joint.
Does the type of metal affect dross formation?
Absolutely. Mild steel is generally the easiest to cut cleanly. Stainless steel and aluminum have different thermal conductivities and melting points, often requiring higher air pressure or different gas mixes for a truly dross-free finish. Aluminum, in particular, tends to leave more dross because it is very “sticky” when molten.
Why is my cut angled on one side and straight on the other?
This is a classic sign of a worn nozzle or a swirl ring that is blocked. The air must swirl evenly around the electrode to create a centered arc. If the air flow is lopsided, the arc will favor one side, creating a bevel. It can also happen if you are holding the torch at an angle instead of perfectly perpendicular.
How does travel speed affect the Heat-Affected Zone (HAZ)?
The faster you can cleanly cut the metal, the less time heat has to soak into the surrounding area. A faster travel speed results in a narrower HAZ, which is better for the structural integrity of the steel. Moving too slowly creates a wide HAZ that can make the metal brittle.
Is it safe to cut painted or rusty metal with a plasma torch?
While a plasma arc can cut through rust and paint, it will significantly degrade your cut quality and produce more dross. The impurities interfere with the arc’s stability. For the best structural results, grind a small strip of the metal clean where you plan to cut and where you place your ground clamp.
What shade of eye protection should I use for plasma cutting?
For most shop-level plasma cutting (30–60 amps), a Shade 5 lens is standard. If you are cutting at higher amperages (above 60–80 amps), you may need a Shade 8. Using a standard welding helmet (Shade 10+) is often too dark and can lead to poor technique because you cannot see the kerf clearly.
Why do my consumables wear out so quickly?
The most common causes are moisture in the air line, cutting too close to the metal (touching the tip to the work), or “piercing” too deeply. When piercing, try to tilt the torch slightly so the sparks don’t blow straight back into the nozzle. This simple trick can double the life of your consumables.
(This article was written by one of our staff writers, James Harlan. Visit our Meet the Team page to learn more about the author and their expertise.)